Riding your bike at night can be exhilarating, but safety should always be your top priority. A powerful and reliable headlight is crucial for ensuring visibility and avoiding potential hazards. The Bowler 6000 Lumen bike headlight offers exceptional brightness, making it an excellent choice for nighttime cycling, but its installation might seem daunting at first glance. This high-lumen output provides significantly improved visibility compared to standard bike lights, greatly enhancing your safety on the road or trail.
This guide provides a clear and concise, step-by-step process for installing your Bowler 6000 Lumen bike headlight, making the process straightforward and simple. Whether you're a seasoned mechanic or a complete novice, follow along as we guide you through each stage of the installation, ensuring your new headlight is securely fitted and ready to illuminate your path.
Preparation and Safety Guidelines
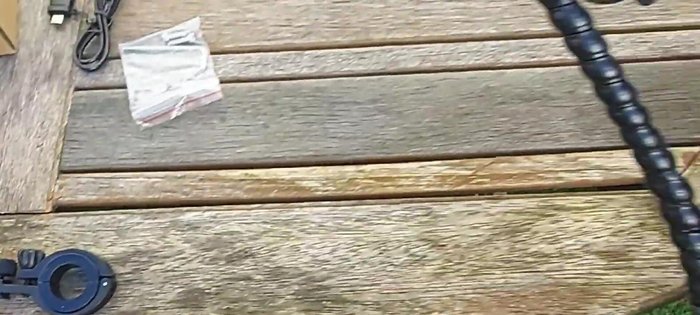
- Bowler 6000 Lumen Bike Headlight
- Allen Key
- Charging Cable (USB & USB-C)
- Always ensure the headlight is securely mounted to your handlebars before riding. A loose headlight can obstruct your view or fall off during use.
- Never operate the headlight without first ensuring the power source (batteries) are correctly installed and connected. Improper connections can lead to malfunction or damage.
- Use appropriate tools for installation. Forcing components can damage the headlight or your bicycle.
Step-by-Step Instructions
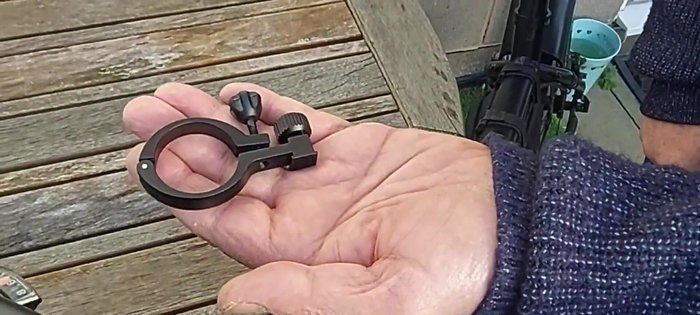
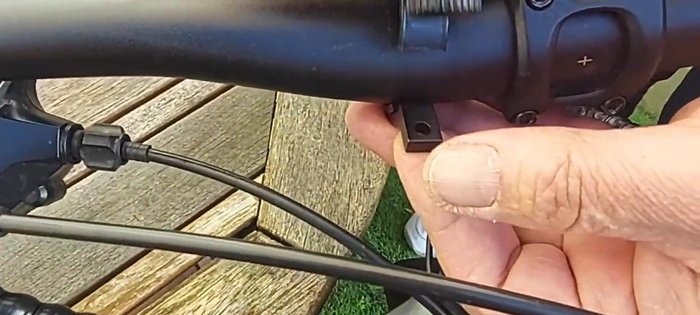
Prepare the Mount
- Unscrew the arm to release it from the headlight.
- Place the appropriate size handlebar mount (22.2mm to 33mm) onto the handlebars. Use the smaller clips for smaller handlebars.
- Insert the rubber strips inside the handlebar mount to protect your handlebars.

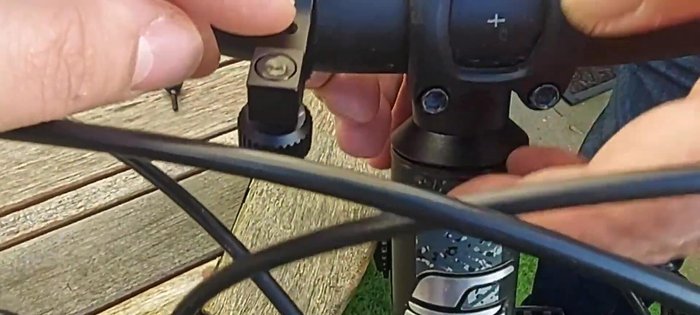
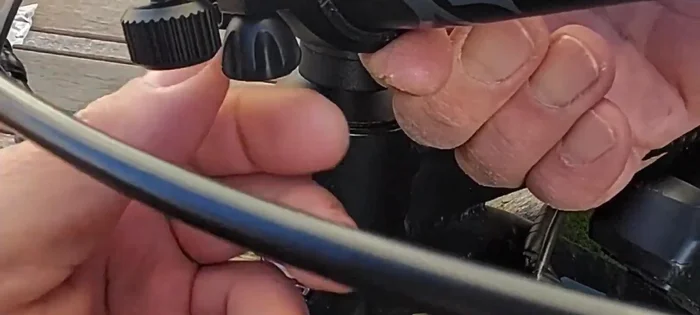
Prepare the Mount Position the Mount
- Position the mount with the clamping mechanism facing forward. Ensure the threaded part is at the top.
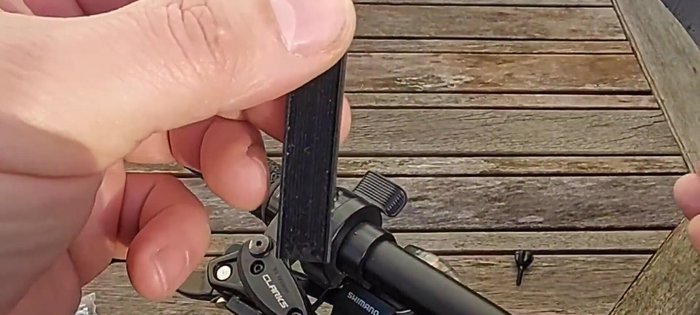
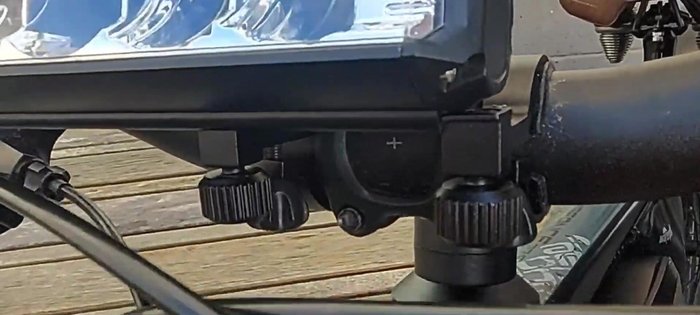
Position the Mount Attach the Headlight
- Insert the headlight into the mount, aligning the bottom runner with the corresponding slots on the mount.
- Tighten the screws to secure the headlight to the mount.
Attach the Headlight Adjust and Secure
- Adjust the headlight position to ensure it's level and centered. Use a reference point like a wall or door to check the alignment.
- Once the alignment is satisfactory, firmly tighten the clamps to secure the headlight.
Adjust and Secure

Read more: DIY Headlight Restoration: Restore Your Bike's Headlight to Like-New Condition!
Tips
- The kit does not include instructions, but the installation is straightforward.
- You may need to remove the plastic clamps if the rubber strips make the fit too tight.
- Use a reference point to ensure the headlight is level and properly aligned.