Is your old bike's headlight dimmer than a dying firefly? Does it barely cut through the evening darkness, leaving you feeling vulnerable and unseen? Many older bicycles suffer from weak, inadequate lighting, a significant safety concern, especially during low-light conditions. A brighter headlight isn't just about improved visibility; it's about enhancing your safety and peace of mind on the road. Fortunately, upgrading your bike's headlight is often a surprisingly simple project, achievable even for the most novice DIY enthusiasts. A brighter, more reliable light can significantly improve your cycling experience, allowing you to ride with greater confidence and security.
This article will guide you through a straightforward wiring upgrade that will dramatically boost your old bike's headlight illumination. We'll cover the necessary components, tools, and the precise steps involved in this easy modification. Ready to transform your dimly lit rides into safer, brighter adventures? Let's dive into the step-by-step process and illuminate your path.
Preparation and Safety Guidelines
- Old bike
- Test bulb
- Extra wire (approx. 4 feet)
- Electrical tape
- Always disconnect the battery's negative terminal before starting any wiring work to prevent electrical shocks.
- Use wire connectors and electrical tape rated for the voltage and amperage of your system to ensure safe and reliable connections. Avoid bare wires.
- Ensure all wiring is properly insulated and routed to prevent shorts or accidental contact with moving parts. Consider using heat shrink tubing for added protection.
Step-by-Step Instructions
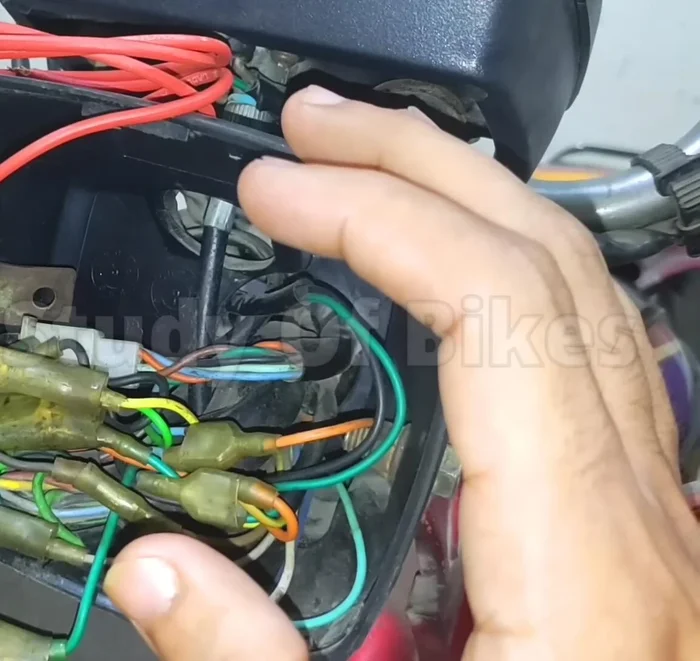
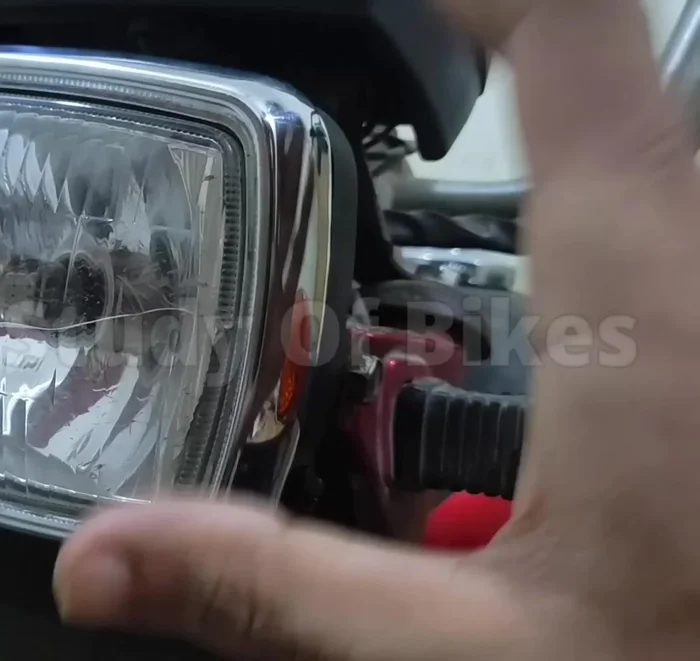
Identify the Problem
- Dim headlight in an old bike due to weak current in the yellow wire.

Identify the Problem Prepare and Connect the Extra Wire
- Prepare an extra wire (approximately 4 feet long).
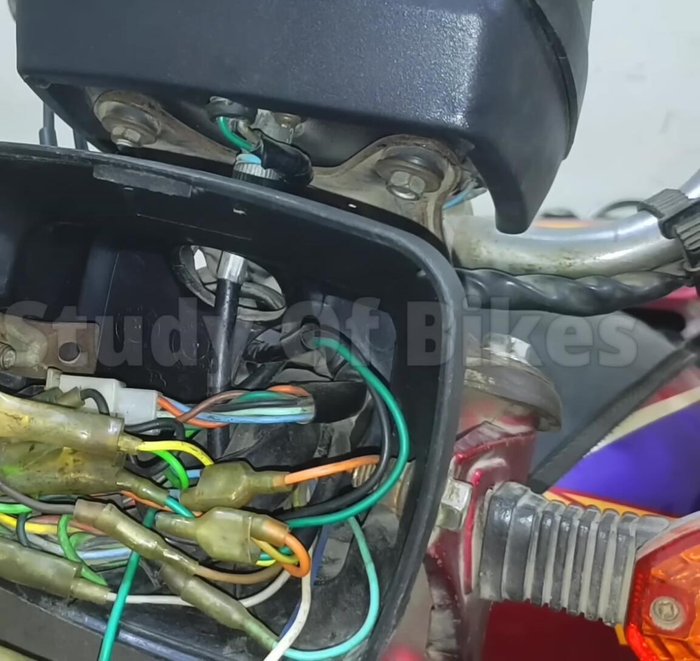
- Disconnect the rectifier clip from the bottom.
- Connect one end of the extra wire to the existing yellow wire near the rectifier.
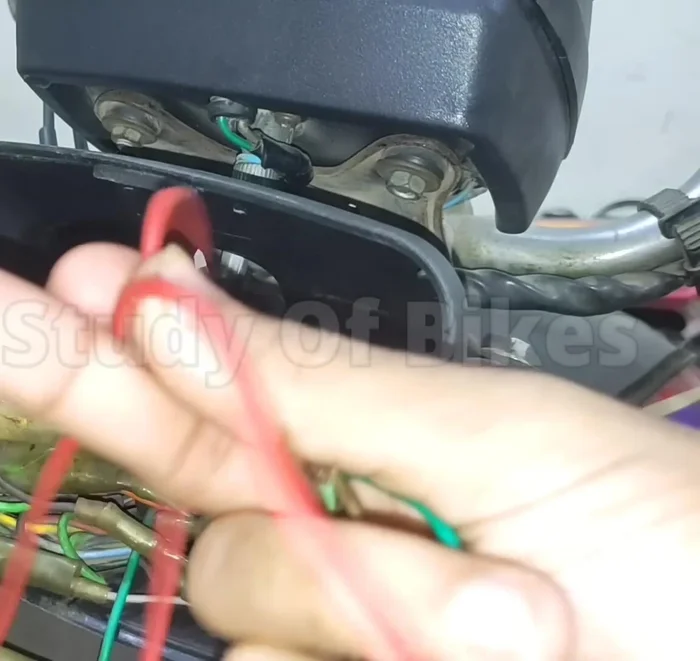
- Route the other end of the extra wire to the headlight switch assembly.
Prepare and Connect the Extra Wire - Connect the extra wire to the headlight switch assembly.
Prepare and Connect the Extra Wire Test the Connection (Optional)
- (Optional) Test the current in both the old and new wires using a test bulb connected to a ground and the positive terminal of the rectifier.
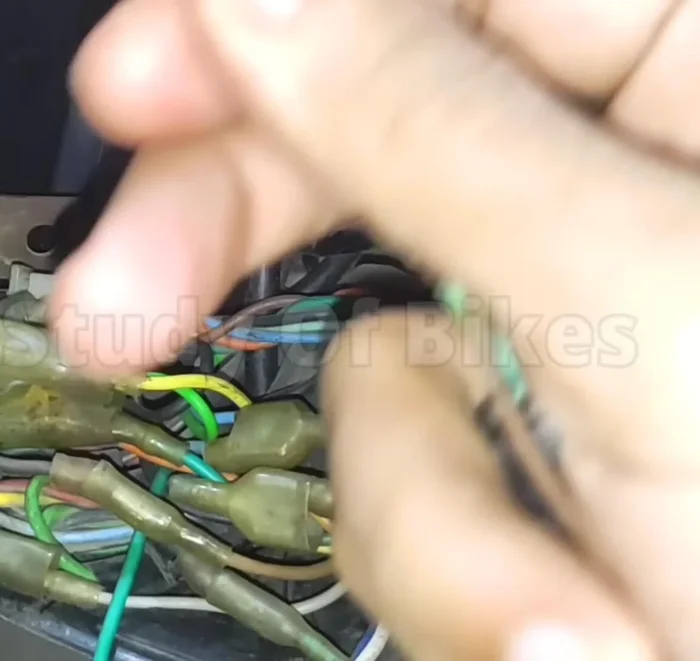
Test the Connection (Optional) Secure the Wiring
- Secure the connections with electrical tape.
Secure the Wiring


Read more: DIY Headlight Restoration: Restore Your Bike's Headlight to Like-New Condition!
Tips
- If the test bulb shows equal brightness on both the old and new wires, the original yellow wire is likely fine.
- No cutting of wires is required.
- If there's no difference in headlight brightness before and after, the original yellow wire is probably still okay.