Dull, cloudy headlights not only diminish your motorcycle's aesthetic appeal but also significantly compromise nighttime visibility, posing a safety risk to you and other road users. A hazy headlight lens, often the result of UV damage and oxidation, drastically reduces the light output, making it harder to see and be seen, especially in low-light conditions. Fortunately, restoring your bike's headlight to its original brilliance is easier and more affordable than you might think with a simple DIY approach. Forget expensive replacements and embrace the satisfying process of bringing back that crystal-clear shine.
This guide provides a comprehensive step-by-step process to revitalize your motorcycle's headlight, transforming a cloudy, yellowed lens into a sparkling, clear one. With readily available materials and simple tools, you can achieve professional-looking results without breaking the bank. Ready to get started and see the difference? Let's dive into the detailed instructions and restore your bike's headlight to like-new condition!
Preparation and Safety Guidelines
- 2000mm (or higher) Emery Paper
- Water
- Clean Cloths
- 3M Rubbing Compound Polish
- Always wear safety glasses to protect your eyes from flying debris and chemical splashes.
- Work in a well-ventilated area. Headlight restoration products often contain strong chemicals.
- Allow the headlight to cool completely before handling after using heat sources like a heat gun or hairdryer.
Step-by-Step Instructions
Preparation
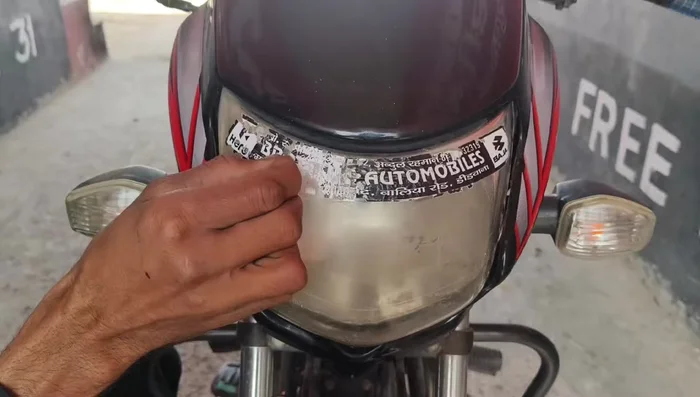
- Remove any stickers from the headlight using a blade (if present). Clean the headlight thoroughly with water.

Preparation Wet Sanding
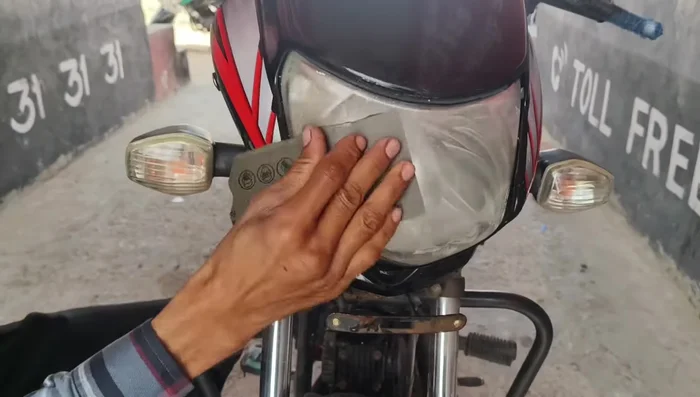
- Using 2000mm emery paper (or higher), wet-sand the headlight for at least 5 minutes, continuously adding water to prevent scratches. This removes the yellowed top layer.
Wet Sanding First Polish
- Wash and thoroughly dry the headlight with a clean cloth.
- Apply 3M rubbing compound (or similar) to the headlight, rubbing thoroughly until the entire surface is covered. Use a small, dry cloth to buff the compound into the headlight for 5 minutes.
First Polish Second Polish
- Wash and dry the headlight again.
- Repeat step 4 (applying and buffing the rubbing compound). This time, let the compound dry for 5 minutes before buffing again with a clean cloth.
Second Polish


Read more: Boost Your Old Bike's Headlight: A Simple Wiring Upgrade
Tips
- Use a small cloth for buffing to avoid leaving residue on the cloth instead of the headlight.
- The more you rub and clean, the better the result.
- Don't use emery paper less than 2000mm to avoid scratching the headlight.