A broken bicycle headlight mount can be incredibly frustrating, leaving you cycling in the dark and potentially compromising your safety. That annoying rattle and the constant fear of your light falling off during a ride are enough to make anyone want to fix the problem swiftly. Fortunately, even the most seemingly irreparable damage can often be overcome with a little ingenuity and readily available materials. This simple yet effective repair doesn't require specialized tools or expensive parts.
This article demonstrates a quick and easy solution utilizing a readily accessible material: cable ties. We’ll guide you through a straightforward process to reinforce your broken headlight mount and get your bike light securely back in place. Ready to get back on the road safely and brightly lit? Let's dive into the step-by-step instructions to repair your bicycle headlight mount using cable ties.
Preparation and Safety Guidelines
- hands-free driver
- cable ties
- Ensure the headlight is securely fastened before riding. A loose headlight can obstruct your vision or become a projectile.
- Only use cable ties rated for sufficient strength and UV resistance to prevent breakage or degradation from sunlight. Check the tie's maximum load capacity.
- Inspect the mount regularly. If the damage is extensive, consider professional repair or replacement instead of a temporary fix.
Step-by-Step Instructions
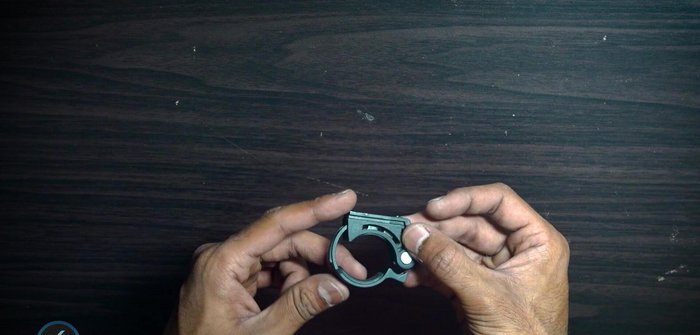
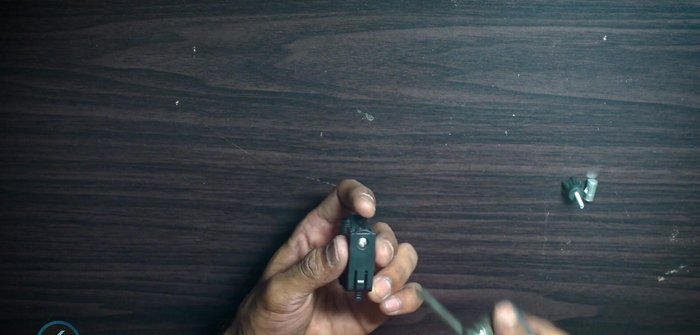
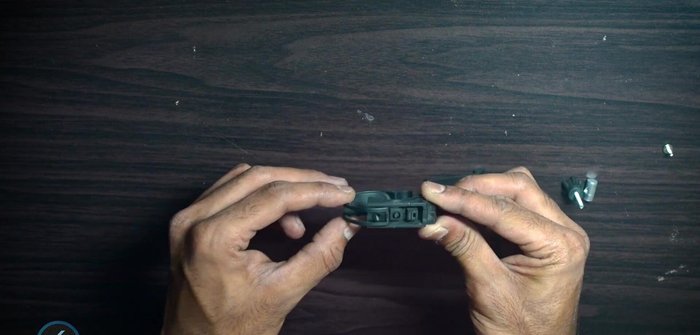
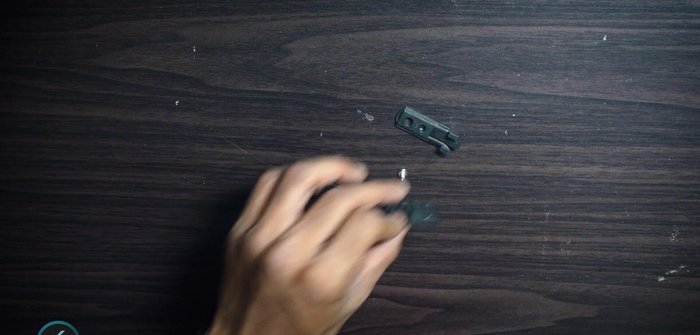
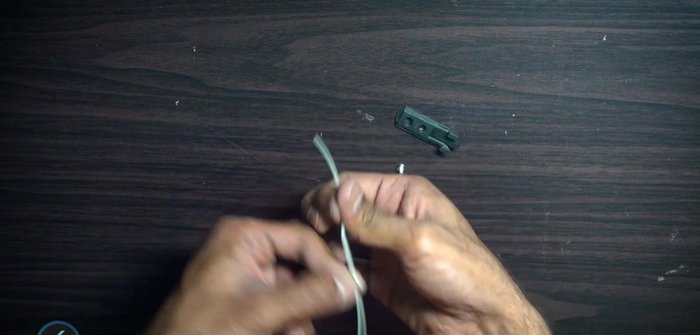
Disassemble the Broken Mount
- Remove the locking screw and its base from the headlight mount.
- Remove the mounting plate using a hands-free driver.
- Remove the last step (presumably a small plastic piece) and keep only the hard plastic parts.

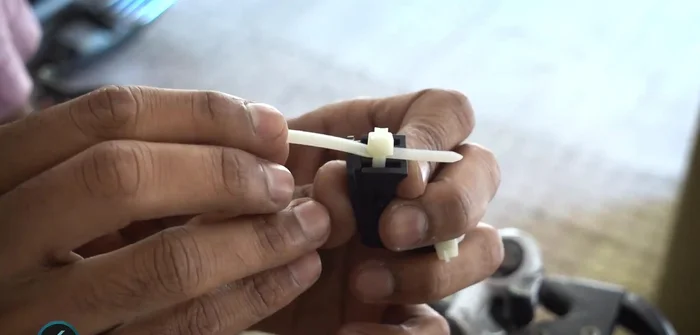
Disassemble the Broken Mount Secure with First Cable Tie
- Pass a cable tie through the hole and tighten it, leaving a small gap.
Secure with First Cable Tie Secure with Second Cable Tie
- Secure the second cable tie where the first one loops around, leaving a small gap.
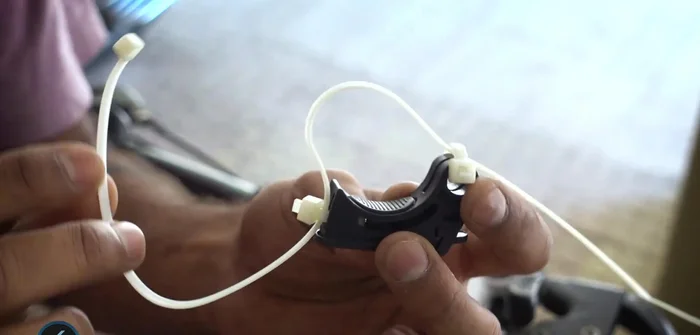
Secure with Second Cable Tie Secure with Third Cable Tie
- Pass the third cable tie through, smooth side inwards, braided side outwards. This will be the locking end.
- Lock the third cable tie on the rear side of the handlebar.
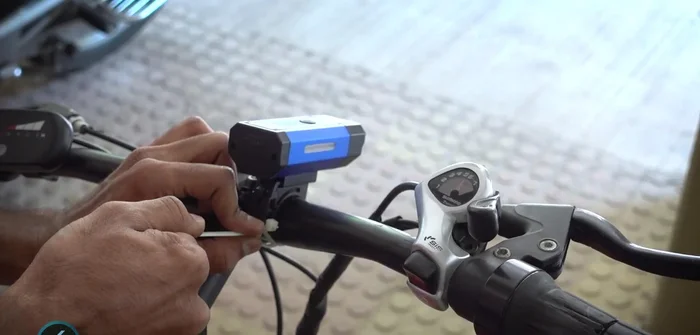
Secure with Third Cable Tie Final Adjustments and Reassembly
- Tighten the cable ties, cut the excess, and mount the headlight.
Final Adjustments and Reassembly
Read more: DIY Headlight Restoration: Restore Your Bike's Headlight to Like-New Condition!
Tips
- Don't overtighten the cable ties to avoid breaking the plastic.
- Leave a small gap between the cable tie and the plastic for flexibility.