Bike tail lights are essential safety features, providing crucial visibility to drivers and other cyclists, especially during low-light conditions. A dead battery, however, can render this vital safety equipment useless, leaving you vulnerable on the road. Nobody wants to be caught in the dark with a malfunctioning tail light, and thankfully, replacing the batteries is usually a straightforward task. Whether you're a seasoned cyclist or a relative newcomer, understanding how to quickly and efficiently change your bike tail light's batteries is a valuable skill. A simple battery replacement can significantly enhance your safety and peace of mind while riding.
This quick guide provides a clear and concise step-by-step process to help you replace your bike tail light batteries in minutes. We'll cover common battery types, how to access the battery compartment, and how to properly insert new batteries, ensuring your light is working perfectly and keeping you visible on the road. Let's get started!
Preparation and Safety Guidelines
- Bicycle tail light
- Small screwdriver
- Always turn off your bike light before attempting to replace the batteries. This prevents accidental short circuits and protects the electronics.
- Use the correct type and size of batteries specified by the manufacturer. Using incorrect batteries can damage the light or create a fire hazard.
- If you encounter difficulty opening the battery compartment, don't force it. Consult your bike light's manual or seek assistance to avoid damage.
Step-by-Step Instructions
Remove the Tail Light
- Remove the tail light from your bike.

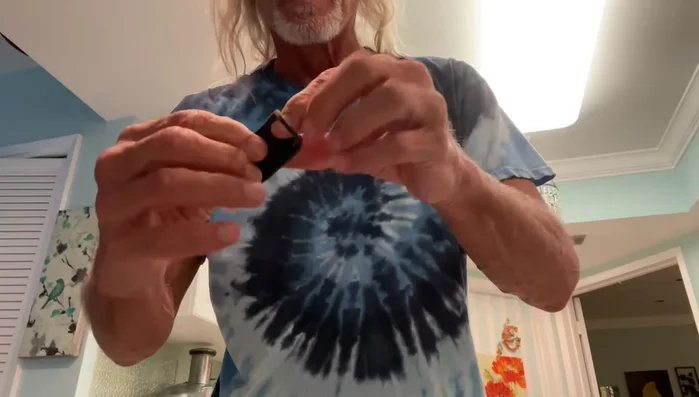
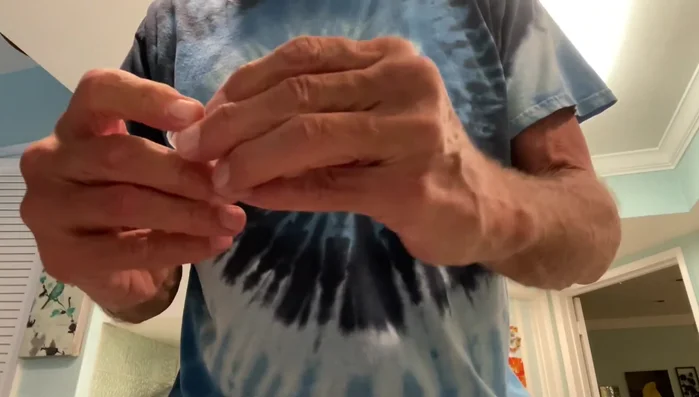
Remove the Tail Light Open the Light Housing
- Pull off the light casing. This might require a small screwdriver (as shown in the video, starting at 48.719 seconds).
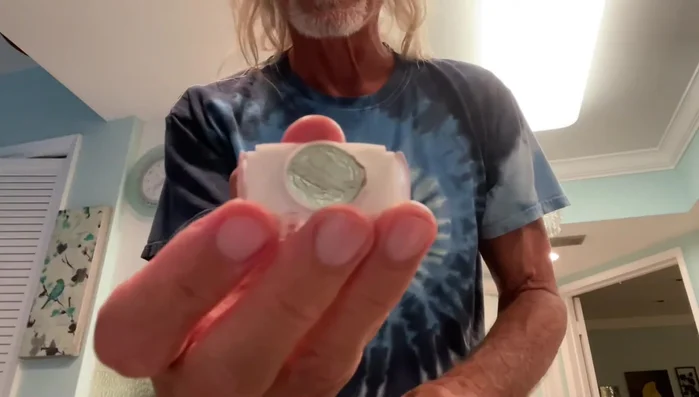
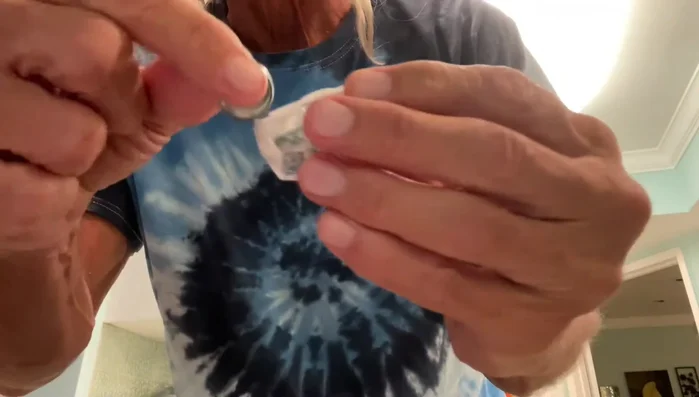
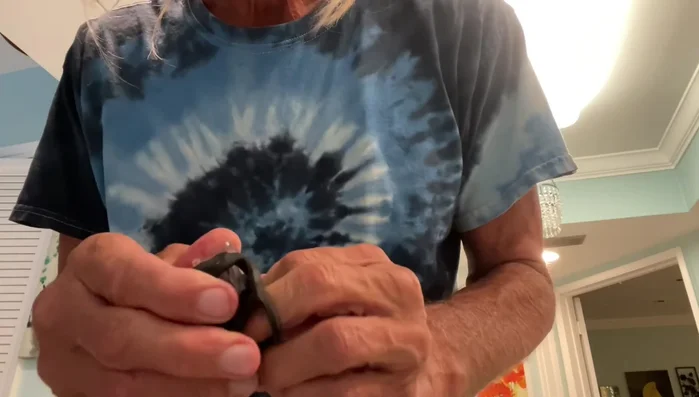
Open the Light Housing Replace Batteries
- Remove the old batteries. There may be more than one.
- Insert new batteries, ensuring correct polarity (+ and -).
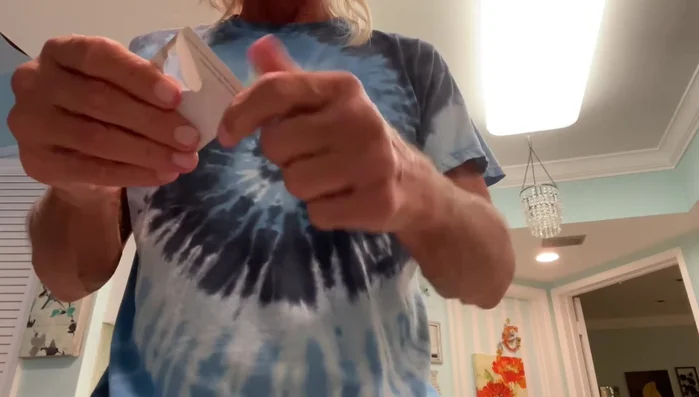
Replace Batteries Reassemble the Light
- Reassemble the light casing.
Reassemble the Light Reattach to Bike
- Attach the tail light back onto your bike.
Reattach to Bike
Read more: DIY Headlight Restoration: Restore Your Bike's Headlight to Like-New Condition!
Tips
- Use a small screwdriver if needed to help remove the light casing.
- Pay attention to the battery polarity (+ and -) when inserting new batteries.