Cycling in low-light conditions can be dangerous, but with the right equipment, you can significantly enhance your visibility and safety. Properly functioning bike lights are crucial for navigating dusk, dawn, or nighttime rides, ensuring you're seen by motorists and pedestrians. Whether you're a seasoned cyclist or just starting out, understanding how to effectively charge and install your bike lights is essential for maximizing their effectiveness and ensuring your safety on the road. Ignoring these seemingly simple steps can lead to malfunctioning lights and potentially hazardous situations.
This quick guide will walk you through the process of charging and installing your bike lights, covering various types and addressing common challenges. From understanding different charging methods to securely mounting your lights for optimal visibility, we'll cover everything you need to know to illuminate your journey safely and confidently. Let's dive into the step-by-step instructions to get your bike lights up and running.
Preparation and Safety Guidelines
- Bike lights
- Charging cables
- Power block
- Always ensure lights are securely mounted to your bike before riding, checking for a firm fit and avoiding loose connections that could cause them to fall off.
- Use only the recommended charging method and power source specified by the manufacturer. Incorrect charging can damage the battery or cause a fire.
- Ensure your lights are visible from a sufficient distance, especially in low-light conditions. Consider using both front and rear lights for maximum safety.
Step-by-Step Instructions
Prepare Charging Cables
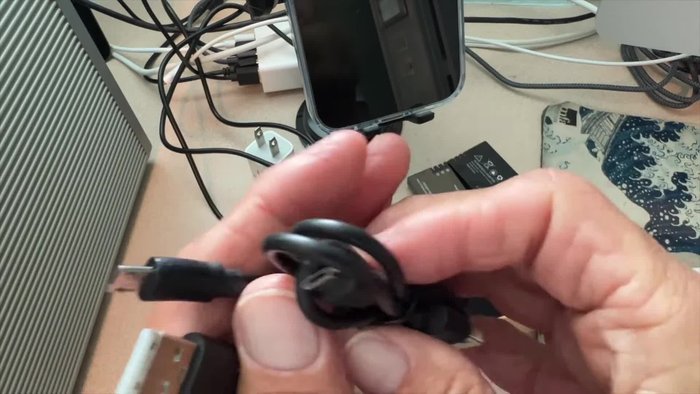
- Check existing cables. The video demonstrates that the provided cables are identical to the ones already owned.

Prepare Charging Cables Charge the First Light
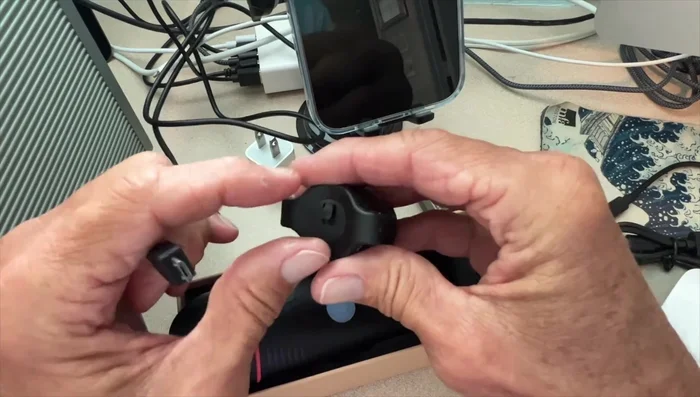
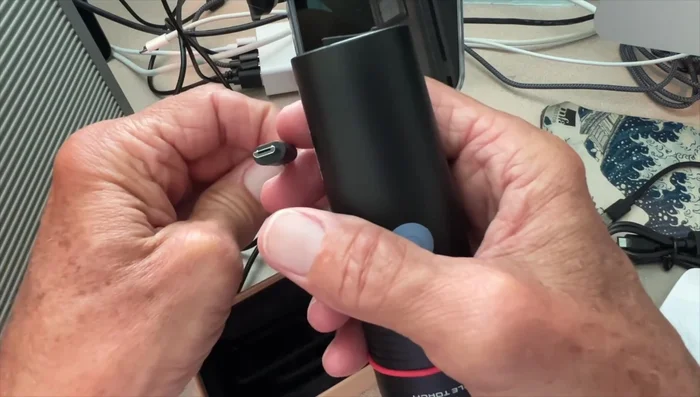
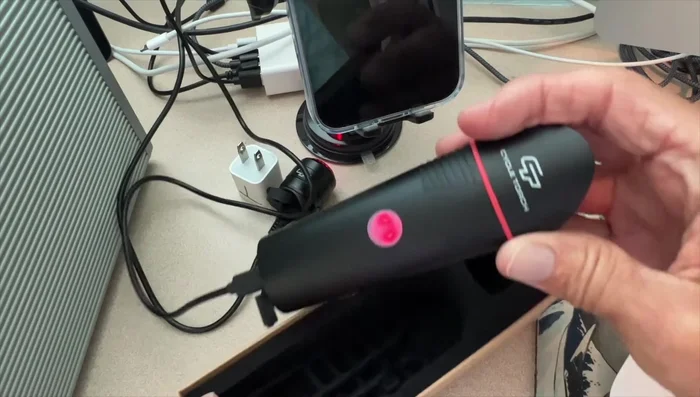
- Connect the first bike light to the power block. Open the charging port and align the cable for insertion.
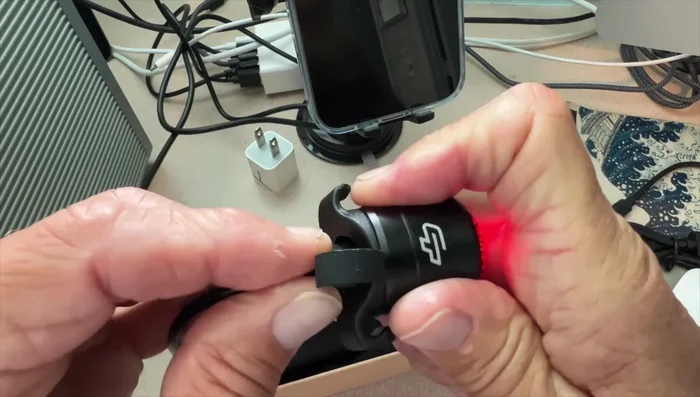
- Plug in the light. The light might remain red until fully charged and then turn off.
Charge the First Light Charge the Second Light
- Repeat steps 2-3 for the second bike light.
Charge the Second Light Monitor Charging Progress
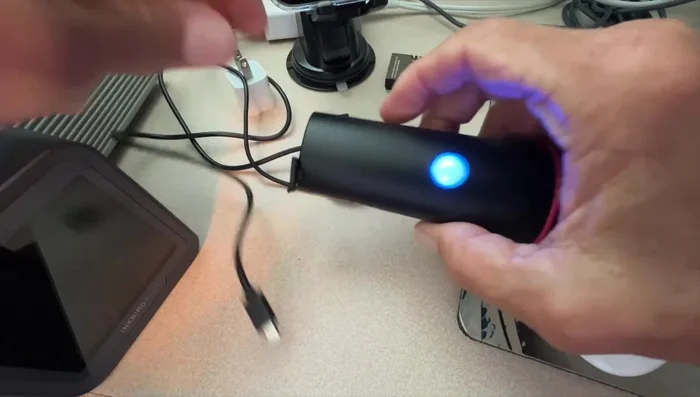
- Monitor charging. The lights indicate charging status (red, then green/blue when charged).
Monitor Charging Progress Disconnect Lights After Charging
- Unplug the lights once fully charged. The indicator lights should turn off.
Disconnect Lights After Charging Install Lights on Bicycle
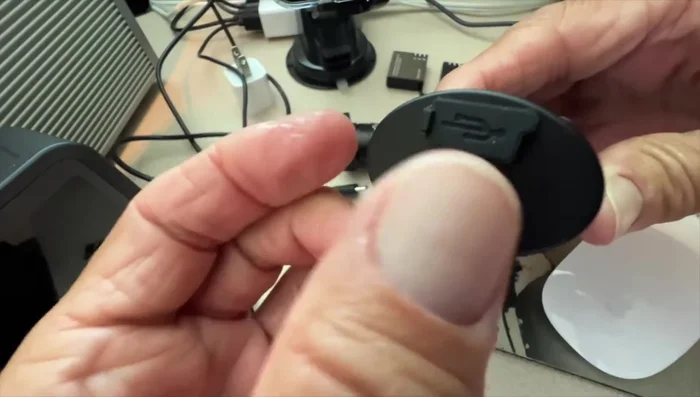
- Install the lights on the bicycle, ensuring the charging ports are sealed to prevent water damage.
Install Lights on Bicycle
Read more: DIY Headlight Restoration: Restore Your Bike's Headlight to Like-New Condition!
Tips
- Check if you already have compatible cables before using the ones provided.
- The lights might stay red during charging and turn off automatically when fully charged.
- Always reseal the charging ports after charging to prevent water ingress.