Wireless cycling computers have revolutionized how cyclists track their performance, offering real-time data and insightful post-ride analysis without the hassle of wires. From basic speed and distance to advanced metrics like power output and heart rate, these devices provide invaluable information to help you improve your cycling. Choosing the right computer and understanding its capabilities is the first step, but truly maximizing its potential lies in a seamless and accurate installation. A poorly installed computer can lead to inaccurate readings or even malfunction, diminishing the value of this helpful technology.
This ultimate guide will walk you through every step of the installation process, ensuring your wireless cycling computer is set up correctly and ready to provide you with reliable data. We'll cover everything from mounting the computer head unit to pairing sensors and configuring your preferred settings, so prepare to unlock the full potential of your cycling computer. Let's get started with the step-by-step installation process!
Preparation and Safety Guidelines
- Wireless cycling computer
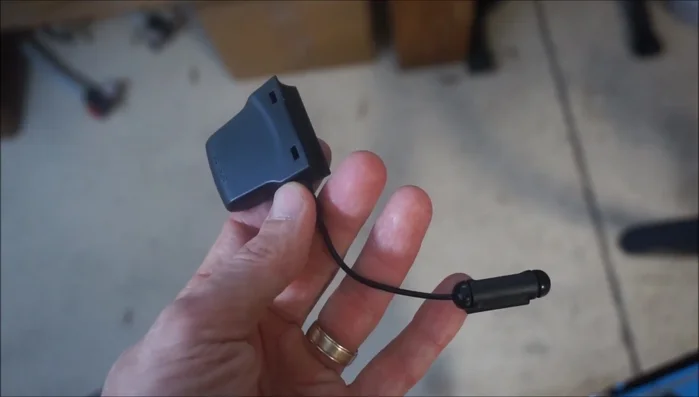
- Cadence sensor
- Magnet
- Cable ties
- Rubbing alcohol
- Paper towel
- Tape measure
- O-ring (optional)
- Coin or flat object
- Ensure your bike is stationary and stable before beginning installation to prevent accidents or damage.
- Carefully read the manufacturer's instructions specific to your cycling computer model. Installation procedures vary.
- Avoid over-tightening any mounts or straps; this could damage your bike or the computer.
Step-by-Step Instructions
Planning & Preparation
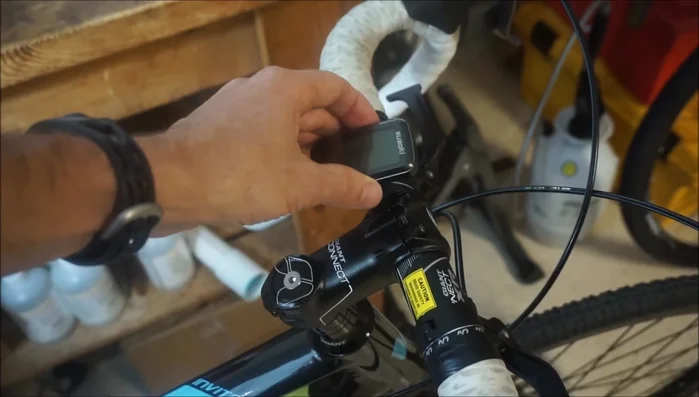
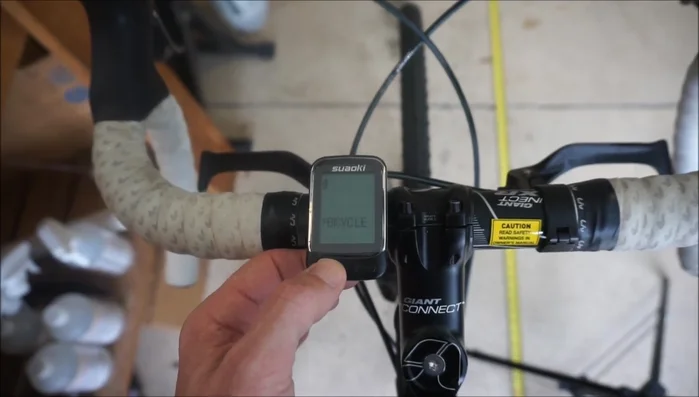
- Decide on head unit mounting location (handlebar or stem). Consider other handlebar accessories (lights) and ease of access for button operation.
- Determine sensor mounting location (chainstay or front fork). If using chainstay, ensure sensor dangles down to prevent spoke damage. If using front fork, mount sensor on the front side for the same reason.
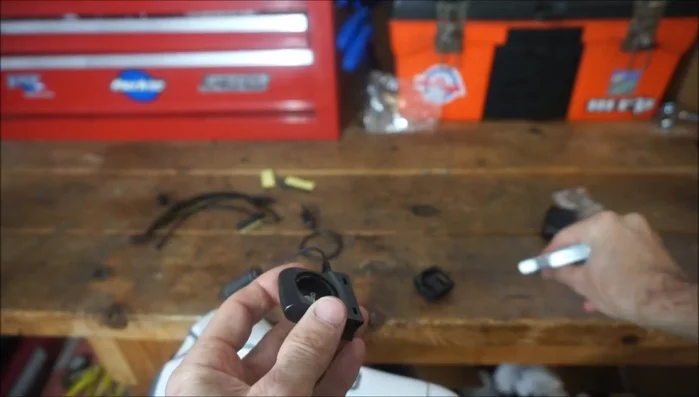
- Install the computer battery (if not pre-installed).
- Install the sensor battery.

Planning & Preparation Head Unit Installation
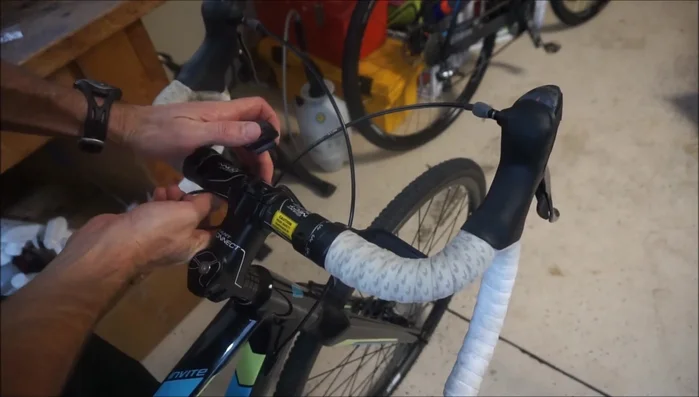
- Mount the computer on the left handlebar for easier one-handed operation while maintaining control of the right-hand brake.
- Attach the head unit to the mount using cable ties or an O-ring, ensuring it doesn't interfere with cables or hand position.
Head Unit Installation Sensor Mounting
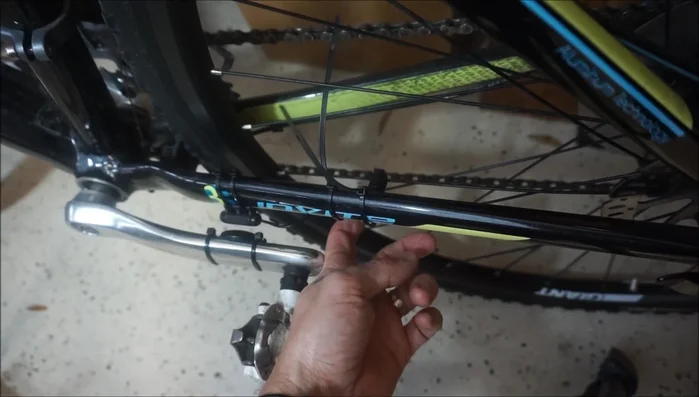
- Clean the mounting area with rubbing alcohol to remove dirt and grit.
- Mount the sensor using cable ties, ensuring it dangles down (if on the chainstay) and is positioned on the left chainstay to avoid chain contact.
Sensor Mounting Cadence Sensor Setup
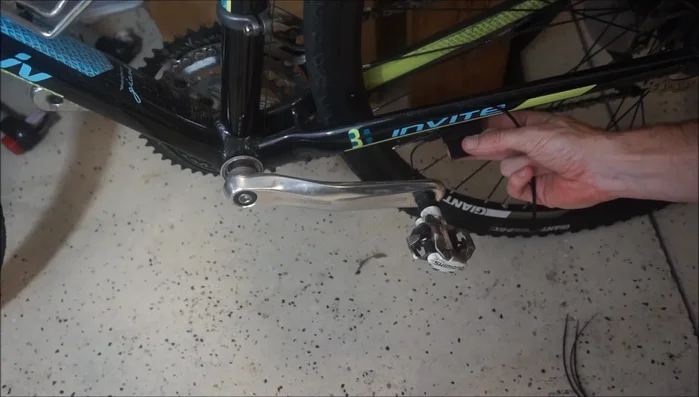
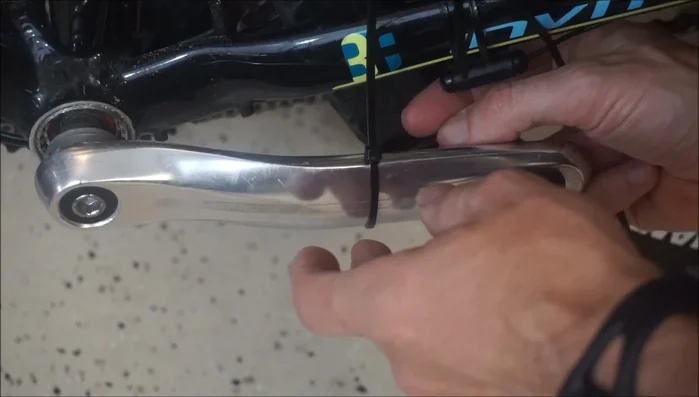
- Mount the cadence magnet to the crank arm using cable ties or adhesive, ensuring it's clear of the pedals and pointed away from your ankle.
- Position the cadence sensor and magnet with a 3mm gap before tightening the cable ties.
Cadence Sensor Setup Wheel Sensor Setup
- Install the wheel magnet to the spoke, ensuring the correct side faces the sensor. Use a counter-clockwise turn to partially remove the nut, then install around spoke and tighten.
- Align the wheel sensor and magnet with a 1-3mm gap. Tighten the cable ties securely.
Wheel Sensor Setup Wheel Size Programming
- Program the computer with the correct wheel size using either the pre-programmed wheel sizes chart or measuring the wheel circumference with a tape measure.
Wheel Size Programming Testing & Adjustments
- Test the sensors by spinning the wheel and cranks to ensure the computer registers the magnets. Adjust sensor position if needed to maintain appropriate clearance.
- If using rubber pads, install them underneath the sensors for additional friction to prevent movement.
Testing & Adjustments


Read more: Master Your Garmin Edge: A Comprehensive Guide to Data Screens, Navigation, and More
Tips
- Use a coin or flat object to easily remove and reinstall the battery covers.
- If sensor is moving around, use rubber pads or a piece of old inner tube to add friction.
- Maintain a 1-3mm gap between the sensor and magnet for optimal readings.
- For wired computers, secure the wires neatly using cable ties or by wrapping them around existing cables.