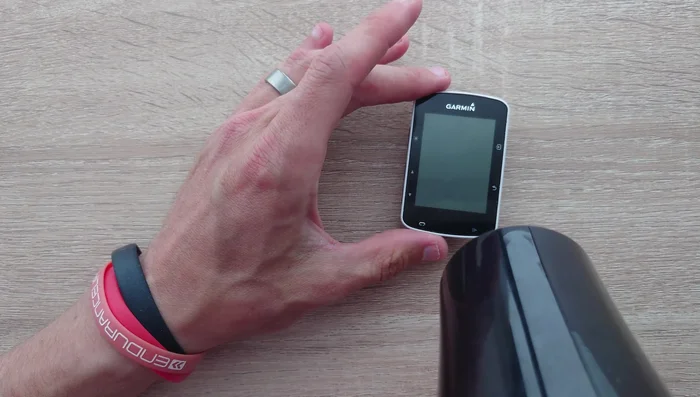
The Garmin Edge 520, a popular GPS cycling computer, offers invaluable data and features for serious cyclists. However, like all electronic devices, its rechargeable battery eventually degrades, leading to shorter ride times and the frustrating interruption of crucial data collection. A failing battery doesn't necessarily mean the end of your trusty 520; replacing the battery is a relatively straightforward process, saving you the cost of a new device. This is particularly appealing considering the robust features and functionality the 520 continues to provide.
This guide offers a comprehensive, step-by-step solution to replacing your Garmin Edge 520's battery, providing clear instructions and helpful images to guide you through the process. From safely disassembling your device to correctly installing the new battery, we’ll walk you through each stage ensuring a successful battery replacement and a return to long, data-rich rides. Let’s get started!
Preparation and Safety Guidelines
- 3M double-sided sticky pad
- New battery
- Soldering iron
- Solder
- Plastic opening tools
- Small Phillips head screwdriver
- Small flat head screwdriver
- Scissors
- Precision tool kit (optional)
- Hair dryer
- Always use a Garmin-approved replacement battery or a battery with identical specifications (voltage and capacity). Using an incorrect battery can damage your device or create a safety hazard.
- Before starting the repair, ensure your Garmin 520 is completely powered off. This prevents accidental short circuits and damage to components.
- Work in a clean, well-lit area to prevent losing small screws or damaging the device's delicate internal components. Consider using a magnetic parts tray to keep track of small items.
Step-by-Step Instructions
Prepare the Device
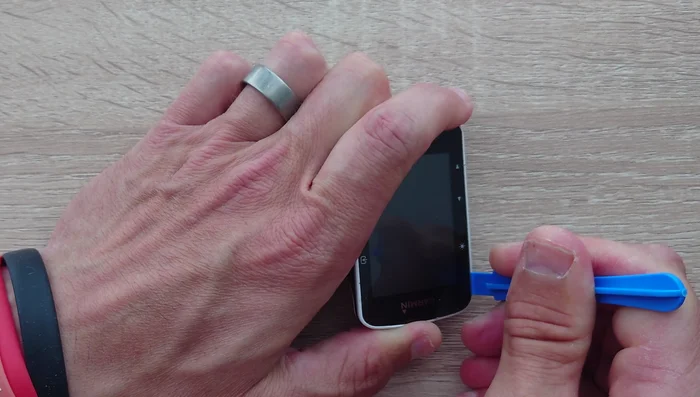
- Apply gentle heat to the screen using a hair dryer until warm to the touch (not hot).

Prepare the Device Separate the Screen
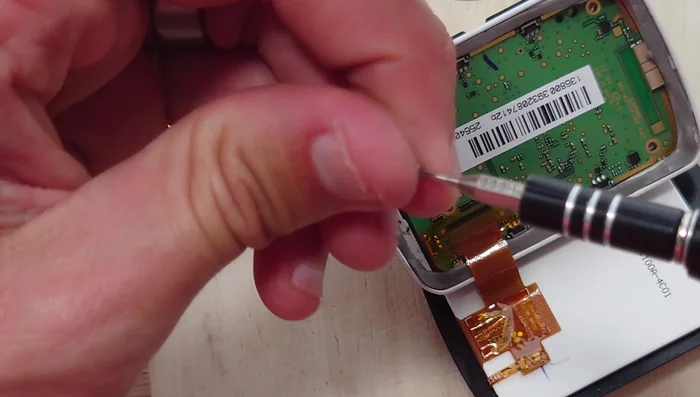
- Carefully pry the screen away from the plastic base, starting from the top (near the Garmin logo) and working your way down. Be patient and avoid pulling on the ribbon cable.
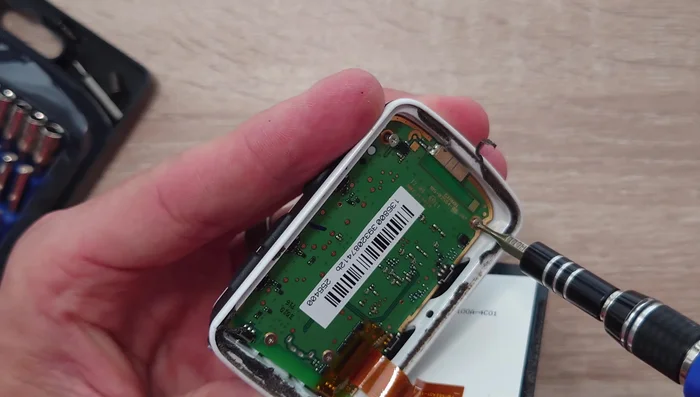
Separate the Screen Access the Battery
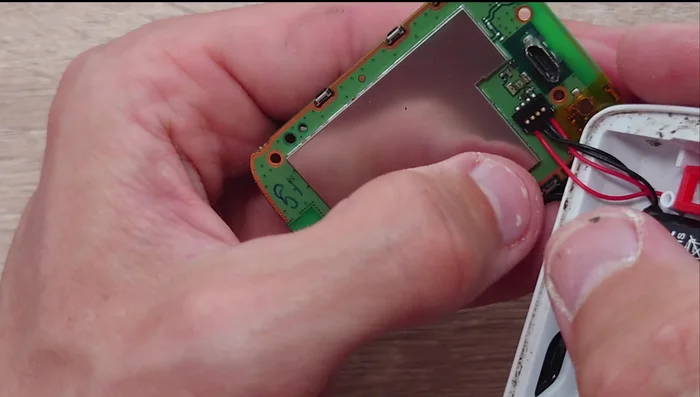
- Remove four screws securing the motherboard using a small Phillips head screwdriver.
- Gently remove the motherboard to reveal the battery. Use a plastic opening tool to help loosen the battery from its adhesive.
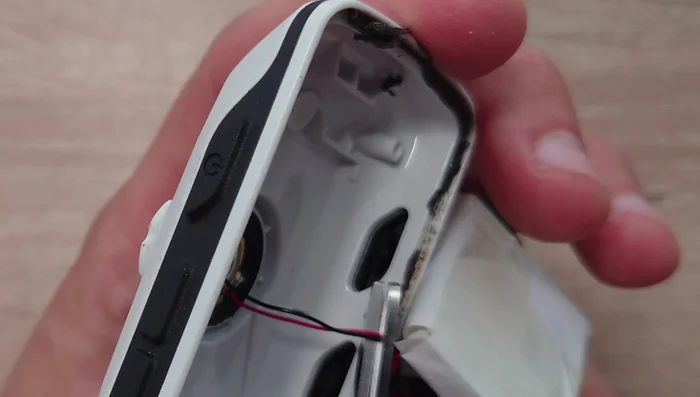
Access the Battery Remove the Old Battery
- Cut the two wires connecting the battery to the speaker using scissors.
- Disconnect the battery connector from the motherboard using a flat-bladed screwdriver.
- Remove the old battery and clean off the adhesive residue from the unit's base.
- De-solder the wires from the speaker.
Remove the Old Battery Prepare the New Battery
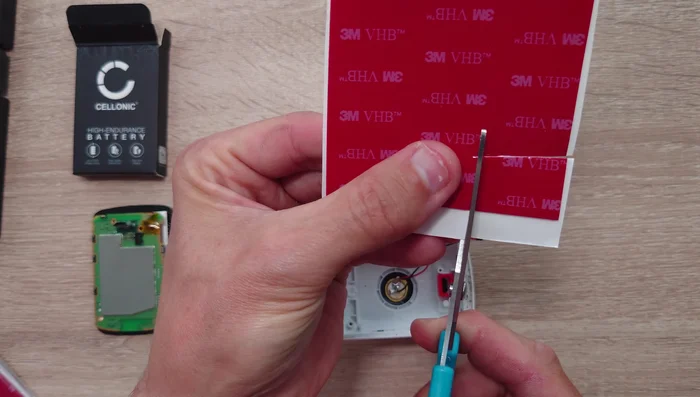
- Apply a new piece of double-sided sticky pad to the back of the new battery.
- Cut a piece of adhesive to fit around the inner part of the plastic unit, leaving a border of 2-3 millimeters.
Prepare the New Battery Install the New Battery
- Connect the new battery connector to the motherboard.
Install the New Battery Reassemble the Device
- Place the adhesive around the inside edge of the unit and put the screen back in place.
- Secure the motherboard with the four screws.
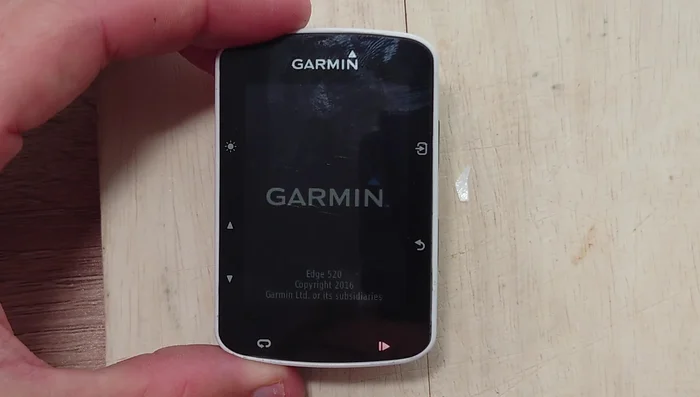
Reassemble the Device Test the Device
- Test all functionality of the Garmin 520.
Test the Device


Read more: Master Your Garmin Edge: A Comprehensive Guide to Data Screens, Navigation, and More
Tips
- Be extremely patient when separating the screen from the unit. It's the most challenging part.
- Peel the screen off from the top down to avoid damaging the ribbon cable.
- Take your time and be careful not to scratch the screen.
- Applying the screen adhesive *before* step 6 might make the process easier.