Bike computers are essential tools for cyclists, providing crucial data on speed, distance, and more. However, their mounts are often surprisingly fragile, prone to breakage from accidental drops or impacts. A broken mount renders your valuable cycling data inaccessible, leaving you relying on guesswork and potentially impacting your training or enjoyment. Fortunately, the world of 3D printing offers a fantastic solution, enabling you to create a custom replacement mount perfectly tailored to your needs and bike. This guide explores the power of 3D printing to resurrect your broken bike computer mount.
This definitive guide walks you through the entire process, from assessing the damage and creating a digital design to printing your new mount and securely attaching it to your handlebars. We'll cover essential considerations like material selection, slicer settings, and post-processing techniques to ensure a strong and durable repair. Get ready to follow our step-by-step instructions, transforming your broken mount into a perfectly functional and potentially even improved replacement!
Preparation and Safety Guidelines
- 3D printer
- 3D modeling software
- Soldering iron or heat gun
- Pliers
- Always ensure your 3D-printed part is completely cooled before handling to avoid burns and warping. Allow ample time for cooling after printing.
- Before mounting the repaired or 3D-printed component onto your bike, carefully inspect for any cracks, weaknesses, or imperfections that could compromise its structural integrity and lead to failure during cycling.
- Using a 3D-printed part for critical components like bike computer mounts may affect the overall reliability and safety of your equipment. Always prioritize safety and consider the implications before relying on a 3D-printed repair for extended use.
Step-by-Step Instructions
Design and Iteration
- Assess the damage and design a replacement part.
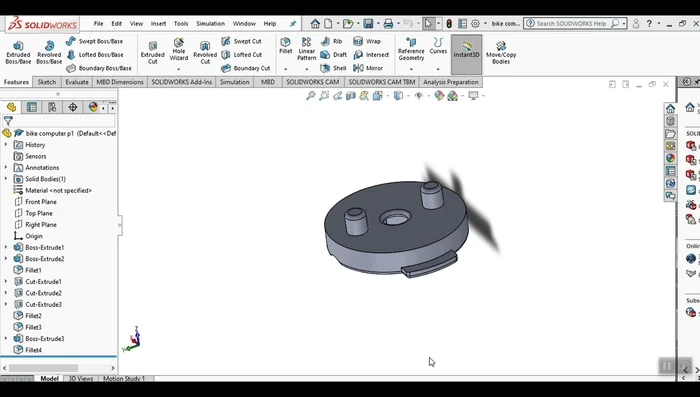
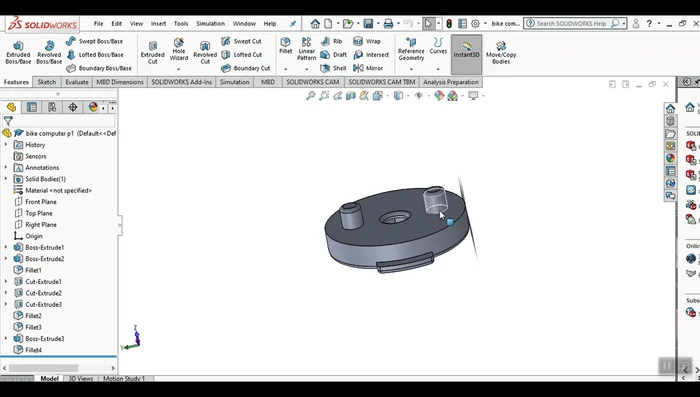
- 3D model the replacement part. Consider material strength and ease of printing.
- Iterate on the design. The initial attempts might fail due to material limitations. The final design should incorporate strong, reliable features and avoid designs that are prone to breaking (such as perpendicular cylindrical pieces).

Design and Iteration 3D Printing
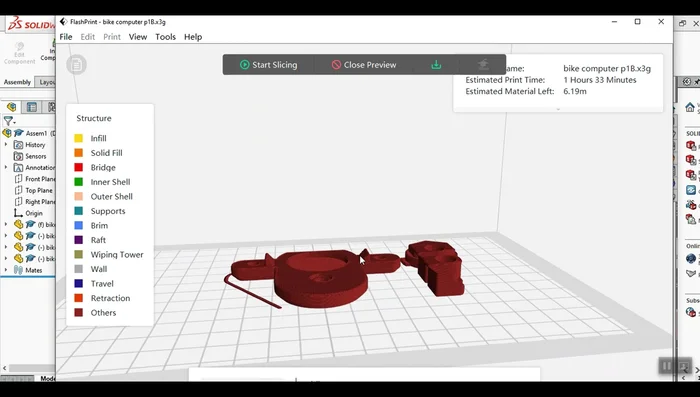
- 3D print the part.
3D Printing Post-Processing and Assembly
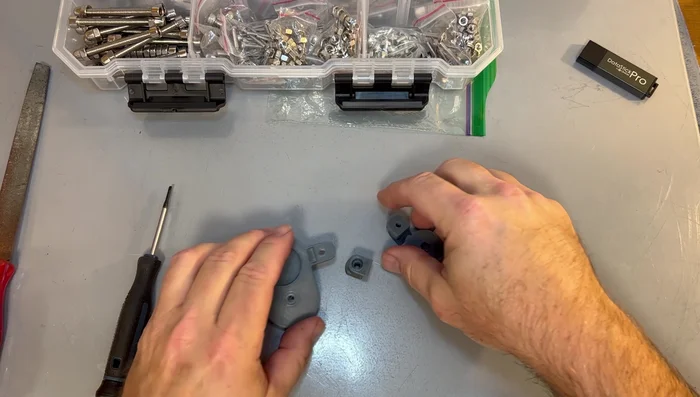
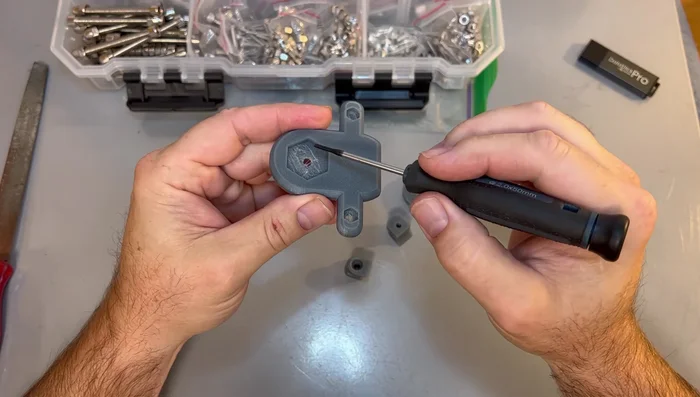
- Clean up the 3D printed part, removing any excess filament.
- Assemble the replacement part using appropriate nuts and bolts. Consider using a heat gun to assist with nut insertion if needed.
Post-Processing and Assembly Installation and Testing
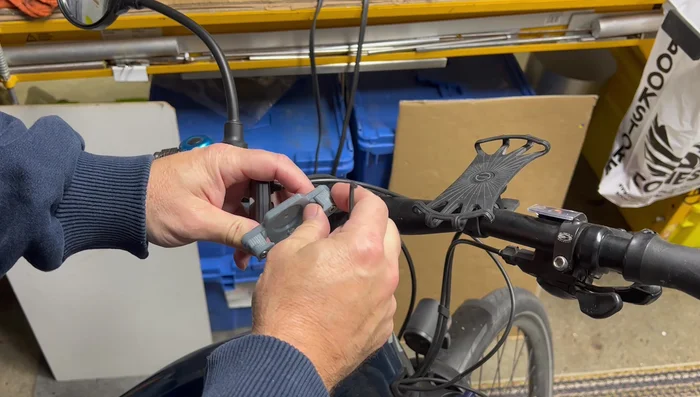
- Install the replacement part onto the bike computer and test its functionality.
Installation and Testing

Read more: Master Your Garmin Edge: A Comprehensive Guide to Data Screens, Navigation, and More
Tips
- Avoid designing parts with small, thin, perpendicular cylindrical sections as these are prone to snapping off during printing.
- Use a heat gun or soldering iron to smooth out any imperfections on the 3D printed part.
- Use stainless steel nuts and bolts for durability.
- Consider using threaded inserts for enhanced strength and security.