The Garmin Edge 530 is a powerful cycling computer packed with features, but its potential is only unlocked through effective data screen customization. A cluttered or poorly configured screen can distract you during crucial moments, hindering performance and enjoyment. Conversely, a well-designed data screen provides readily accessible, vital information at a glance, empowering you to make informed decisions on the fly – whether that's pacing yourself for a sprint or adjusting your nutrition strategy. Choosing the right metrics and arranging them logically can significantly improve your cycling experience.
This ultimate guide will walk you through the process of setting up the perfect data screens for your Garmin Edge 530, catering to every cycling discipline and fitness level. From understanding the available data fields to mastering the layout options, we'll cover everything you need to know to create intuitive and efficient displays. Let's dive into the step-by-step process to unlock the full potential of your Edge 530's data display.
Preparation and Safety Guidelines
- Never adjust your Garmin Edge 530 data screens while riding. Distraction can lead to accidents.
- Ensure you understand the meaning of all data fields displayed. Incorrect interpretation can affect your training and safety.
- Prioritize essential data for your ride. Too much information on the screen can be overwhelming and hinder readability.
Step-by-Step Instructions
Accessing Data Screen Settings
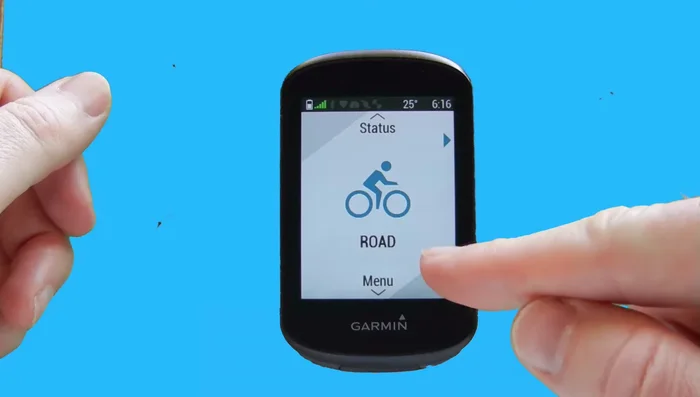
- Use the down arrow button to select 'Menu'.
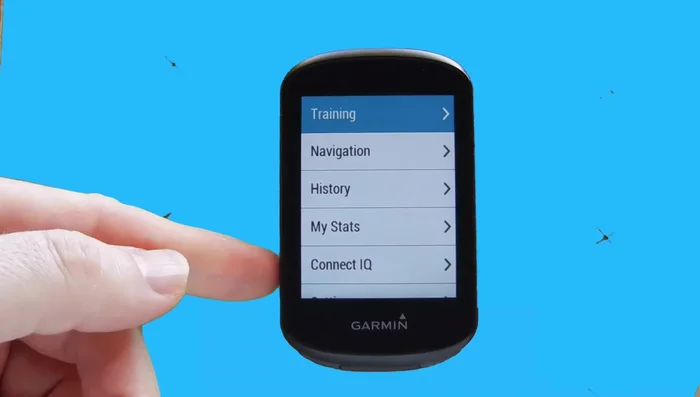
- Scroll down to 'Settings' and press the Enter key.
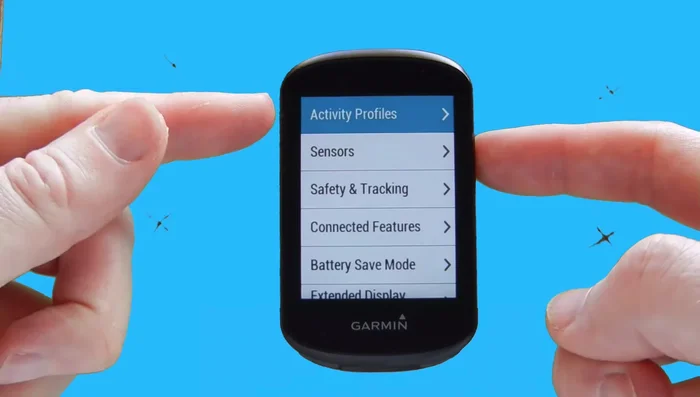
- Choose 'Activity Profiles' and select your 'Road' profile.
- Scroll down to 'Data Screens' and select it.

Accessing Data Screen Settings Customizing the First Data Screen
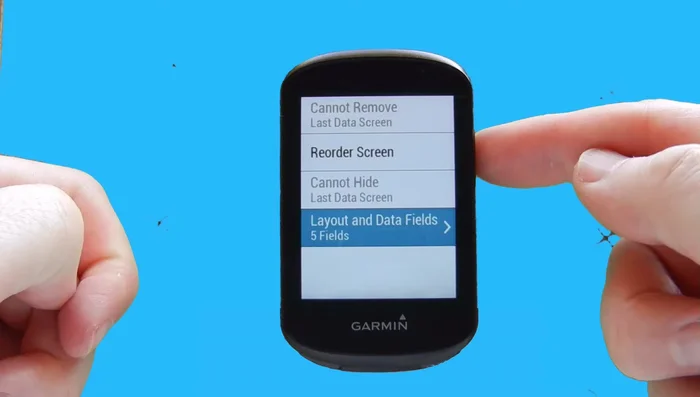
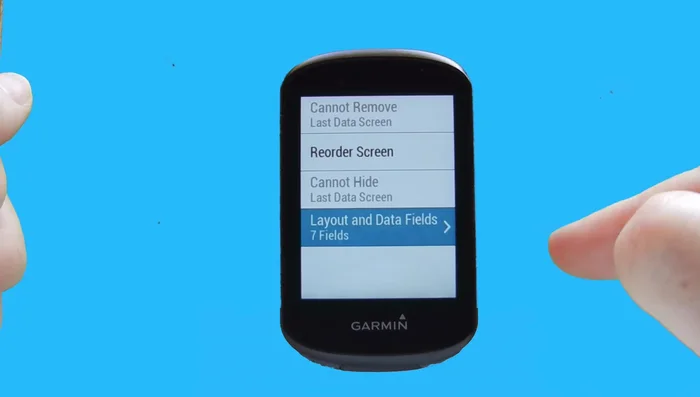
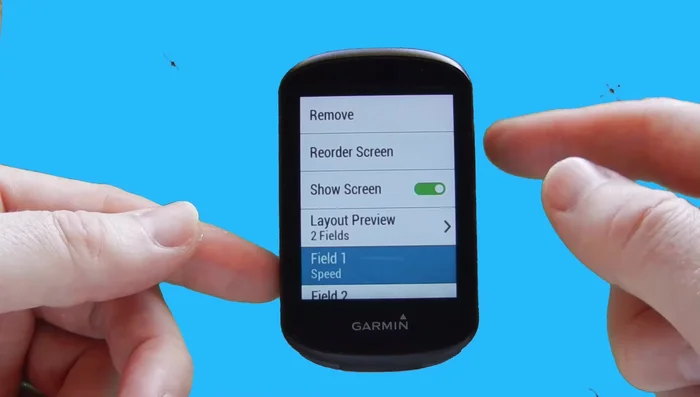
- Select 'Screen number one', then 'Layout and Data Fields'. Choose your preferred layout (the video suggests 7 data fields as optimal).
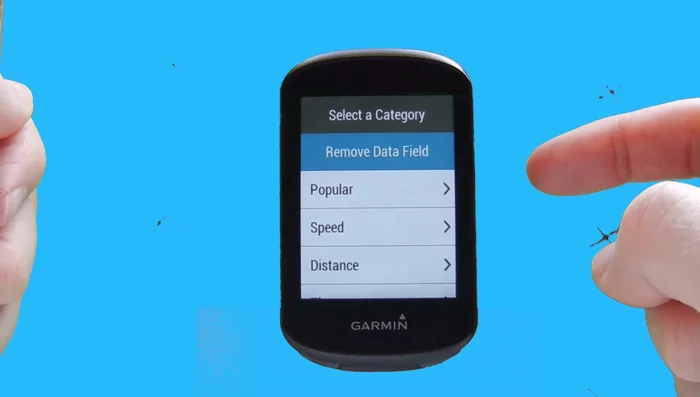
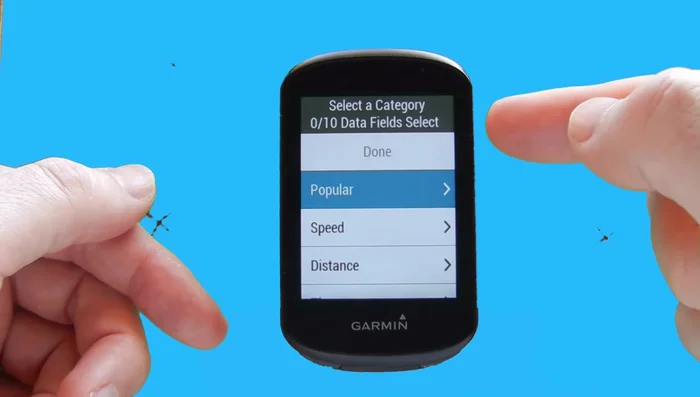
- Press Enter on a data field to select it, then press Enter again to choose from available data field categories. Add your desired data fields (e.g., speed, distance, heart rate).
- Once satisfied with your data fields, select 'Done' to save.
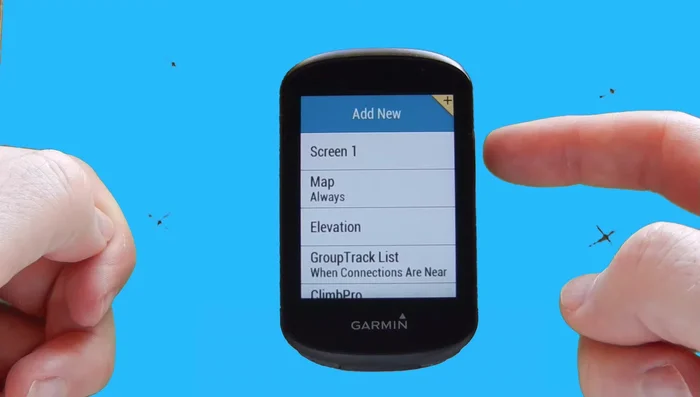
Customizing the First Data Screen Adding a New Data Screen
- Select 'Enter' to add a new screen. Choose data fields as per your preferences. (The video adds a DI2 screen as an example).
Adding a New Data Screen Arranging Screen Order
- Use the up and down arrows to arrange the order in which your data screens appear during your ride.
Arranging Screen Order Configuring Additional Screens
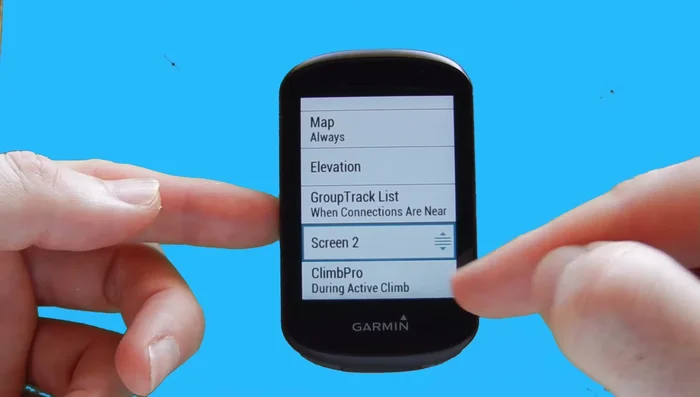
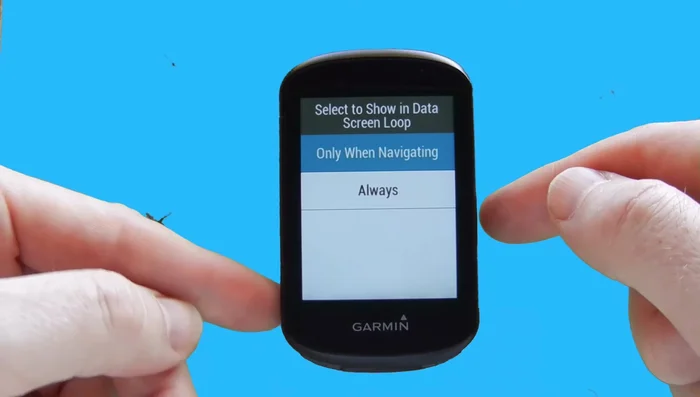
- Customize the map screen by choosing whether to show it always or only during navigation, and selecting how many data fields to display (up to two).
- Customize the elevation screen similarly, selecting which data fields to show.
Configuring Additional Screens Reviewing the Setup
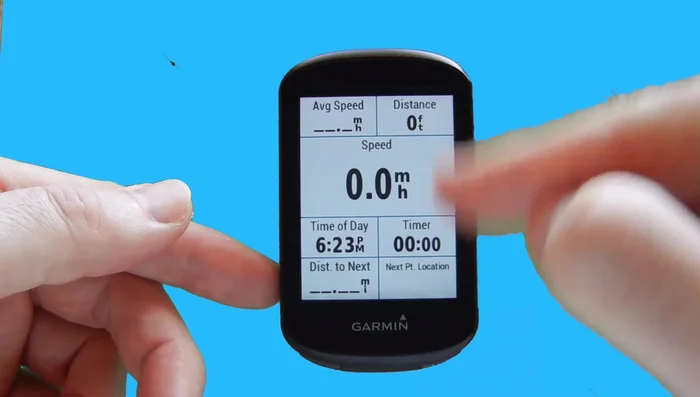
- After making all your changes, cycle through the screens to verify the setup.
Reviewing the Setup
Read more: Master Your Garmin Edge: A Comprehensive Guide to Data Screens, Navigation, and More
Tips
- Seven data fields are suggested as an optimal number for easy readability.
- You can swap data fields by selecting one, then selecting the field you want to swap it with.