A motorcycle's fuel pump, a hardworking component often overlooked, plays a vital role in ensuring smooth engine operation. Over time, however, dirt, debris, and varnish can accumulate within the fuel pump, leading to decreased performance, sputtering, and ultimately, engine failure. A clogged or malfunctioning fuel pump can result in frustrating breakdowns and costly repairs, making regular maintenance crucial. Understanding how to clean your motorcycle fuel pump is a valuable skill for every rider, allowing you to prevent potential problems and extend the lifespan of your machine.
This is especially important if your bike is experiencing issues like inconsistent fuel delivery or a rough idle. Thankfully, cleaning your motorcycle's fuel pump isn't as daunting as it might sound. This step-by-step guide will walk you through the process, providing clear instructions and helpful tips to ensure a successful and efficient clean, keeping your bike running smoothly and reliably on the open road.
Preparation and Safety Guidelines
- Storage bin or oil pan
- Contact cleaner
- Carb cleaner
- Hot water and soap (optional)
- Parts cleaner (optional)
- Always disconnect the negative battery terminal before starting any work on the fuel system to prevent electrical shocks and fires.
- Work in a well-ventilated area. Gasoline fumes are highly flammable and inhaling them can be dangerous. Use appropriate safety equipment like gloves and eye protection.
- Never attempt to clean the fuel pump while the engine is running or the ignition is on. This is extremely dangerous and could lead to serious injury.
Step-by-Step Instructions
Empty the Fuel Tank
- Siphon out as much fuel as possible from the tank.
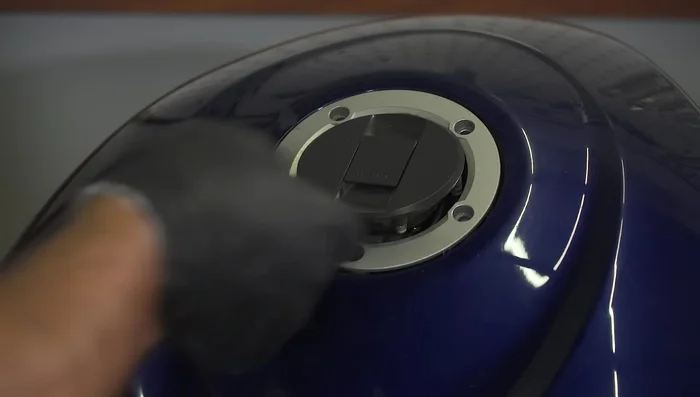
- Remove the fuel tank and fuel cap to pour out the remaining fuel.
- Remove the fuel pump to allow the rest of the fuel to drain.
- Dispose of the old gasoline properly.

Empty the Fuel Tank Disassemble and Clean the Fuel Pump
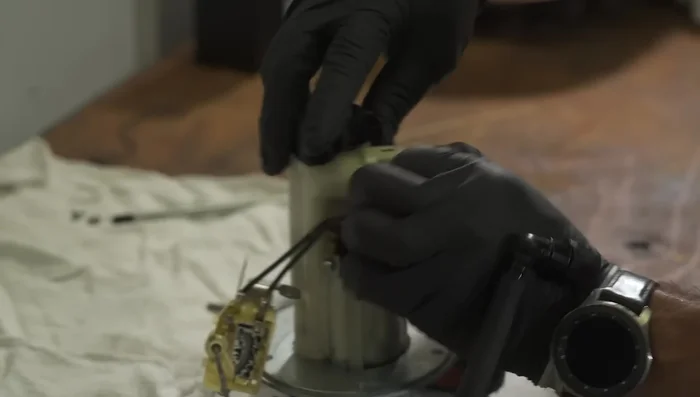
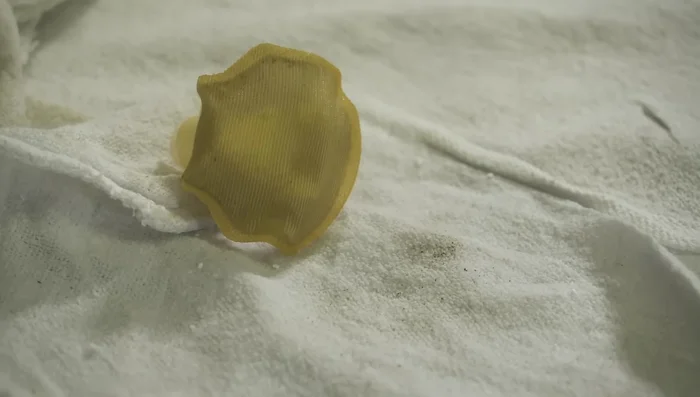
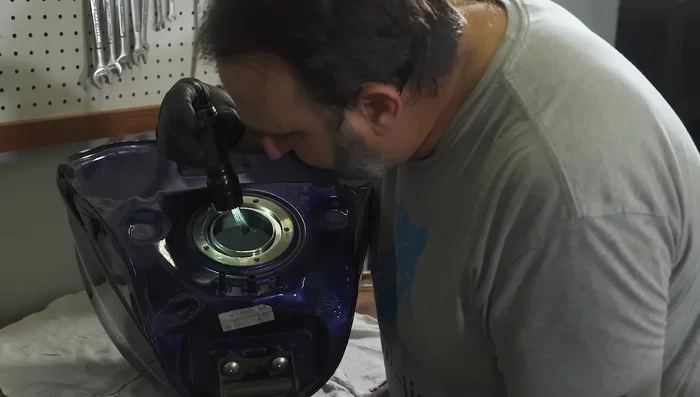
- Disassemble the fuel pump to access the strainer and other components.
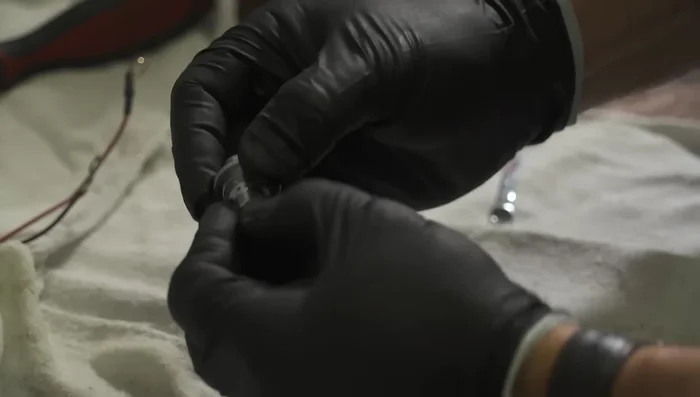
- Clean the fuel strainer thoroughly. Ideally replace it, but if not possible, use contact cleaner, hot water and soap, or parts cleaner to remove sediment.
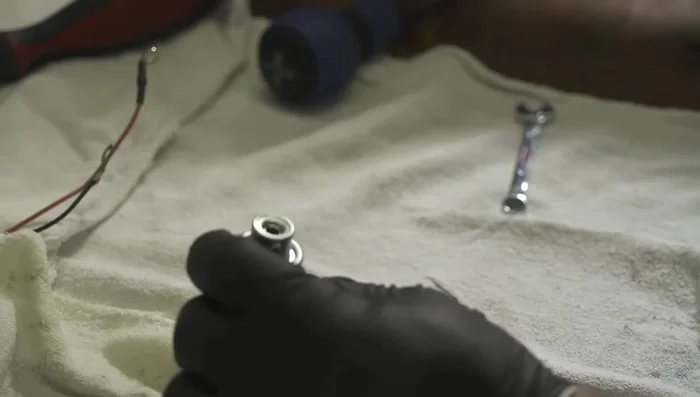
- Inspect the fuel regulator and ensure no sediment has passed through the strainer.
Disassemble and Clean the Fuel Pump Reassemble the Fuel Pump
- Reassemble the fuel pump, replacing the strainer and any O-rings if possible.
Reassemble the Fuel Pump Inspect and Clean Fuel Tank (If Necessary)
- Inspect the fuel tank for rust and corrosion. If present, clean and reseal/coat the tank to prevent further deterioration.
Inspect and Clean Fuel Tank (If Necessary) Reinstall the Fuel Pump
- Reinstall the fuel pump, ensuring the gasket and O-ring are properly positioned.
Read more: Repairing Cracked Pump Collars: A No-Cut Solution
Tips
- Removing the fuel pump is the least messy way to empty the fuel tank completely.
- Always consult your motorcycle's manual if you have any questions or encounter issues during the process.
- Replacing the fuel strainer and O-rings will prolong the life of your fuel pump.
- Do not let any cleaning solution sit on the components too long.