Cracked pump collars are a common, frustrating problem, often leading to costly replacements and significant downtime. The traditional solution, cutting and welding, is messy, time-consuming, and can compromise the structural integrity of the collar. However, there's a better way. This article explores a revolutionary, no-cut method for repairing cracked pump collars, offering a viable alternative to traditional, destructive repair techniques. This approach prioritizes preserving the original collar, minimizing disruption, and extending its lifespan significantly.
We’ll guide you through a step-by-step process that utilizes advanced materials and techniques to achieve a strong, durable, and long-lasting repair. Forget the welding torch and abrasive cutting discs; this innovative solution offers a cleaner, more efficient, and ultimately more cost-effective method for returning your pump to peak performance. Let's dive into the detailed, no-cut repair procedure.
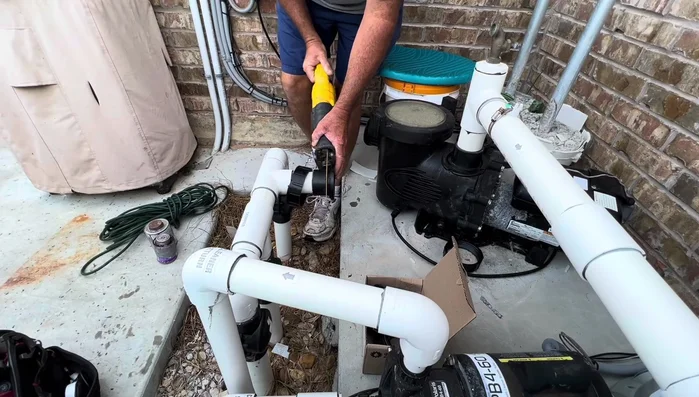
Preparation and Safety Guidelines
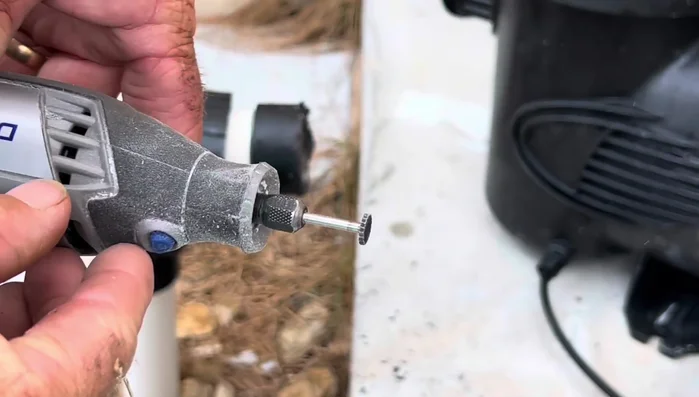
- Dremel tool with cutting tip
- Hammer
- Screwdriver
- PVC pipe glue
- Primer
- Always disconnect the pump from the power source before attempting any repairs. Electricity and water are a dangerous combination.
- Wear appropriate safety gear, including gloves and eye protection, to prevent injury from sharp edges or chemicals.
- If you are unsure about any step of the repair process, consult a qualified plumber or pump technician. Improper repair can lead to leaks, damage, and potential safety hazards.
Step-by-Step Instructions
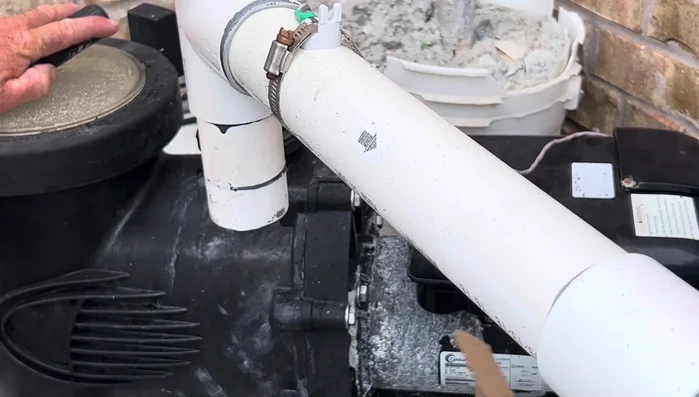
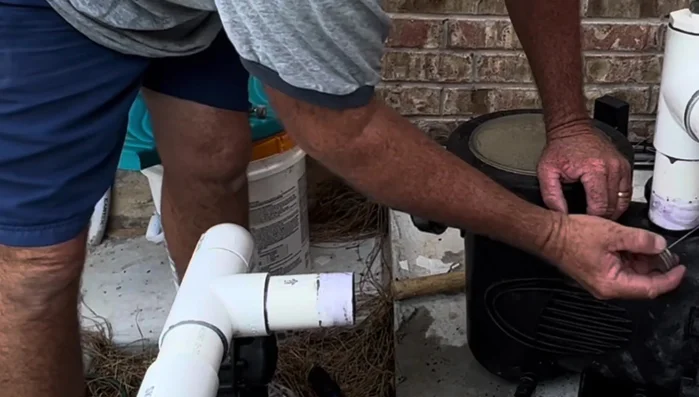
Prepare Front Union
- Cut off the end of the union, right up to the pipe edge to facilitate easier separation.
- Use a Dremel tool to cut through the first layer of the union. The tool should not cut through the second layer.
- Use a hammer and screwdriver to pry off the cut union piece.

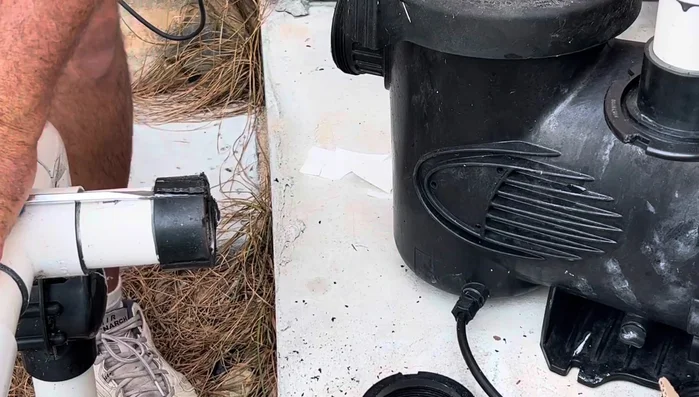
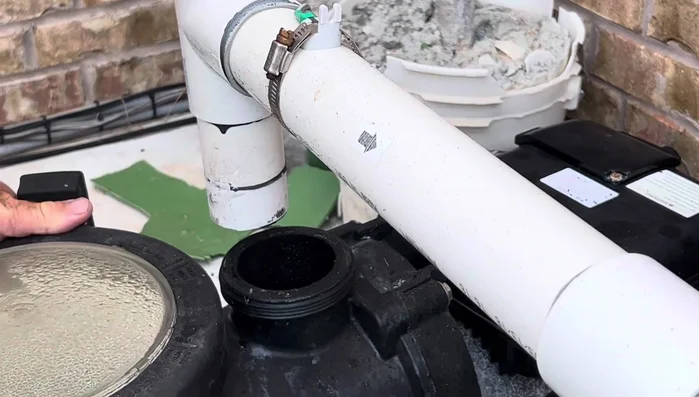
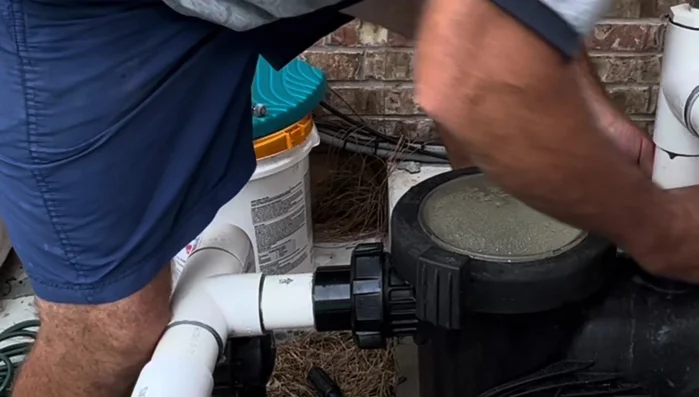
Prepare Front Union Prepare Back Fitting
- Repeat steps 1-3 for the back fitting, which may require more effort due to its loose position.
Prepare Back Fitting Clean and Prepare
- Clean the pipe ends.
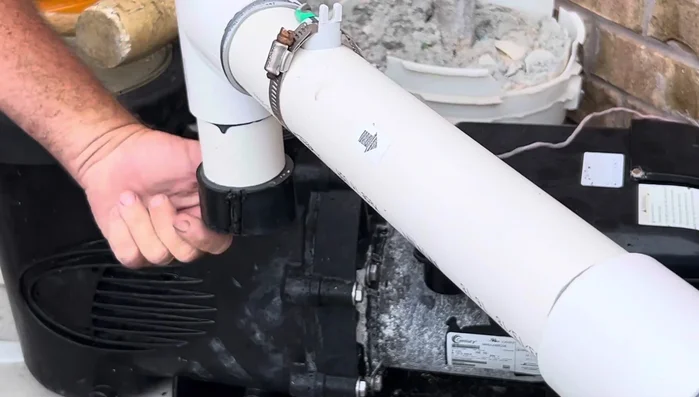
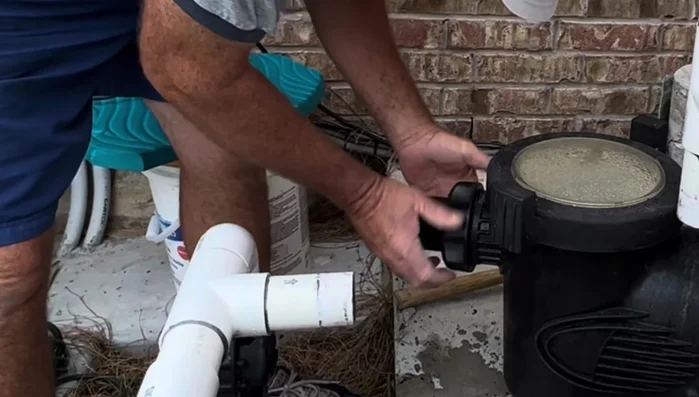
Clean and Prepare Install New Collars
- Install the new collars.
Install New Collars Assemble Front Union
- Attach the front union and tighten it to ensure a good seal.
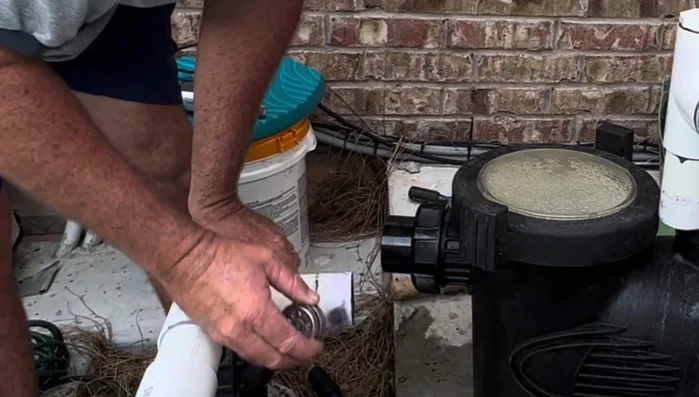
Assemble Front Union Prime Connections
- Prime both connections (front and top) with pipe glue primer.
Prime Connections Install Top Fitting and Pump
- Install the top fitting first, ensuring correct height by pressing it into place and then sliding the pump underneath.
Install Top Fitting and Pump Final Tightening
- Tighten all connections.
Final Tightening
Read more: How to Easily Switch Between Presta and Schrader Valves on Your Bike Pump
Tips
- Use a Dremel tool with a tip suitable for cutting PVC. It should cut through the first layer but not the second.
- It's crucial to get the height right when installing the top fitting to ensure proper pump placement and function.