Frustrated with constantly switching heads on your bike pump? Switching between Presta and Schrader valves shouldn't be a laborious task, adding unnecessary time to your pre-ride routine. Many cyclists find themselves wrestling with awkward attachments and struggling to get a secure seal, leading to frustration and even punctured tubes. Whether you're a seasoned cyclist or just starting out, owning a bike pump capable of handling both valve types is essential. However, even with the right pump, the process can be confusing for some.
This article provides a clear and concise guide to effortlessly switch between Presta and Schrader valves on your bicycle pump, eliminating that pre-ride hassle. We'll walk you through each step, ensuring you're confidently inflating your tires in a matter of seconds, regardless of valve type. Let's get started with a simple, step-by-step process that will have you pumping up your tires quickly and efficiently.
Preparation and Safety Guidelines
- Mini bike pump
- Always ensure the pump head is securely attached to the valve before pumping to prevent air leakage and potential damage to the valve.
- Never force the pump head onto the valve. If it doesn't fit easily, double-check you've selected the correct setting (Presta or Schrader) and try again. Forcing it can damage the valve.
- Before switching between valves, release any remaining pressure in the pump by pressing the release button. This prevents accidental air spurts.
Step-by-Step Instructions
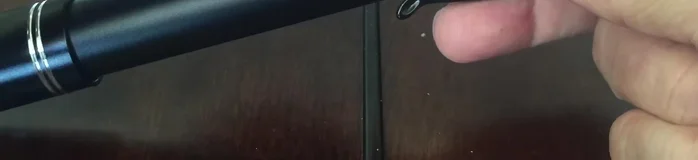
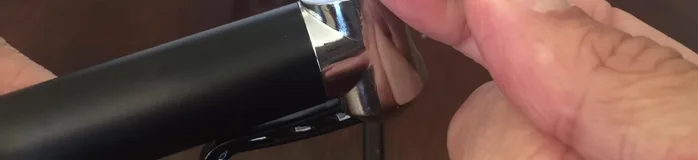
Prepare the Pump
- Unscrew the top unit of the bike pump and keep the cap.

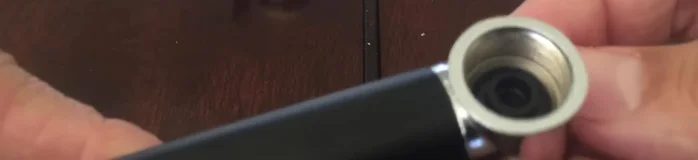
Prepare the Pump Remove the Valve Adapter
- Remove the valve adapter from inside the pump. This is the small piece that allows you to switch between Presta and Schrader.
Remove the Valve Adapter Select Schrader Valve Setting
- For Schrader valves (mountain bikes, hybrids, BMX, cruisers), insert the adapter into the pump with the wider end facing outwards.
Select Schrader Valve Setting Select Presta Valve Setting
- For Presta valves (road bikes), invert the adapter and insert it into the pump with the narrower end facing outwards.
Select Presta Valve Setting Secure the Adapter
- Ensure the adapter is fully seated and level inside the pump.
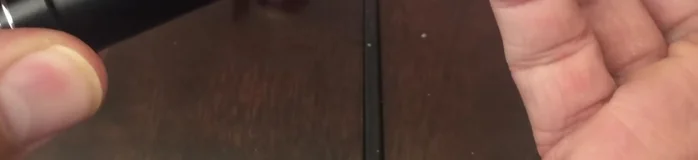
Secure the Adapter Reassemble the Pump
- Replace the top unit and cap. Don't forget the rubber cover.
Reassemble the Pump


Read more: Repairing Cracked Pump Collars: A No-Cut Solution
Tips
- Keep the cap and rubber cover with the pump to prevent loss.
- Always cover the pump when not in use to protect it.