Park Tool floor pumps are renowned for their durability and reliability, a testament to their quality engineering. However, even the best tools require occasional attention to ensure optimal performance and longevity. From addressing minor leaks to performing a complete overhaul, understanding how to maintain your Park Tool floor pump is crucial for maximizing its lifespan and preserving its ability to accurately inflate your tires. Regular maintenance not only saves you money on replacements but also ensures you're always ready for your next ride, whether it's a leisurely cruise or a challenging climb.
This comprehensive guide will equip you with the knowledge and practical steps needed to effectively repair and maintain your Park Tool floor pump. We'll cover everything from troubleshooting common issues to performing essential cleaning and lubrication procedures. Ready to get started? Let's dive into the step-by-step process of keeping your pump in top condition.
Preparation and Safety Guidelines
- Park Tool Floor Pump (PF-P3 or PF-P6)
- Phillips Head Screwdriver
- Small Allen Wrench (4mm)
- Silicone-based Grease
- Pin Punch
- Small Hammer
- Piece of Wood with Hole
- Replacement O-rings and parts (if needed)
- Always disconnect the pump from the valve before performing any maintenance or repair. Failure to do so could result in injury or damage to the pump.
- Use appropriate tools for the job and avoid using excessive force. Stripped threads or broken parts are common results of improper techniques.
- If you are unsure about any repair procedure, consult Park Tool's website or a qualified bicycle mechanic. Improper repair can compromise the pump's functionality and safety.
Step-by-Step Instructions
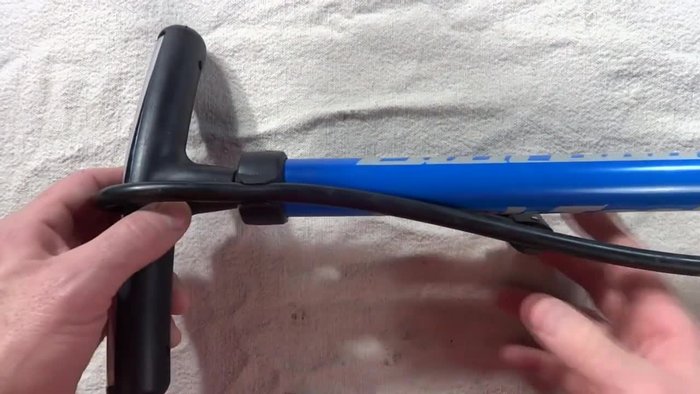
Inspect and Replace Pump Gasket
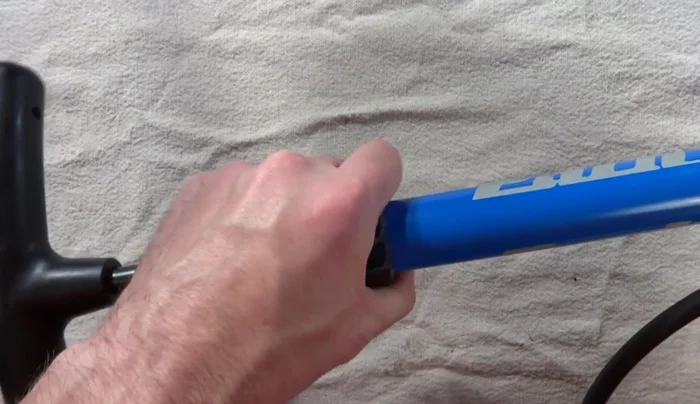
- Check and replace the pump gasket (O-ring) at the bottom of the plunger.
- Remove the top part of the pump, remove the plunger, and replace the worn O-ring with a new lubricated one.

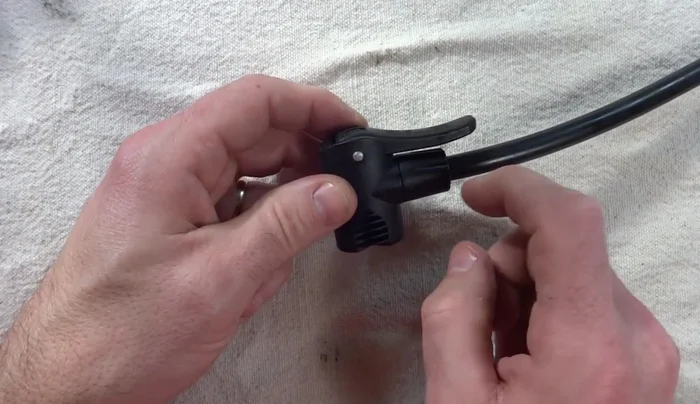
Inspect and Replace Pump Gasket Replace or Repair Pump Head
- Replace the entire pump head unit if necessary, or disassemble and replace individual O-rings inside.
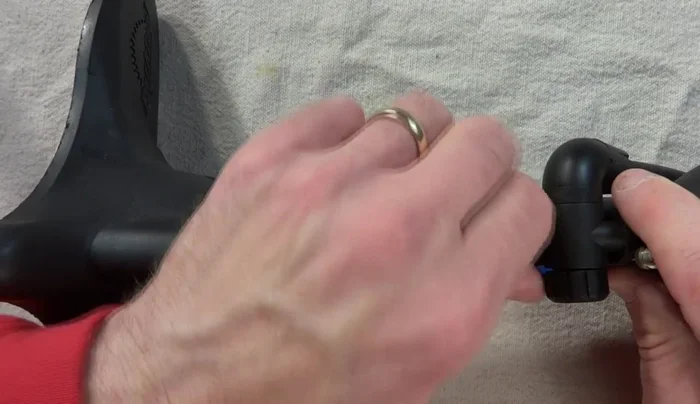
- Remove the pin from the pump head using a pin punch and hammer. Then, disassemble the handle and internal parts using a small Allen wrench.
- Replace any worn O-rings around the Schrader and Presta valve parts, and the rubber ball and top part. Reassemble the pump head in reverse order.
Replace or Repair Pump Head Replace Hose Connection O-rings
- Check and replace the O-rings in the hose connection below the gauge.
Replace Hose Connection O-rings Replace Hose Base O-ring
- Inspect and replace the O-ring in the hose base if necessary.
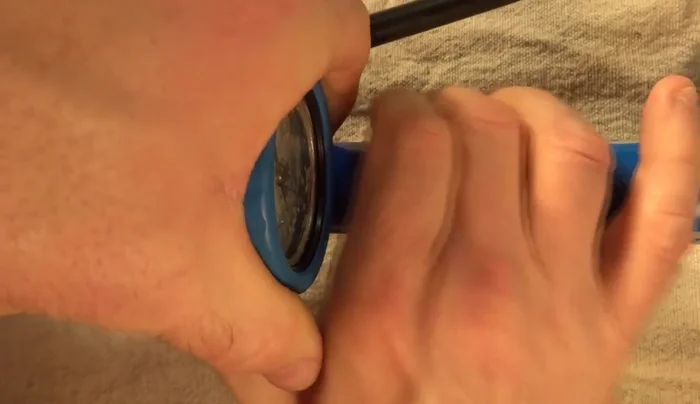
Replace Hose Base O-ring Replace Gauge
- Replace the gauge if necessary, making sure the 'Park Tool' logo faces the pump. To remove, compress the pump to push out the gauge.
Replace Gauge


Read more: Repairing Cracked Pump Collars: A No-Cut Solution
Tips
- Use silicone-based grease to lubricate O-rings for a better seal and longer lifespan.
- Replacing the entire pump head unit is often easier than disassembling and replacing individual parts.
- Be careful when disassembling and reassembling the pump head; small parts can be easily lost.
- When reinstalling the gauge, ensure the Park Tool logo is facing the pump and the square fitting aligns correctly.