Domani SLR fenders offer a stylish and practical way to keep your bike clean and dry, protecting you from road spray and debris. Their sleek design complements a wide range of bicycle styles, but their installation might seem daunting to the uninitiated. Many cyclists appreciate the improved riding experience these fenders provide, but the initial setup can be a source of confusion. Thankfully, fitting these fenders isn't as complicated as it may appear. Proper installation is crucial for optimal performance and to ensure the fenders stay securely mounted during your rides.
This guide will walk you through a simple, step-by-step process to install your Domani SLR fenders correctly. We'll cover everything from preparing your bike and gathering necessary tools to securing the fenders and making final adjustments. Let's get started!
Preparation and Safety Guidelines
- 3mm hex wrench
- 4mm hex wrench
- 8mm open-end wrench
- Bond Checker NCS 700 by 45 fenders (recommended)
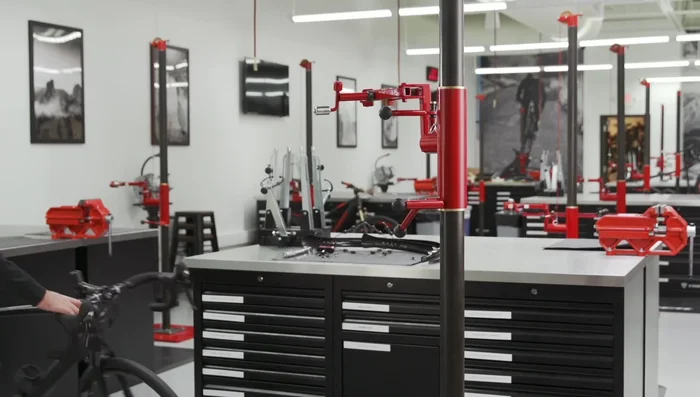
- Repair stand
- Always ensure your bicycle is stable and upright before starting the installation. Use a bike stand if possible to prevent accidental falls.
- Tighten all bolts and screws securely, but avoid over-tightening, which could damage the fenders or frame. Refer to the included torque specifications if available.
- If you encounter difficulty during installation, consult the Domani SLR fender's manual or contact Domani customer support for assistance. Do not force any parts.
Step-by-Step Instructions
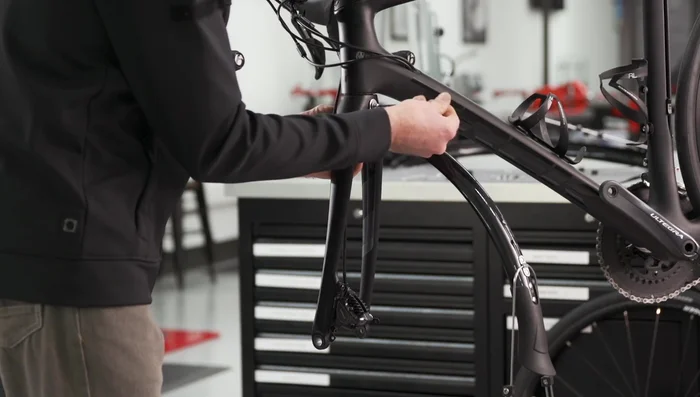
Prepare Workspace and Bike
- Prepare your workspace and secure the bike in a repair stand.

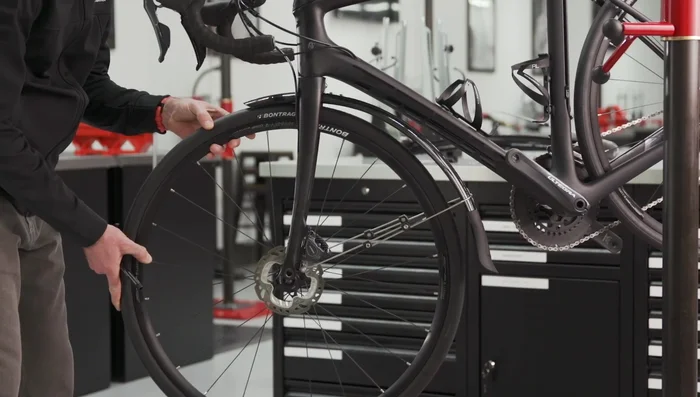
Prepare Workspace and Bike Remove Front Wheel and Mounts
- Remove the front wheel.
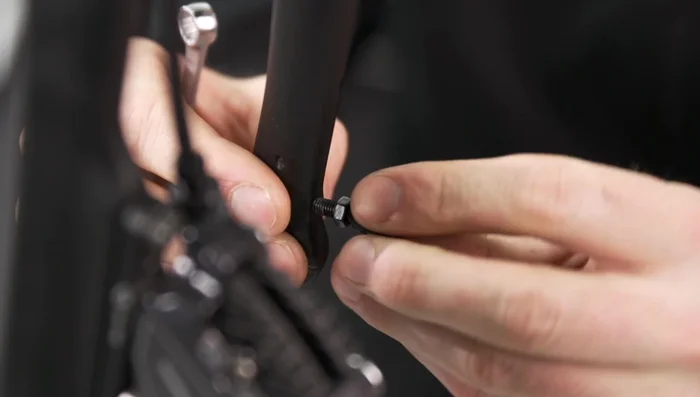
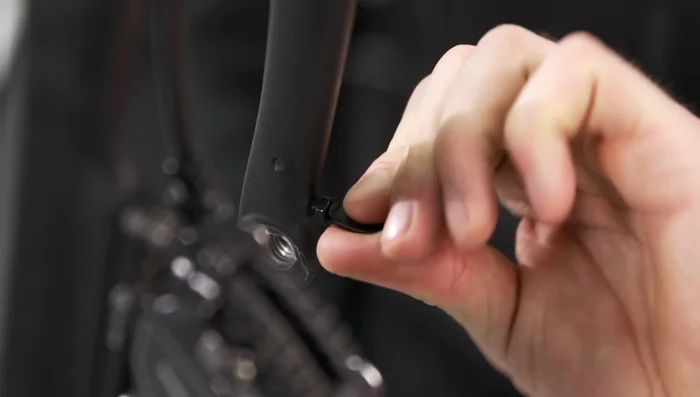
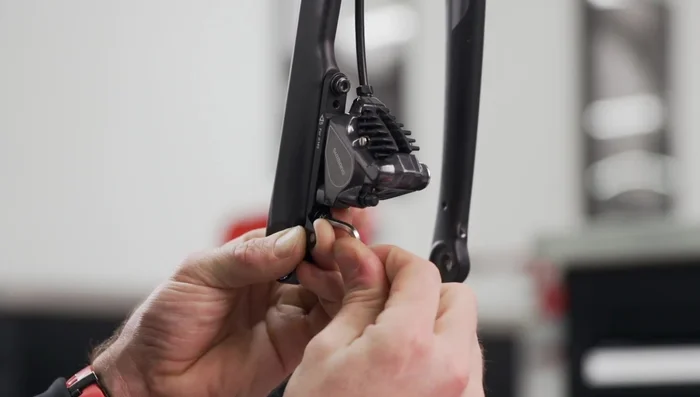
- Remove the vanishing fender mount set screws from the fork legs.
Remove Front Wheel and Mounts Install Front Fender Mounts
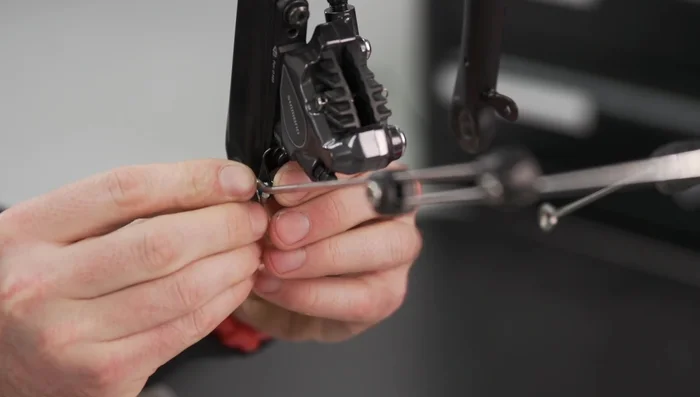
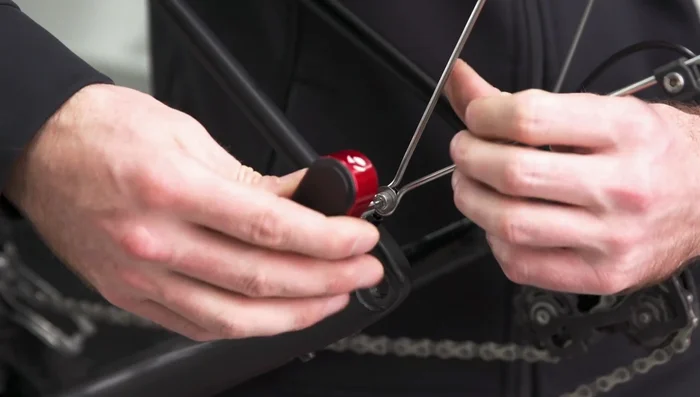
- Hand thread the locking nuts onto the eye bolts completely.
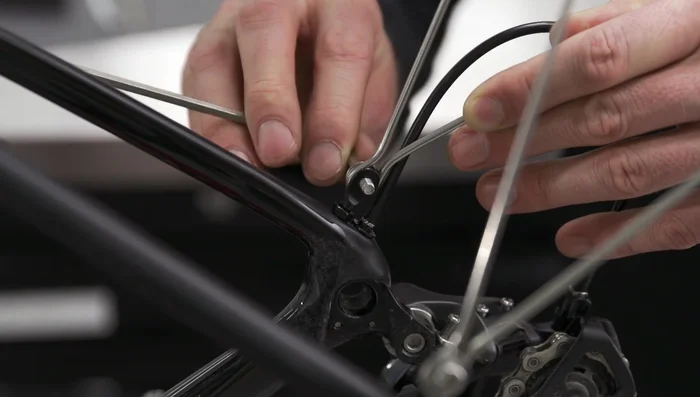
- Install the eye bolts with locking nuts on the fork legs (use angled bracket adapter for disc models).
- Tighten the eye bolts locking nuts using the 8mm open-end wrench.
Install Front Fender Mounts Attach Front Fender
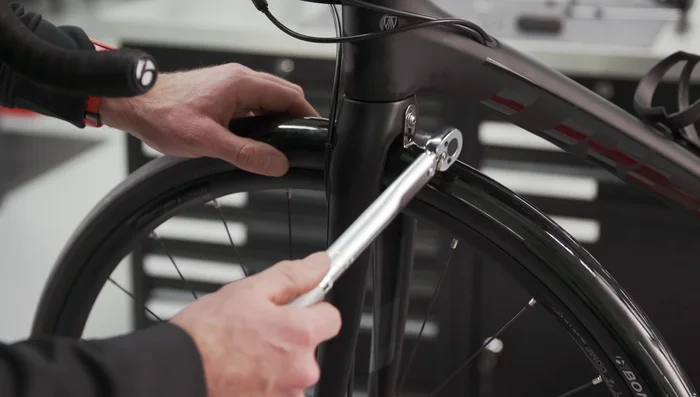
- Install the top of the fender to the backside of the fork crown and the lower struts to the eye bolts.
- Torque the eye bolt hardware to a max of 5.2 Newton meters.
Attach Front Fender Install and Adjust Front Fender
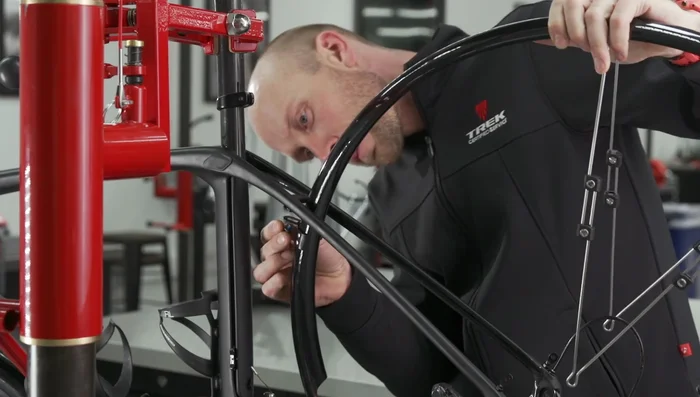
- Reinstall the front wheel and adjust the fender for proper clearance.
- Torque the fork crown fastener to a max of 5.2 Newton meters and the strut hardware to 3 Newton meters.
Install and Adjust Front Fender Remove Rear Wheel
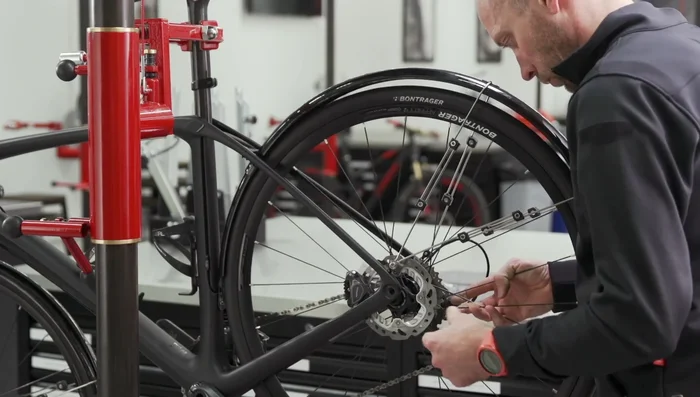
- Place the bike back in the repair stand and remove the rear wheel.
Remove Rear Wheel Install Rear Fender Mounts
- Install the eye bolts with locking nuts above the rear dropouts (use seat stay bridge adapter for disc models).
Attach Rear Fender
- Install the top of the fender to the brake arch or seat stay bridge adapter and the front of the fender at the bottom of the seat tube.
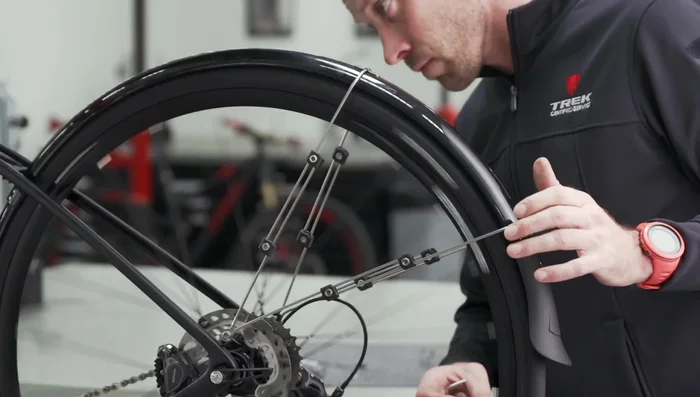
- Install the fenders rear struts to the eye bolts at the dropouts.
- Torque the eye bolt hardware to a max of 5.2 Newton meters.
Attach Rear Fender Install and Adjust Rear Fender
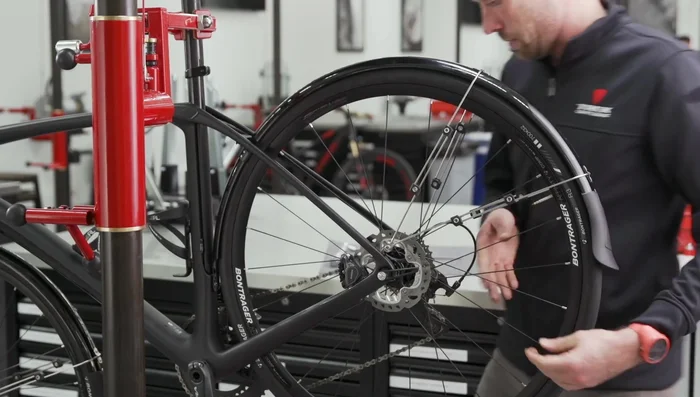
- Reinstall the rear wheel and adjust the rear fender for proper clearance.
Install and Adjust Rear Fender Final Torque and Inspection
- Remove the rear wheel again, torque the seat tube fastener and seat stay bridge/brake arch to 5.2 Newton meters, and the strut hardware to 3 Newton meters.
- Ensure fender placement doesn't interfere with wheel travel, brake function, or other bike parts.
Final Torque and Inspection

Read more: DIY Beta 390 RR-S Rear Fender Repair: The Zip Tie Stitch Method
Tips
- Start in a clean environment.
- Use a traditional seat post clamping repair stand.
- Recommended fenders: Bond Checker NCS 700 by 45.