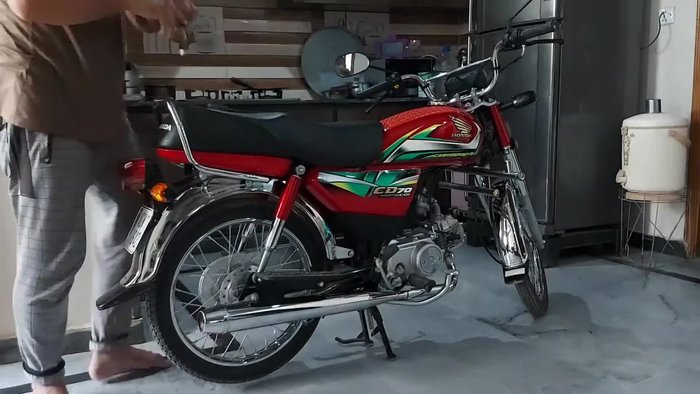
That battered, rusty motorcycle mudguard? Don't consign it to the scrap heap just yet! With a little elbow grease and the right know-how, you can breathe new life into this crucial motorcycle component, restoring it to its former glory and saving yourself a significant amount of money in the process. A well-maintained mudguard isn't just about aesthetics; it protects your bike's frame and engine from damage caused by road spray and debris, ensuring a longer lifespan for your prized possession. This guide will focus on bringing back the shine to your neglected mudguard, proving that even the most seemingly irreparable parts can be revitalized with some DIY effort.
This step-by-step guide will take you through the entire restoration process, from initial assessment and cleaning to the final stages of painting and sealing, ensuring a professional-looking finish. Whether your mudguard is suffering from surface rust, deep scratches, or simply faded paint, we'll equip you with the tools and techniques needed to achieve a stunning transformation. Get ready to roll up your sleeves and embark on this rewarding project!
Preparation and Safety Guidelines
- Bond
- Paint
- Brush
- Petrol
- Gloves
- Stool
- Always wear appropriate safety gear, including eye protection, gloves, and a dust mask, when working with chemicals, sanding materials, and paint.
- Work in a well-ventilated area to avoid inhaling paint fumes or dust particles. Consider using a respirator for prolonged work.
- Ensure the motorcycle's electrical system is disconnected before starting any work near the mudguard to prevent accidental shocks.
Step-by-Step Instructions
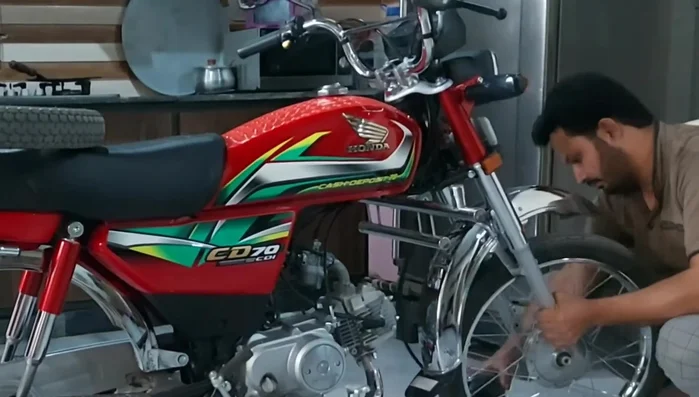
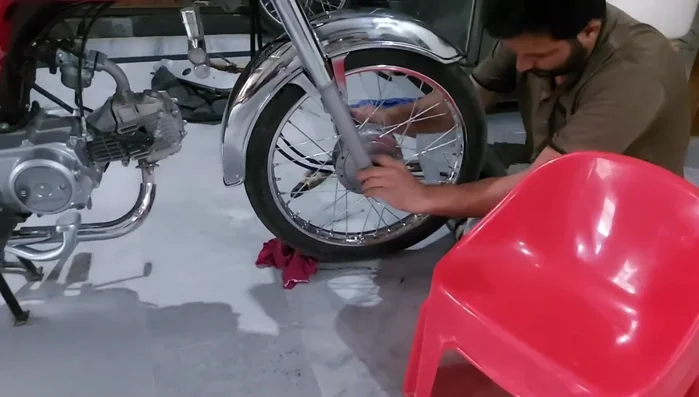
Mudguard Removal
- Remove the motorcycle's mudguard. This involves carefully opening the brake pedal and balancing the engine to prevent the bike from falling. Use a stool for support.

Mudguard Removal Cleaning
- Thoroughly clean the mudguard. Wash it with water and a brush to remove all dirt, dust, and debris from all joints and corners.
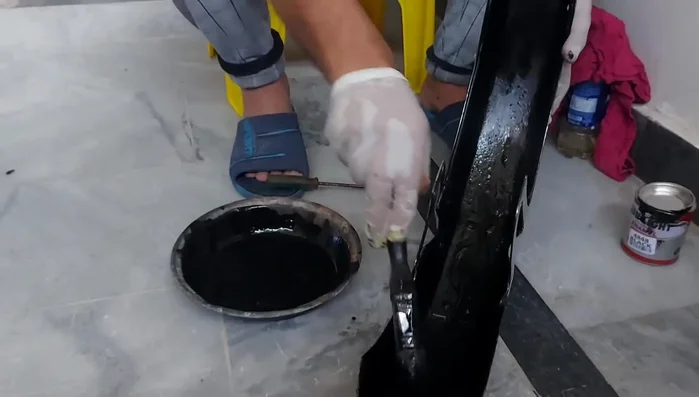
Cleaning Priming and Painting
- Apply bond and paint to protect the mudguard from future damage caused by mud and water. Focus on edges and joints where water may accumulate.
Drying
- Allow sufficient drying time for the paint.
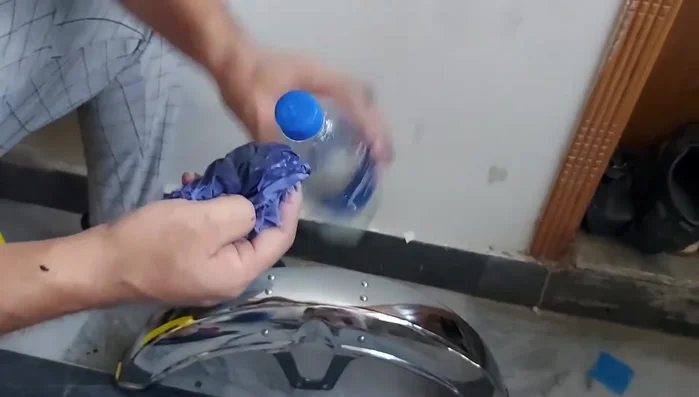
Drying Paint Cleanup
- Clean any excess paint using petrol and a cloth.
Paint Cleanup Reinstallation
- Reattach the mudguard to the motorcycle.
Reinstallation
Read more: DIY Beta 390 RR-S Rear Fender Repair: The Zip Tie Stitch Method
Tips
- Balancing the engine is crucial when removing the mudguard to prevent the motorcycle from falling.
- Thorough cleaning is essential before applying any paint or sealant to ensure proper adhesion.
- Concentrate paint application on edges and joints to prevent water damage.
- Use petrol to clean up any excess paint and prevent it from drying and damaging the finish.
- Allow adequate drying time for the paint to ensure a durable and long-lasting finish. The entire process may take around 2.5-3 hours.