The Husqvarna Beta 390 RR-S is a powerful and agile machine, but its rear fender, unfortunately, isn't known for its robust durability. Rips and tears are a common occurrence, often leaving riders stranded or facing costly repairs. This is particularly frustrating given the bike's otherwise impressive performance. Traditional methods of repair can be time-consuming, expensive, or require specialized tools many riders don't possess. Thankfully, there's a surprisingly effective and accessible solution that requires minimal materials and skill.
This article outlines a simple, yet remarkably sturdy, method for repairing a damaged Beta 390 RR-S rear fender using nothing more than zip ties. Forget about expensive welding or complicated fiberglass work; we'll guide you through a step-by-step process utilizing the "zip tie stitch" technique, allowing you to get back on the trail quickly and economically. Let's dive into the repair process and get your fender back in fighting shape.
Preparation and Safety Guidelines
- 8mm Allen keys
- Screwdrivers
- Zip ties
- Sharpie
- Drill
- Vice grips
- Adjustable wrench
- Hammer
- Always wear appropriate safety gear, including eye protection and gloves, when working with sharp objects and plastics.
- Ensure the motorcycle is stable and securely supported on a jack stand before beginning any repairs. Never work under a motorcycle supported only by its kickstand.
- Use high-quality zip ties rated for appropriate tensile strength. Inferior zip ties may fail under stress, potentially leading to further damage or injury.
Step-by-Step Instructions
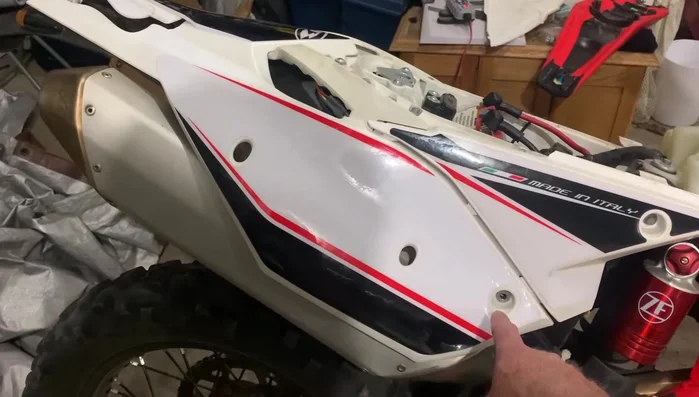
Fender Removal
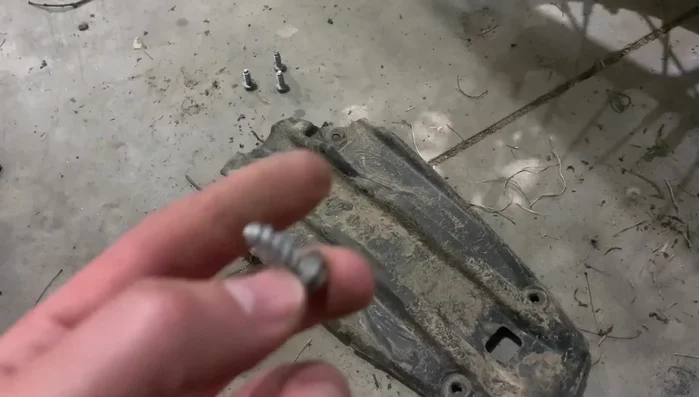
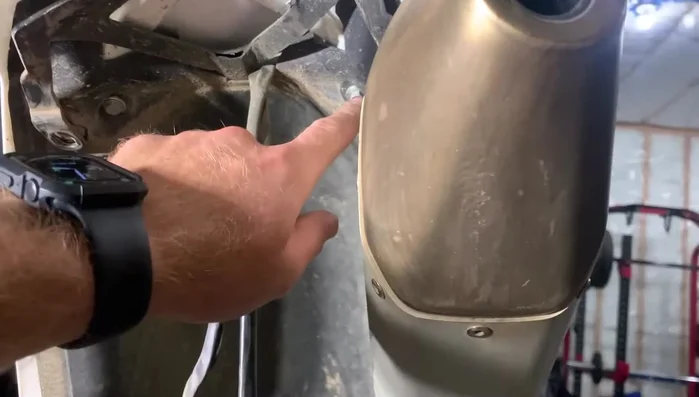
- Remove the eight millimeter bolts securing the rear fender.
- Remove two Allen keys on top of the fender.
- Remove the inner fender piece (license plate holder) secured by four 8mm self-tapping screws.
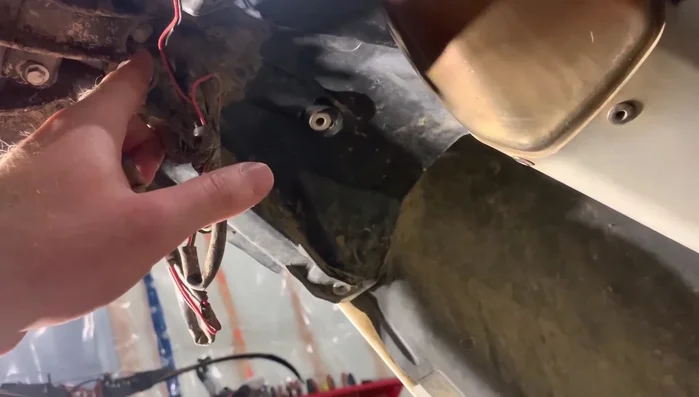
- Disconnect the fender from the bottom of the bike by removing an 8mm bolt in the center.

Fender Removal - Remove two more 8mm self-tapping screws from the sides of the fender.
- Remove the fender completely.
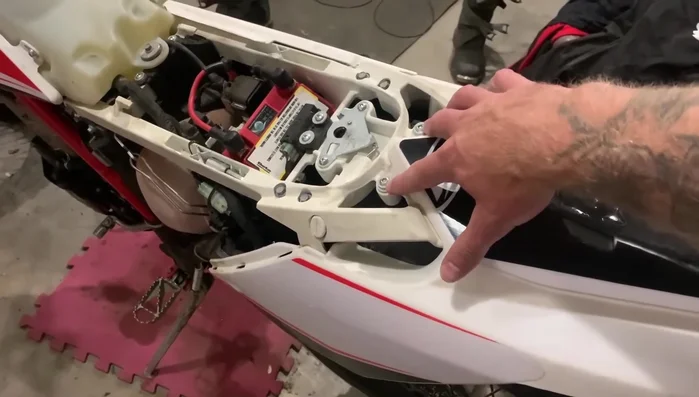
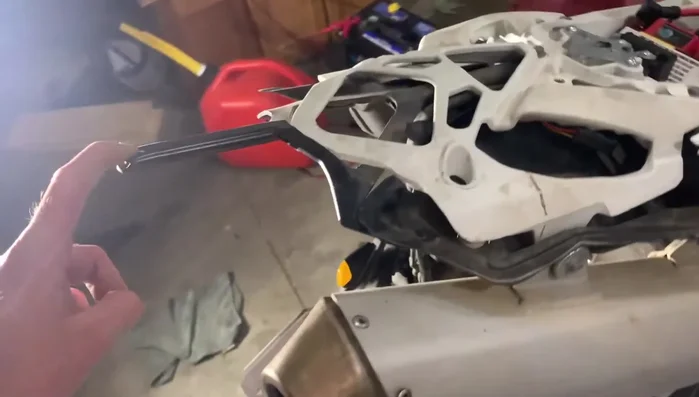
Fender Removal Bracket Repair
- Straighten the bent support bracket underneath the fender using vice grips, an adjustable wrench, and a hammer.
Bracket Repair Fender Preparation
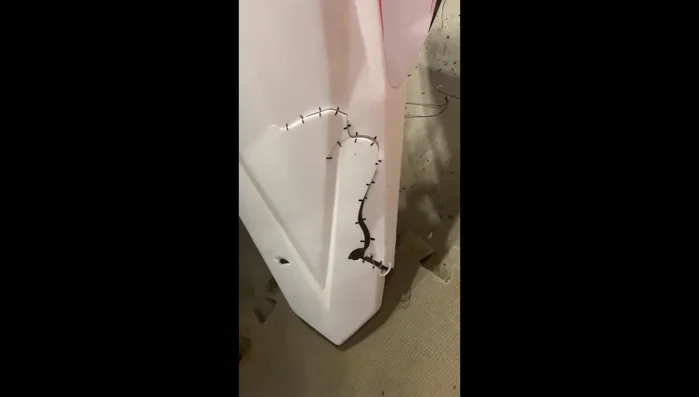
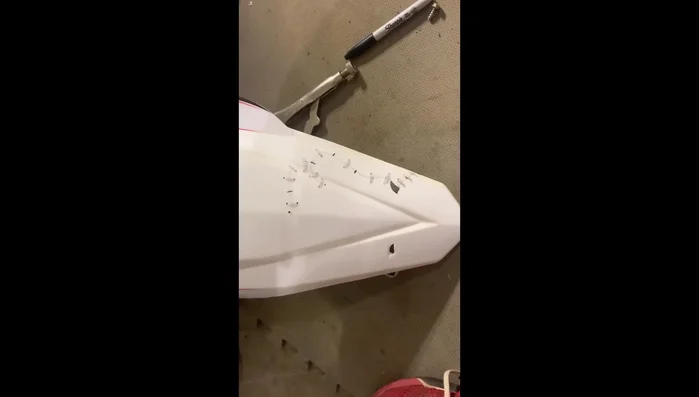
- Clean the broken area of the fender.
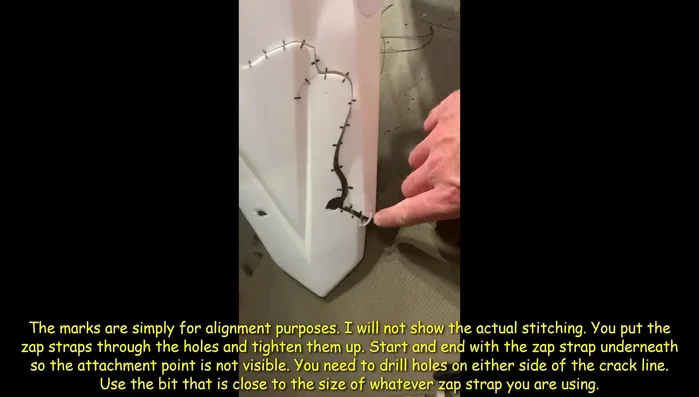
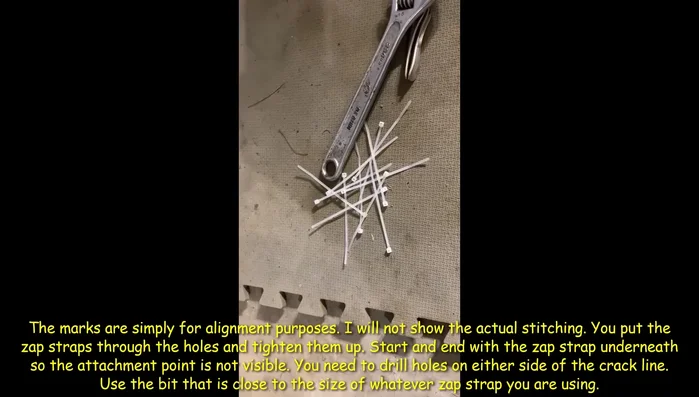
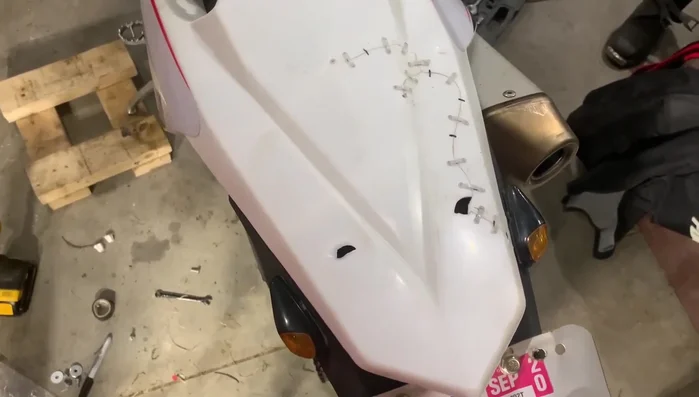
- Mark stitch locations on the broken fender using a Sharpie.
- Drill small holes at the end of the cracks to prevent further cracking.
Fender Preparation Zip Tie Repair
- Stitch the broken parts together using small zip ties.
Zip Tie Repair Fender Reattachment
- one screw might be missing.
- Remount all other components (lights, etc.)
Fender Reattachment

Read more: DIY Motorcycle Mudguard Restoration: A Step-by-Step Guide
Tips
- Using a sock over your air filter can extend its life.
- Take detailed notes during the repair process.
- Drill holes at the end of cracks to prevent spreading.