Tired of the dull, utilitarian look of your bike fenders and chain guard? Yearning for a bit of sparkle and personality on your trusty two-wheeler? Then get ready to unleash your inner artist with this dazzling DIY project! We’re about to transform your bike's drab accessories into shimmering works of art with a vibrant glitter blast paint job. This isn't your grandma's bicycle; we're talking serious head-turning, eye-catching glamour that's surprisingly easy to achieve. Prepare to say goodbye to boring and hello to breathtaking brilliance.
Forget expensive professional paint jobs – this project is all about affordable fun and creative expression. With just a few readily available materials and a little bit of elbow grease, you can completely revamp your bike's aesthetics. This glitter-infused makeover is perfect for customizing your ride to reflect your unique style. Ready to get started? Let’s dive into the step-by-step guide to achieve your own stunning glitter blast transformation.
Preparation and Safety Guidelines
- 800 grit sandpaper
- Rust-Oleum paint and primer
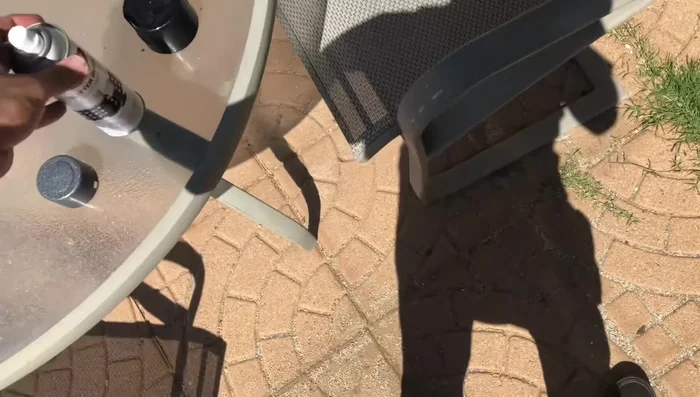
- Krylon Glitter Blast
- Clear coat spray paint
- Always work in a well-ventilated area. Spray paint fumes can be harmful.
- Protect your skin and eyes. Wear gloves, eye protection, and a respirator mask when spraying paint.
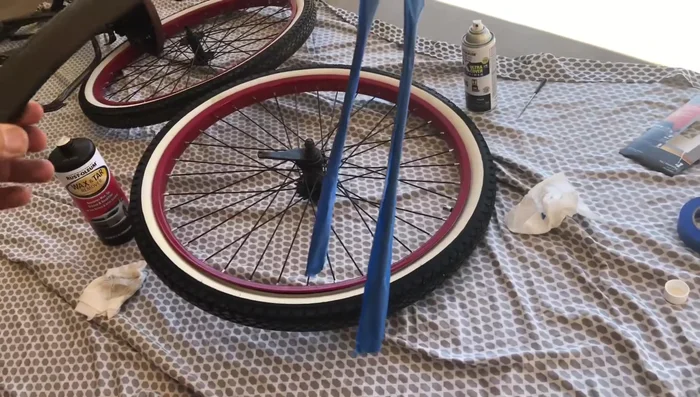
- Use appropriate drop cloths to protect your work surface and surrounding areas from overspray.
Step-by-Step Instructions
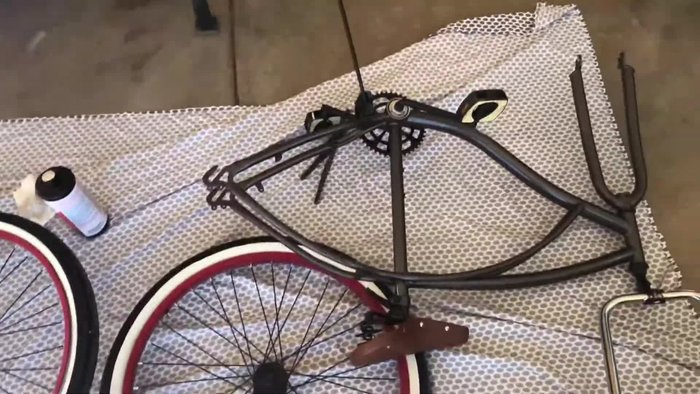
Preparation
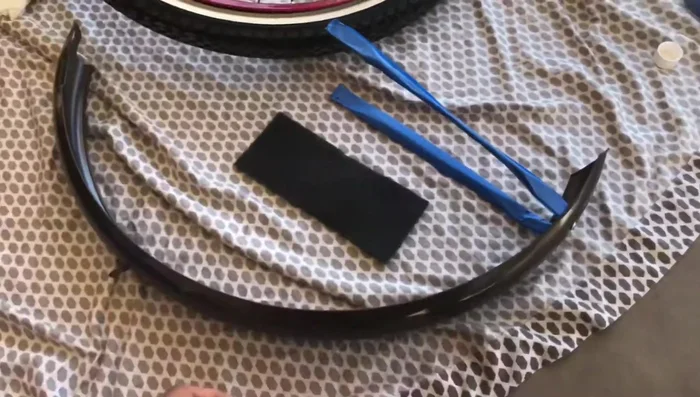
- Disassemble the bike parts (chain guard and fender).
- Tape off areas you don't want painted.

Preparation Surface Preparation
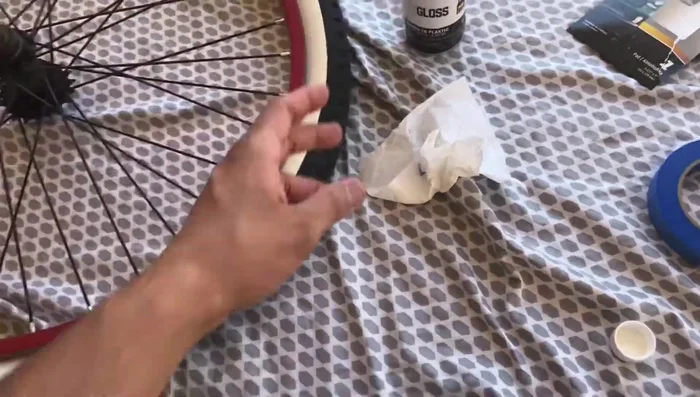
- Scuff the surface with 800 grit sandpaper to create better paint adhesion.
- Clean the surface before and after sanding to remove debris and decal residue.
Surface Preparation Base Coat Application
- Apply a base coat of Rust-Oleum paint and primer (this combines paint and primer for efficiency).
Base Coat Application Glitter Application
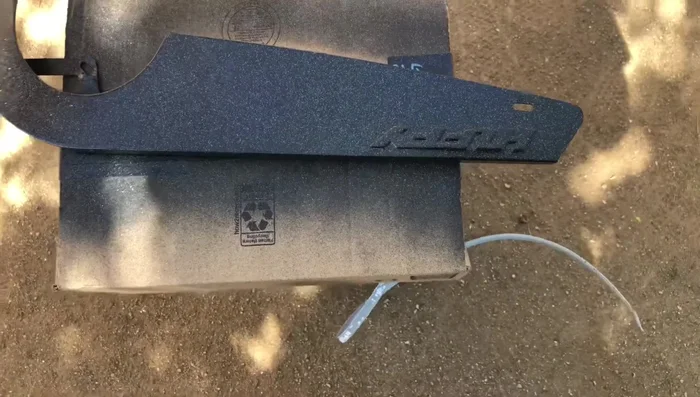
- Apply Krylon Glitter Blast for a sparkly finish. One coat is sufficient for good coverage.
Glitter Application Clear Coat and Finishing
- Apply multiple coats of clear coat spray paint (3-4 coats recommended) for protection and shine. Wet sanding and buffing may be needed after clear coat application for a smooth finish.
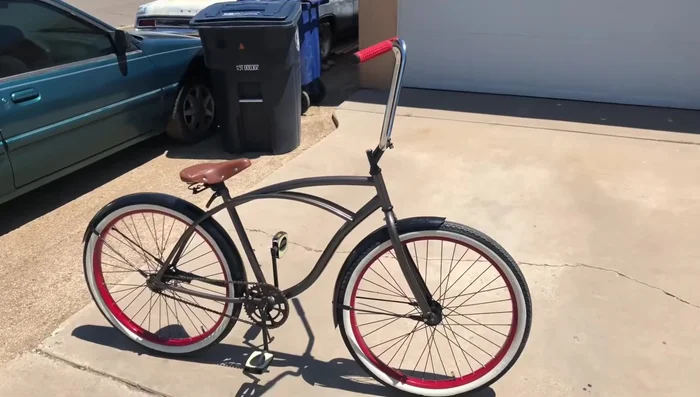
Clear Coat and Finishing Reassembly
- Reassemble the painted parts onto the bike.
Reassembly

Read more: DIY Beta 390 RR-S Rear Fender Repair: The Zip Tie Stitch Method
Tips
- Work in a well-ventilated area when using spray paints.
- Use light strokes when applying spray paint to avoid runs and drips.
- Allow sufficient drying time between coats of paint.
- Consider using a helper to hold the camera or parts while painting for easier application.