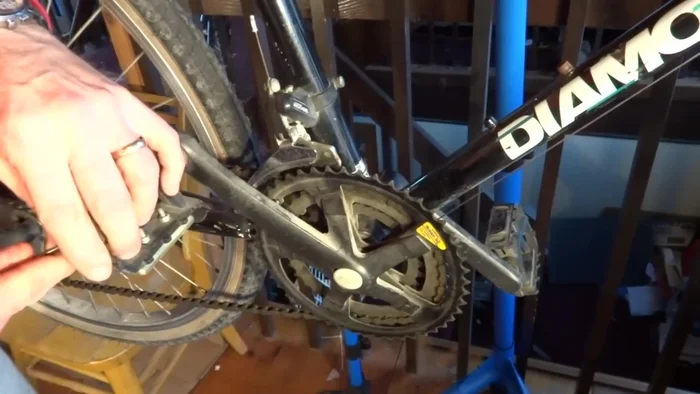
Frustrated with unresponsive pedals, squeaky hinges, or that nagging feeling your bike's braking or shifting isn't quite right? The often-overlooked pedal system is crucial to a smooth, safe, and enjoyable ride. Neglecting regular maintenance can lead to performance issues, potential accidents, and unnecessary wear and tear on other components. A well-maintained pedal system, however, contributes significantly to a responsive and efficient cycling experience, allowing you to focus on the ride itself. From basic cleaning and lubrication to tackling more complex repairs, understanding your pedals is key.
This comprehensive guide will equip you with the knowledge and step-by-step instructions to perform a complete pedal overhaul. We'll cover everything from identifying common problems and sourcing the right tools, to disassembling your pedals, cleaning individual parts, lubricating moving components, and reassembling everything correctly for optimal performance. Let's dive into the detailed process and get those pedals working flawlessly.
Preparation and Safety Guidelines
- scribe
- 15mm wrench
- 12mm wrench
- grease
- 1/8 inch bearings
- Always disconnect the power source before starting any work on your pedals. Electrical shock can be serious or fatal.
- Use appropriate tools for the job. Improper tools can damage your pedals and potentially cause injury.
- If you're unsure about any step, consult a qualified technician or refer to the pedal's specific service manual. Attempting repairs beyond your skill level can worsen the problem.
Step-by-Step Instructions
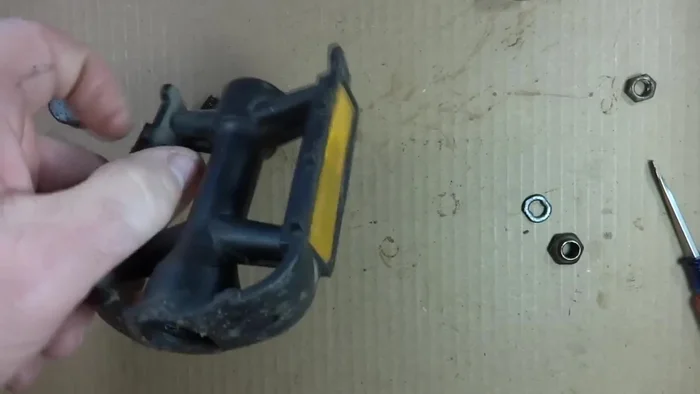
Disassemble the Pedal
- Remove the dust cap from the end of the pedal using a scribe or similar tool.
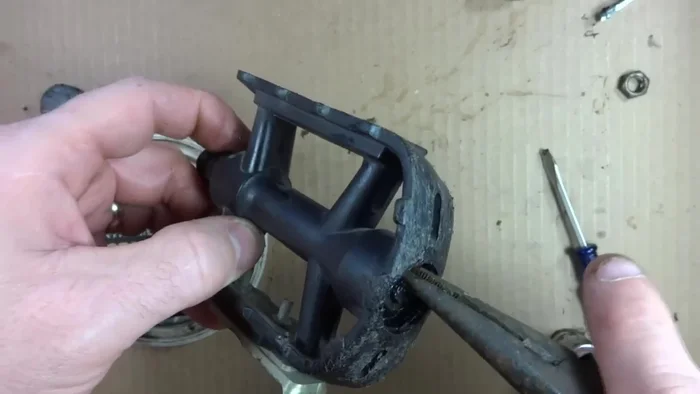
- Remove the lock nut (likely 12mm) using a wrench, holding the spindle with a 15mm wrench to prevent it from turning.
- Remove the cone and all the old bearings.

Disassemble the Pedal Obtain and Prepare New Bearings
- Replace all bearings with new 1/8 inch bearings. Obtain these from a bike shop.
- Pack the new bearings with grease.
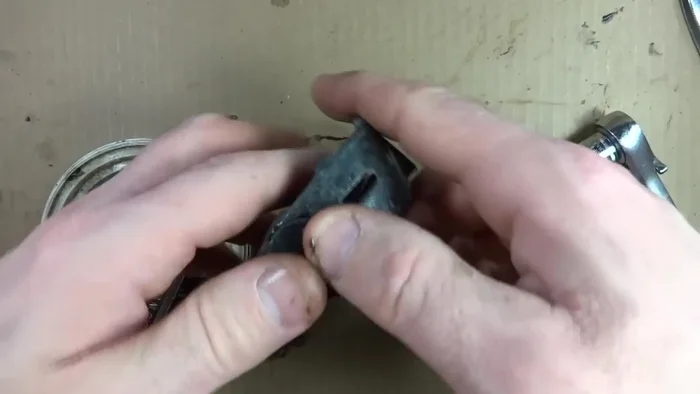
Obtain and Prepare New Bearings Install New Bearings
- Install the new bearings into both sides of the pedal. The number of bearings may vary slightly, aim for a continuous ring.
Install New Bearings Reassemble the Pedal
- Slide the axle back through, then screw the cone back on by hand.
- Tighten the cone using a 15mm socket, ensuring the bearings are seated correctly and the cone is snug but not overly tight.
- Add the washer, then tighten the lock nut.
- Replace the dust cap.
Reassemble the Pedal


Read more: Silence Creaky Look Pedals & Cleats: A Permanent Beeswax & Xylene Solution
Tips
- Holding the spindle with a wrench while removing/installing the lock nut prevents unwanted turning.
- Turning the axle slightly can make installing the cone easier.
- Don't overtighten the cone or lock nut, aim for a snug fit.