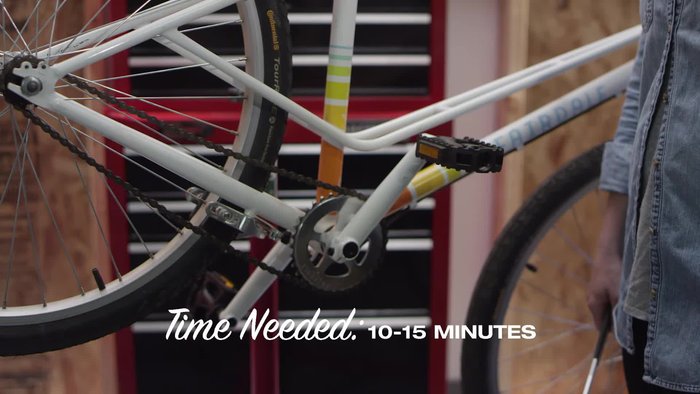
Upgrading your bike pedals can significantly enhance your riding experience, whether you're aiming for increased efficiency, comfort, or a more stylish look. Replacing worn-out pedals or swapping them for a different style is a surprisingly straightforward task, far simpler than many novice cyclists might imagine. From improving your foot placement and power transfer to simply refreshing the aesthetics of your ride, the benefits are numerous and easily achievable with a bit of know-how. A simple tool kit and a few minutes of your time are all that stand between you and a smoother, more enjoyable cycling adventure.
This quick and easy guide will walk you through the entire process of changing your bike pedals, step-by-step. Whether you’re dealing with standard flat pedals or clipless systems, we'll cover everything you need to know to get the job done safely and efficiently, ensuring you're back on the road or trail in no time. Let's get started!
Preparation and Safety Guidelines
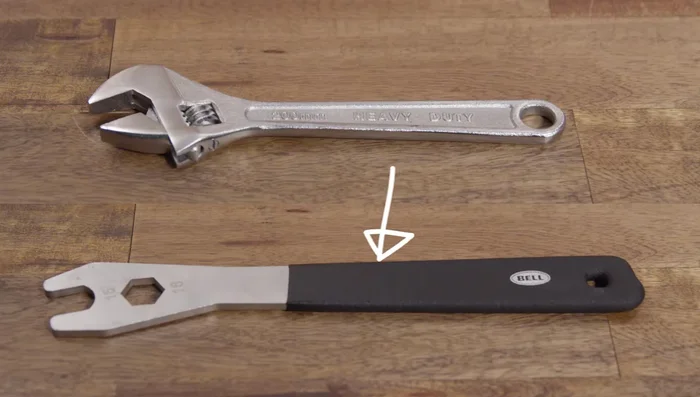
- Adjustable wrench
- Lubricant
- Dedicated pedal wrench (recommended)
- Always work on a stable, level surface. Use a bike stand if possible to prevent the bike from tipping.
- Use the correct tools for the job. Applying excessive force with the wrong tools can damage your crank arms or pedals.
- Wear safety glasses to protect your eyes from flying debris.
Step-by-Step Instructions
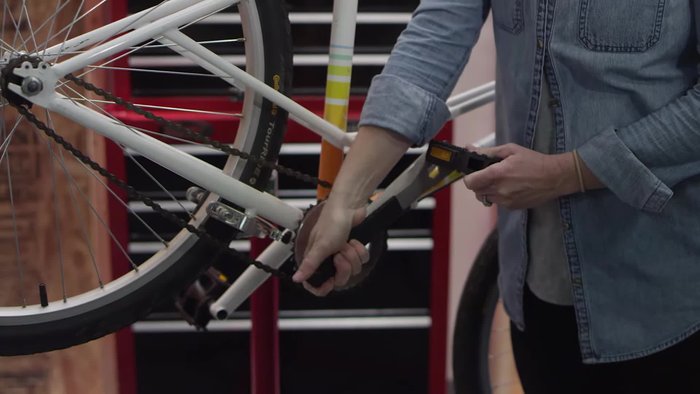
Removing Old Pedals
- Remove the old pedals. Remember righty-tighty, lefty-loosey applies to the right pedal only. The left pedal is reverse-threaded.
- For the right pedal (chain side), turn the wrench to the left to loosen it. For the left pedal, turn the wrench to the right to loosen it.

Removing Old Pedals Preparing New Pedals
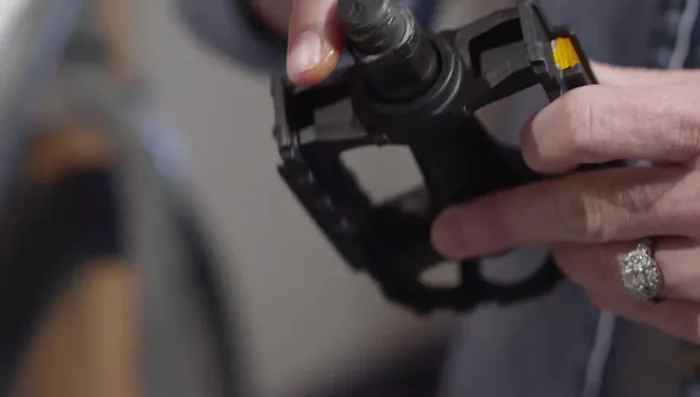
- Ensure the new pedals match the old ones in diameter and threading. Use a dedicated pedal wrench for better leverage and control if possible.
- Apply a small amount of grease to the threads of the new pedals.
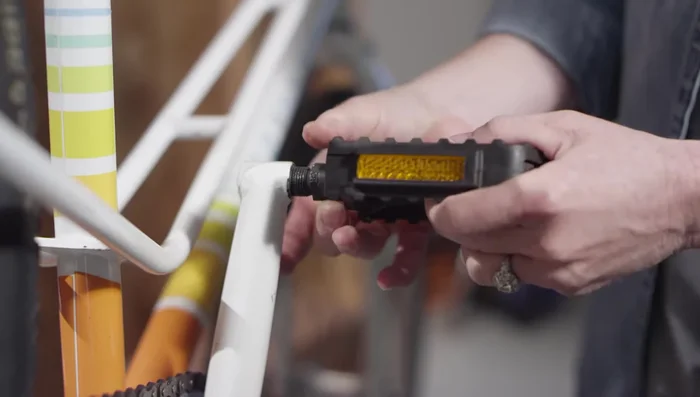
Preparing New Pedals Installing New Pedals
- Identify the right (R) and left (L) pedals. Hand-thread the right pedal clockwise and the left pedal counter-clockwise.
- Tighten the pedals securely using the wrench. Remember the left pedal threads in backward.
Installing New Pedals

Read more: Silence Creaky Look Pedals & Cleats: A Permanent Beeswax & Xylene Solution
Tips
- Use a dedicated pedal wrench for easier installation and removal.
- Apply grease to the pedal threads for easier installation and to prevent seizing.
- Always check that the new pedals match the old ones in size and threading.