Bike pedals, often overlooked in routine maintenance, are crucial components contributing significantly to your riding experience. Smooth, efficient pedaling relies heavily on properly functioning pedals, free from grit, grime, and the inevitable wear and tear of regular use. Neglecting their upkeep can lead to creaking, slippage, and ultimately, potential mechanical failure during your rides – a frustrating experience nobody wants. Beyond simple cleaning, regular servicing ensures your pedals remain responsive and reliable, maximizing your power transfer and overall enjoyment.
This is especially important for those who regularly ride in challenging conditions like mud or rain. To keep your pedals spinning smoothly and efficiently, follow the step-by-step guide below, which will take you through the process of disassembling, cleaning, lubricating, and reassembling your bike pedals effectively.
Preparation and Safety Guidelines
- 15mm spanner or wrench
- Screwdriver
- Pliers
- 12mm socket
- Vice or clamp
- Container (ideally magnetic)
- Paraffin or degreaser
- Grease
- Vernier caliper (optional)
- Small brush or cloth
- Always work in a well-lit, stable area. Use a bike stand if possible to keep the bike secure and prevent accidental falls.
- Use the correct tools for the job. Attempting to force a pedal with the wrong tool can strip the threads or damage the crank arm.
- Before starting, make a note of which pedal goes on which side (Left pedals are reverse threaded). This prevents frustration later on.
Step-by-Step Instructions
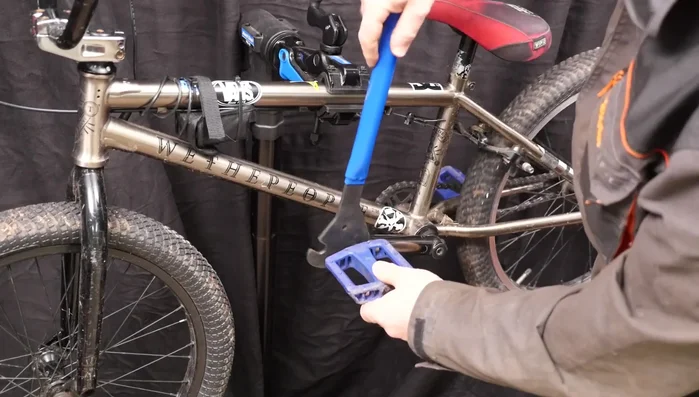
Remove Pedals
- Remove pedals using a 15mm wrench. Remember, the left pedal unscrews clockwise, and the right pedal unscrews counter-clockwise.
- Use the wrench at a low angle to the crank for better leverage.

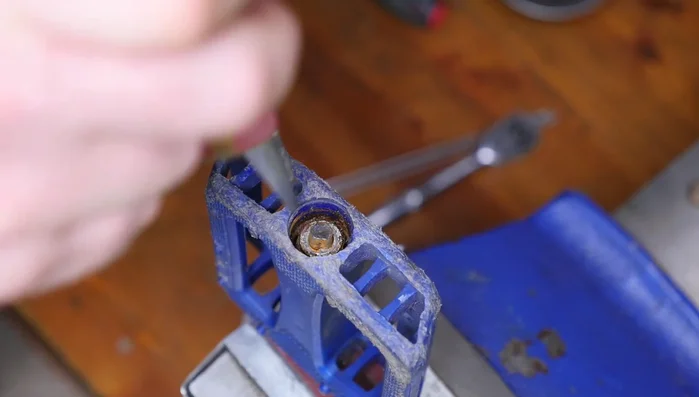
Remove Pedals Remove Dust Cap
- Remove the dust cap using a screwdriver.
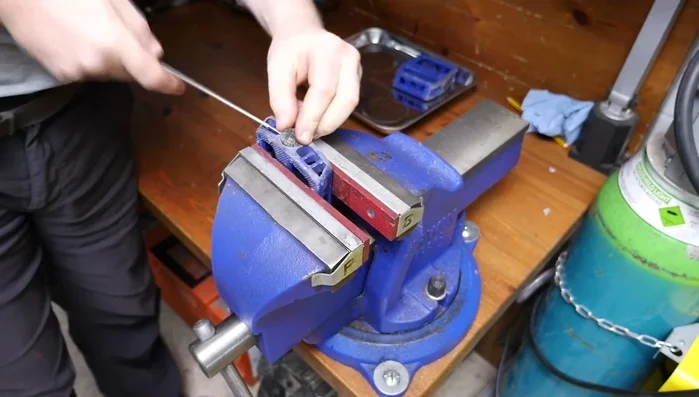
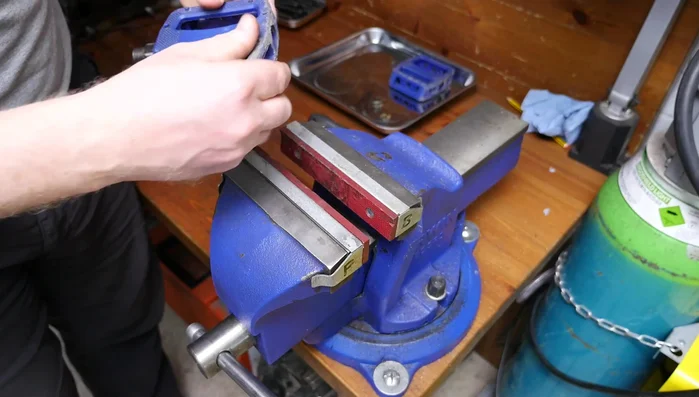
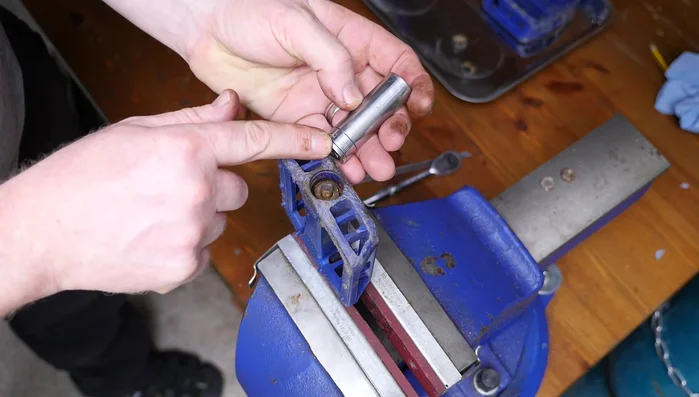
Remove Dust Cap Disassemble Pedal
- Undo the lock nut using a 12mm socket.
- Remove the washer using pliers.
- Remove the cone using pliers or a flat-bladed screwdriver.
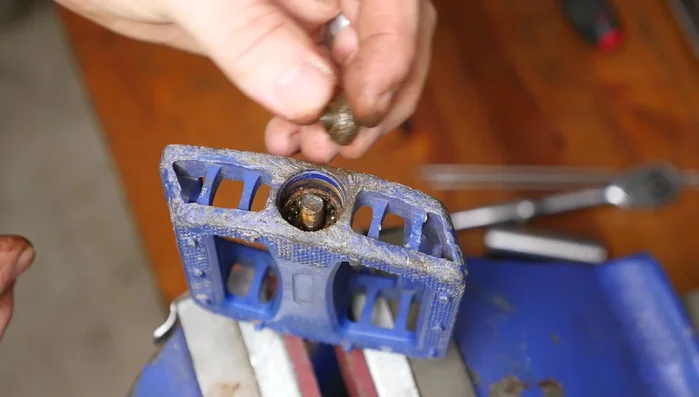
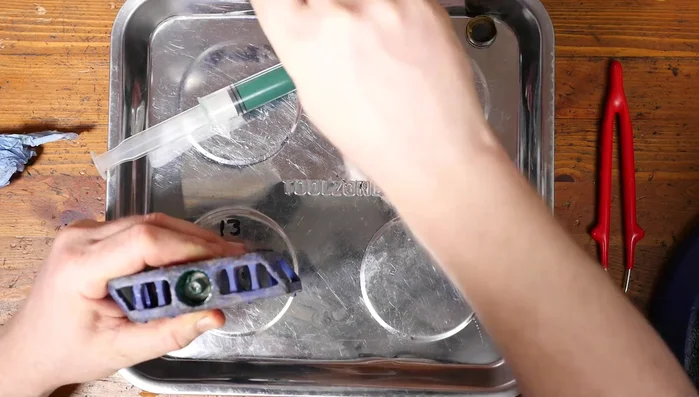
- Remove the bearings, carefully supporting the axle to prevent them from falling out. Use a container to collect the bearings.
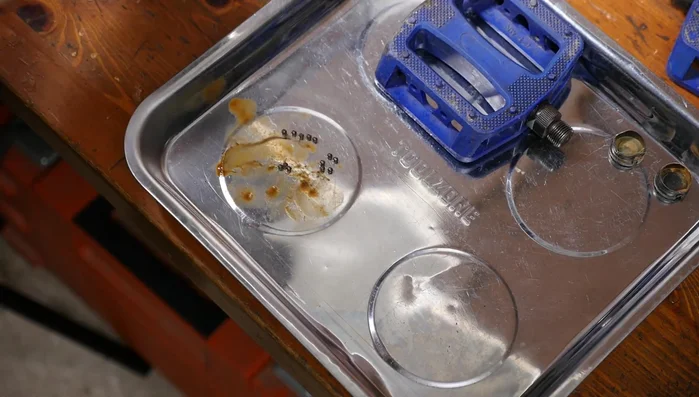
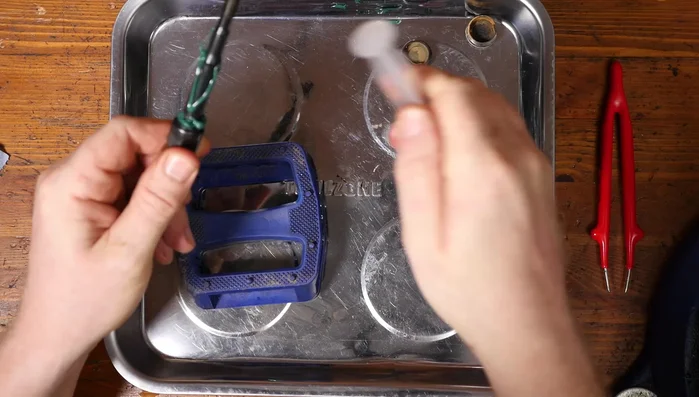
Disassemble Pedal Clean and Inspect Components
- Clean the bearings, axle, and pedal body with paraffin or degreaser.
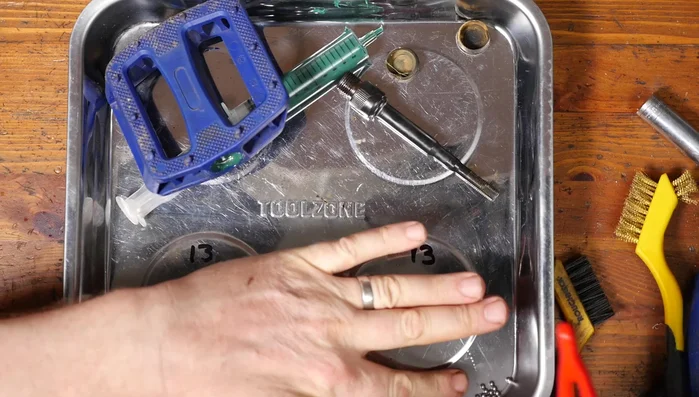
- Count the bearings to ensure you have all of them (13 in this example).
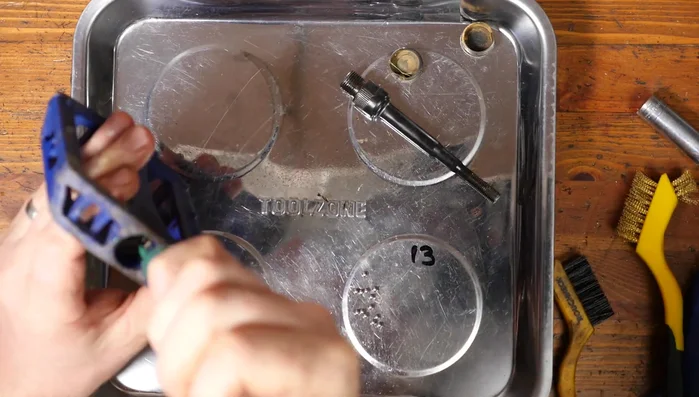
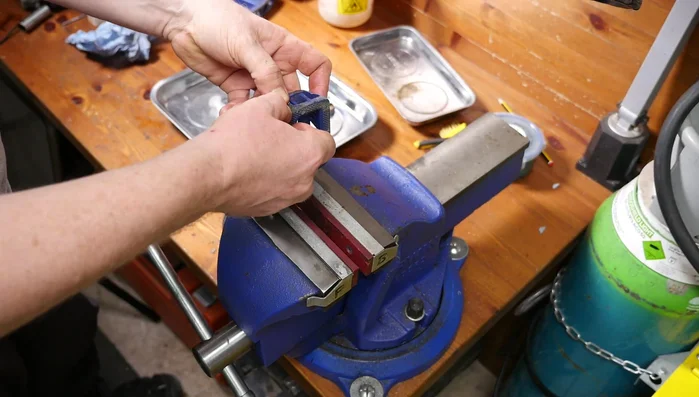
Clean and Inspect Components Reassemble Pedal
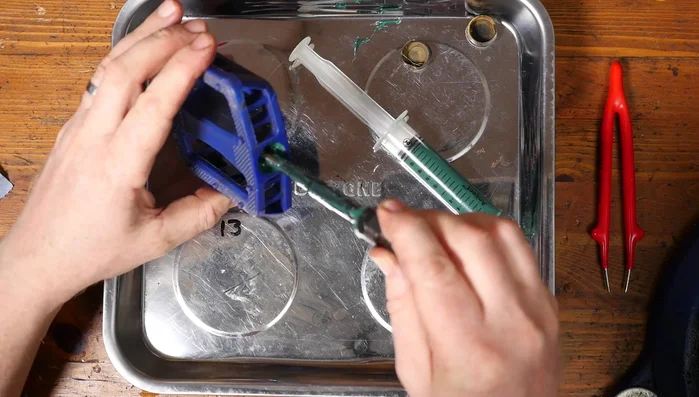
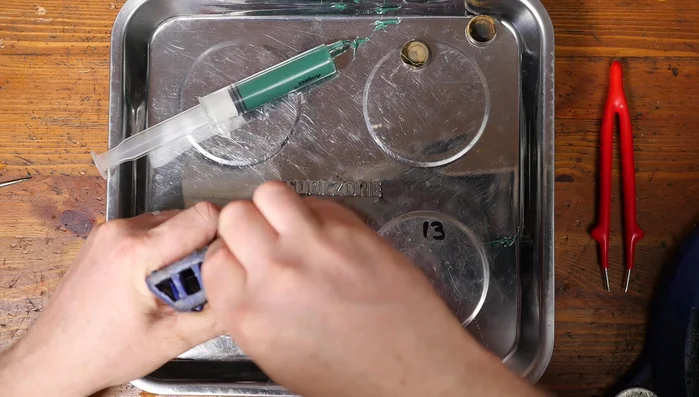
- Grease the bearing cups.
- Carefully insert the bearings back into the cups, using grease to hold them in place.
- Grease the axle.
- Insert the axle through the bearings.
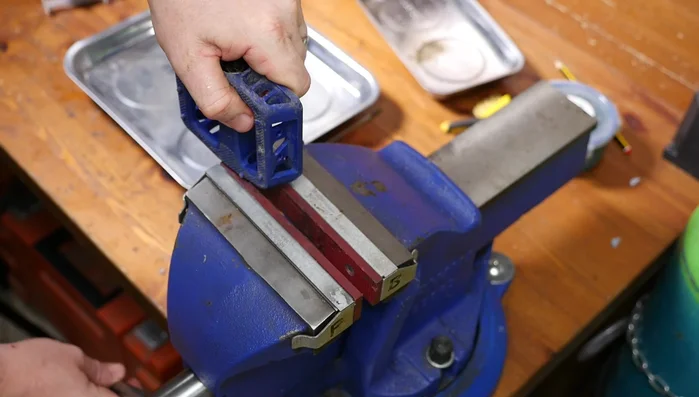
Reassemble Pedal - Screw the cone onto the axle.
- Install the washer and lock nut.
- Carefully tighten the lock nut, avoiding over-tightening which could damage the bearings. Use a vise to hold the pedal securely while tightening.
- Add a dust cap.
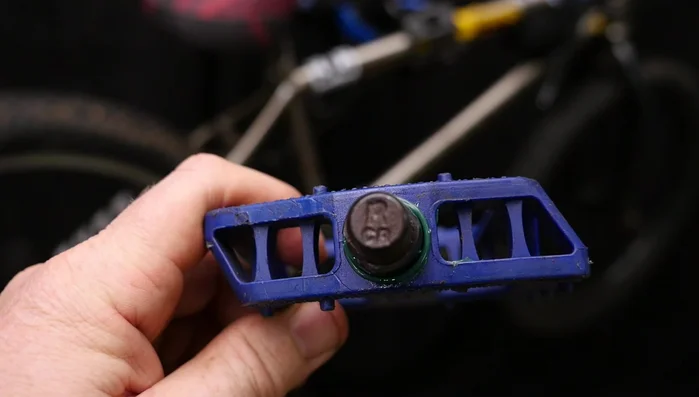
Reassemble Pedal Repeat for Other Pedal
- Repeat steps 3-17 for the other pedal.
Repeat for Other Pedal Reinstall Pedals on Bike
- Reinstall the pedals onto the bike.
Reinstall Pedals on Bike


Read more: Silence Creaky Look Pedals & Cleats: A Permanent Beeswax & Xylene Solution
Tips
- Use a low angle when using the spanner to maximize leverage.
- Support the axle from underneath when removing bearings to prevent them from falling out.
- Use a magnetic container to easily collect the bearings.
- Check for any remaining bearings after removal.
- Use a syringe to easily apply grease into the bearing cups.