This comprehensive guide delves into the intricacies of setting up the Specialized Power saddle, a unique design that differs significantly from traditional saddles. Its shorter length, wide profile, and substantial cutout present both advantages and challenges for proper installation and adjustment. This guide serves as a practical resource, offering step-by-step instructions and valuable insights gathered from firsthand experience transitioning from a different saddle type. We'll cover crucial aspects including achieving the optimal five-degree nose-down angle, determining the correct setback and height, and fine-tuning for perfect sit-bone alignment and maximum comfort.The process is more involved than with conventional saddles, requiring careful measurement, iterative adjustments, and meticulous documentation. We explore the challenges faced and solutions employed during the setup process, emphasizing the importance of trial and error in achieving the ideal riding position. Learn how to leverage reference points, utilize specific measurement techniques, and effectively record your findings for future consistency. Ultimately, this guide aims to help you unlock the full potential of the Specialized Power saddle and achieve a comfortable, efficient, and enjoyable ride.
Pros And Cons
- Comfortable
- Allows good forward hip rotation
- Challenging to set up
- Minimal front overhang
Read more: The 5 Best Bike Saddles for Triathlons
Saddle Overview and Comparison
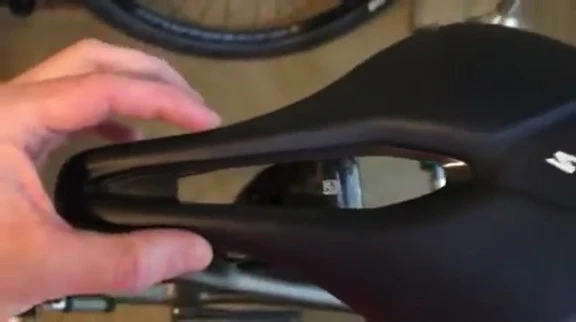
The Specialized Power saddle boasts a unique design, noticeably shorter (approximately 3 centimeters) than conventional saddles. Its wide profile and significant cutout distinguish it from typical triathlon saddles. This review focuses on the entry-level model, characterized by thicker padding compared to higher-end versions.
For context, the review compares it to the author's previous saddle, the SMP Dynamic, known for its unusual shape and minimal padding. The author used the SMP Dynamic for five years.

Installation and Setup Challenges
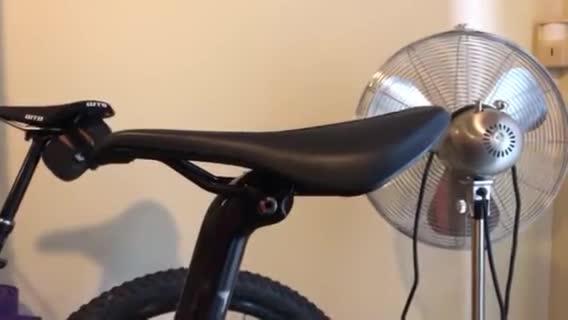
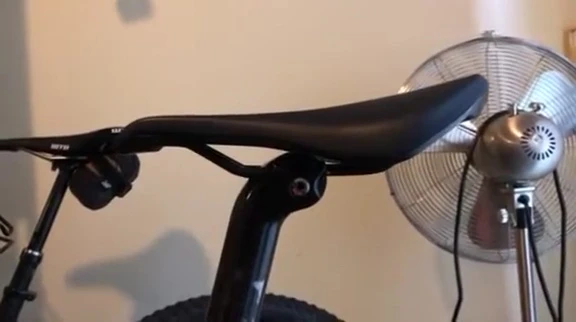
Proper installation is crucial. Begin with a perfectly level bike setup, ideally using a trainer. The Specialized Power saddle requires a precise five-degree nose-down angle, measured from tip to tail. This may be achieved by aligning the rails with the horizon.

Unlike conventional saddles, the key is that the area you actually sit on should be close to level, or perhaps slightly nose down. The author found the setup more challenging than with a conventional saddle, noting variations in nose-down angle across different fits (1 to 7 degrees).

Setback and Height Adjustments
Setback adjustment presents a further challenge. The author suggests using the old saddle as a reference point, layering it on top of the new one and aligning the sit-bone support areas. Specialized recommends a three-centimeter aft adjustment compared to a standard saddle.

Height adjustment is equally important. The author initially used a standard measurement from the bottom bracket to the saddle top but found a one-centimeter difference compared to their previous saddle. They recommend iterative adjustments by riding and fine-tuning until comfortable.

Width and Fine-Tuning
Fine-tuning involves measuring saddle width at various points (50mm, 75mm, and 90mm). The 75mm point seemed most crucial for sit-bone alignment, considering the pelvic rotation during cycling. Remember that your sit bones are narrower than the total saddle width.
Marking your bike frame with seat height, setback and saddle rotation is highly recommended to ensure consistency between rides. The author suggests using a Sharpie to document these measurements for easier setup in the future.

Conclusion and Final Thoughts
The Specialized Power saddle, despite a challenging setup, offers considerable comfort and allows for greater hip rotation. Remember that finding the ideal setup involves trial and error. Careful measurement and documentation are key, yet riding and making adjustments based on feel are equally vital.
The author emphasizes the importance of testing and adjusting until a comfortable position is found. Using a marker pen to record the measurements of your saddle setup will save significant time and effort in the future.