The thrill of mountain biking hinges on control, efficiency, and power transfer – and your pedals play a surprisingly crucial role in all three. Upgrading your pedals might seem like a small change, but the right pair can dramatically improve your riding experience, from boosting climbing performance to enhancing your confidence on technical descents. Choosing the wrong ones, however, can lead to discomfort, inefficiency, and even injury. Whether you're a seasoned pro looking for a performance edge or a beginner seeking a comfortable and reliable upgrade, selecting the perfect pedals is a significant decision.
This guide delves into the world of mountain bike pedals, exploring the various types available, their key features, and the factors to consider when making your choice. From understanding the differences between flat and clipless pedals to navigating the intricacies of material, axle type, and cleat systems, we'll walk you through a step-by-step process to help you find the ideal pedals to elevate your mountain biking adventures. Let's get started on finding your perfect match.
Safety Guidelines
- Always ensure your pedals are securely fastened to your cranks before riding. Loose pedals can cause a crash.
- Regularly inspect your pedals for wear and tear, especially the threads and bearings. Damaged pedals compromise safety and should be replaced.
- Choose pedals appropriate for your riding style and experience level. Using unsuitable pedals can lead to instability and falls.
Methods: Clipless Pedals for Efficiency and Control
Tools Needed
- Clipless Pedals
- Cycling Shoes with Cleats
Step-by-Step Instructions
Clipping In
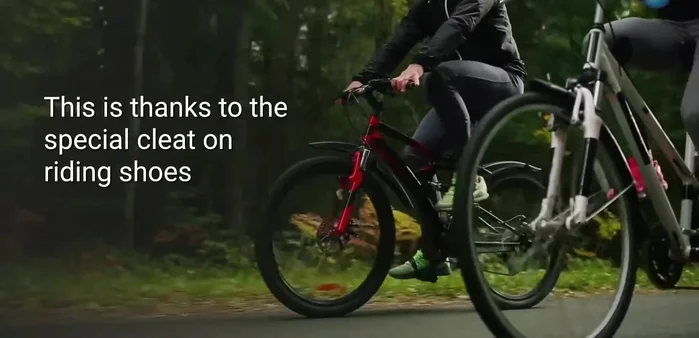
- Slip on specific riding shoes before locking into the pedals.
- The cleat on the riding shoes clips onto the pedal, attaching it to the base of your foot.

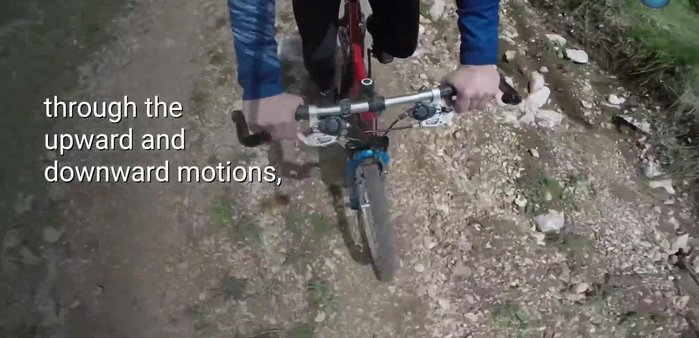
Clipping In Efficient Pedaling
- Distribute effort for every pedal stroke through upward and downward motions.
Efficient Pedaling

Tips
- Ideal for slower, more technical trails where precise control is needed.
- Allows for easy repositioning of the bike and maneuvers like bunny hopping.
Methods: Platform Pedals for Beginners and Versatile Riding
Tools Needed
- Platform Pedals
Step-by-Step Instructions
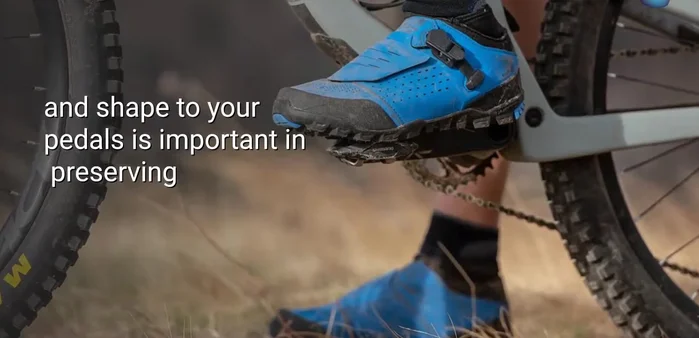
Choosing the Right Pedal Size and Shape
- Choose pedals that match your foot size and shape for optimal energy preservation.
Choosing the Right Pedal Size and Shape Pedal Maintenance and Design
- Look for pedals with minimal empty space to prevent debris buildup.
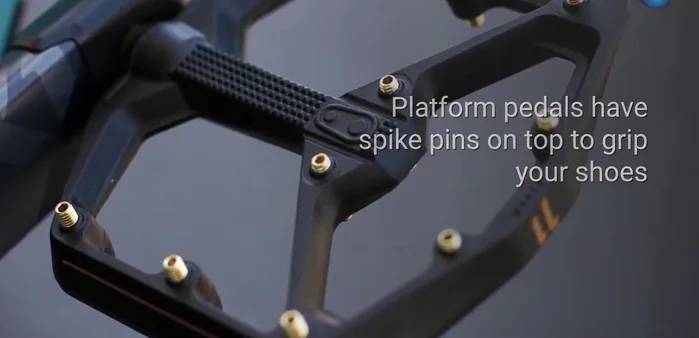
Pedal Maintenance and Design Customization Options for Platform Pedals
- Customize with spike pins for better grip; change pin size or color for aesthetics.
Customization Options for Platform Pedals

Tips
- Great for beginners as they don't restrict foot movement.
- Suitable for new trails or slippery terrain where you might need more foot adjustments.
- Offers freedom for tricks and slopes.
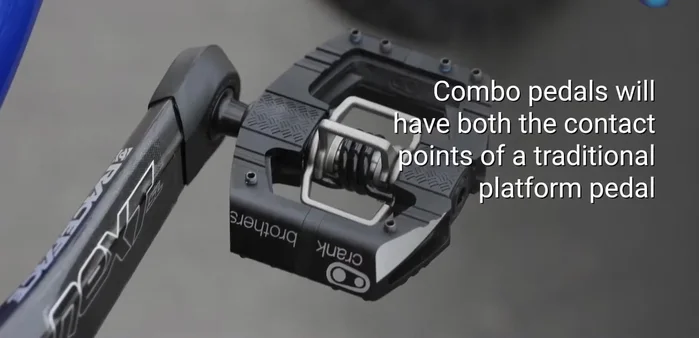
Methods: Combination Pedals for Adaptability
Tools Needed
- Combination Pedals
Step-by-Step Instructions
Choosing Combination Pedals
- Choose pedals with both platform and clip options.
Choosing Combination Pedals Adaptability and On-Demand Switching
- Allows you to switch between platform and clipless riding on demand.
Adaptability and On-Demand Switching

Tips
- Excellent for riders who frequently change trails or conditions.
Read more: How to Easily Remove and Install Bike Pedals: A Simple Guide