Bike pedals, while seemingly simple components, can present a frustrating challenge when it comes to removal and installation. Whether you're performing routine maintenance, upgrading your pedals for a performance boost, or simply replacing a worn-out pair, understanding the proper technique is crucial to avoid damage to your bike or injury to yourself. Stripped threads or a stubborn pedal can quickly turn a simple task into a major headache, costing you valuable time and potentially requiring professional assistance. This often stems from a lack of knowledge about the correct tools and the crucial directional considerations involved.
This guide provides a straightforward, step-by-step approach to easily remove and install your bike pedals, ensuring a smooth and successful process every time. We'll cover the necessary tools, explain the crucial left-hand/right-hand thread difference, and walk you through each step with clear instructions and helpful visuals. Let's get started with the simple, yet effective methods detailed below.
Safety Guidelines
- Always use the correct size wrench for your pedals. Using the wrong size can strip the pedal threads, making them impossible to remove or install.
- Pedals are usually right-hand threaded (clockwise to tighten) and left-hand threaded (counter-clockwise to tighten). Confusing this can damage the crank arms. Remember: Righty-tighty, lefty-loosey only applies to the right pedal.
- Wear gloves to protect your hands and get a good grip on the pedals, especially if they're stubborn.
Methods: Removing and Installing Pedals with an Allen Wrench
Tools Needed
- Allen wrench (6mm or 8mm)
Step-by-Step Instructions
Removing the Right Pedal
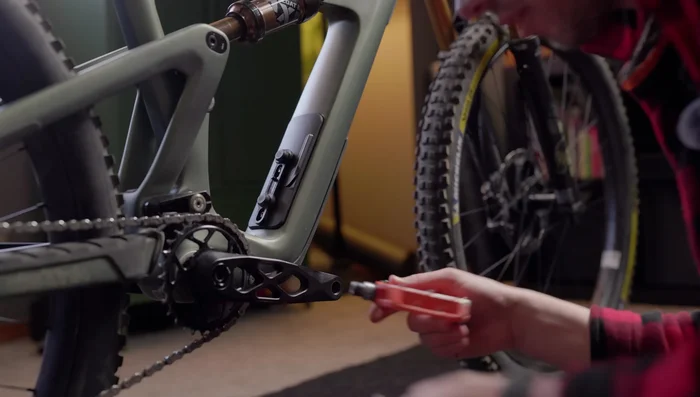
- Start with the right-hand pedal. Rotate the crank forward.
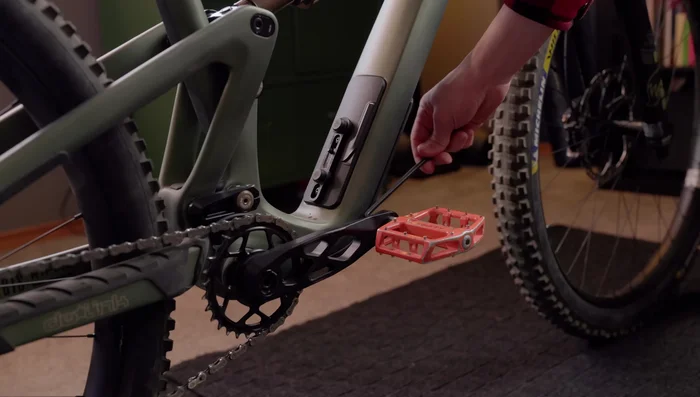
- Insert the Allen wrench into the pedal, facing the front of the bike.
- Place your foot on the pedal and pull the wrench backward towards you to loosen the pedal.
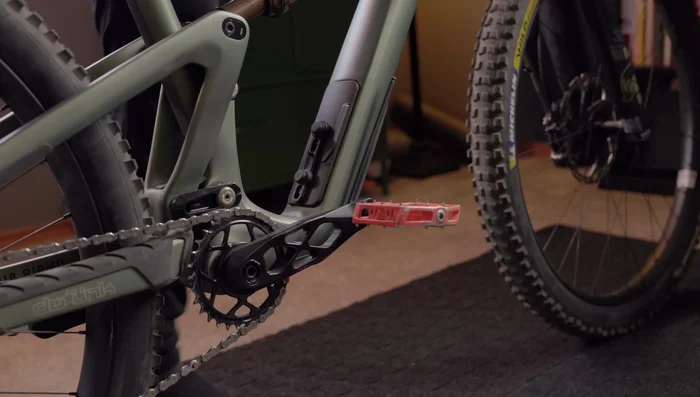
- Once loose, unscrew the pedal completely.

Removing the Right Pedal Removing the Left Pedal
- Repeat steps 1-4 for the left-hand pedal, remembering that left-hand pedals are reverse-threaded. You still pull the wrench backward.
Removing the Left Pedal Reinstalling Pedals
- To reinstall, apply grease to the threads. Put a pedal washer on if you have one.
- Thread the pedal onto the crank, turning the wrench towards the front of the bike to tighten. Don't overtighten.
Reinstalling Pedals


Tips
- Left-hand pedals are reverse-threaded. Always pull the wrench backward towards you, regardless of which pedal you're working on.
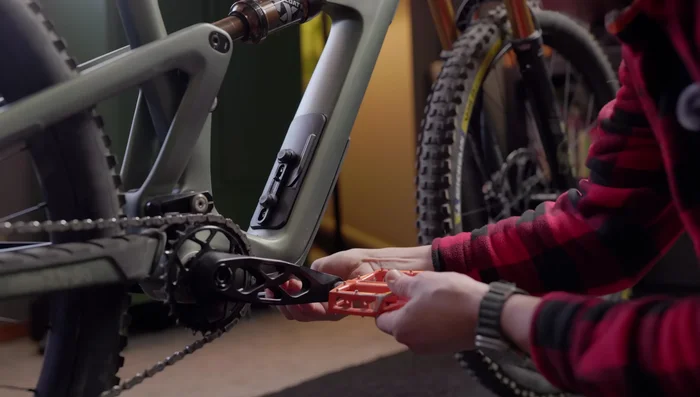
- Identify the correct pedal side by looking for an 'L' or 'R' marking, or by observing the pedal's profile; the leading edge should angle up and away from the ground.
Read more: Choosing the Perfect Pedal and Shoe Combination for Your Cycling Style