Motorcycle mirrors are often the first casualties of a minor mishap, leaving riders with a compromised view and a potentially dangerous situation. A cracked or broken mirror doesn't automatically mean a costly replacement; in many cases, a simple DIY repair can restore functionality and save you significant money. Whether it's a shattered glass element, a loose arm, or a damaged mounting bracket, a surprising number of issues are easily solvable with readily available tools and a bit of patience. This is especially true for those common plastic mirror housings susceptible to cracks.
This quick and easy guide will walk you through several common motorcycle mirror repair scenarios, providing practical solutions for getting your mirrors back in optimal working order. Ready to get started and reclaim clear visibility on the road? Let's dive into the step-by-step process below.
Preparation and Safety Guidelines
- Flat head screwdriver
- Box
- Stool
- Safety glasses
- Riding gloves
- Brass brush
- Tape
- Sandpaper
- Bench sander (optional)
- Alcohol prep pad
- Gorilla contact adhesive
- Clamps
- Always wear eye protection. Small fragments of glass or plastic can easily cause serious eye injuries.
- Ensure your motorcycle is stable and secure on a center stand or jack before starting any repairs. Avoid working on a motorcycle that is not properly supported.
- If the mirror's internal components are damaged beyond simple repair (e.g., cracked housing, broken internal mechanism), replacement is often safer and more reliable than attempting a DIY fix.
Step-by-Step Instructions
Safety First and Glass Removal
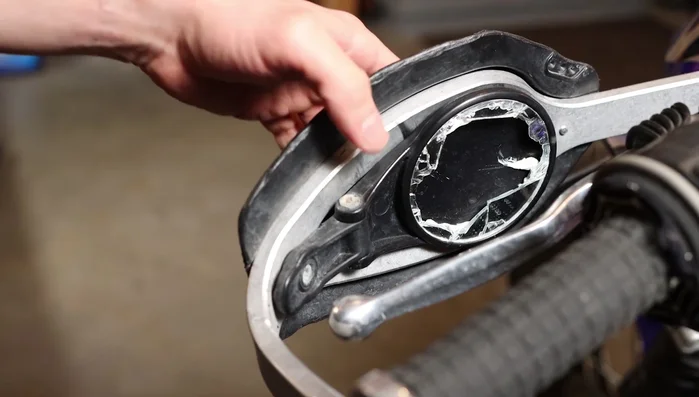
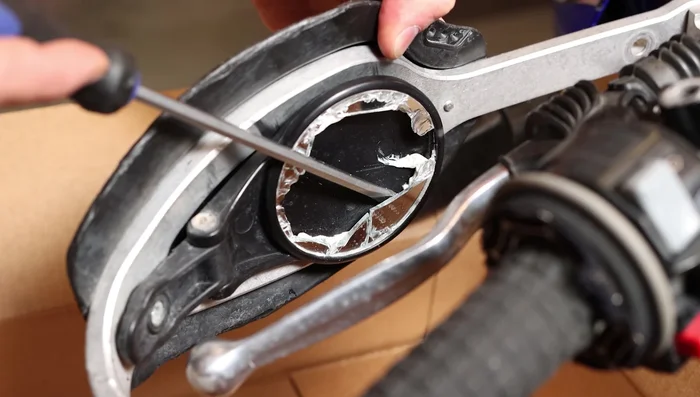
- Remove broken glass safely. Position a box underneath the mirror to catch the shards. Wear safety glasses and gloves.
- Use a flathead screwdriver to carefully remove the remaining shattered glass from the mirror assembly.

Safety First and Glass Removal Clean and Dispose
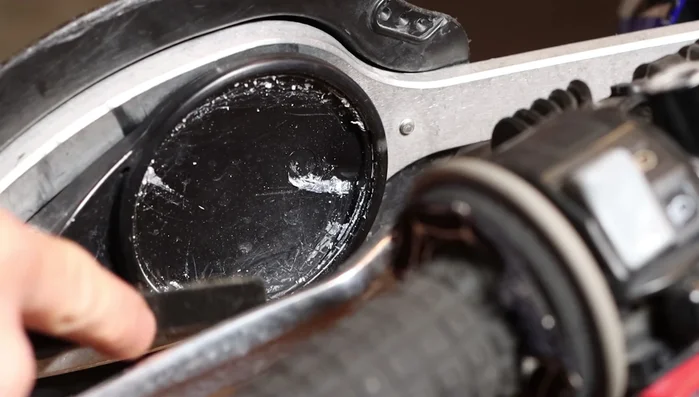
- Clean the area with a brass brush to remove any glue residue.
- Seal the box containing the broken glass and dispose of it properly.
Clean and Dispose Warranty Claim (Optional)
- If you have a warranty, claim a new mirror assembly. The video shows receiving new parts, then only needing to pay for shipping.
Warranty Claim (Optional) Prepare the New Mirror
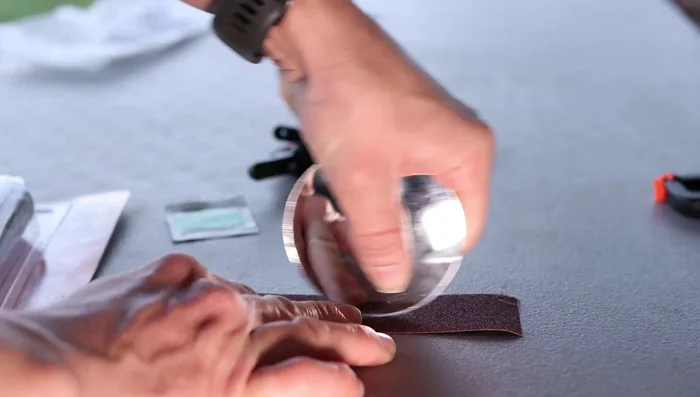
- Sand down the new mirror glass if necessary to ensure a proper fit in the assembly.
Prepare the New Mirror Clean Surfaces
- Clean the contact surfaces of both the mirror assembly and the new mirror glass with an alcohol prep pad.
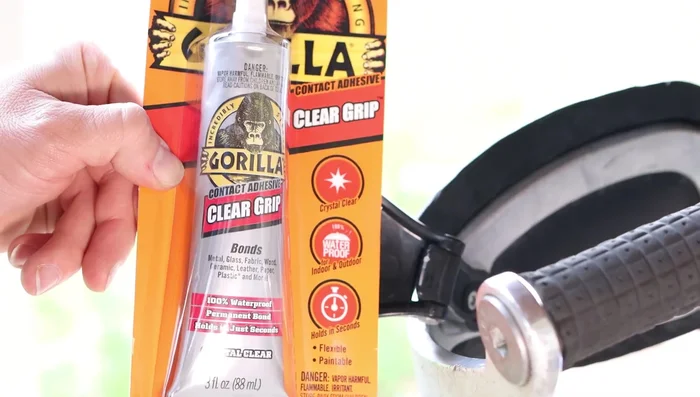
Clean Surfaces Apply Adhesive
- Apply Gorilla contact adhesive to the edges of the mirror assembly.
Apply Adhesive Install and Secure
- Insert the mirror glass into the assembly and secure it with clamps.
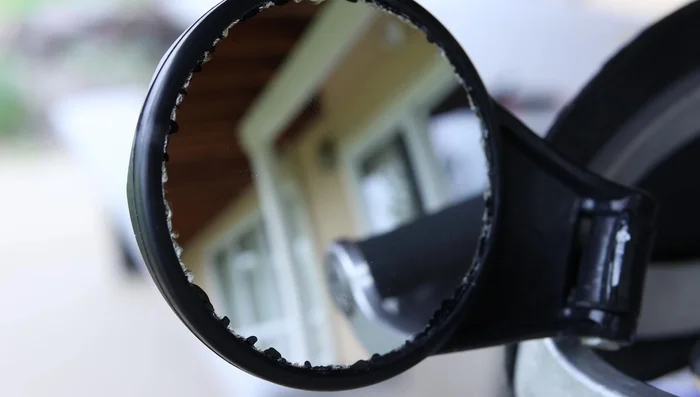
Install and Secure Cure and Final Check
- Allow the adhesive to cure for 24 hours before removing the clamps.
Cure and Final Check

Read more: Quick & Easy Miracle Mirror Motorcycle Handlebar Installation
Tips
- Always wear safety glasses and gloves when handling broken glass.
- Use a box to catch glass fragments to avoid further injury.
- Take your time when sanding the mirror glass to avoid damaging the reflective surface. Avoid using a bench sander if possible.
- Check if your mirror has a warranty before attempting repair. The presenter received replacements under warranty.