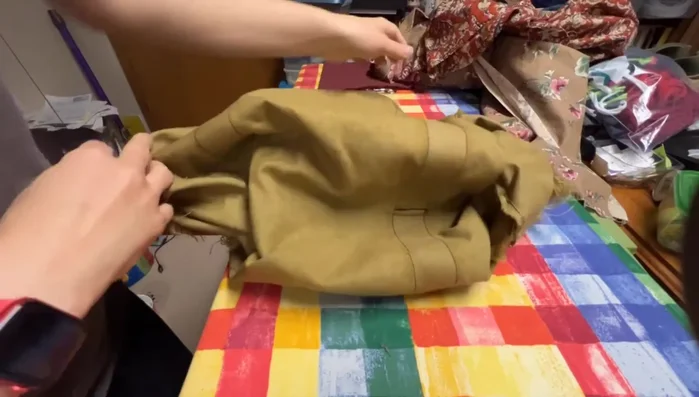
Duffel bags, those trusty travel companions, often endure the rigors of journeys, leaving them susceptible to wear and tear. A common casualty is the ripping of stitches, whether from a snag on a sharp object, the strain of overloading, or simply the accumulation of wear over time. A torn seam can render your favorite bag unusable, leading to frustration and the potential need for a costly replacement. Fortunately, fixing ripped stitches on a duffel bag is often a straightforward DIY project, saving you money and extending the life of your beloved luggage. This isn't rocket science, and with just a few basic tools and a bit of patience, you can restore your bag to its former glory.
This simple guide will walk you through the process of repairing ripped stitches in your duffel bag, providing clear instructions and helpful tips for a successful mend. From identifying the damage and gathering necessary supplies to expertly stitching the tear closed, we'll cover everything you need to know to get your duffel bag back in action. Let's get started on that step-by-step repair!
Preparation and Safety Guidelines
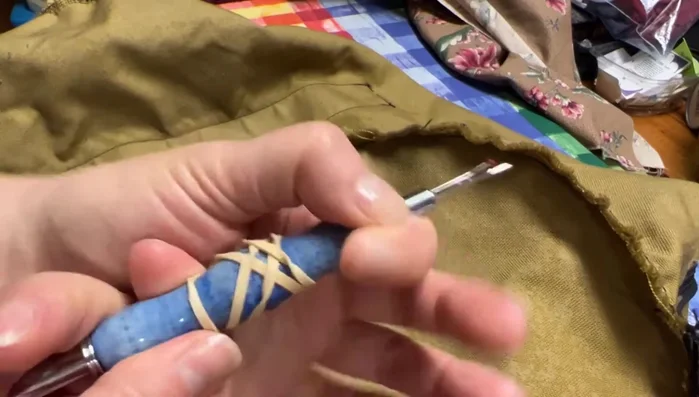
- Seam ripper
- Fabric scissors
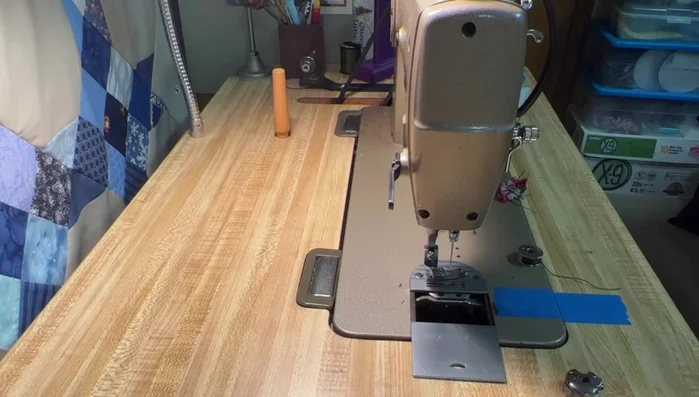
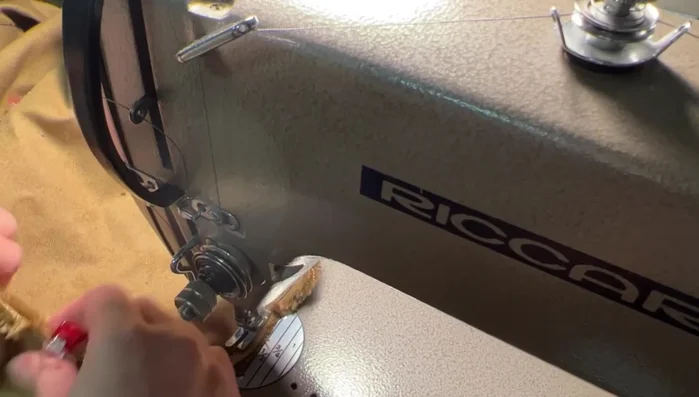
- Sewing machine (industrial preferred, but a home machine will work)
- Heavy-duty nylon thread
- Quilt clips (or safety pins)
- Needles (size 1108 recommended for heavy thread)
- Screwdriver
- Always use sharp, appropriately sized needles to avoid damaging the fabric or injuring yourself. Dull needles can cause more tearing and increase the risk of pricking your fingers.
- Match your thread color and type as closely as possible to the original stitching. Using mismatched thread can make the repair less durable and obvious.
- Before starting any repair, thoroughly clean the area around the rip to remove dirt and debris that could weaken the stitching further or get caught in the needle.
Step-by-Step Instructions
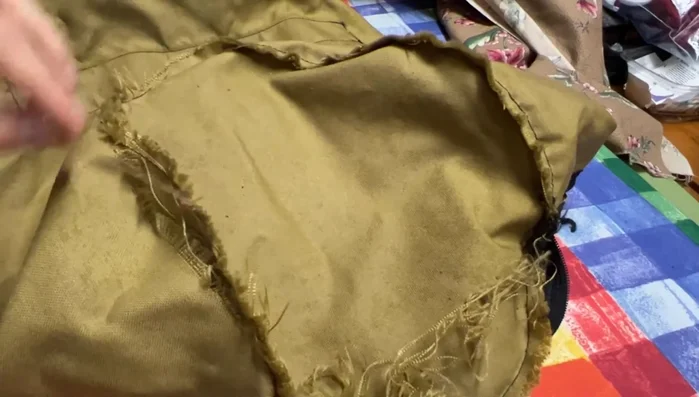
Assess and Prepare
- Turn the duffel bag inside out to assess the damage.
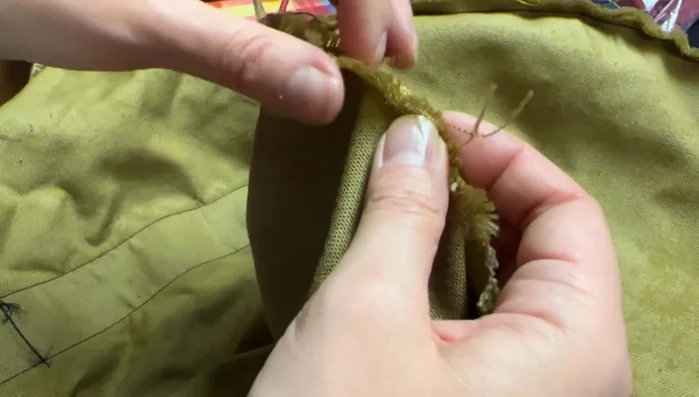
- Trim away loose threads and frayed fabric around the ripped stitches.
- Carefully remove the remaining stitches in the damaged area using a seam ripper.

Assess and Prepare Prepare for Sewing
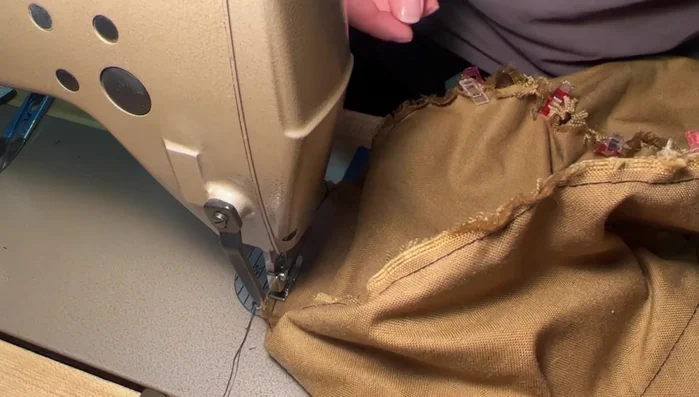
- Pin the fabric pieces back together, ensuring the edges are aligned as closely as possible. You may need to ease the fabric to eliminate excess bunching.
- Set up your sewing machine with heavy-duty nylon thread and a larger needle (size 1108 recommended). Adjust tension as needed for the thicker thread.
Prepare for Sewing Sew the First Stitch Line
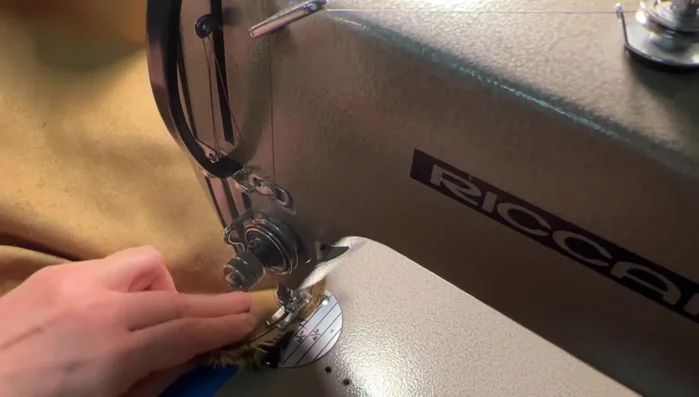
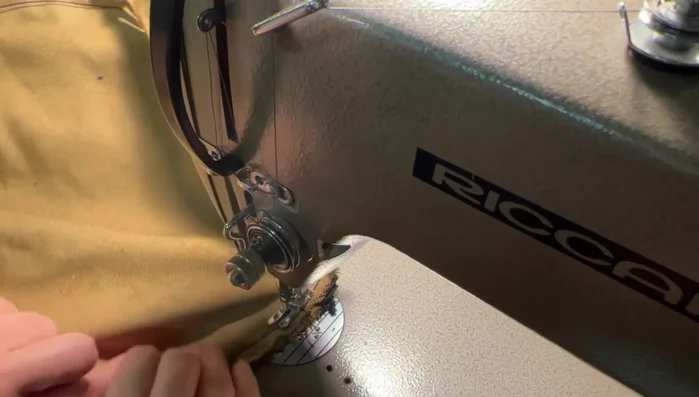
- Sew a new stitch line approximately ⅛ inch from the original stitch line. Keep the fabric flat under the presser foot as you sew.
Sew the First Stitch Line Reinforce the Stitch
- Repeat step 6, creating a second stitch line about ⅛ inch from the first new stitch line for reinforcement. Pay extra attention to smoothing out the fabric around any bumps or pleats.
Reinforce the Stitch Sew Around Zipper & Finish
- When nearing the zipper, carefully stitch close to the zipper, being mindful not to damage it. Reinforce the stitching around the zipper.
- Trim excess threads.
Sew Around Zipper & Finish
Read more: Ultimate Guide: Packing Your Bike for Travel (Without a Scratch!)
Tips
- Use an industrial sewing machine if possible for heavier fabrics and threads. Adjust tension accordingly for thicker threads.
- Work slowly and carefully to avoid accidentally cutting the fabric further or sewing through your finger.
- Smooth the fabric regularly to prevent bunching or pleats. Start with small pleats and ease them as you go rather than trying to handle one large pleat.
- Reinforce stitches around the zipper to avoid damaging it.