Taking your beloved bicycle on a journey? The thrill of exploring new routes on two wheels is unmatched, but the apprehension of potential damage during transit can be a significant hurdle. Proper packing is key to ensuring your bike arrives at its destination safe and sound, ready for adventure. Scratches, dents, and even broken components can quickly turn an exciting trip into a frustrating ordeal. This is where careful planning and the right techniques become invaluable. We understand the worry – you've invested time, effort, and money into your bike, and you want to protect it.
This ultimate guide will walk you through a comprehensive step-by-step process, providing you with the knowledge and techniques to pack your bike like a pro, guaranteeing its safe arrival. From disassembling your bike strategically to utilizing the best protective materials, we'll cover everything you need to know to travel with your bike confidently, worry-free, and ready to ride again the moment you reach your destination. Let's get started!
Preparation and Safety Guidelines
- Bike bag
- Tape measure
- Insulating tape or marker
- Bubble wrap
- Pedal box (optional)
- Wheel bags (optional)
- Chain protector (optional)
- Cardboard (optional)
- Tools
- Always use a hard-shell case or a well-padded bike box specifically designed for bicycle transport. Improper packaging is the leading cause of damage.
- Thoroughly disassemble your bike, removing fragile components like derailleurs and brakes. Secure all parts individually to prevent shifting and damage during transit.
- Take photos of your bike before disassembly and carefully label all parts during packing for easy reassembly. This is crucial for insurance claims if damage does occur.
Step-by-Step Instructions
Prepare the Bike
- Measure and mark your saddle height.
- Remove the seat post and saddle, and secure the seat post clamp.
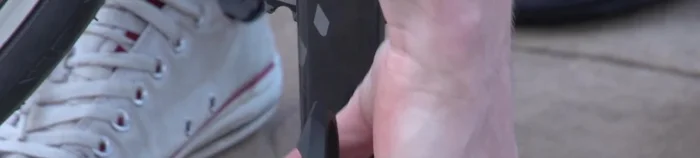
- Remove pedals and store them safely (e.g., in their original box or bubble wrap).
- Remove handlebars and stem (if required by your bike bag). Replace headset spacers and top cap.

Prepare the Bike - Tighten all loosened bolts to prevent rattling during transit.
Prepare the Bike Protect the Frame and Components
- Attach handlebars to down tube protector (or improvise protection using tape, cardboard, and bubble wrap).
- Remove wheels and skewers. Secure skewers to prevent loss. Deflate tires.
- Use a frame protector to safeguard the frame, rear triangle, chainset, rear mech, and chain (or improvise protection).
- Protect the derailleur and chain with a chain protector (or use bubble wrap and cardboard).
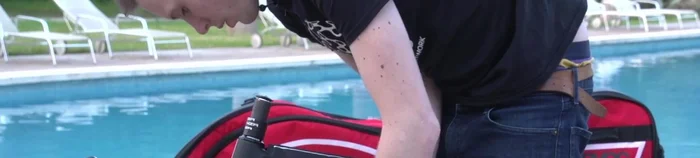
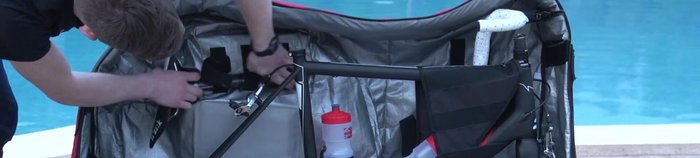
Protect the Frame and Components Pack the Bike
- Place wheels in wheel pockets of bike bag or use separate wheel bags.
- Place bike in the bag, using bubble wrap or pipe insulation for additional protection.
- Secure the bike with straps provided.
Pack the Bike Add Extras
- Add extra items like tools, pump, and other accessories.
Add Extras


Tips
- Double-check saddle height measurement upon arrival.
- If traveling with others, distribute extra items evenly among luggage.