Discomfort in the saddle can quickly turn a leisurely bike ride into a painful ordeal, hindering your enjoyment and potentially impacting your performance. A poorly adjusted bike saddle is a common culprit, leading to numbness, aches, and even long-term injuries. Getting your saddle height, angle, and fore-aft position correct is crucial for efficient pedaling, proper body alignment, and ultimately, a more comfortable and enjoyable cycling experience. Ignoring this often-overlooked detail can significantly impact everything from weekend spins to serious training rides.
This ultimate guide will equip you with the knowledge and step-by-step instructions to achieve the perfect saddle adjustment. We'll delve into the precise techniques and considerations for finding your ideal riding position, ensuring your bike becomes an extension of your body, promoting both comfort and peak performance. Let's get started with the first step in transforming your cycling experience.
Safety Guidelines
- Always adjust your saddle while your bike is stationary and securely supported. Never make adjustments while riding.
- Small adjustments are key. Make minor changes, test the position, and then make further adjustments as needed. Avoid drastic changes in one go.
- If you experience persistent discomfort or numbness after adjusting your saddle, consult a qualified bike fitter or medical professional.
Methods: Two-Bolt Saddle Adjustment System
Tools Needed
- Allen key
- Torque wrench (for carbon components)
Step-by-Step Instructions
Initial Saddle Positioning
- Start with the saddle parallel to the ground.

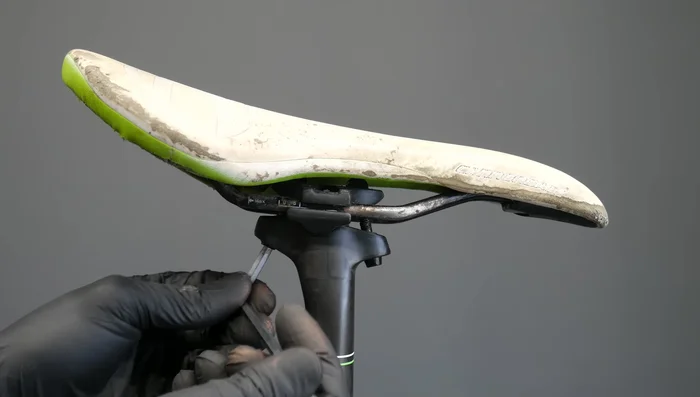
Initial Saddle Positioning Loosening Bolts
- Loosen the bolt on one side.
Loosening Bolts Adjusting Saddle Angle and Position
- Adjust the saddle angle and position.
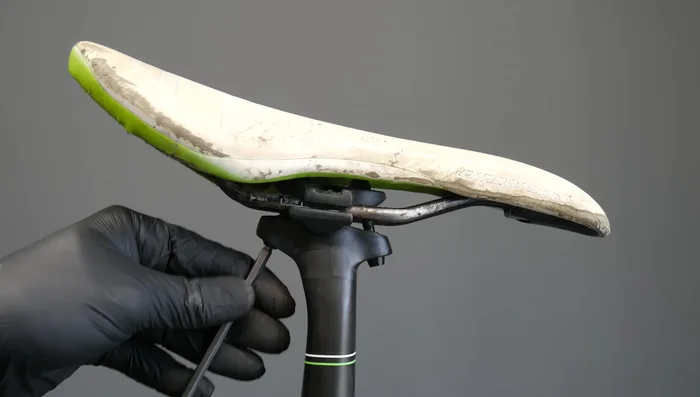
Adjusting Saddle Angle and Position Tightening Bolts and Applying Torque
- Tighten both bolts equally, applying equal pressure.
- Use a torque wrench to avoid over-tightening, especially for carbon components. Aim for the manufacturer's recommended torque (e.g., 6 Newton meters).
Tightening Bolts and Applying Torque


Tips
- Don't just tighten one screw; adjust both equally to avoid uneven pressure.
- Ensure sufficient pressure on both bolts to prevent saddle movement during riding.
Methods: Single-Bolt Saddle Adjustment System with Fine Tuning
Tools Needed
- Allen key
Step-by-Step Instructions
Initial Loosening
- Loosen the main bolt.
Initial Loosening Angle and Position Adjustment
- Adjust the saddle angle and position using the bolt and the built-in adjustment mechanism.
Angle and Position Adjustment Secure Tightening
- Tighten the bolt securely.
Secure Tightening


Tips
- Utilize the small adjustment mechanism (often a knob or a built-in adjustment) for precise tilting of the saddle.
- Apply sufficient pressure to the bolt to prevent movement during rides, especially for heavier riders.
Read more: How to Install a Bicycle Saddle: A Comprehensive Guide