Finding the perfect bicycle saddle can significantly impact your comfort and enjoyment of cycling. A poorly fitted or incorrectly installed saddle can lead to discomfort, pain, and even injury, hindering your rides and potentially discouraging you from cycling altogether. Choosing the right saddle is only half the battle; correct installation is equally crucial to ensure optimal performance and a pleasant riding experience. A correctly installed saddle not only provides the right height and angle but also contributes to the overall efficiency of your pedaling.
This comprehensive guide will walk you through the process of installing a bicycle saddle, covering everything from selecting the correct tools to tightening the bolts securely. Whether you're a seasoned cyclist upgrading your equipment or a beginner assembling your first bike, let's dive into the step-by-step instructions below to ensure your saddle is installed perfectly and ready for your next adventure.
Safety Guidelines
- Always ensure the saddle is correctly tightened to prevent slippage or accidental detachment during riding, potentially causing injury.
- Use the correct tools for your saddle and seatpost; improper tools can damage your bike or cause injury.
- Before riding, test the saddle height and position thoroughly to ensure comfort and prevent discomfort or injury.
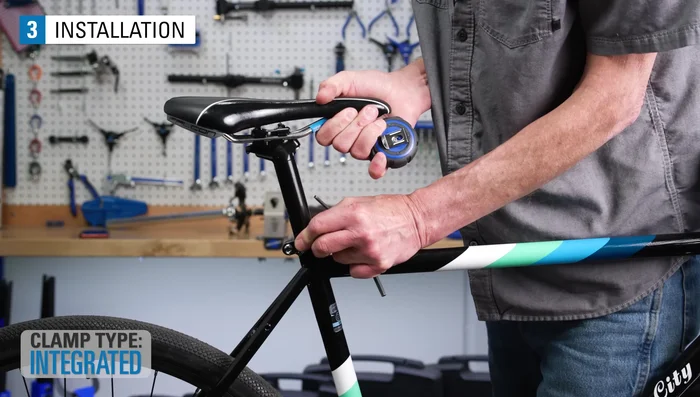
Methods: Installing a Saddle with Integrated Clamp System
Tools Needed
- Bicycle saddle
- Seat post
- Tools (wrench/Allen keys)
Step-by-Step Instructions
Prepare for Saddle Removal
- Inspect the clamp to identify bolts needing removal. If unsure, take notes or a photo.
- Loosen the seat post mounting bolt(s).

Prepare for Saddle Removal Remove Old Saddle
- Remove the old saddle.
Remove Old Saddle Prepare for New Saddle Installation
- Clean all components and apply grease to bolts and the clamp head (consult manufacturer's suggestions).
Prepare for New Saddle Installation Install New Saddle and Adjust Position
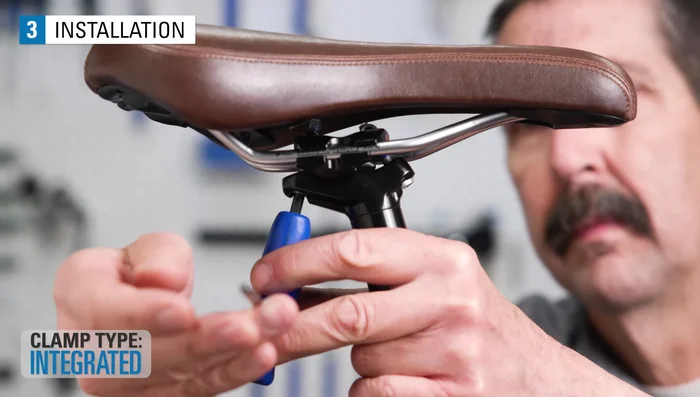
- Install the new saddle between the clamping plates.
- Slide the saddle to match previous measurements. Respect any 'stop' marks on the rails.
- Adjust saddle tilt by loosening and tightening the front/back bolts accordingly.
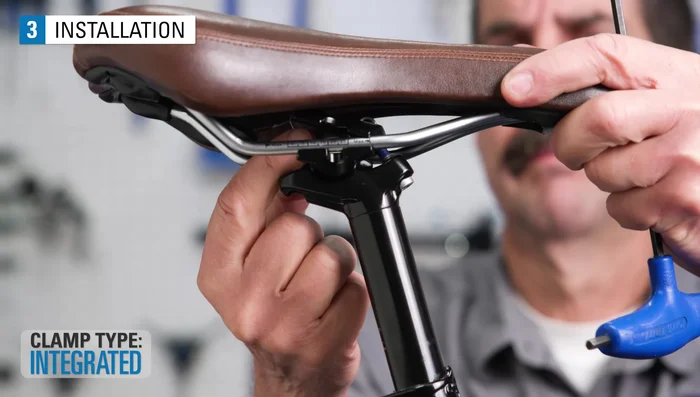
Install New Saddle and Adjust Position Secure and Finalize
- Secure the rails to the recommended torque.
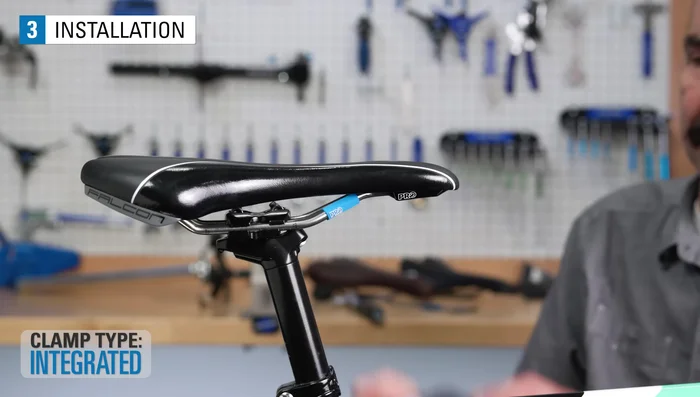
- Double-check saddle height and make final adjustments after a test ride.
Secure and Finalize


Tips
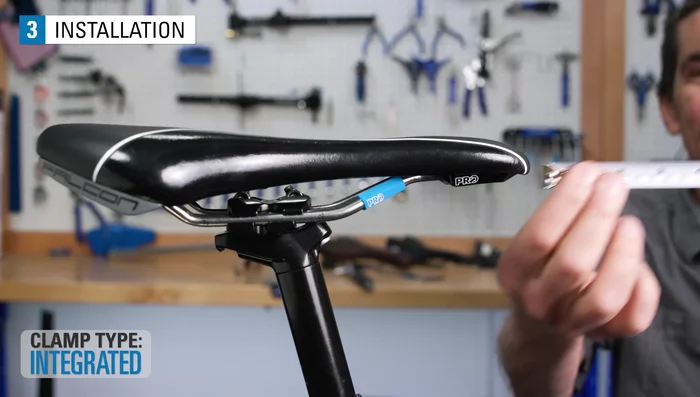
- Take measurements of your old saddle position before removal to easily replicate it with the new saddle.
- If using a new clamp system, take notes on parts orientation or take a photo for reference.
- After tightening, check for saddle movement by pushing and pulling; re-tighten if needed.
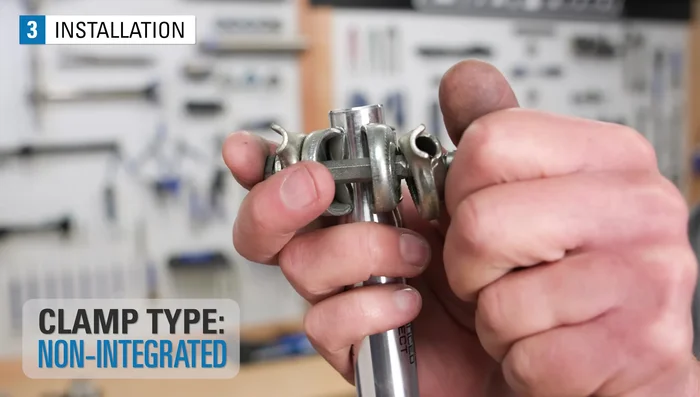
Methods: Installing a Saddle with a Non-Integrated Clamp System
Tools Needed
- Bicycle saddle
- Seat post
- Clamp
- Tools (wrench/Allen keys)
Step-by-Step Instructions
Prepare the Seatpost
- Loosen the clamp nuts/bolts on the head.
- Grease the threads.
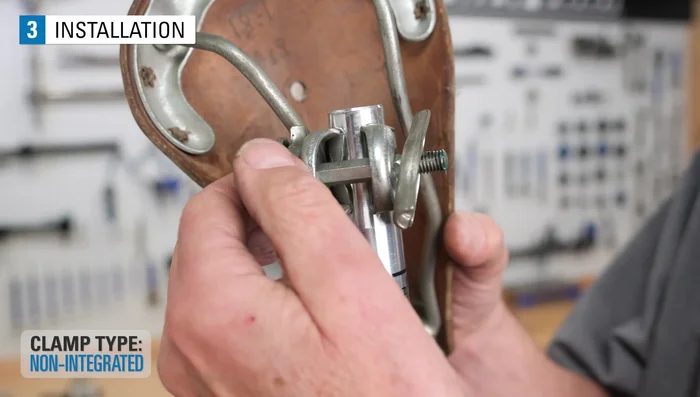
Prepare the Seatpost Install the Saddle
- Install the saddle rails.
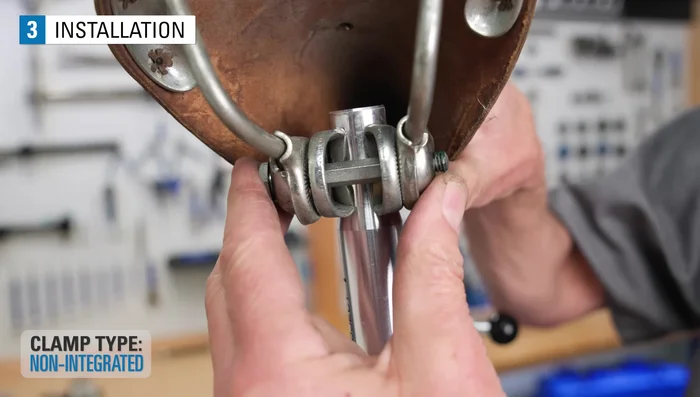
- Set the desired angle and clamp the rails to the manufacturer's specified torque (15-20 Nm).
Install the Saddle Verify Installation
- Check for movement and retighten if necessary.

Tips
- Ensure compatibility between the saddle rails and the clamp system, especially for carbon fiber rails; using an improper clamp may result in damage.
- Check clearance between saddle rails and the seat post molding to avoid interference and potential damage.
Read more: How to Adjust Your Bike Saddle: The Ultimate Guide for Optimal Comfort and Performance