This review dives into the SKS Raceblade Pro Fender System, a lightweight, affordable solution for keeping your road bike clean and dry. We'll cover the unboxing experience, detailing the contents and highlighting a potential pitfall: the small, easily-lost parts. Installation is a key focus, with a step-by-step account of attaching both the front and rear fenders, emphasizing the importance of proper clearance and the use of the included frame savers. We’ll assess the ease of the process, noting any challenges and offering tips for a smooth installation.Ultimately, this review evaluates the effectiveness of the SKS Raceblade Pro fenders in protecting your bike from mud and water, considering their performance relative to their price point of around 13 euros. We'll offer a final verdict on whether these fenders represent a worthwhile investment for road cyclists seeking reliable protection without breaking the bank. Read on to find out if the SKS Raceblade Pro Fender System lives up to the hype.
Pros And Cons
- Lightweight
- Designed for road bikes
- Not very sturdy
- Maximum wheel size of 25 millimeters
- Packaging could be improved; small parts are easily lost during unpacking.
Read more: 5 Best Child Bike Fenders to Keep Your Little One Dry
Unboxing the SKS Raceblade Pro Fenders
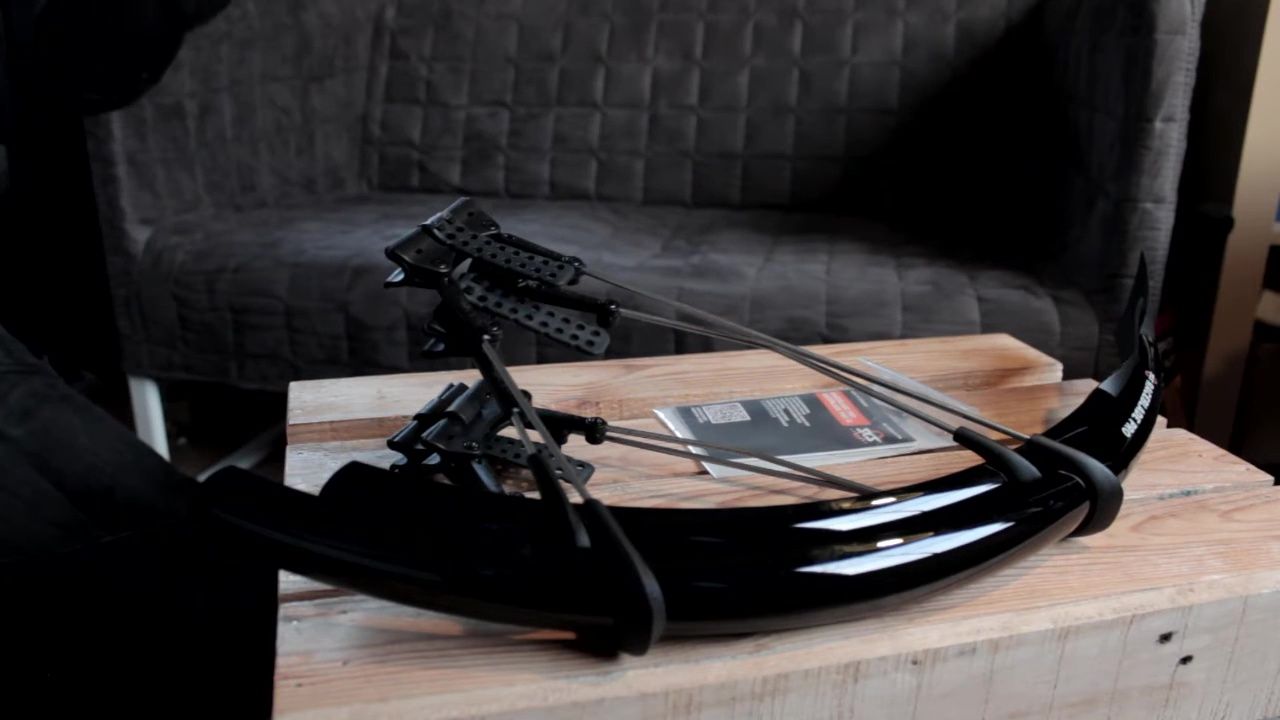
The package arrived containing both front and rear fenders, specifically designed for road bikes. The packaging is simple, but effectively protects the contents.
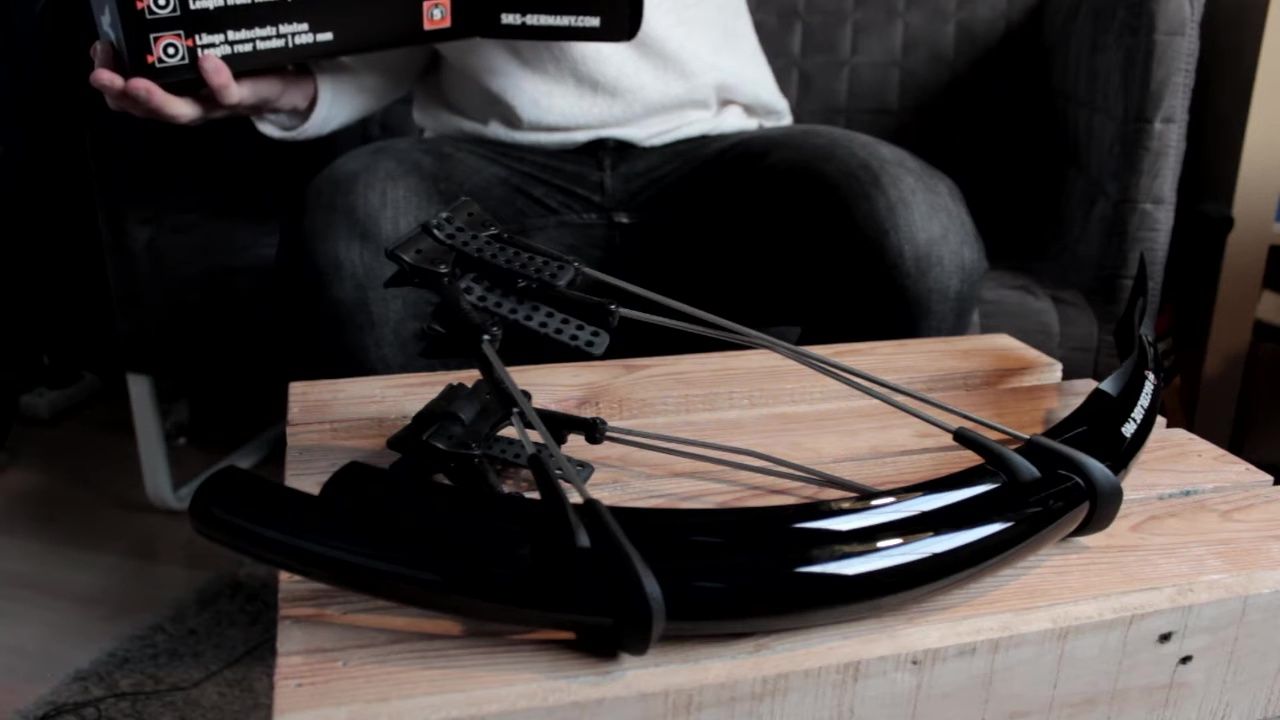
Inside, I found the fenders themselves, along with a small Allen key for assembly, several small screws, and frame-saver patches to protect your paintwork.
Note: Be extremely careful unpacking; the small parts are easily lost! I accidentally dropped some of the screws during unboxing.
Rear Fender Installation: A Step-by-Step Guide
Installation begins with the rear fender. Ensure a 1.5cm gap between the fender and the tire edge. This is crucial for clearance and to prevent rubbing.

Apply the provided frame-saver patches to protect the bike frame at contact points. This is a small but important detail.

The process involves attaching the fender using the included screws. It is a slightly fiddly process initially, but becomes easier once you get the hang of it.

Front Fender Installation and Final Thoughts
The front fender installation mirrors the rear fender process. Start by securing the fender with the straps, paying attention to even spacing.
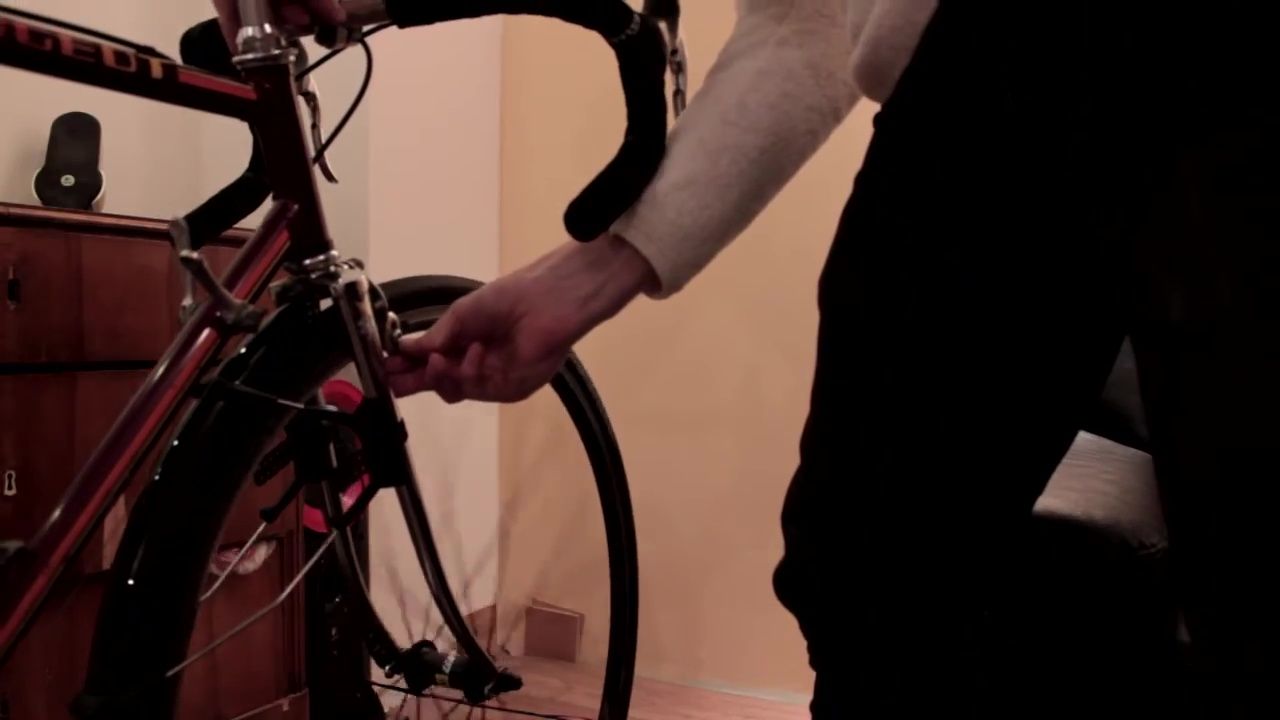
Adjust the fender's position for optimal clearance, making sure the fender doesn't rub against the tire. Tighten screws gradually to avoid over-tightening.
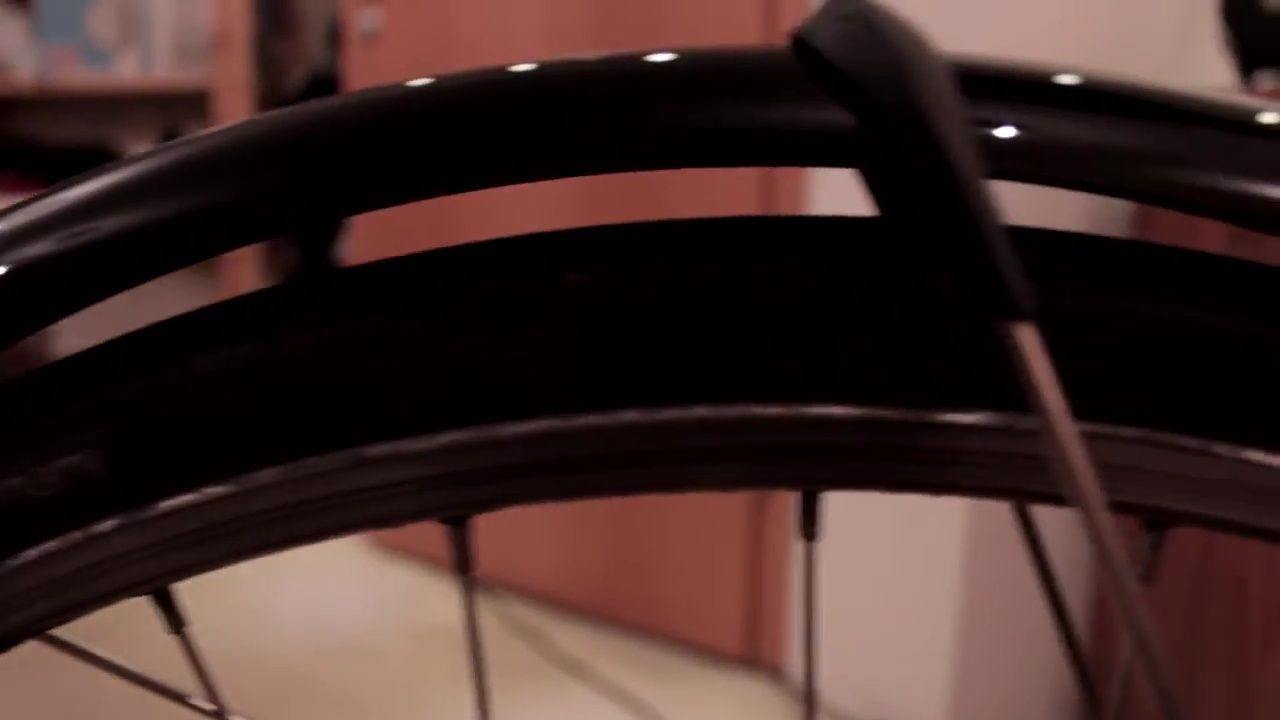
Once completed, test the wheel rotation to ensure no rubbing or interference. The whole process, though fiddly at first, is straightforward with a little patience.
Overall Review and Conclusion
The SKS Raceblade Pro fenders provide effective mud and water protection for road bikes, particularly given their lightweight design.
The installation is relatively easy, though some patience is required, especially during the initial stages. The instruction manual could be improved.
Considering the price (around 13 euros), these fenders offer good value for their features and performance. They are a solid choice for cyclists looking for reliable protection on their road bikes.