This guide provides a simple, step-by-step instruction on how to quickly and easily install SKS mountain bike mudguards. Whether you're a seasoned cyclist or a relative newcomer, this easy-to-follow tutorial will walk you through the entire process, from preparing your tools and checking your mudguards to securing them firmly onto your bike. We'll cover both front and rear mudguard installation, ensuring you achieve a secure and aesthetically pleasing fit. No special skills are required – just a little time and attention to detail.This guide complements the accompanying video demonstration, offering a detailed textual overview of each stage. We'll highlight crucial points such as proper alignment, screw tightness, and maintaining the correct distance between the mudguards and your bike frame. By following these instructions, you’ll be enjoying the protective benefits of your new SKS mudguards in no time, keeping you clean and dry on even the muddiest trails. This guide focuses on ensuring a secure and functional installation, maximizing the effectiveness and longevity of your SKS mudguard investment.
Pros And Cons
- Easy to assemble
- Parts may be damaged if not assembled carefully
- Requires specific tools (wrench)
Read more: 5 Best Child Bike Fenders to Keep Your Little One Dry
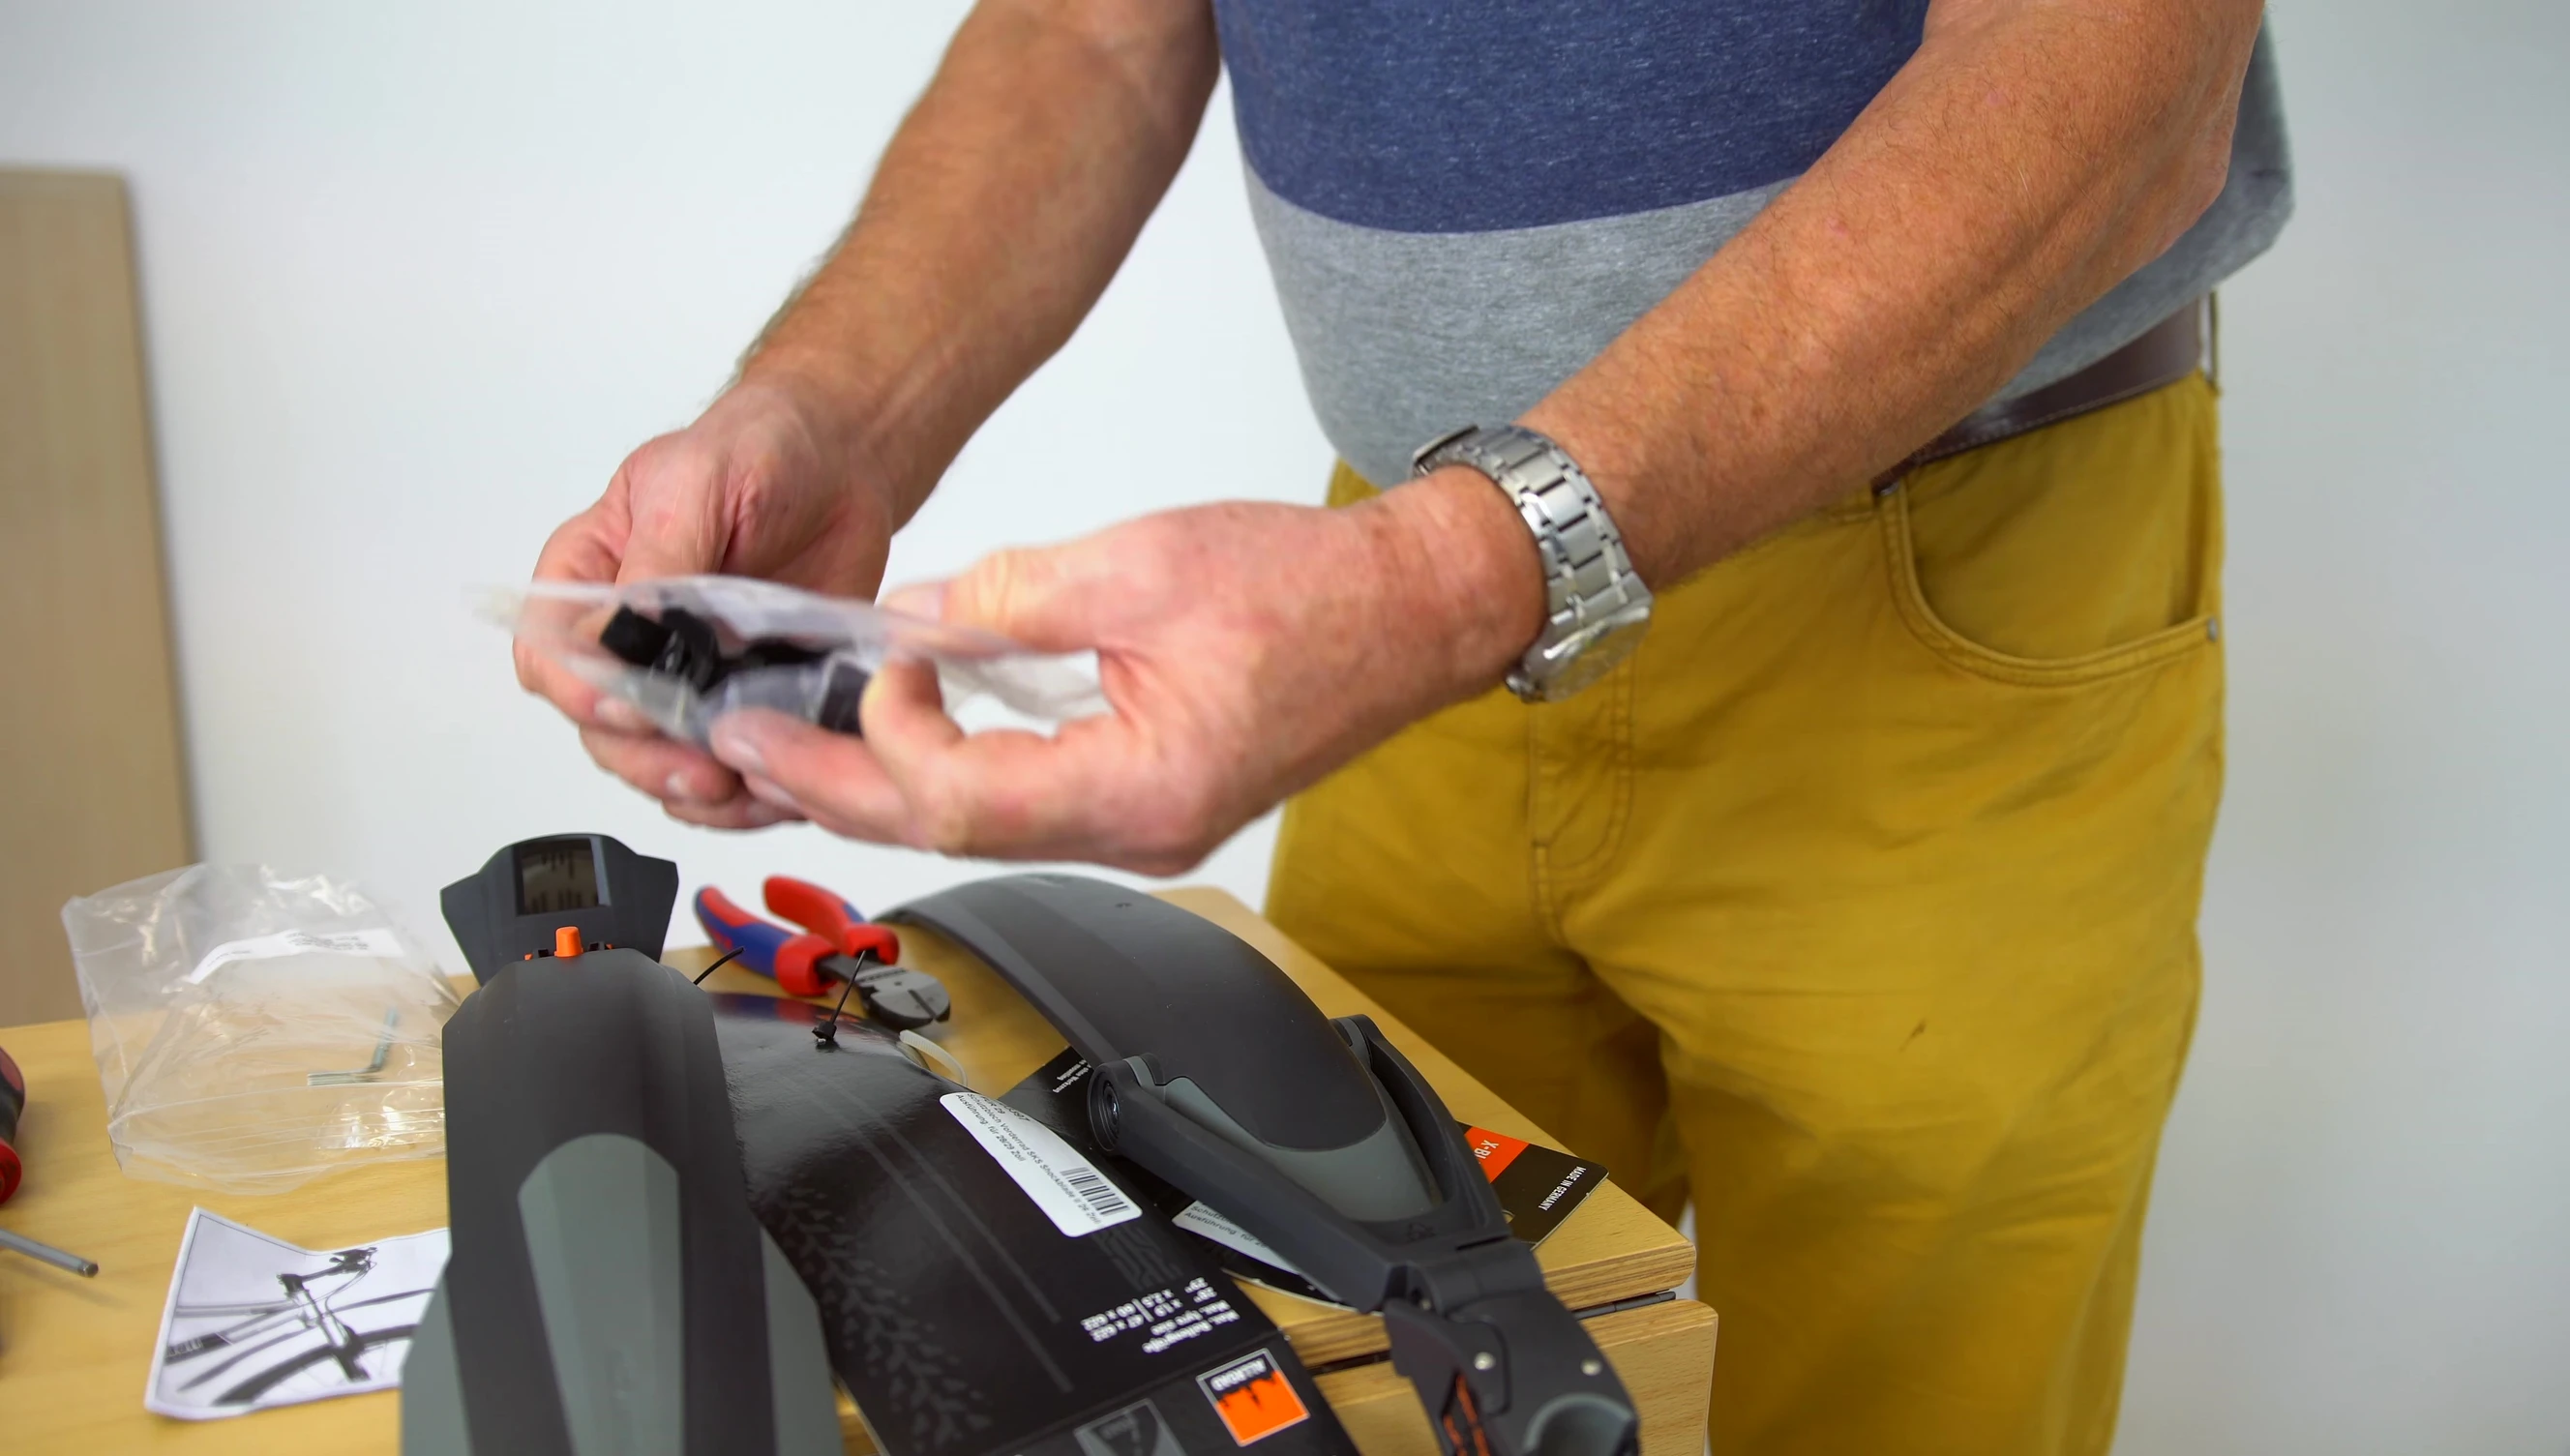
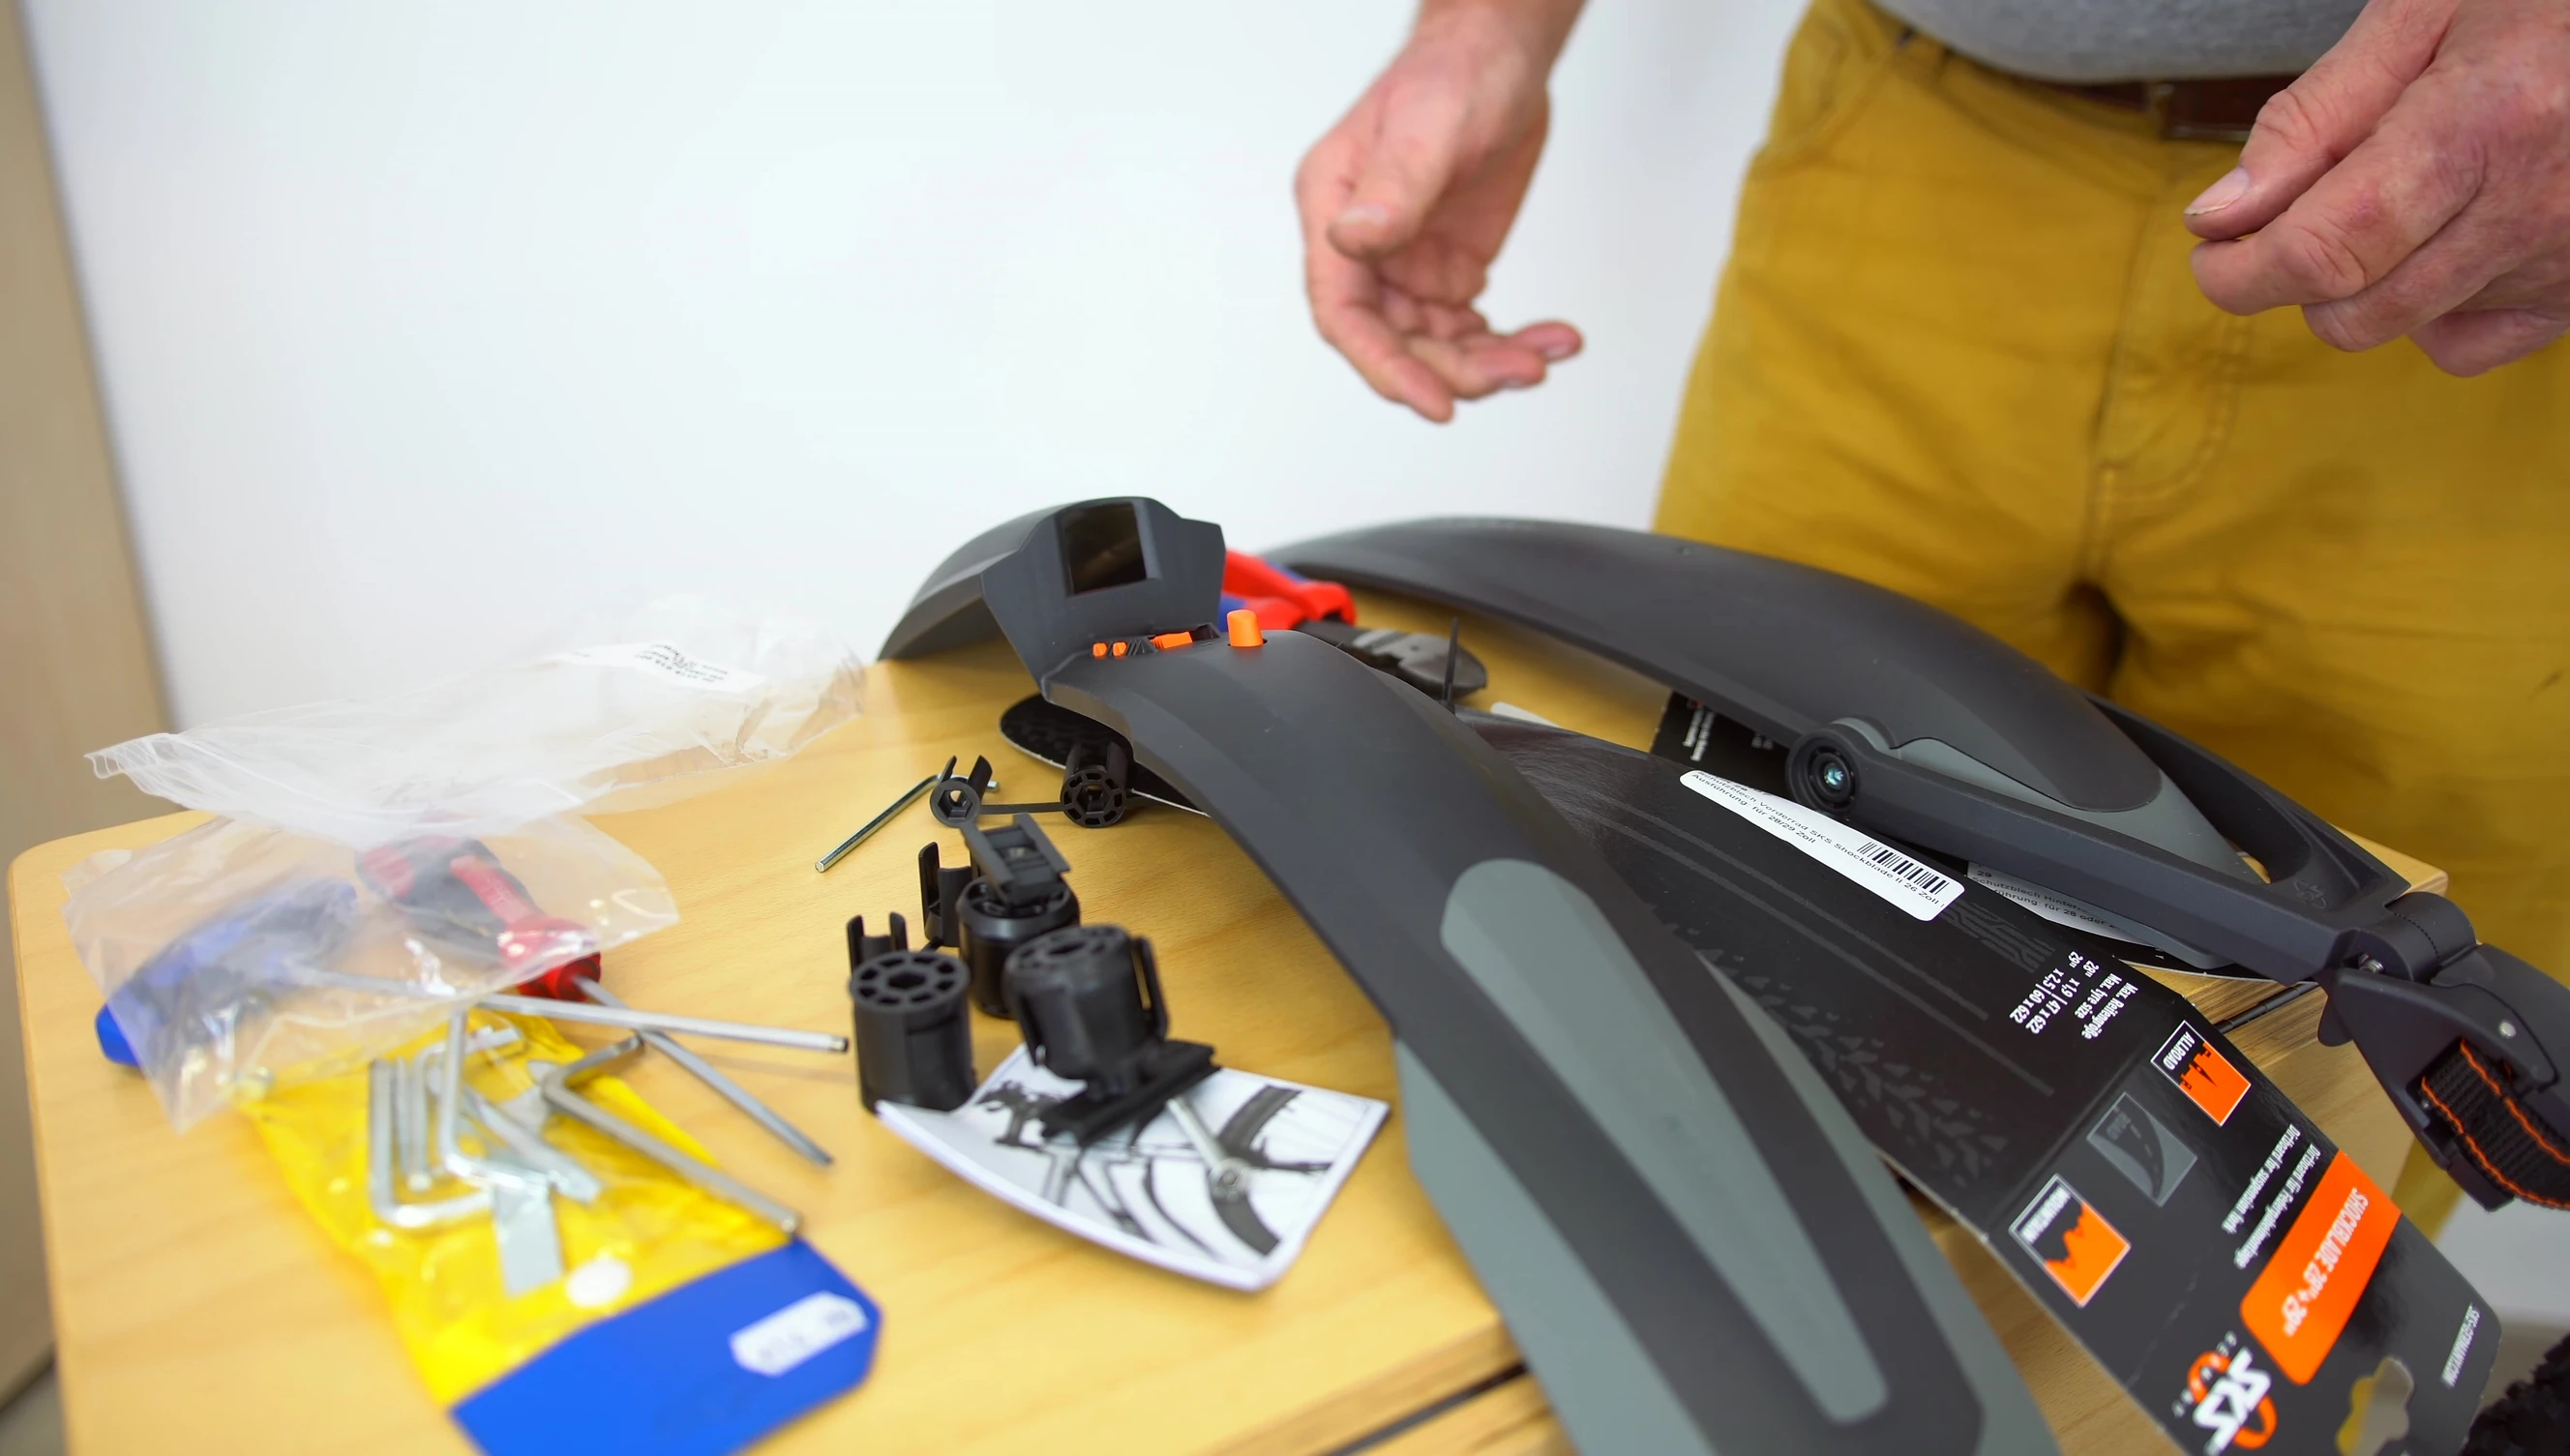
Preparing for Installation
Before you begin installing your SKS mudguards, ensure you have all the necessary tools and components. This typically includes screws, and potentially a wrench depending on the model. Carefully review the instructions provided with your specific mudguard kit to avoid any issues during assembly.
Check the condition of the mudguards themselves. Confirm that they are undamaged and that all parts are present. Make sure the area where you will install the mudguards on your bike is clean and free from any obstructions.
Attaching the Front Mudguard
Start by attaching the front mudguard. The video suggests using a fork-fitting method and ensuring the mudguard aligns correctly with your bike's frame. Pay close attention to the specified fastening size to avoid damage.
Carefully adjust the mudguard for the best fit and ensure easy access to all assembly points. Once you're satisfied with the placement, begin securing it using the provided screws.
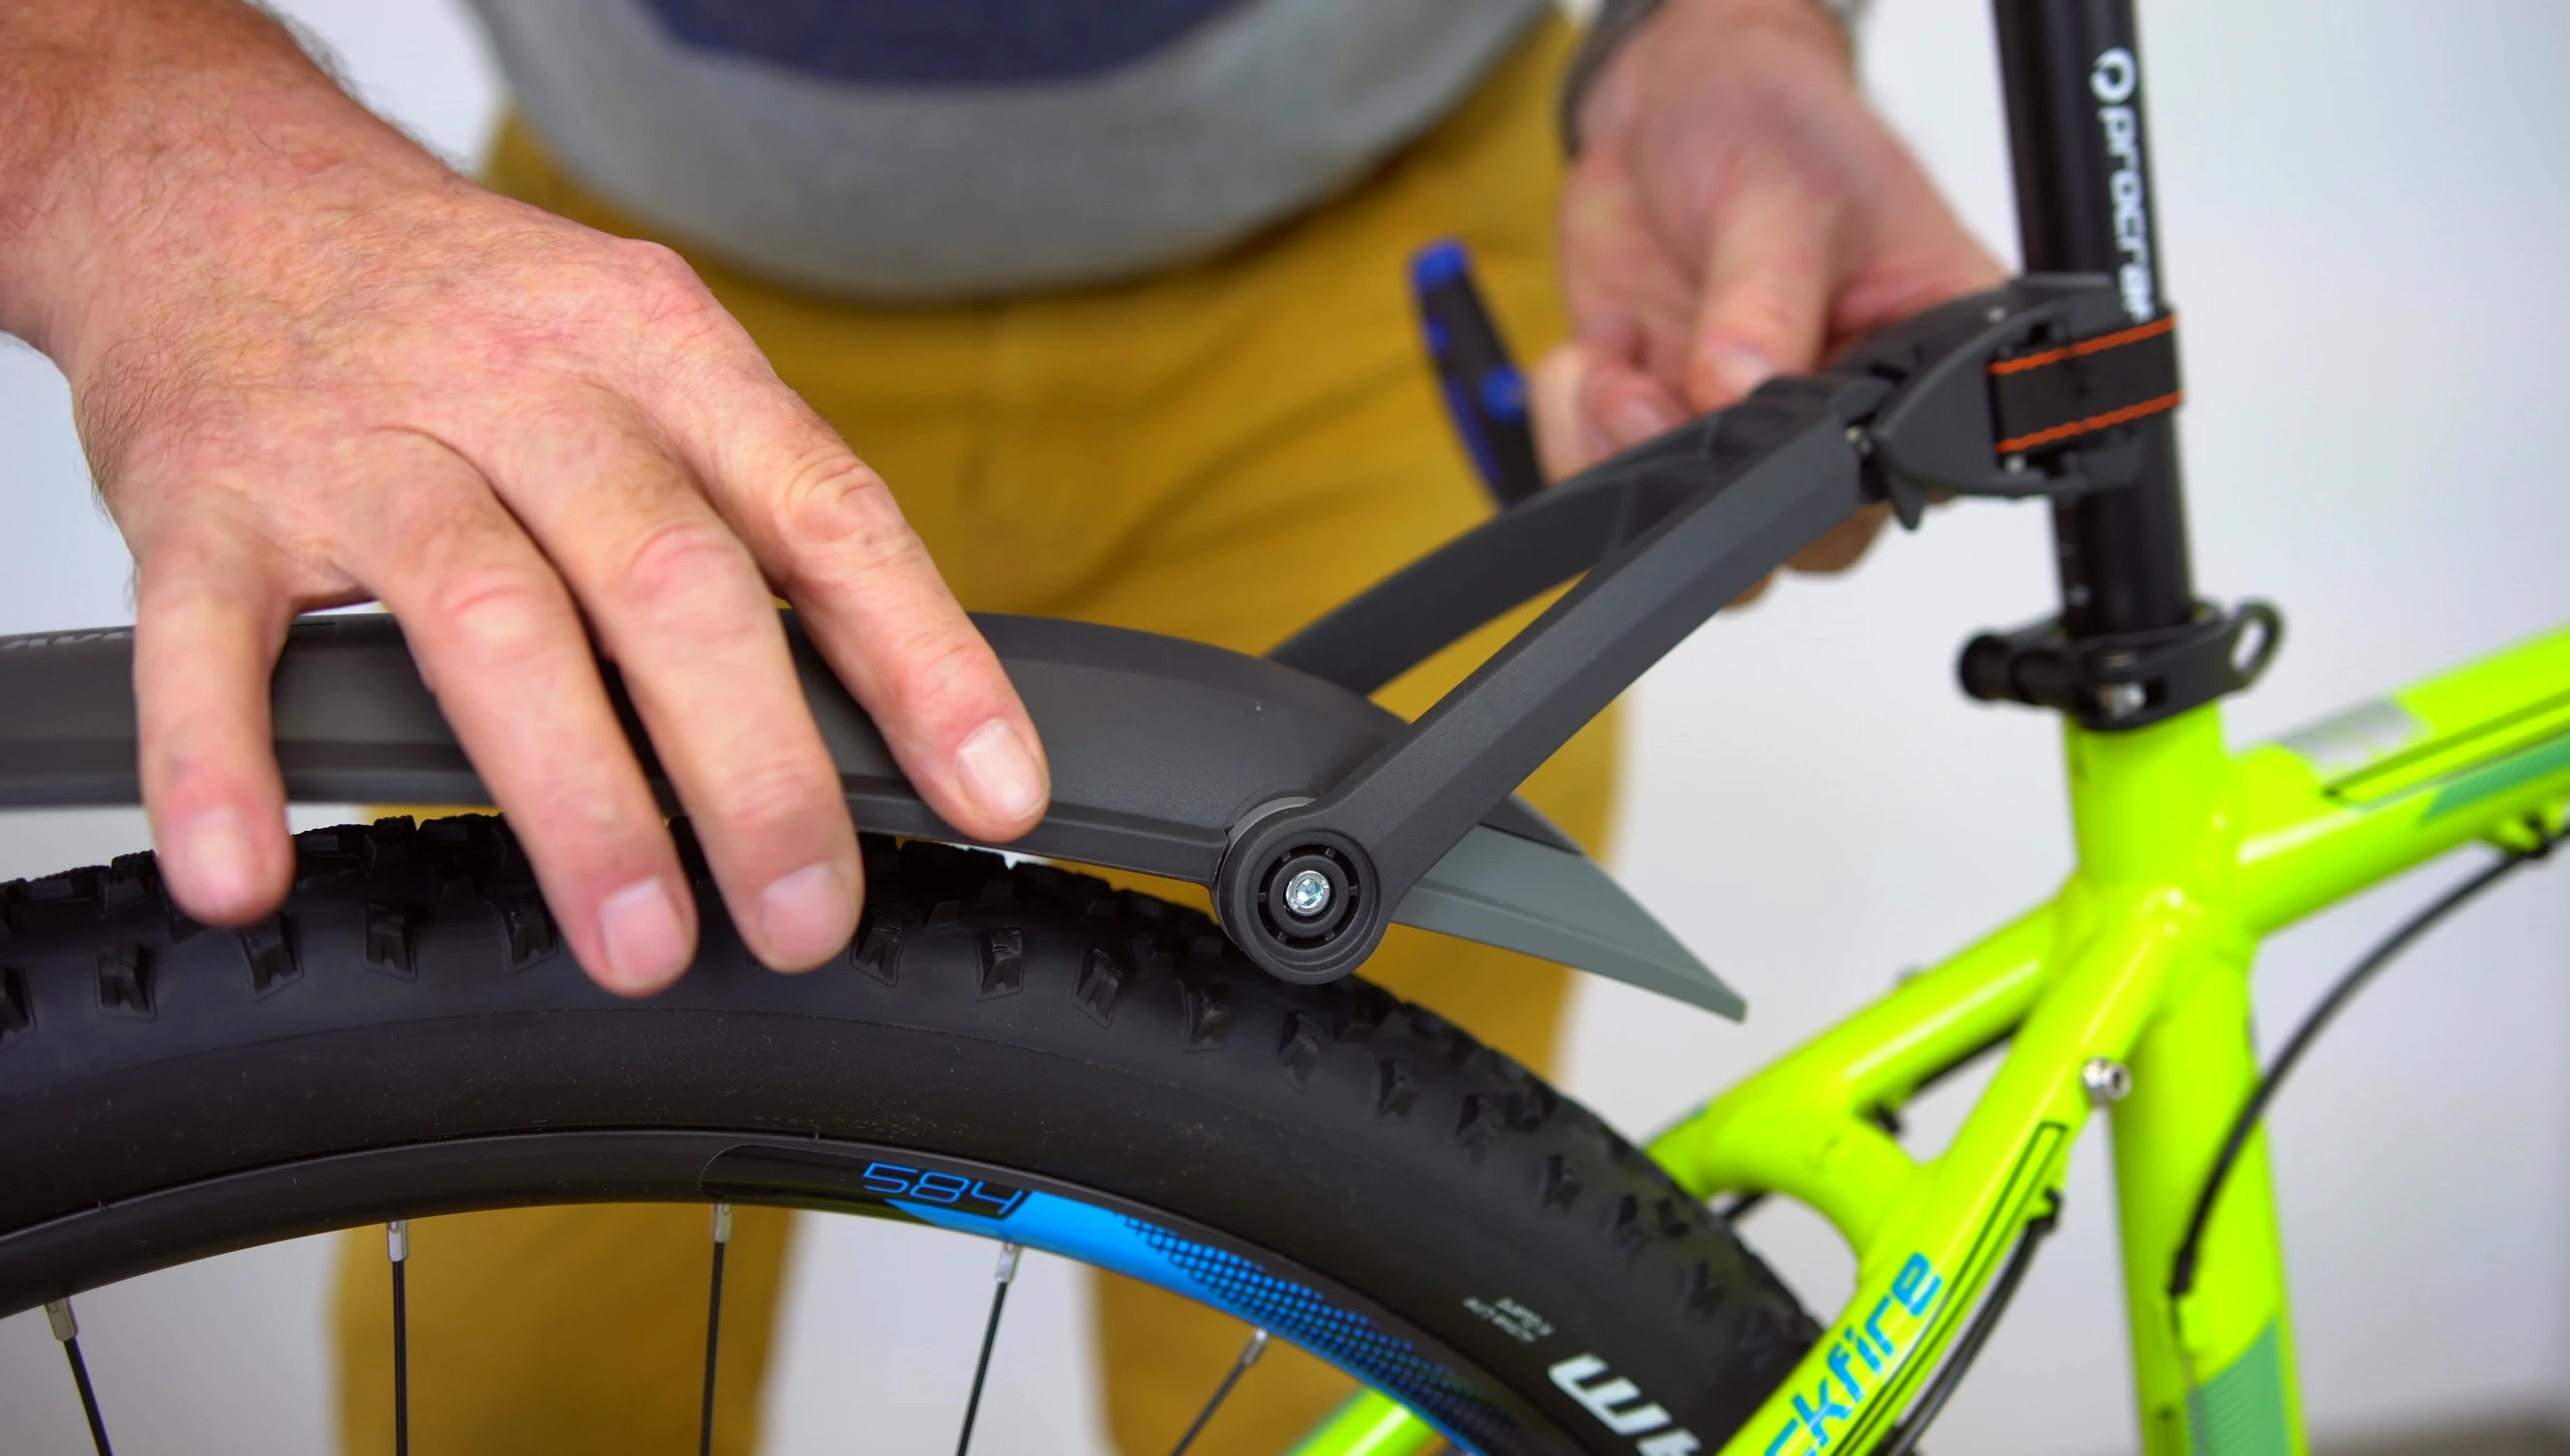
Installing the Rear Mudguard
The installation process for the rear mudguard is similar. Begin by aligning the mudguard to the rear fender. Ensure the mudguard is securely fastened and correctly aligned to avoid any issues with functionality or aesthetics.

After proper alignment, secure the rear mudguard with the provided screws or fastening mechanisms. Double-check the tightness of all screws to ensure stability and prevent rattling during riding.

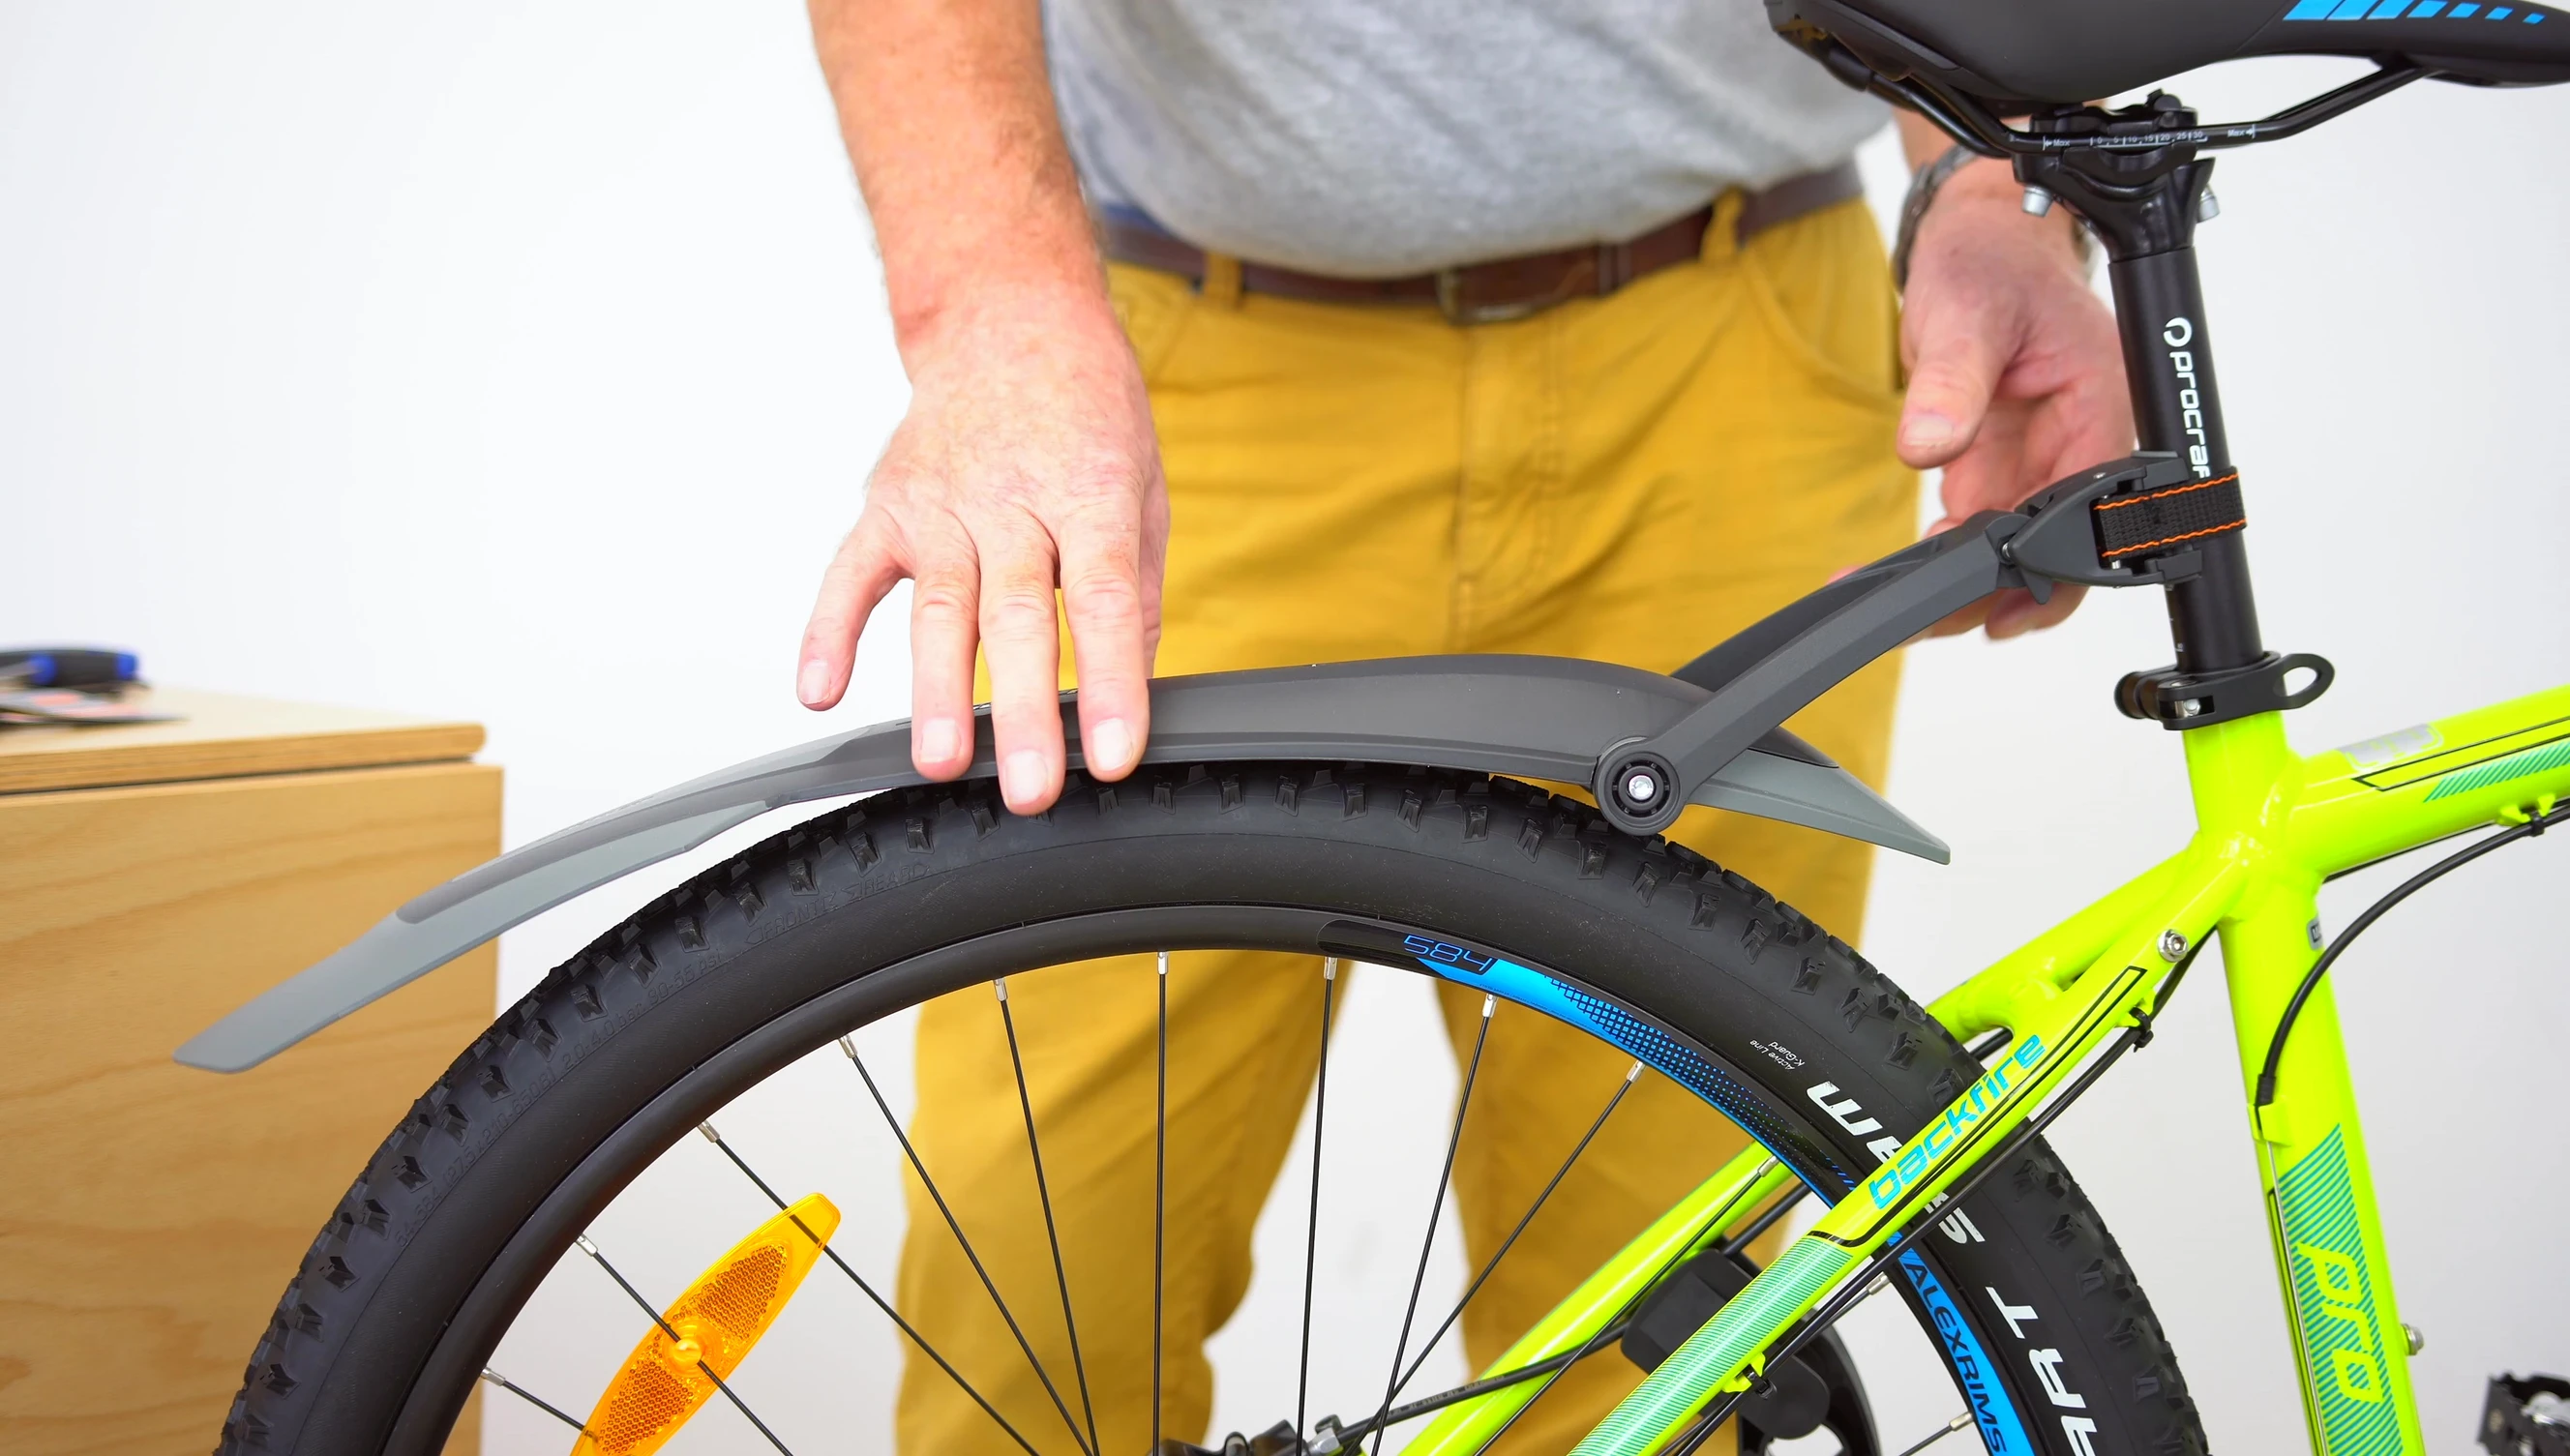
Final Adjustments and Considerations
Once both mudguards are installed, conduct a thorough inspection of the assembly. Check for any loose parts, misalignment, or potential interference with other bike components. Make any final adjustments as needed to ensure a secure and functional fit.
The video emphasizes the importance of maintaining a certain distance between the mudguard and the bike frame, so ensure that's accurate for your model. This prevents potential damage or interference while riding.
Conclusion
Installing SKS mountain bike mudguards is a straightforward process, with the right tools and clear instruction this process can be done quickly and efficiently. This guide provides a step-by-step breakdown of the process, helping ensure a successful installation. Pay attention to detail, ensuring everything aligns correctly before tightening screws and make final adjustments as necessary for a secure fit.

The SKS mudguards appear to offer effective protection, with the added benefit of easy installation. While the video doesn't offer a direct comparison to other brands, the ease of assembly and clear instructions presented are positive aspects. If you are looking for a reliable and straightforward mudguard solution for your mountain bike, the SKS brand appears to be a viable option.