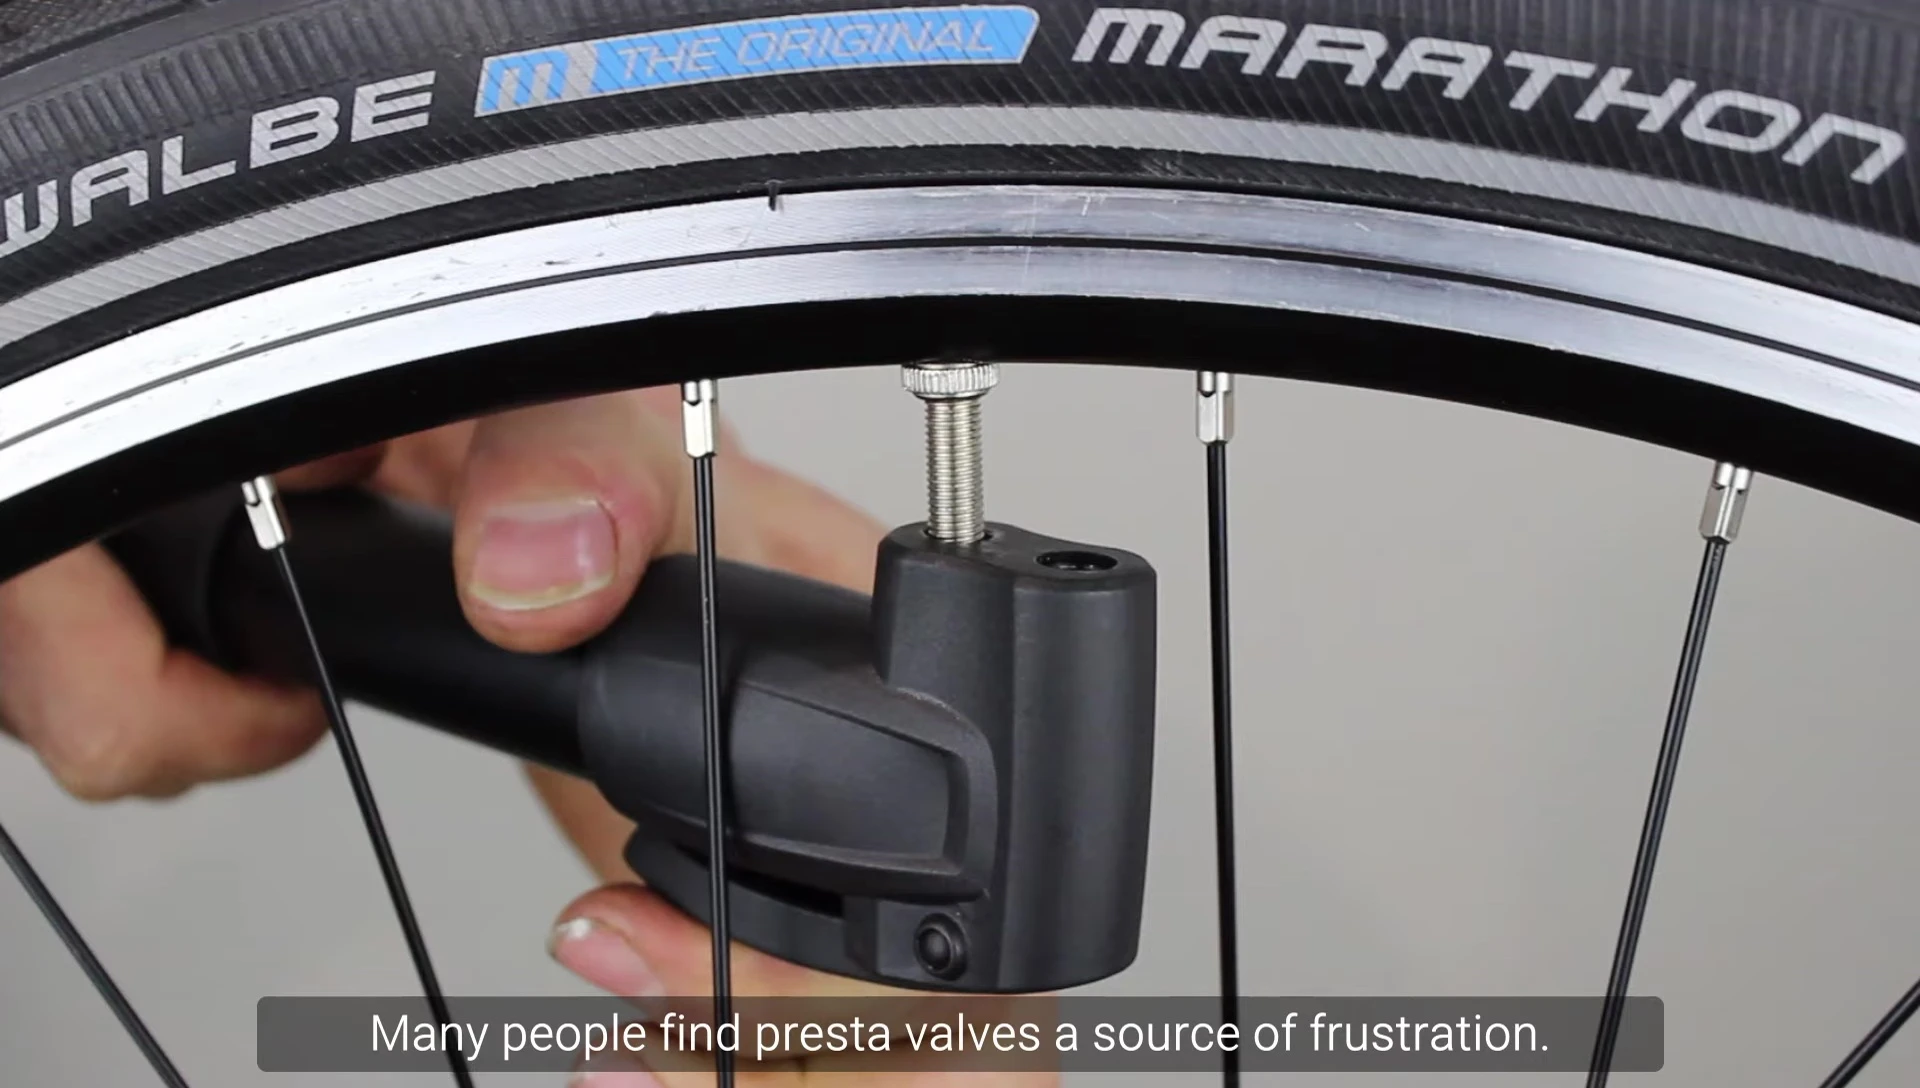
Presta valves, while offering superior air pressure control, can be notoriously tricky for cyclists to inflate. This comprehensive guide walks you through the process of successfully pumping up your tires using a Presta valve, eliminating frustration and ensuring a smooth, efficient inflation every time. We'll cover everything from correctly configuring your pump for Presta valves – including adjustments to the pump head – to the proper techniques for attaching and detaching the pump to avoid damaging the delicate valve mechanism.This guide will equip you with the knowledge and skills to confidently handle Presta valves, minimizing the risk of bending or breaking the valve stem. We'll address common issues cyclists encounter and offer advice on choosing the right pump for a seamless experience. Follow these simple steps and say goodbye to frustrating inflation attempts; instead, enjoy the superior performance and control Presta valves offer.
Read more: Top 5 High-Pressure Bike Pumps for Effortless Inflation
Setting Up Your Pump for Presta Valves
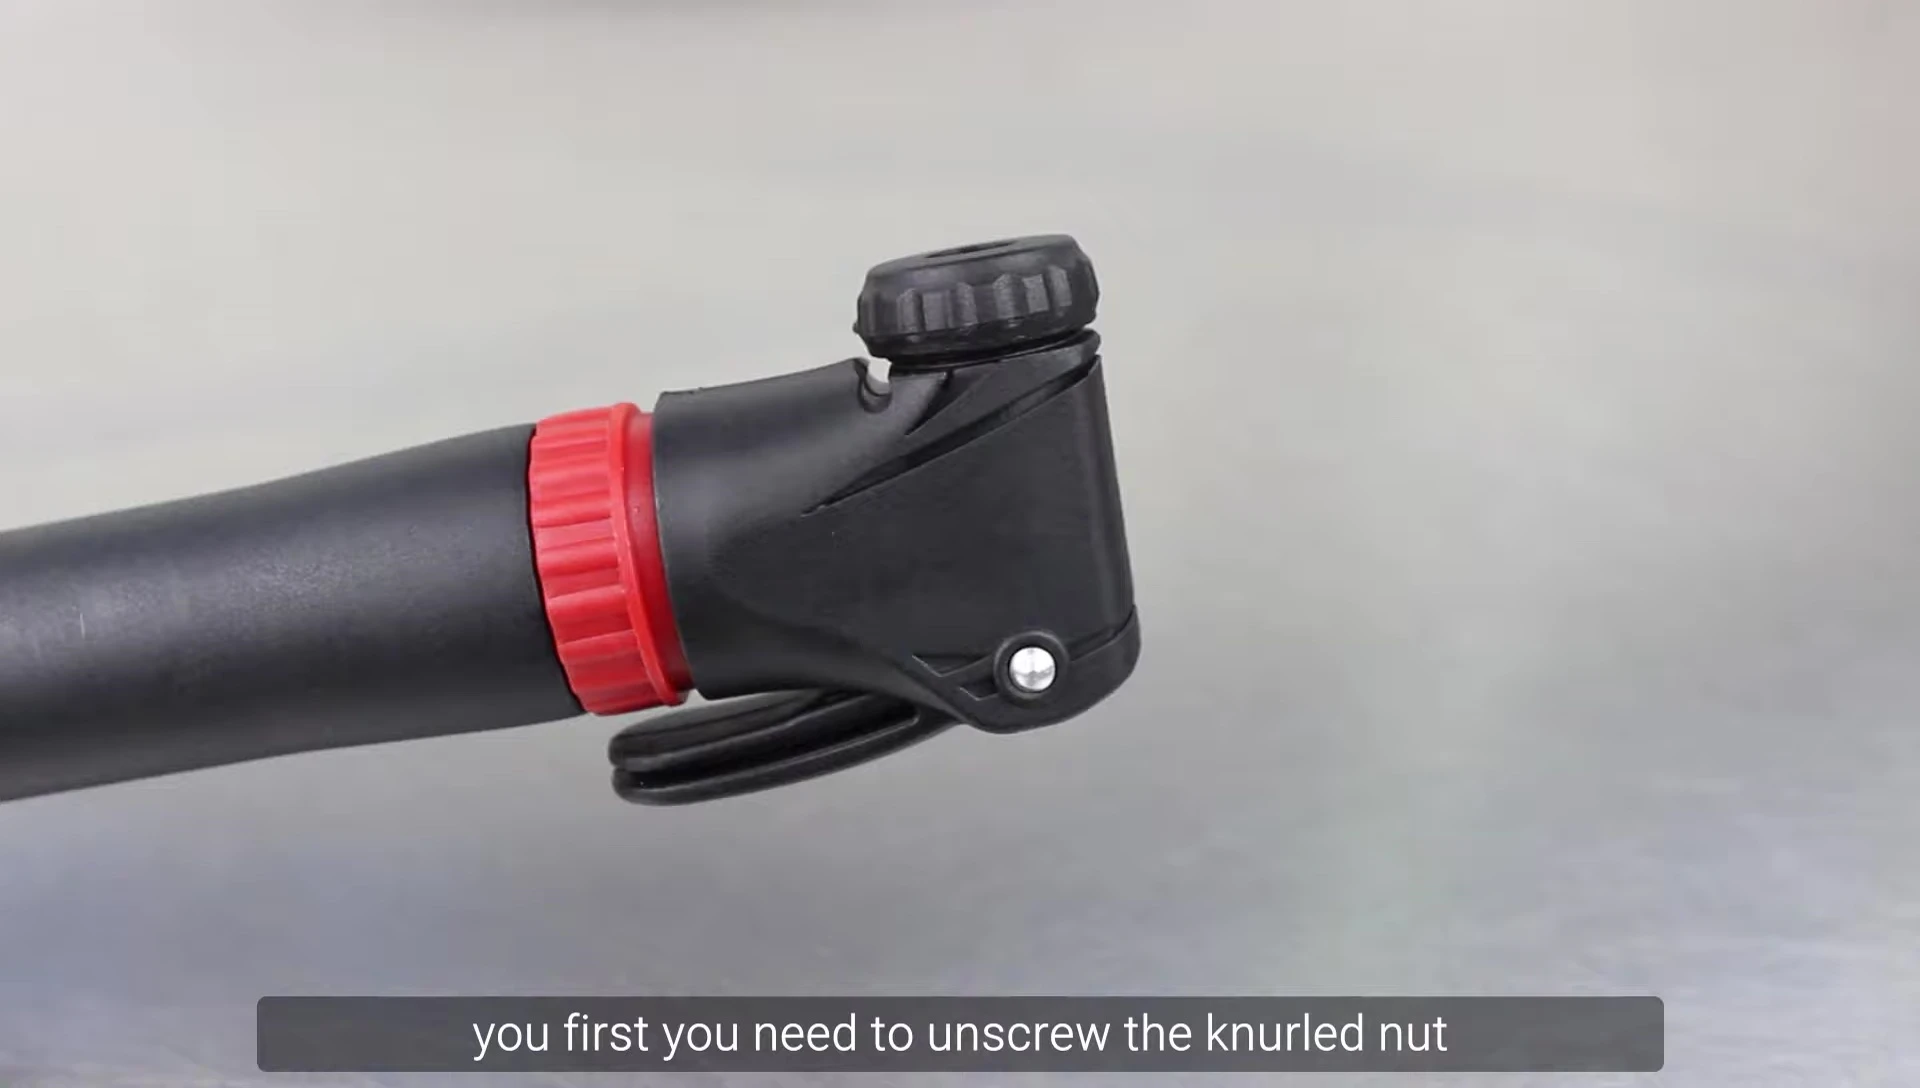
Before you inflate your tires, ensure your pump is compatible with Presta valves. Many pumps have a dual-head design that accommodates both Presta and Schrader valves. However, this may require adjusting internal fittings. Unscrew the knurled nut around the pump head's hole; this usually requires only hand-tightening and will unscrew counter-clockwise.
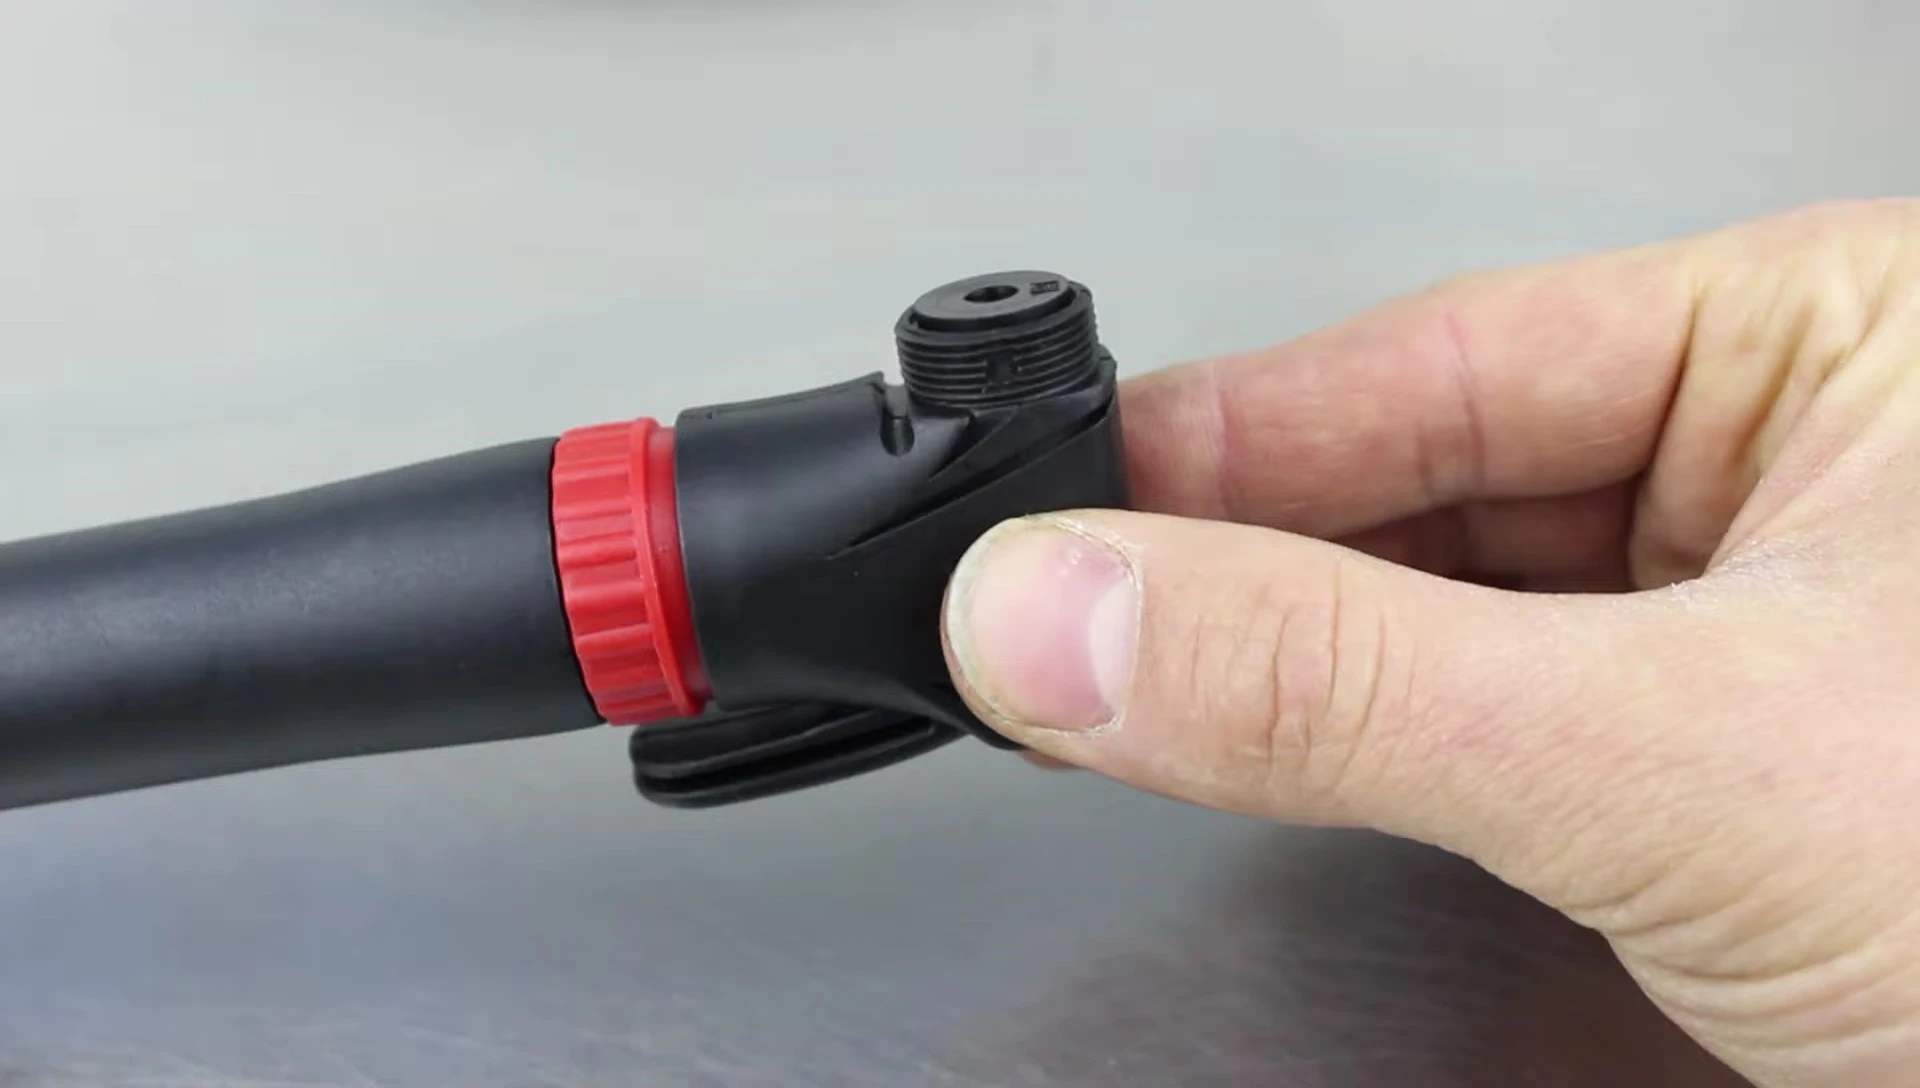
Remove a circular rubber piece with a hole. To do this, open the lever on your pump; the rubber pad will lift up. Carefully slide it out, revealing two holes—one larger (for Schrader valves) and one smaller (for Presta valves).
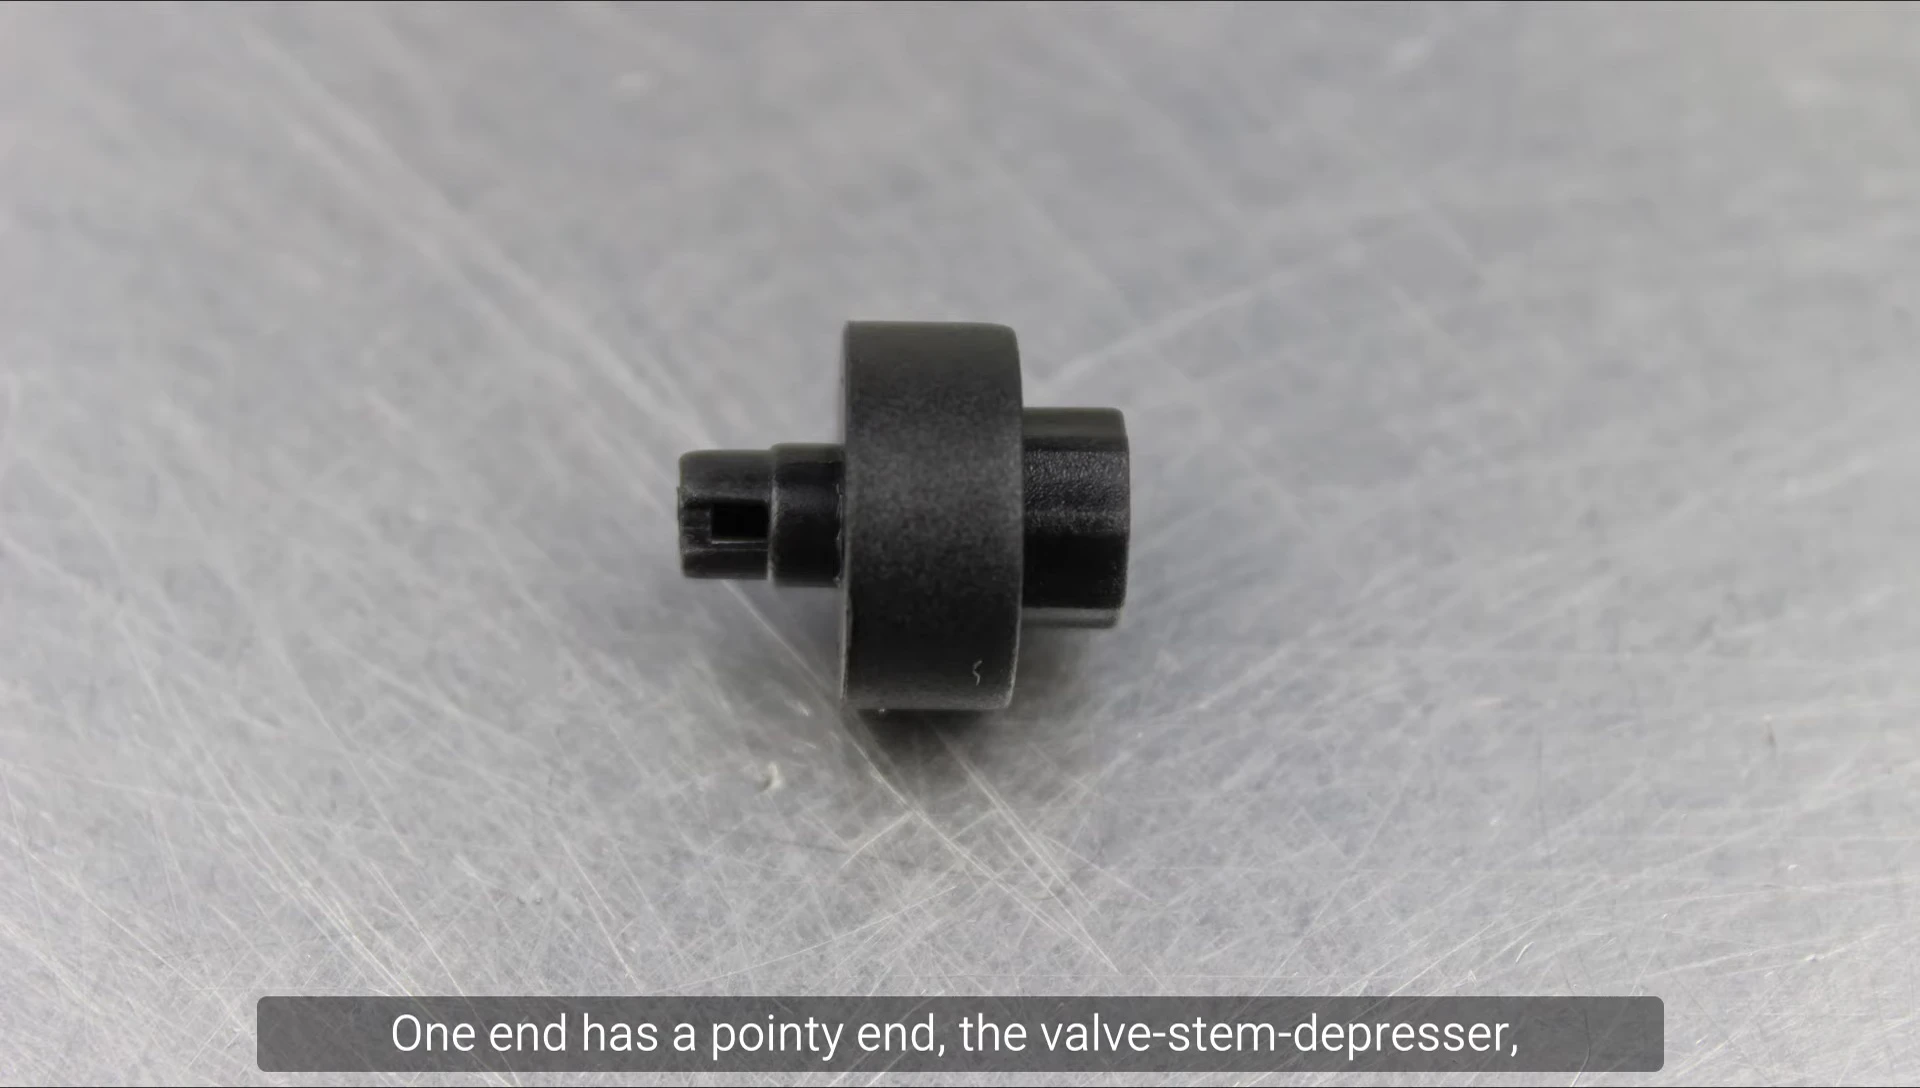
Next, remove a plastic piece usually found inside the pump head. This piece has a pointy end (the valve stem depressor) and an open end. Reinsert this plastic piece into the pump head with the valve stem depressor first, ensuring the open end faces upwards.
Inflating Your Presta Valve
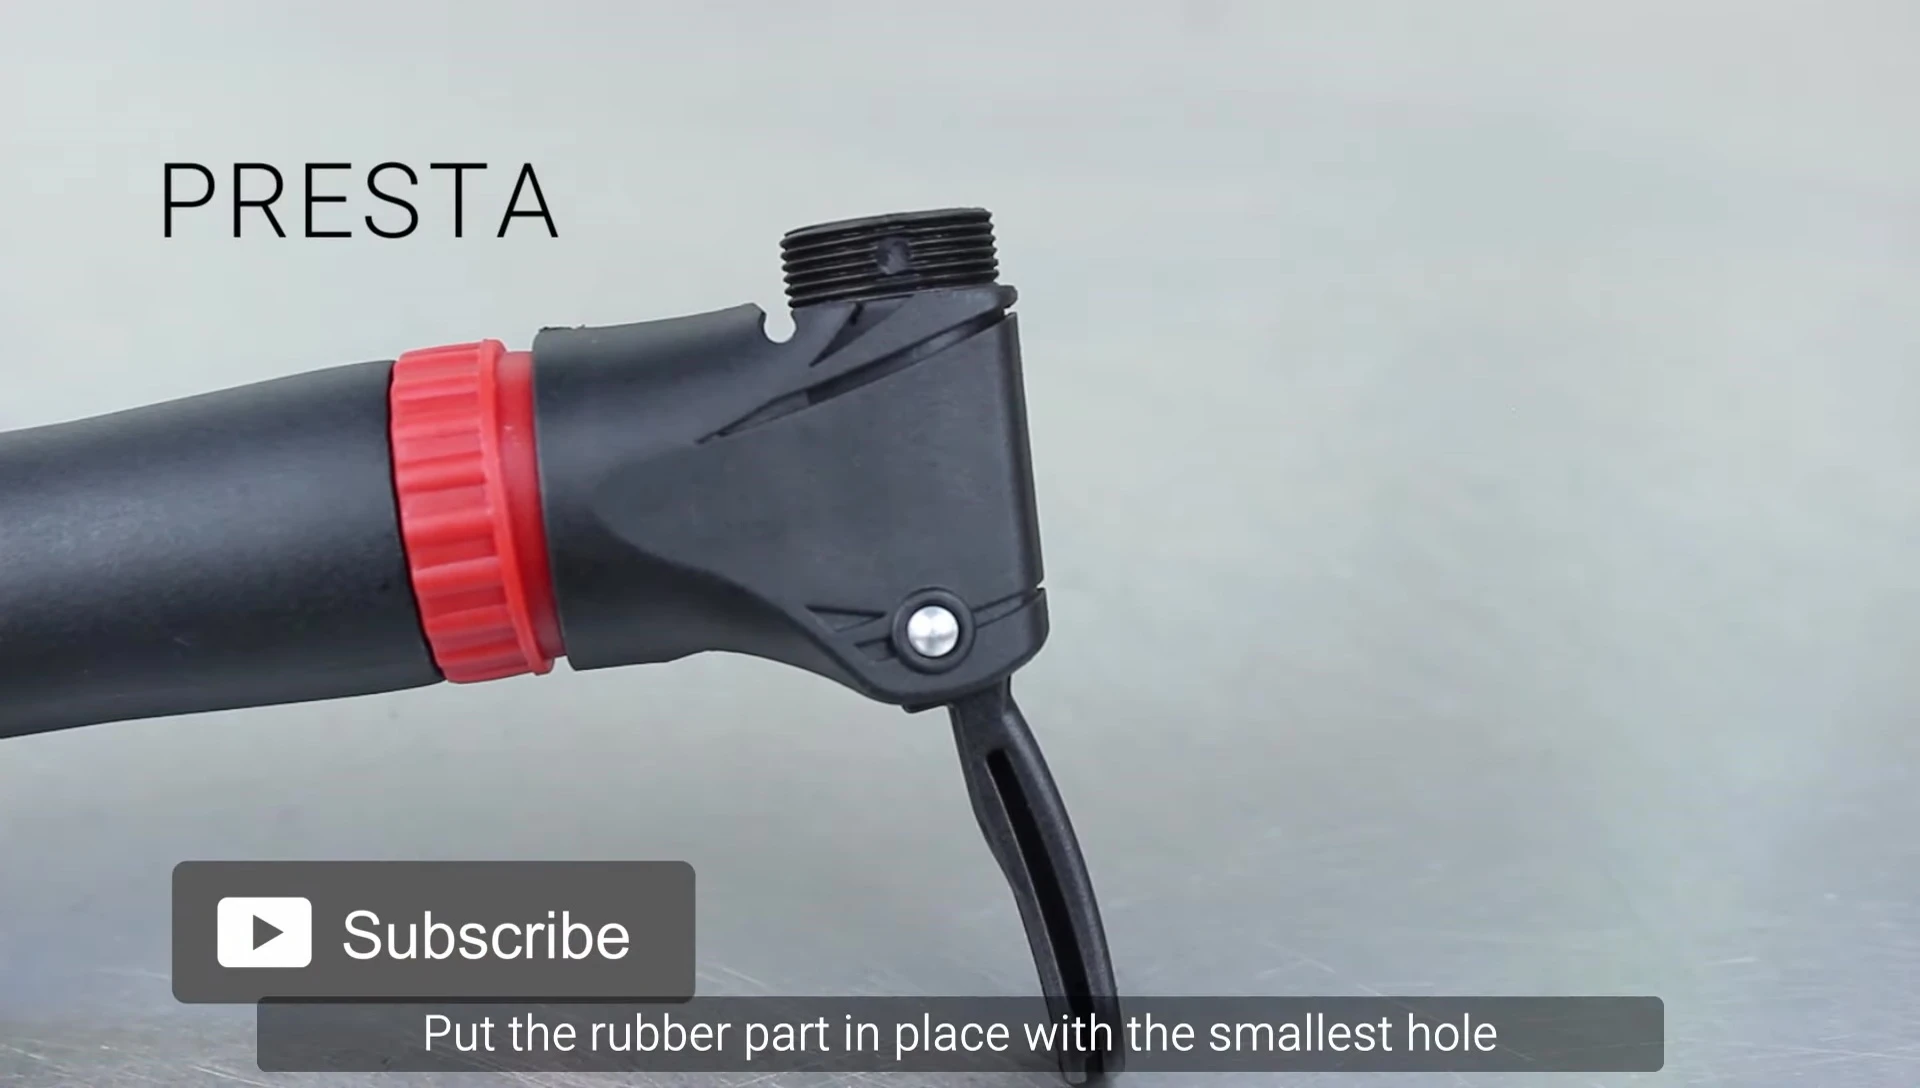
Position the rubber pad with the smaller hole facing upwards, aligning it with the open end of the plastic piece. Reattach the knurled nut, ensuring it's finger-tight but not over-tightened.
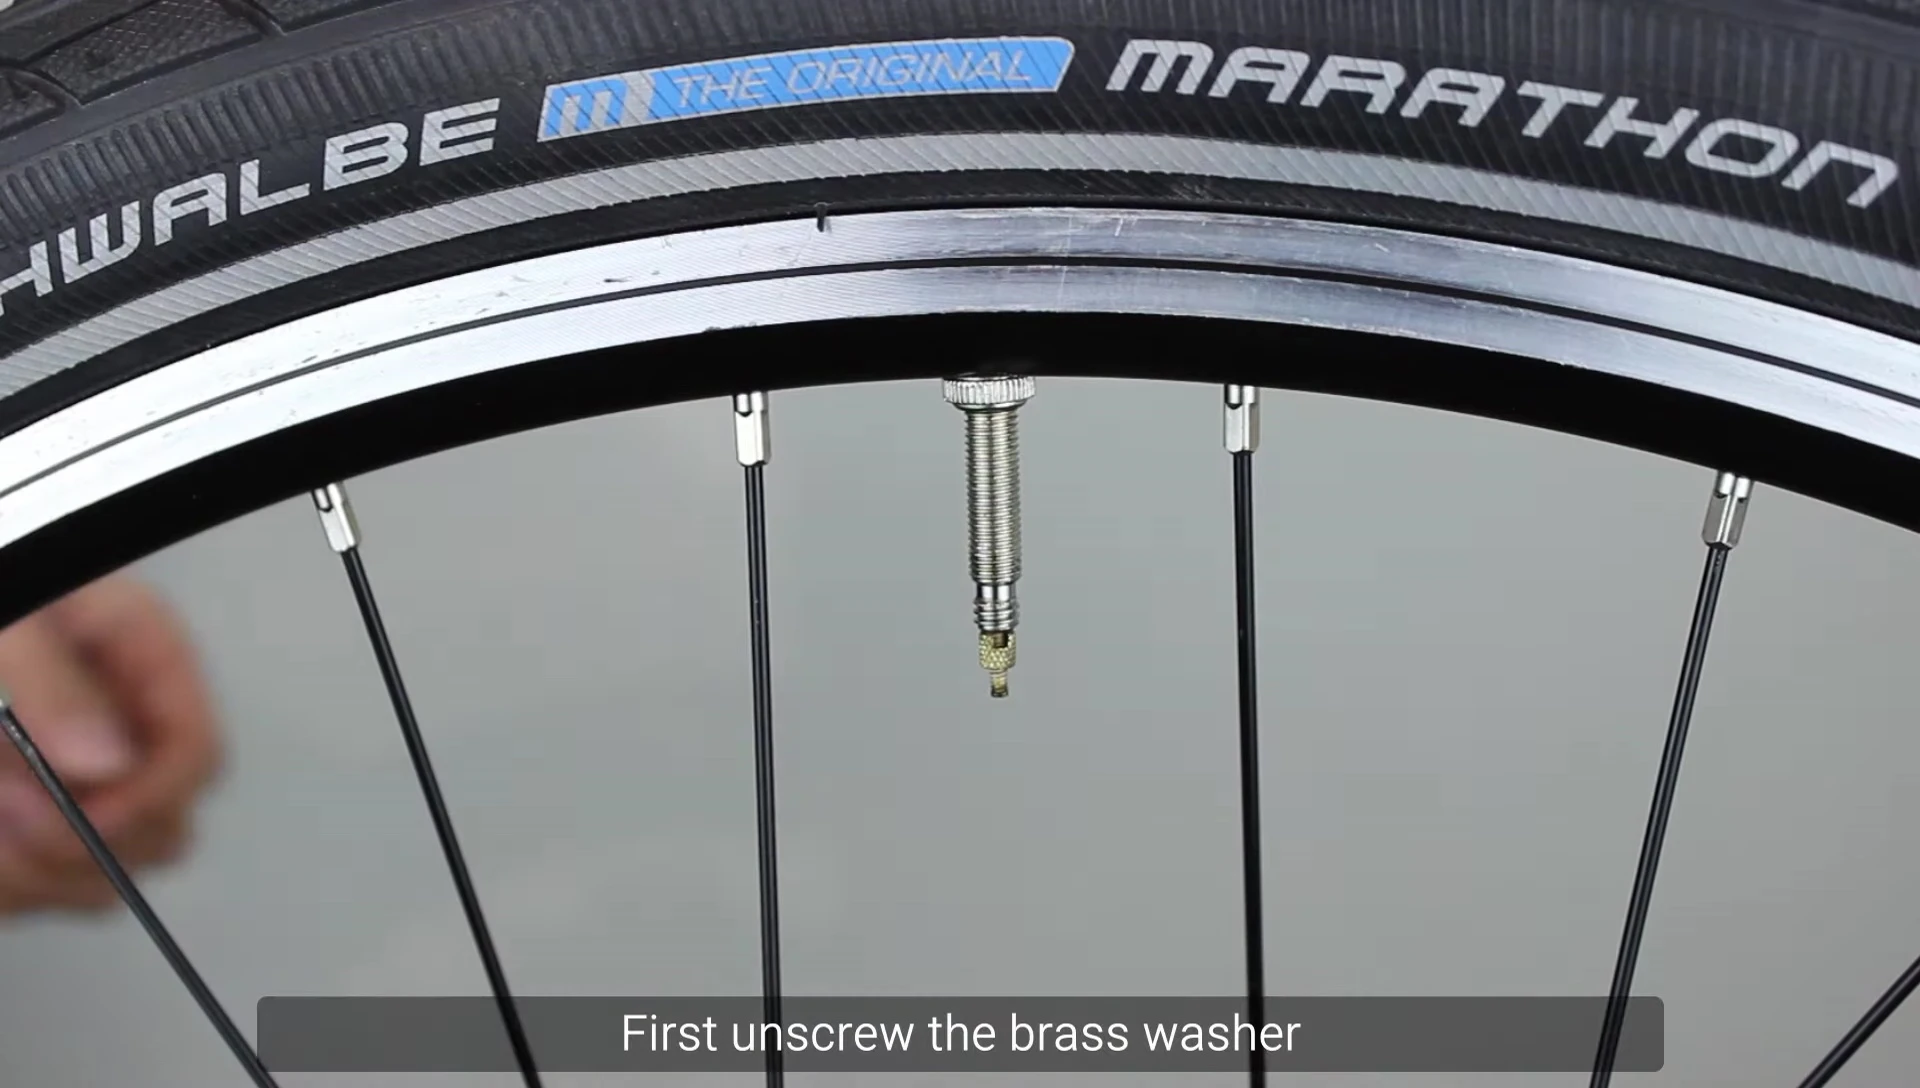
Locate the brass washer on your Presta valve; unscrew and slightly depress it to prevent seizing. Push the pump connector onto the valve as far as it will go. This ensures proper air flow. You might notice some air escaping initially—this is normal.
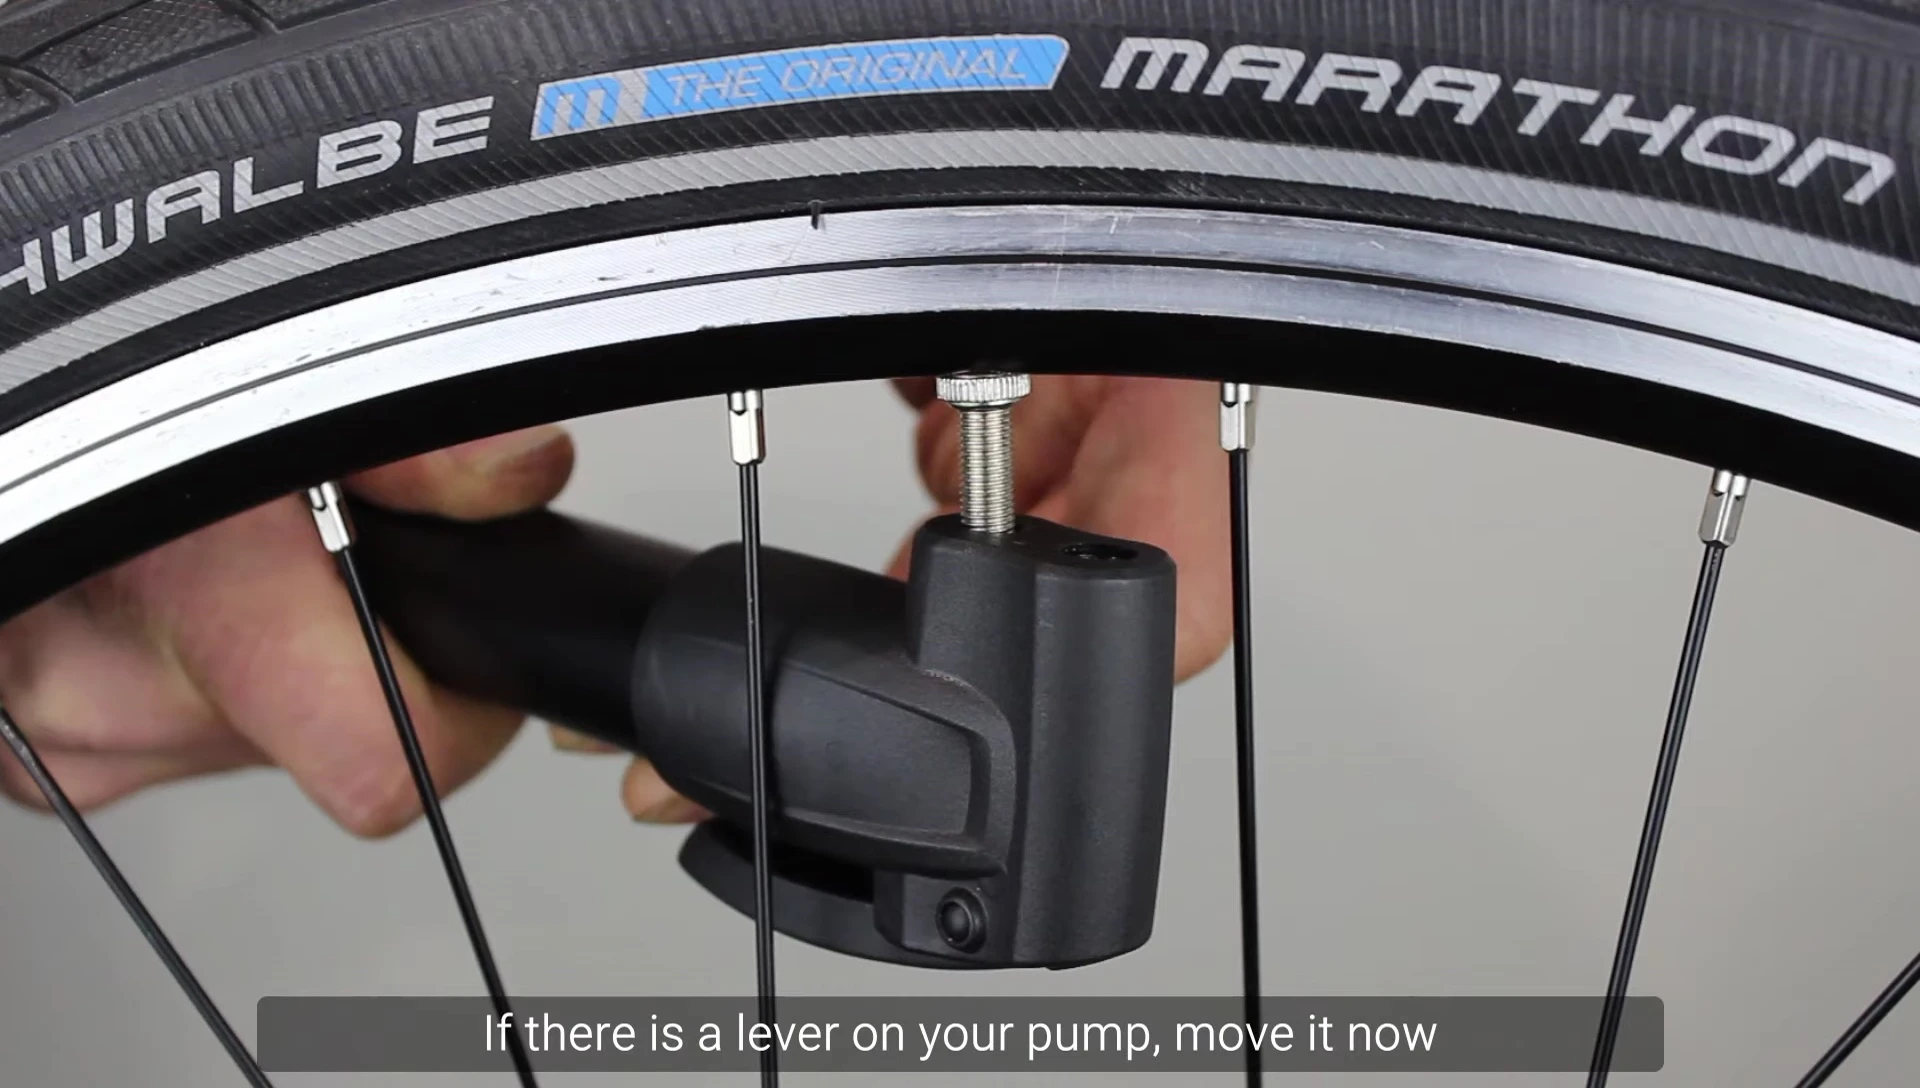
If your pump has a lever, engage it to secure the adapter to the valve. Now, begin pumping. Remember to remove the pump with a firm, downward motion to avoid bending the delicate brass screw on the Presta valve. This is crucial for the valve's longevity.
Troubleshooting and Tips
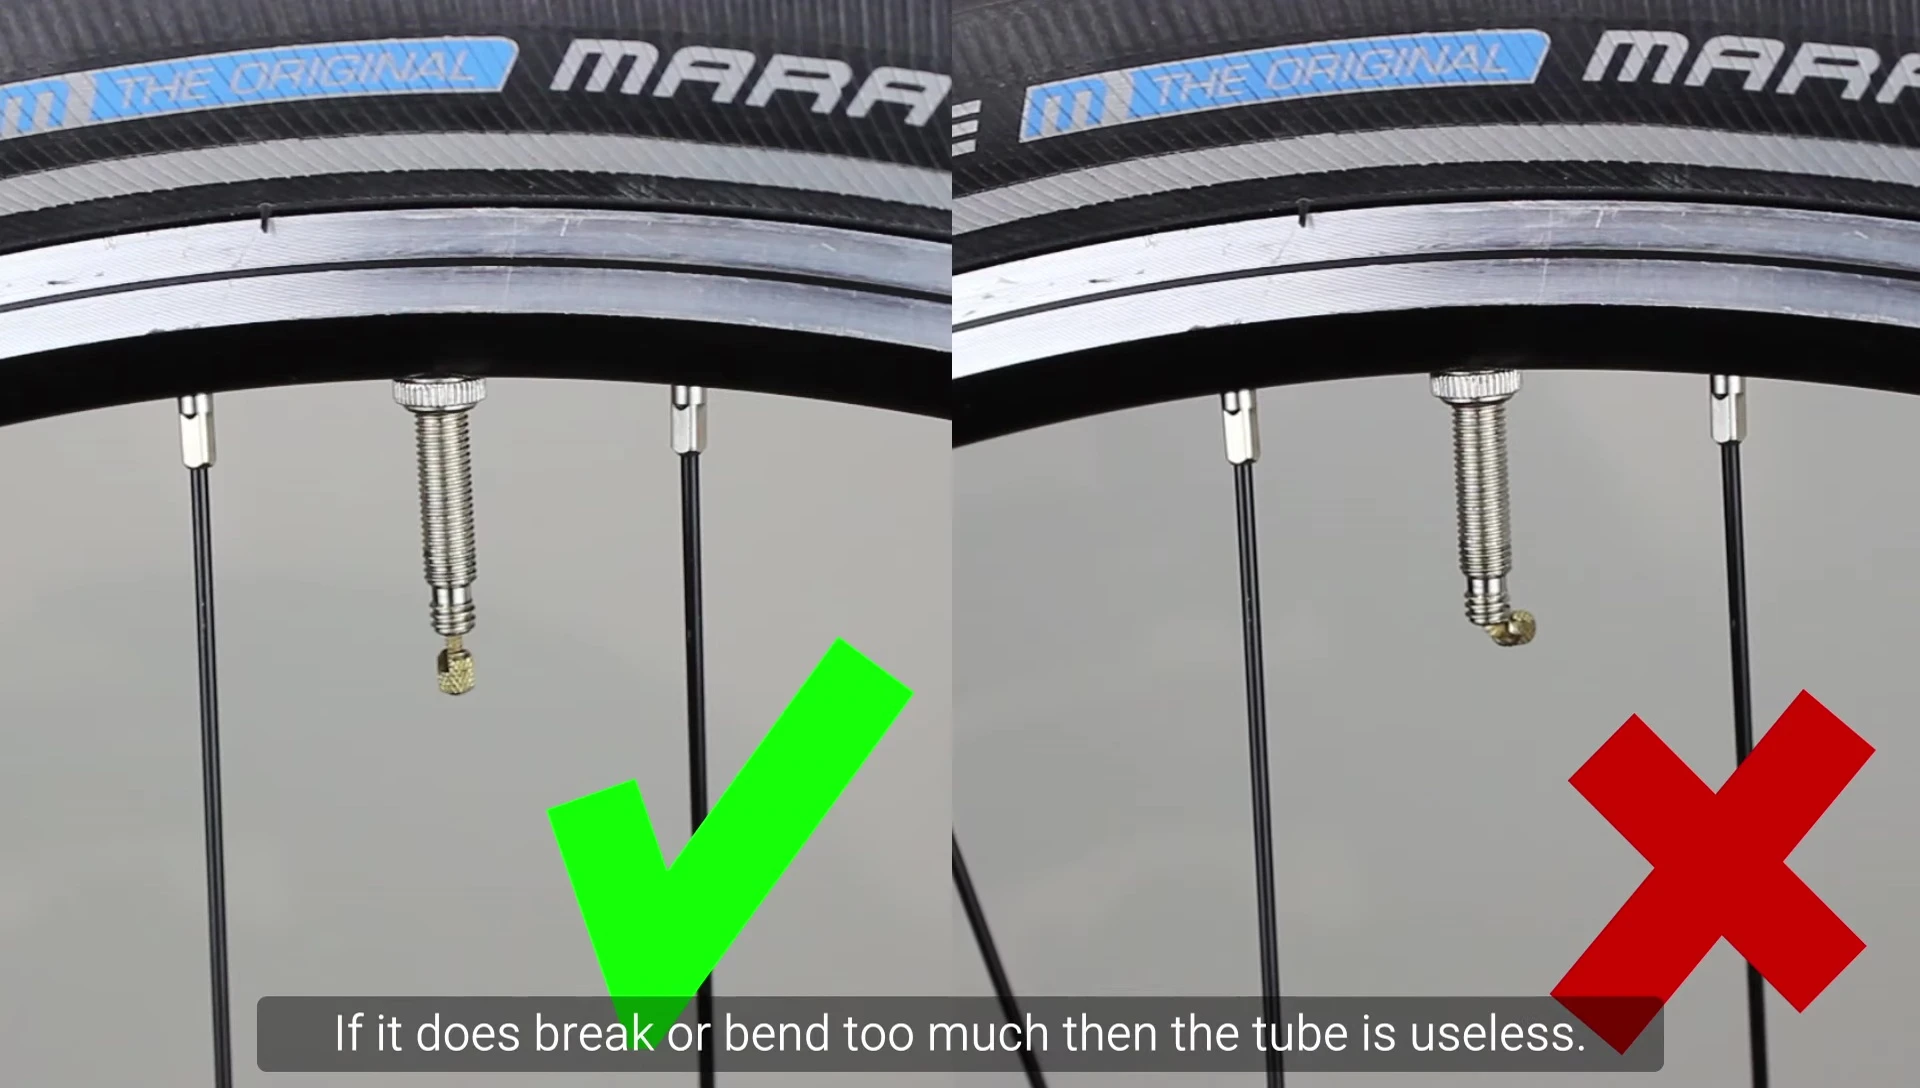
Many cyclists struggle with Presta valves due to the thin, fragile brass screw at the valve's end. Removing the pump at an awkward angle can easily bend or break this screw, rendering the tube unusable. Practice a straight, downward removal to avoid damage.
If you frequently experience problems with Presta valves, consider investing in a pump specifically designed for better compatibility and ease of use. Different pumps offer varying levels of grip and pressure, impacting user experience significantly.
Regularly check your valve for wear and tear. If it's damaged, it might be necessary to replace the entire valve assembly to ensure a proper seal and prevent air leaks.