This guide provides a comprehensive walkthrough for perfectly installing the PDW Origami and Mud Shovel fender bracket on your bicycle. This ingenious bracket offers reliable fender protection, but its effectiveness hinges on correct installation. We'll walk you through each step, ensuring your fenders stay securely in place, ride after ride. Forget about wobbly fenders and frustrating adjustments; this guide will give you the confidence to achieve a perfect, long-lasting fit. Whether you're a seasoned mechanic or a novice cyclist, our clear instructions and helpful tips will guide you to success.Proper installation is key to maximizing the functionality and longevity of your PDW Origami and Mud Shovel fender bracket. We'll focus on achieving the optimal tension via a simple yet effective 90-degree angle method. This technique ensures a secure hold without risking damage to the bracket's plastic components. By following our detailed instructions, you'll learn how to correctly estimate strap length, achieve the ideal tension, and avoid common installation pitfalls. Prepare for a smooth and enjoyable cycling experience, protected from the elements with perfectly installed fenders.
Pros And Cons
- Allows for adjustment to fit different sized seatposts
- Provides a tight fit when properly installed
- Can be deformed if overtightened
Read more: 5 Best Child Bike Fenders to Keep Your Little One Dry
Attaching the Bracket to Your Seatpost
The PDW Origami and Mud Shovel fender bracket is a fantastic addition to any bicycle, offering reliable fender protection. Securing it correctly is key to its effectiveness and longevity. This guide details the proper installation process to ensure a perfect fit and prevent slippage.

Begin by estimating the necessary strap length. The strap's adjustability allows for compatibility with various seatpost diameters. Simply pull on either side of the strap to shorten or lengthen it as needed. This ensures a snug fit on any seatpost size.

Once you've determined the appropriate length, wrap the strap securely around your seatpost. Make sure the strap is evenly distributed around the circumference to avoid any uneven pressure points. Then, hook the metal ring onto the other side of the bracket, completing the initial connection.

Achieving the Optimal Tightness
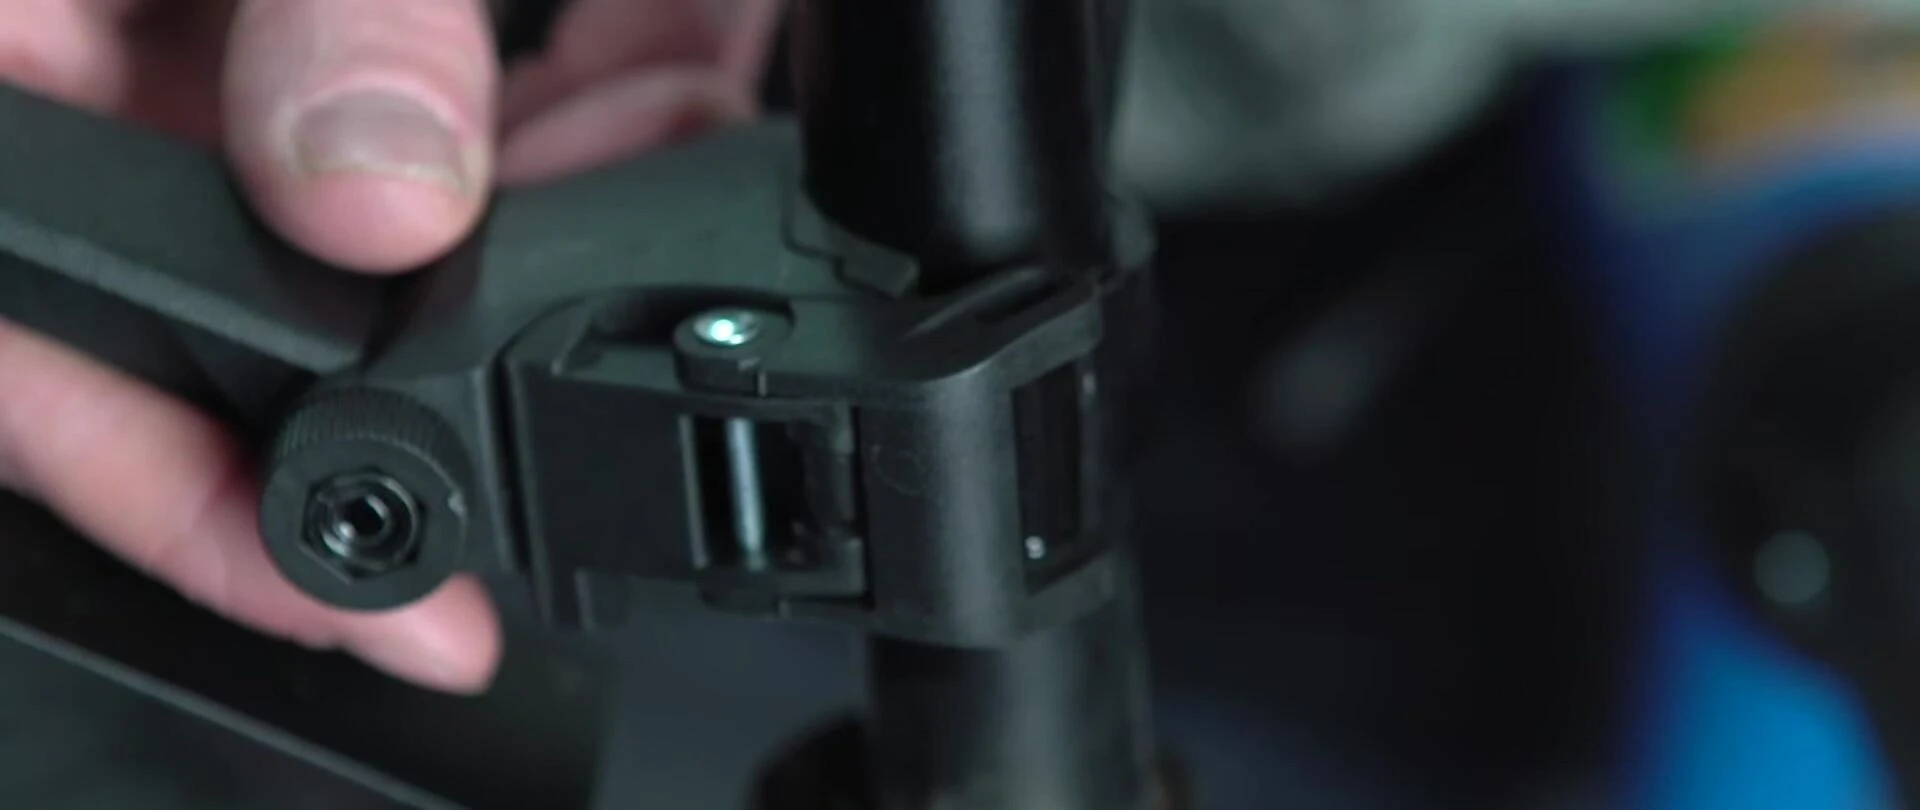
The secret to a secure and effective fit lies in achieving the correct tension. Don't rush this step; it's crucial for preventing the fender from shifting during rides. The key is to adjust the strap until the two moving parts of the bracket form a 90-degree angle.

As you tighten the strap, you should begin to feel resistance around this 90-degree point. This indicates the ideal tension. Pushing it further beyond this point may damage the plastic and compromise its effectiveness.

If you feel tension before reaching the 90-degree angle, you've overtightened it. This can lead to deformation and ultimately result in slippage. Always aim for that specific angle to maintain the perfect balance of security and avoid damage.

Final Thoughts and Conclusion
Proper installation of the PDW Origami and Mud Shovel fender bracket is straightforward, but paying attention to detail is key. By following these steps, you'll ensure a secure and lasting fit.
The bracket's adjustability makes it suitable for a wide range of seatpost sizes, enhancing its versatility. The 90-degree angle method ensures optimal tension without over-tightening and potential damage. Remember, the goal is a firm yet non-damaging hold.
The PDW Origami and Mud Shovel fender bracket is a highly recommended accessory for cyclists looking for reliable fender protection. Its ease of installation and adjustability make it a worthwhile investment for enhancing your cycling experience. The key is to achieve that perfect 90-degree angle for a secure and long-lasting fit.