This comprehensive guide provides a step-by-step tutorial on mounting the Mudrocker Front mudguard, a robust and versatile solution for protecting your bike from mud and debris. We'll cover various mounting options to suit different fork types, ensuring a secure and customized fit for your specific bike model. Whether your fork has a threaded hole or not, we'll guide you through the process using the included adapter, cable ties, or clips for a reliable and stable installation.Beyond the core mounting instructions, we'll also detail the use of included protective film and foam rubber cushioning to safeguard your bike frame from scratches and damage. This tutorial ensures a smooth installation and optimal performance, maximizing the Mudrocker Front's mud-shedding capabilities and extending its lifespan. Prepare for a cleaner, drier, and more enjoyable ride with the help of this detailed guide.
Read more: 5 Best Child Bike Fenders to Keep Your Little One Dry
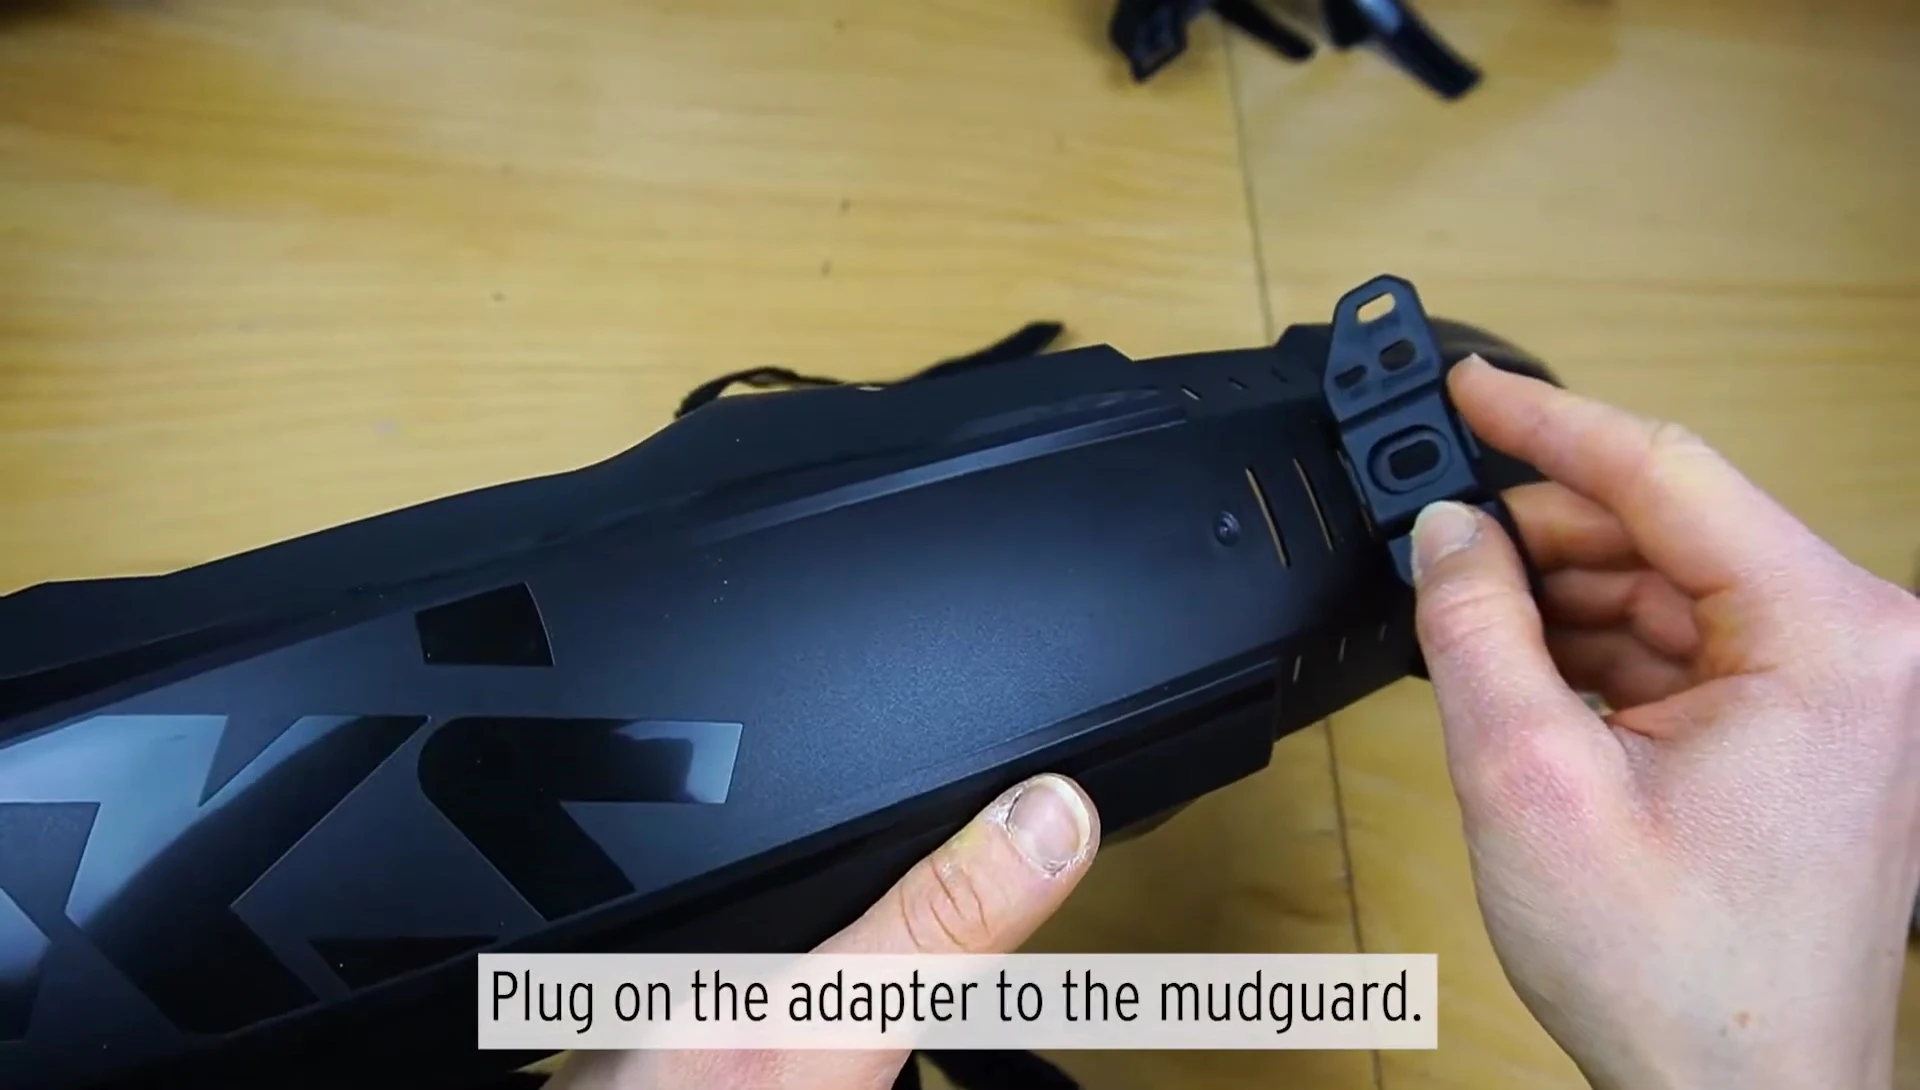
Attachment Options: Adapters, Cable Ties, and Clips
The Mudrocker Front offers versatile mounting options to suit various fork types. For suspension forks with a threaded hole, a dedicated adapter provides a secure and straightforward attachment.
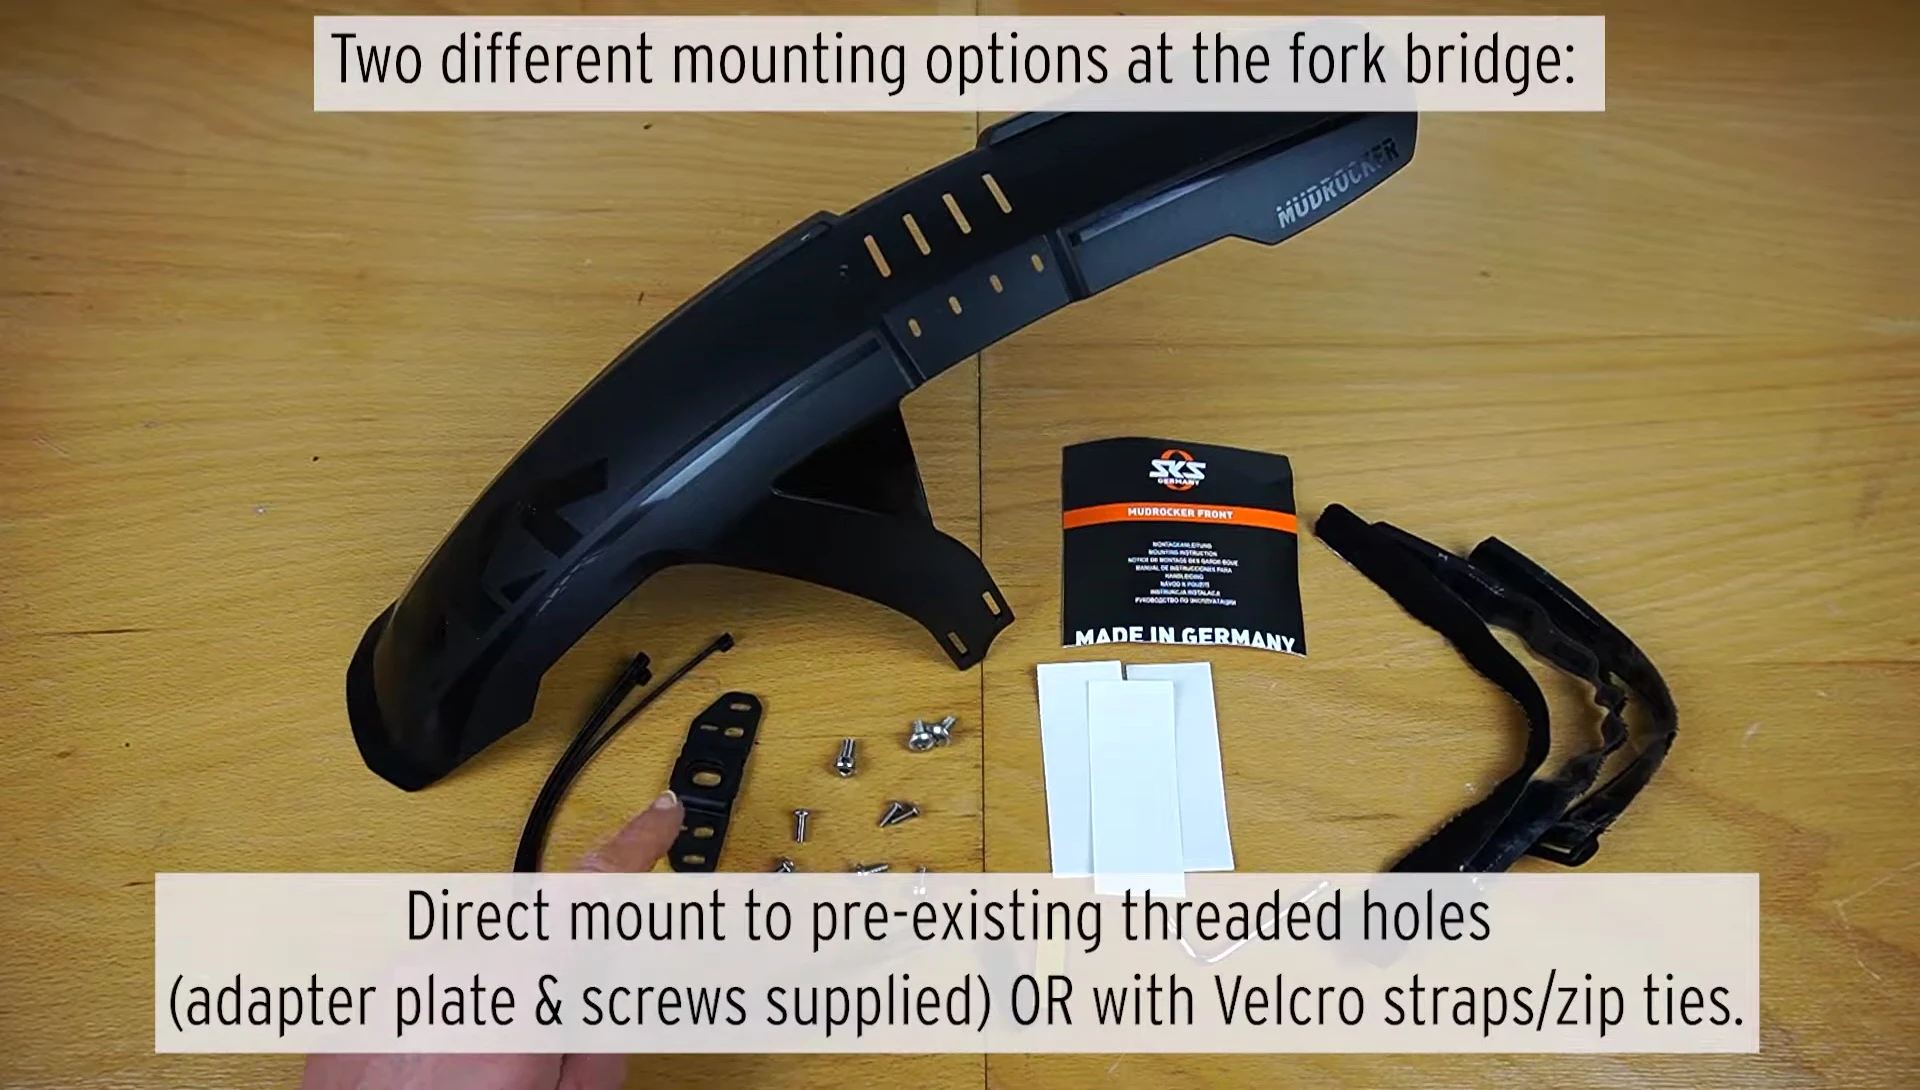
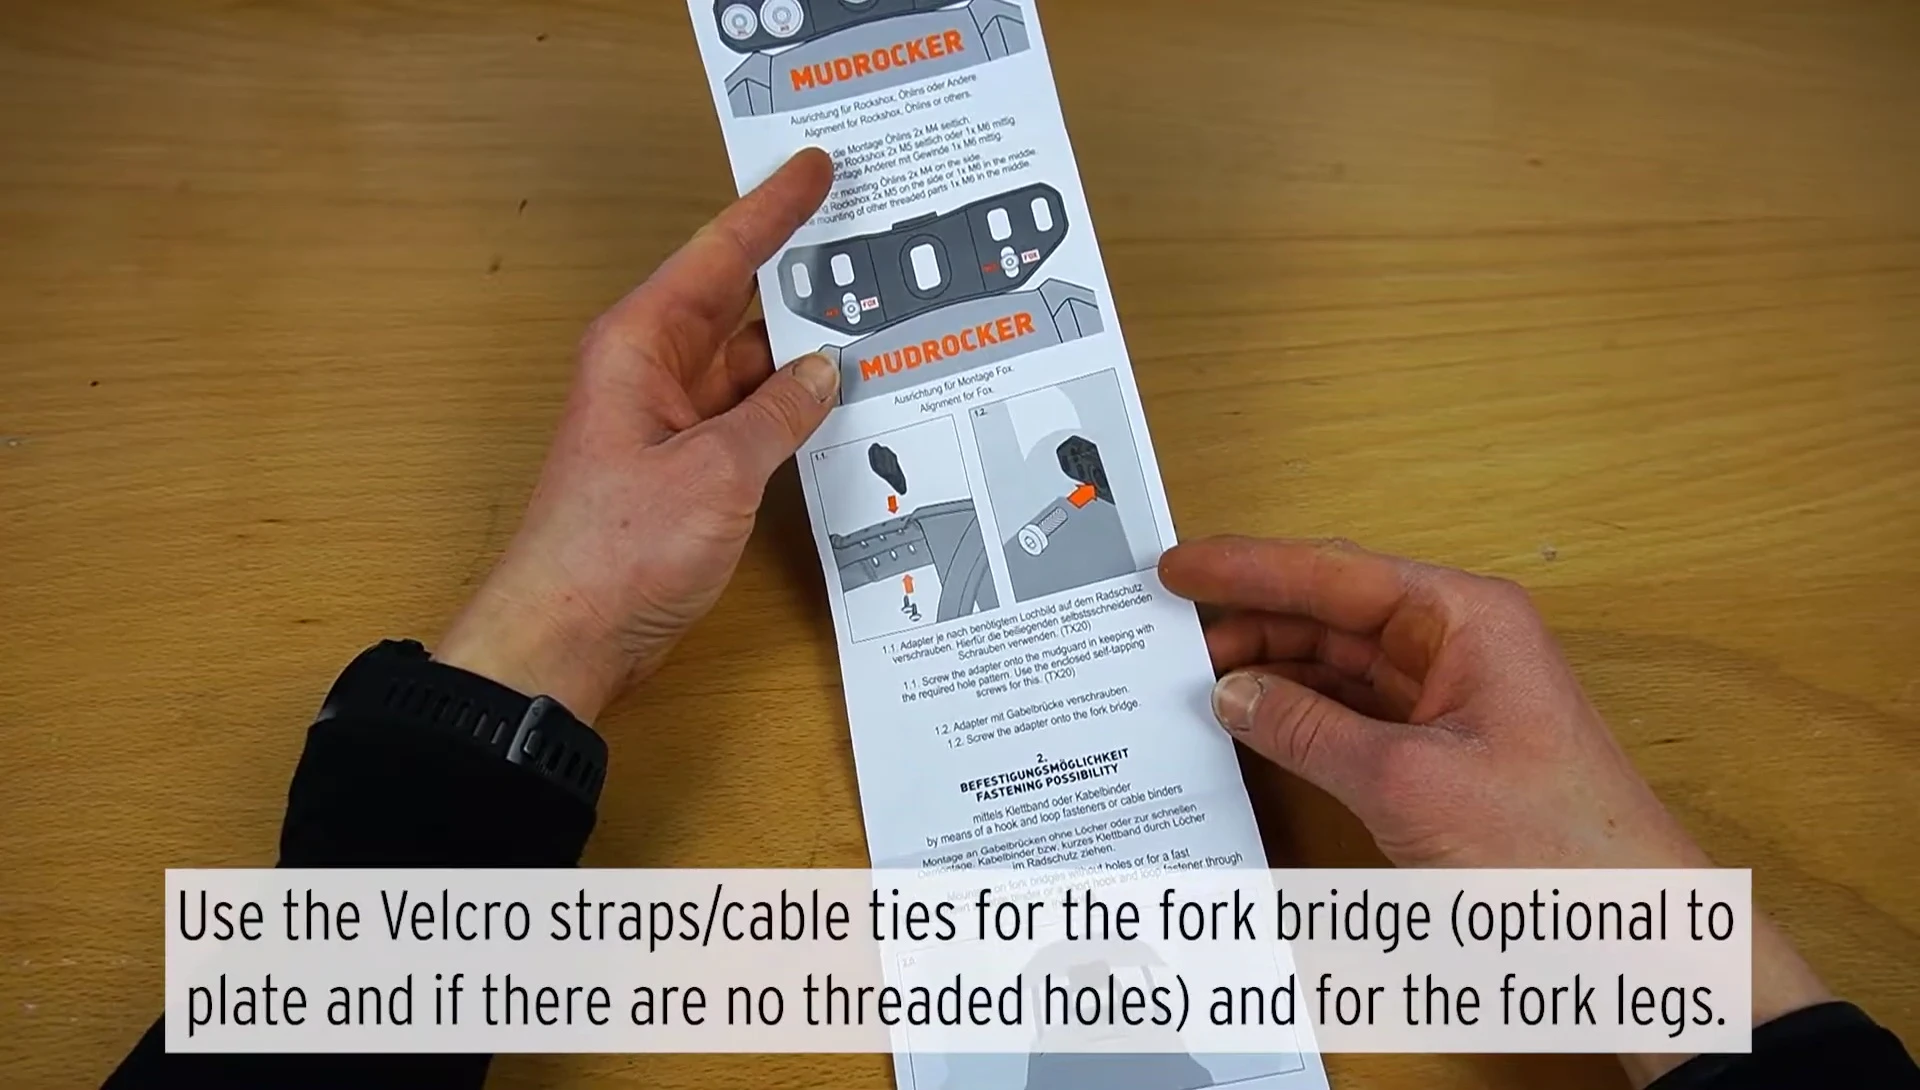
Alternatively, if your fork lacks a threaded hole, sturdy cable ties or clips offer reliable alternatives for securing the Mudrocker Front.
The included accessories simplify the installation process, ensuring a customizable and secure fit for different bike setups.
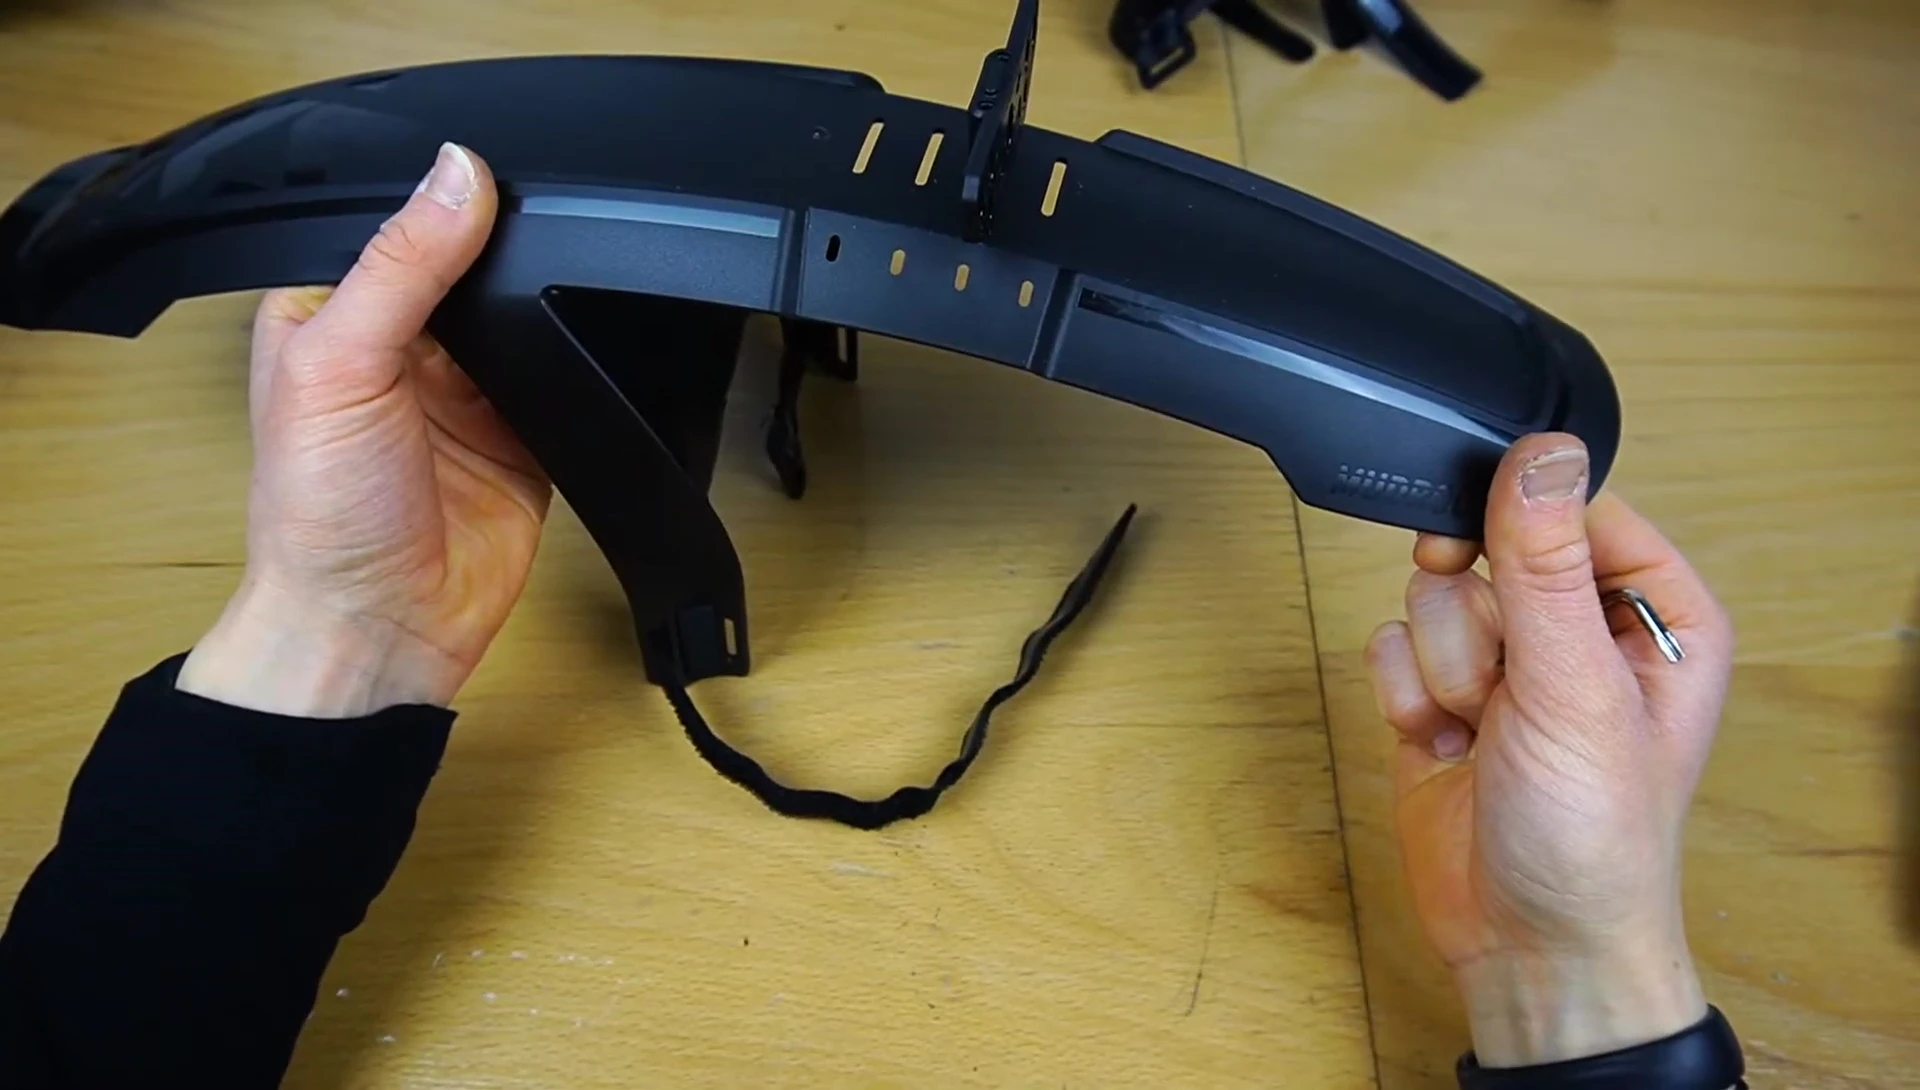
Protective Film and Foam Rubber for Enhanced Durability
To further protect your frame from potential damage, the package includes a protective film and foam rubber cushioning.
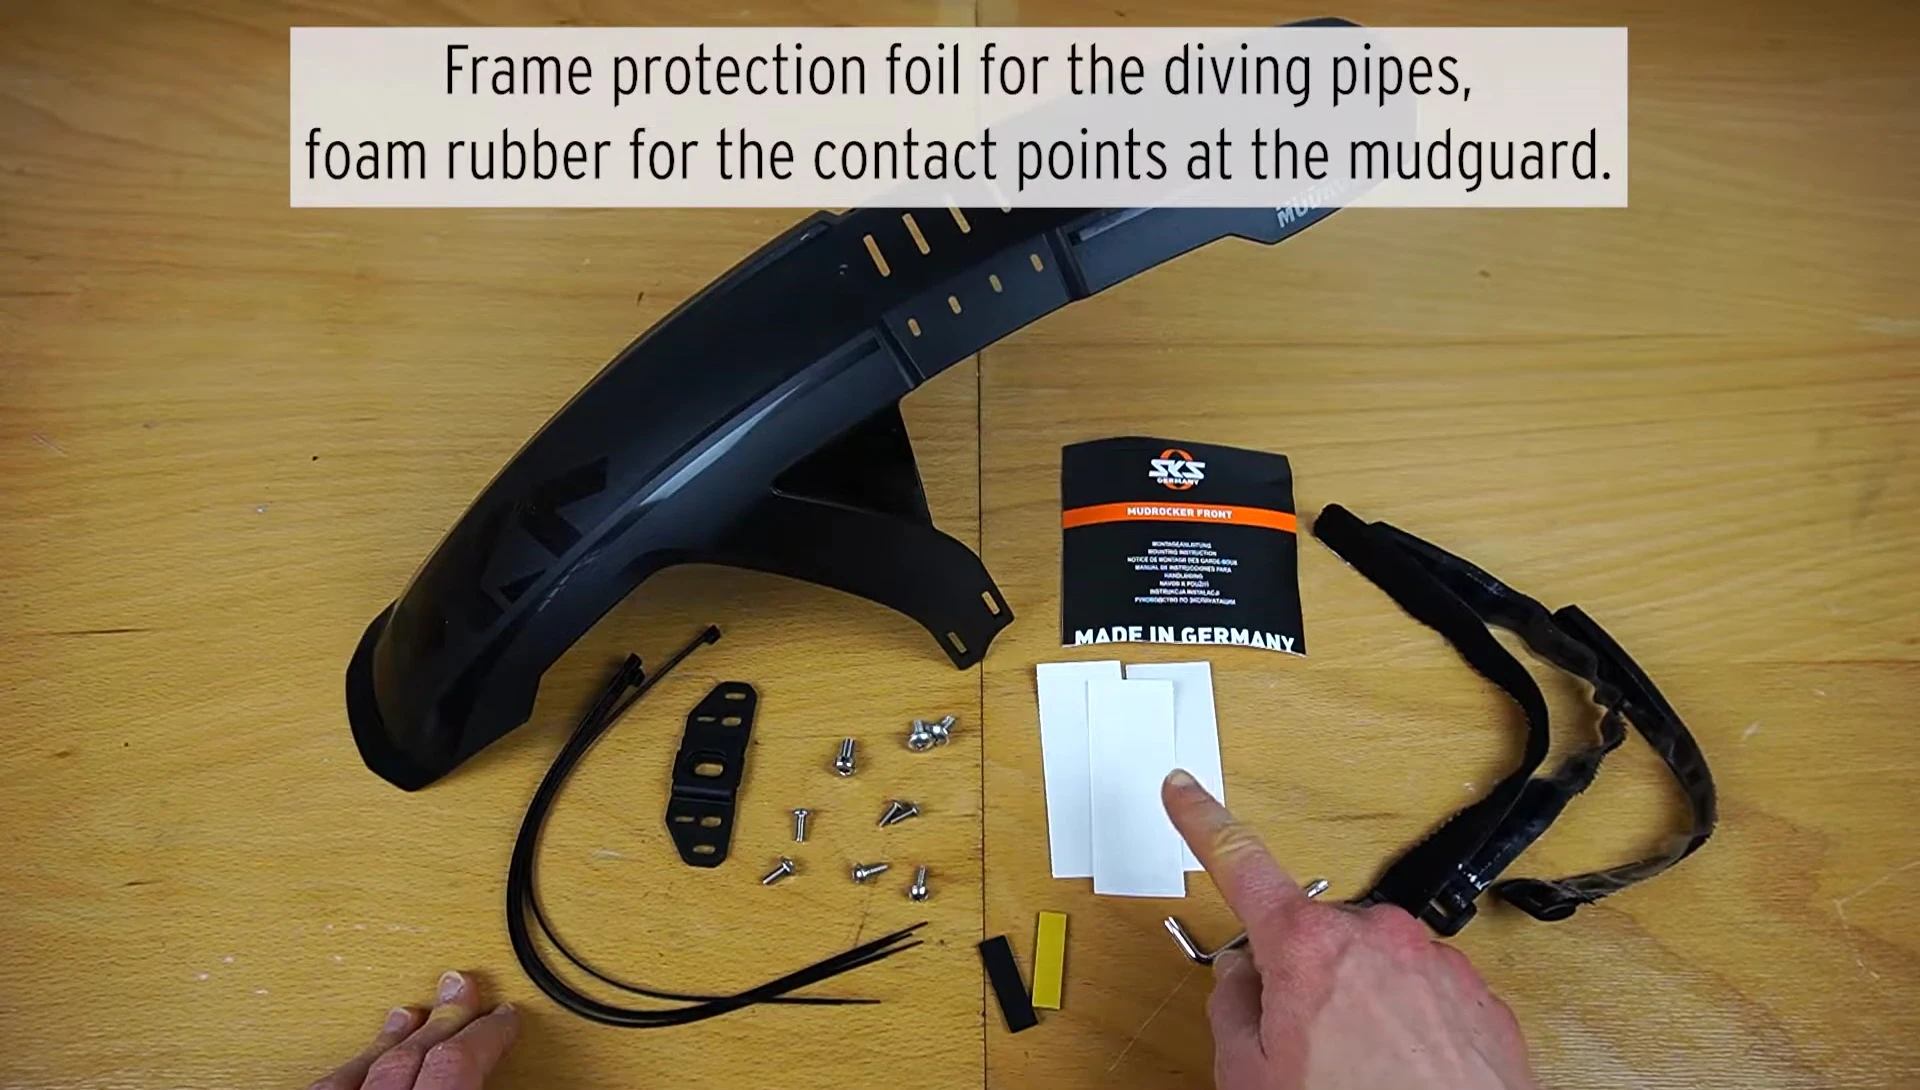
These additions enhance the Mudrocker Front's durability and prevent scratches or marks on your bike frame.
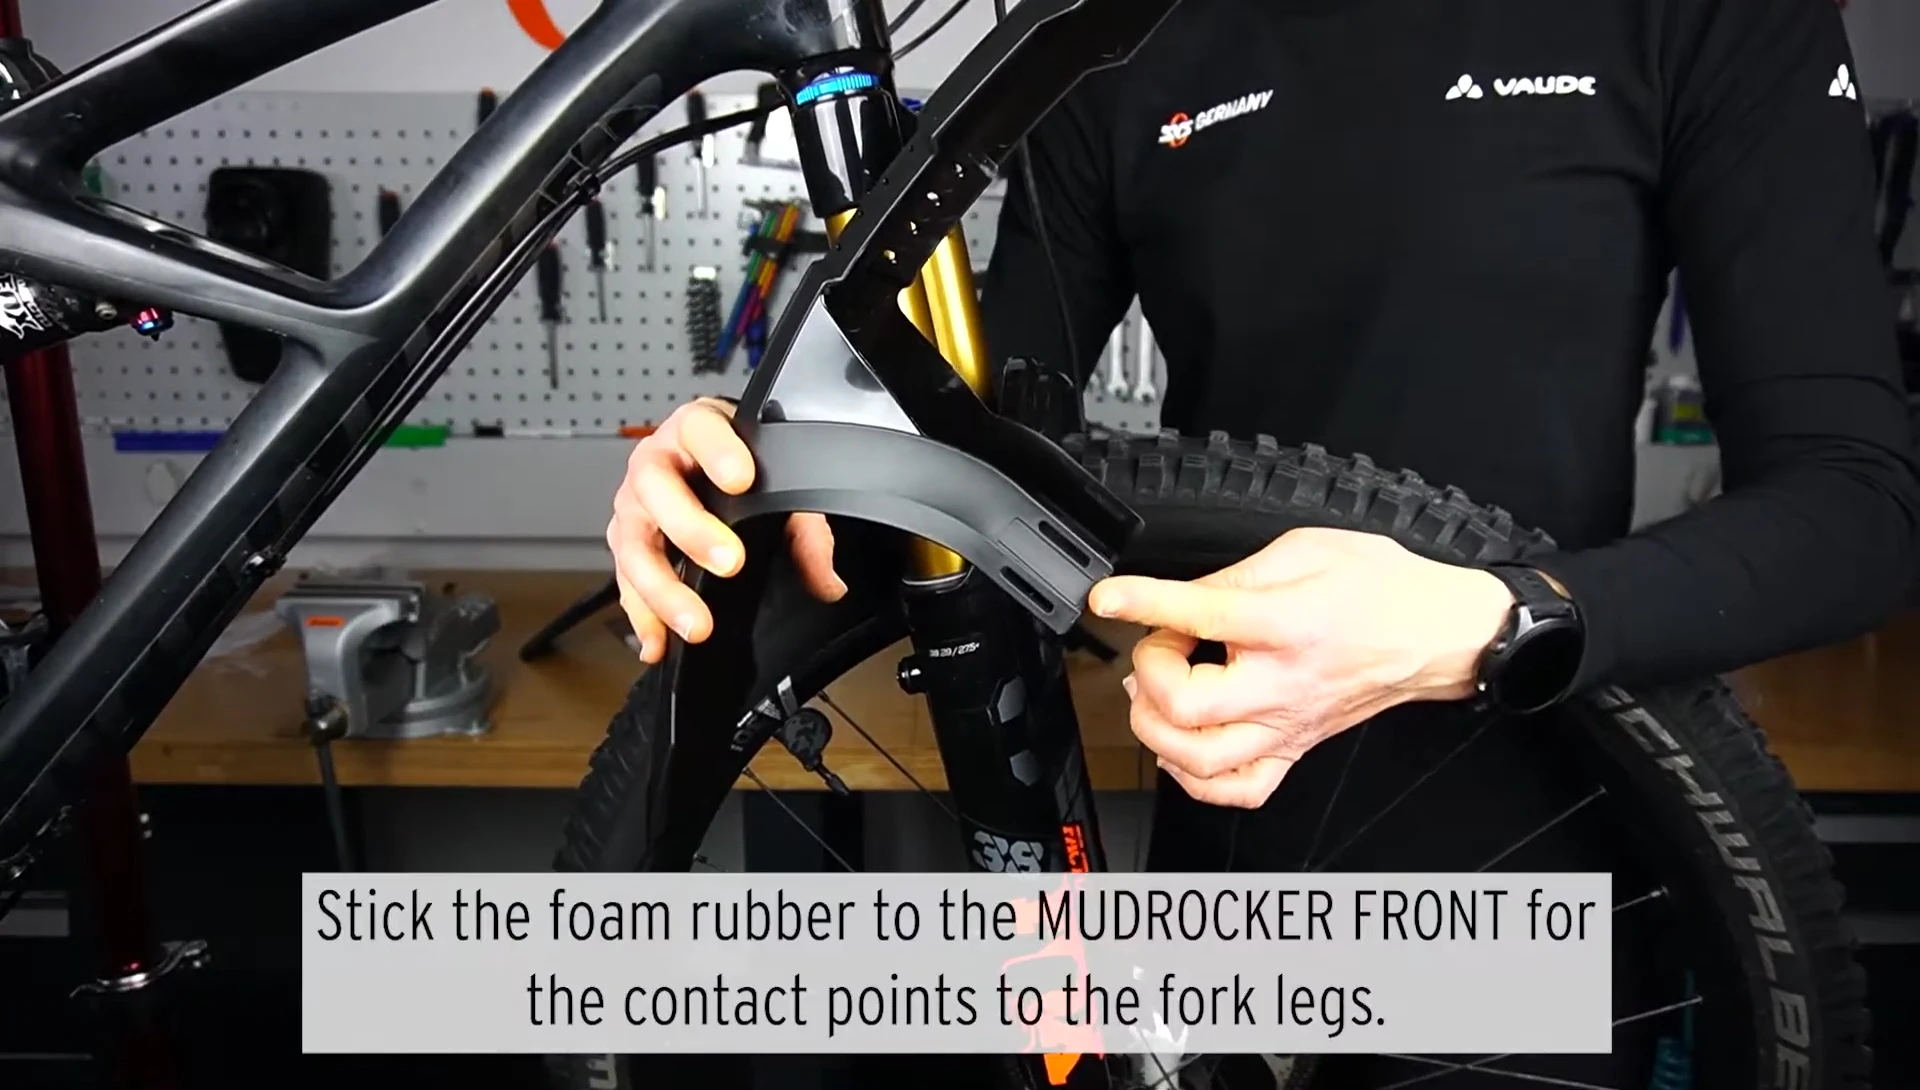
Strategic placement of the foam rubber at key contact points minimizes friction and vibrations, contributing to a smoother ride and prolonged lifespan.
Adapter Plate Installation: A Step-by-Step Guide
The adapter plate offers a clean and secure installation for forks with threaded holes. Begin by identifying the correct opening based on your fork's design.
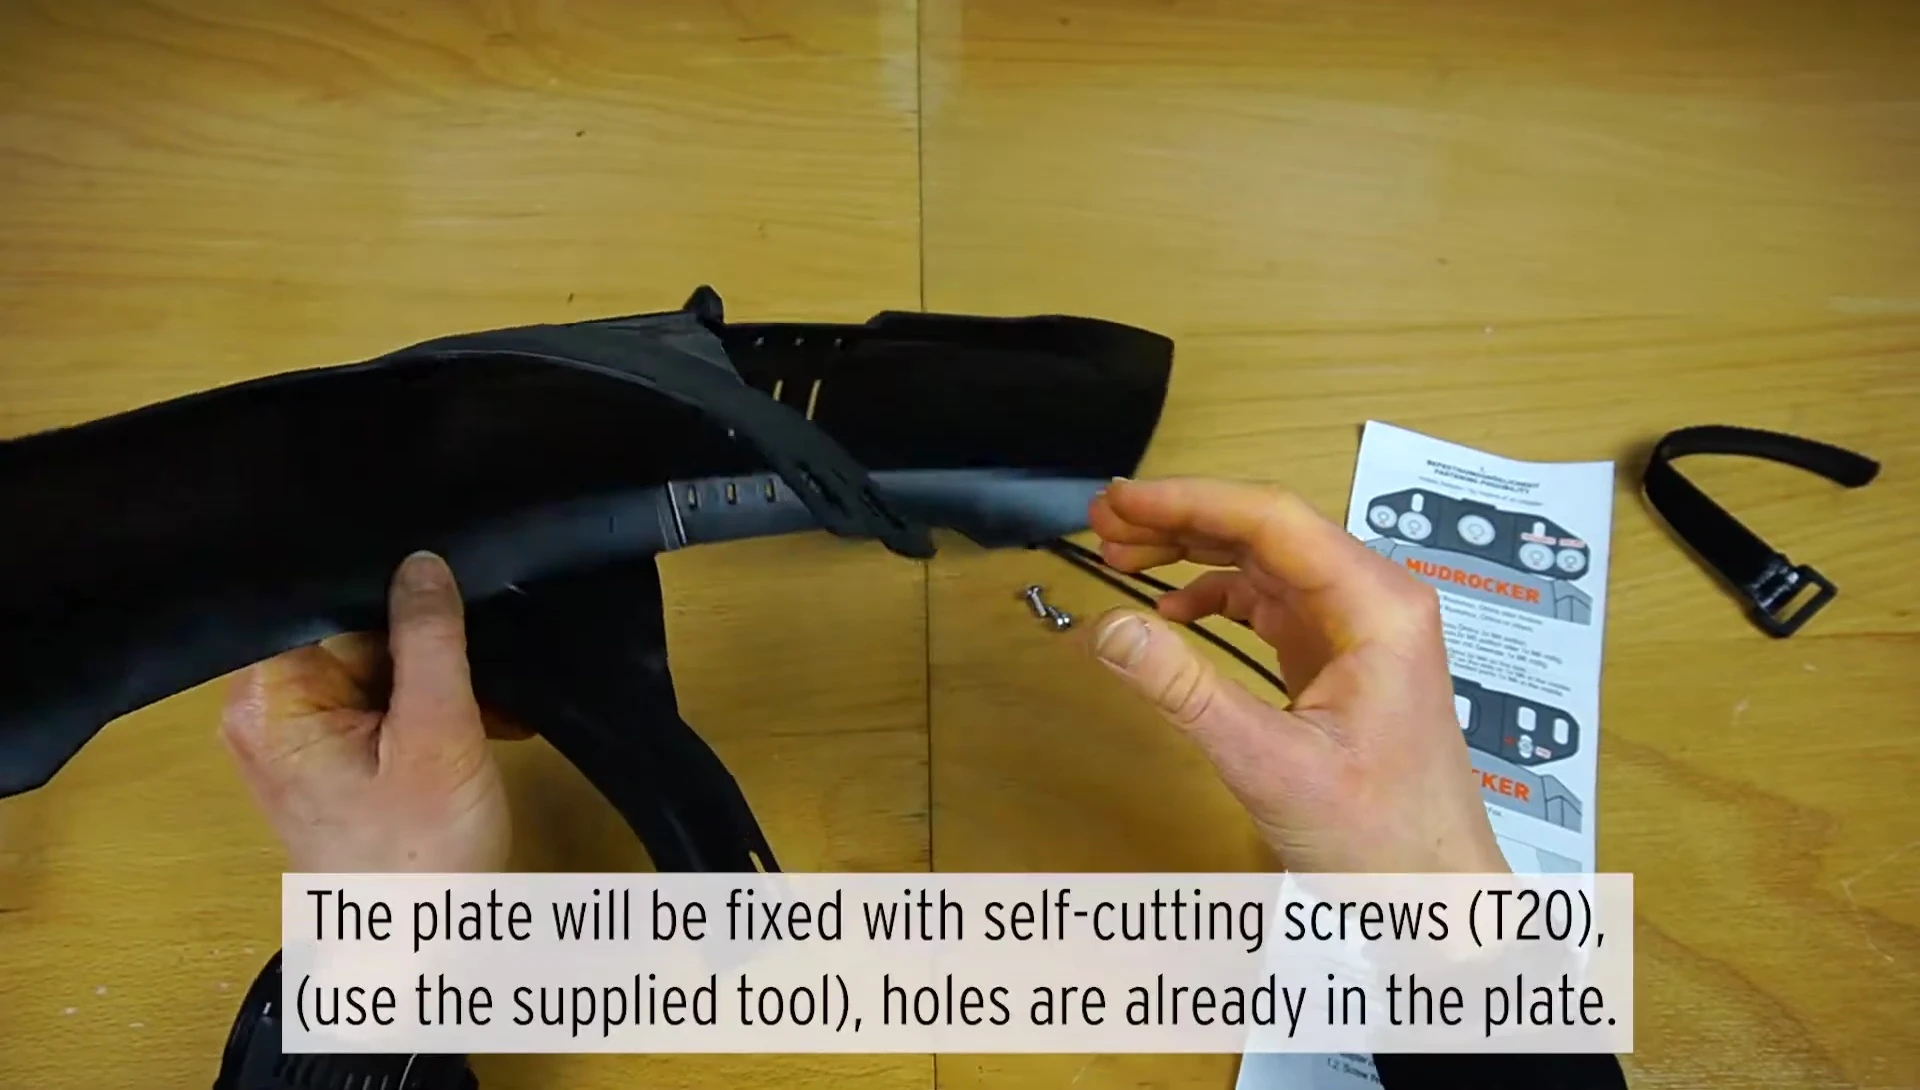
After selecting the appropriate opening and screws, carefully attach the adapter plate to the fork using the self-tapping screws, ensuring a tight and stable fit.
Holding the adapter from underneath while screwing helps to create pressure and ensure a successful installation.
Mounting the Mudrocker Front: Achieving the Perfect Fit
Once the adapter is secure (or cable ties are used), carefully position the Mudrocker Front onto the fork.
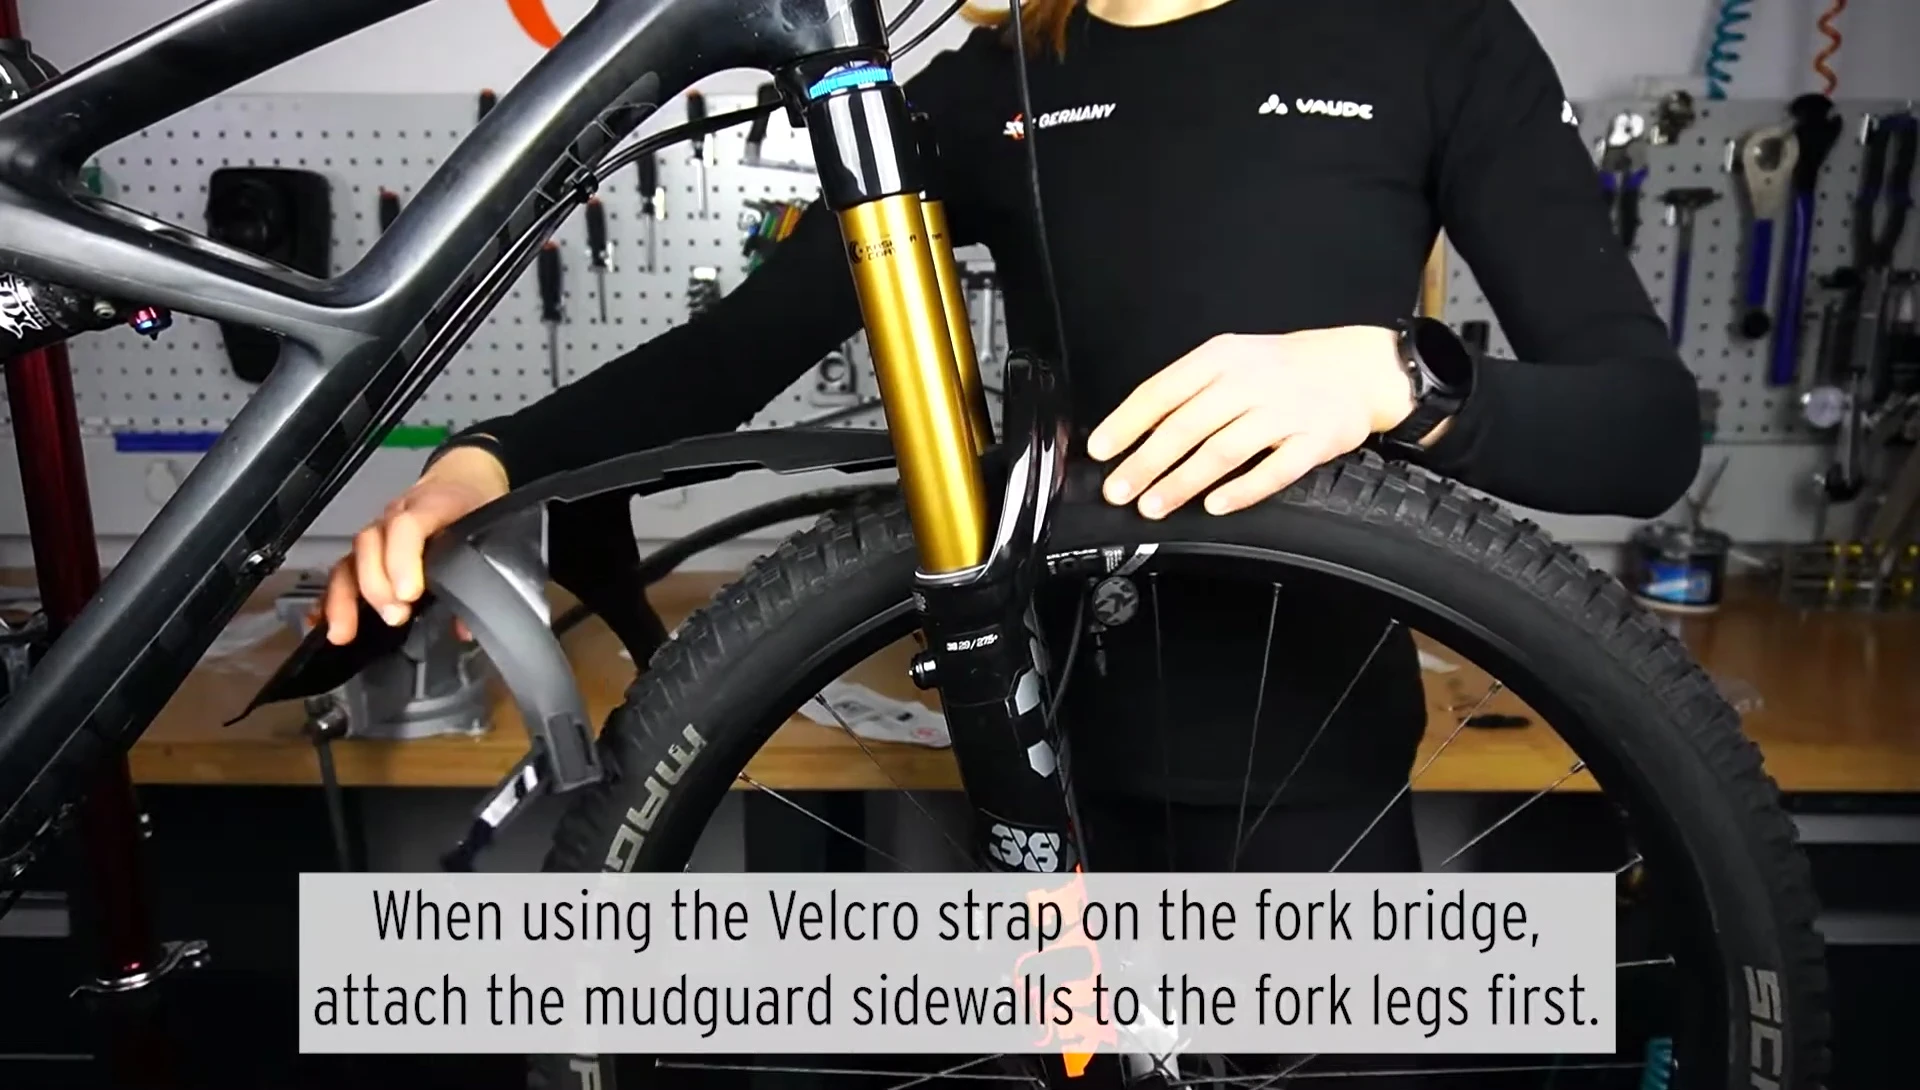
Maintain a consistent distance of at least 15 millimeters between the Mudrocker Front and the tire for optimal performance and clearance.
Securely fasten the Mudrocker Front, ensuring its stable attachment for a safe and enjoyable ride.
Conclusion: A Versatile and Durable Mudguard
The Mudrocker Front offers a robust and adaptable solution for protecting your bike from mud and debris.
Its multiple mounting options cater to a wide range of fork designs, ensuring compatibility across various bike models.
The addition of protective film and foam rubber further enhances its longevity and performance, making it a worthwhile investment for any cyclist.