This step-by-step guide will walk you through the installation of a mountain bike (MTB) mudguard, a simple yet effective upgrade to protect you from the spray of mud and dirt during off-road riding. While specific mudguard models vary, the process remains consistent, relying on readily available tools and materials. This guide assumes a basic level of mechanical aptitude, but even novice cyclists should find the instructions clear and easy to follow. We'll cover everything from preparing the necessary tools and materials to the final tightening and trimming, ensuring a secure and efficient installation.The process involves strategically positioning the mudguard on your bike's fork, utilizing cable ties for secure attachment. We’ll emphasize careful consideration of cable placement to avoid interference with your brakes and other bike components. Proper alignment and tension of the cable ties are crucial for optimal performance and longevity. Finally, we'll address the importance of smoothing any sharp edges to prevent damage and ensure a safe and clean finish. Get ready to keep yourself clean and your ride smooth with this comprehensive mudguard installation guide.
Read more: 5 Best Child Bike Fenders to Keep Your Little One Dry
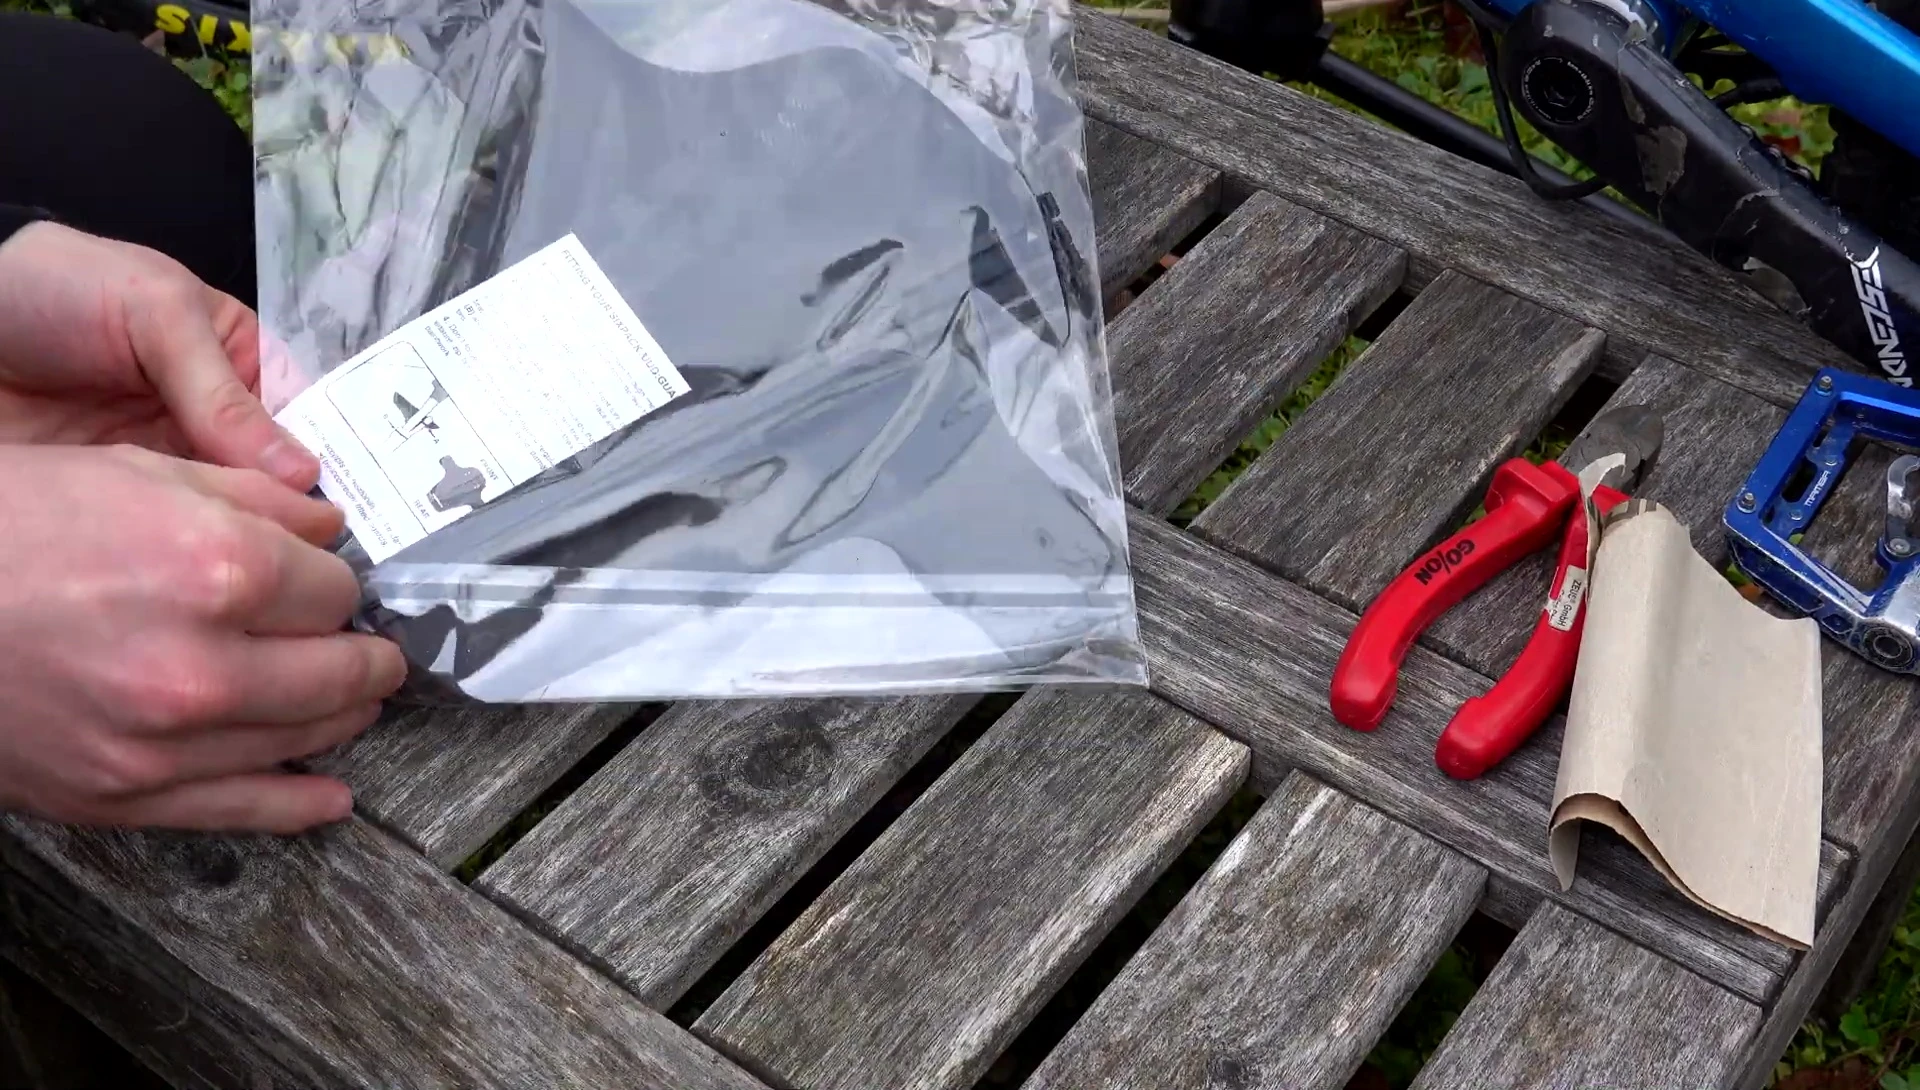
Tools and Materials
Before starting the installation, gather the necessary tools and materials. You'll need the mudguard itself, cable ties (preferably included with the mudguard), a side cutter for trimming the ties, and some sandpaper to smooth any sharp edges.
The specific mudguard model isn't mentioned, but based on the video title, it's designed for mountain bikes. Ensure you have the correct model for your bike's compatibility.
Preparing the Mudguard
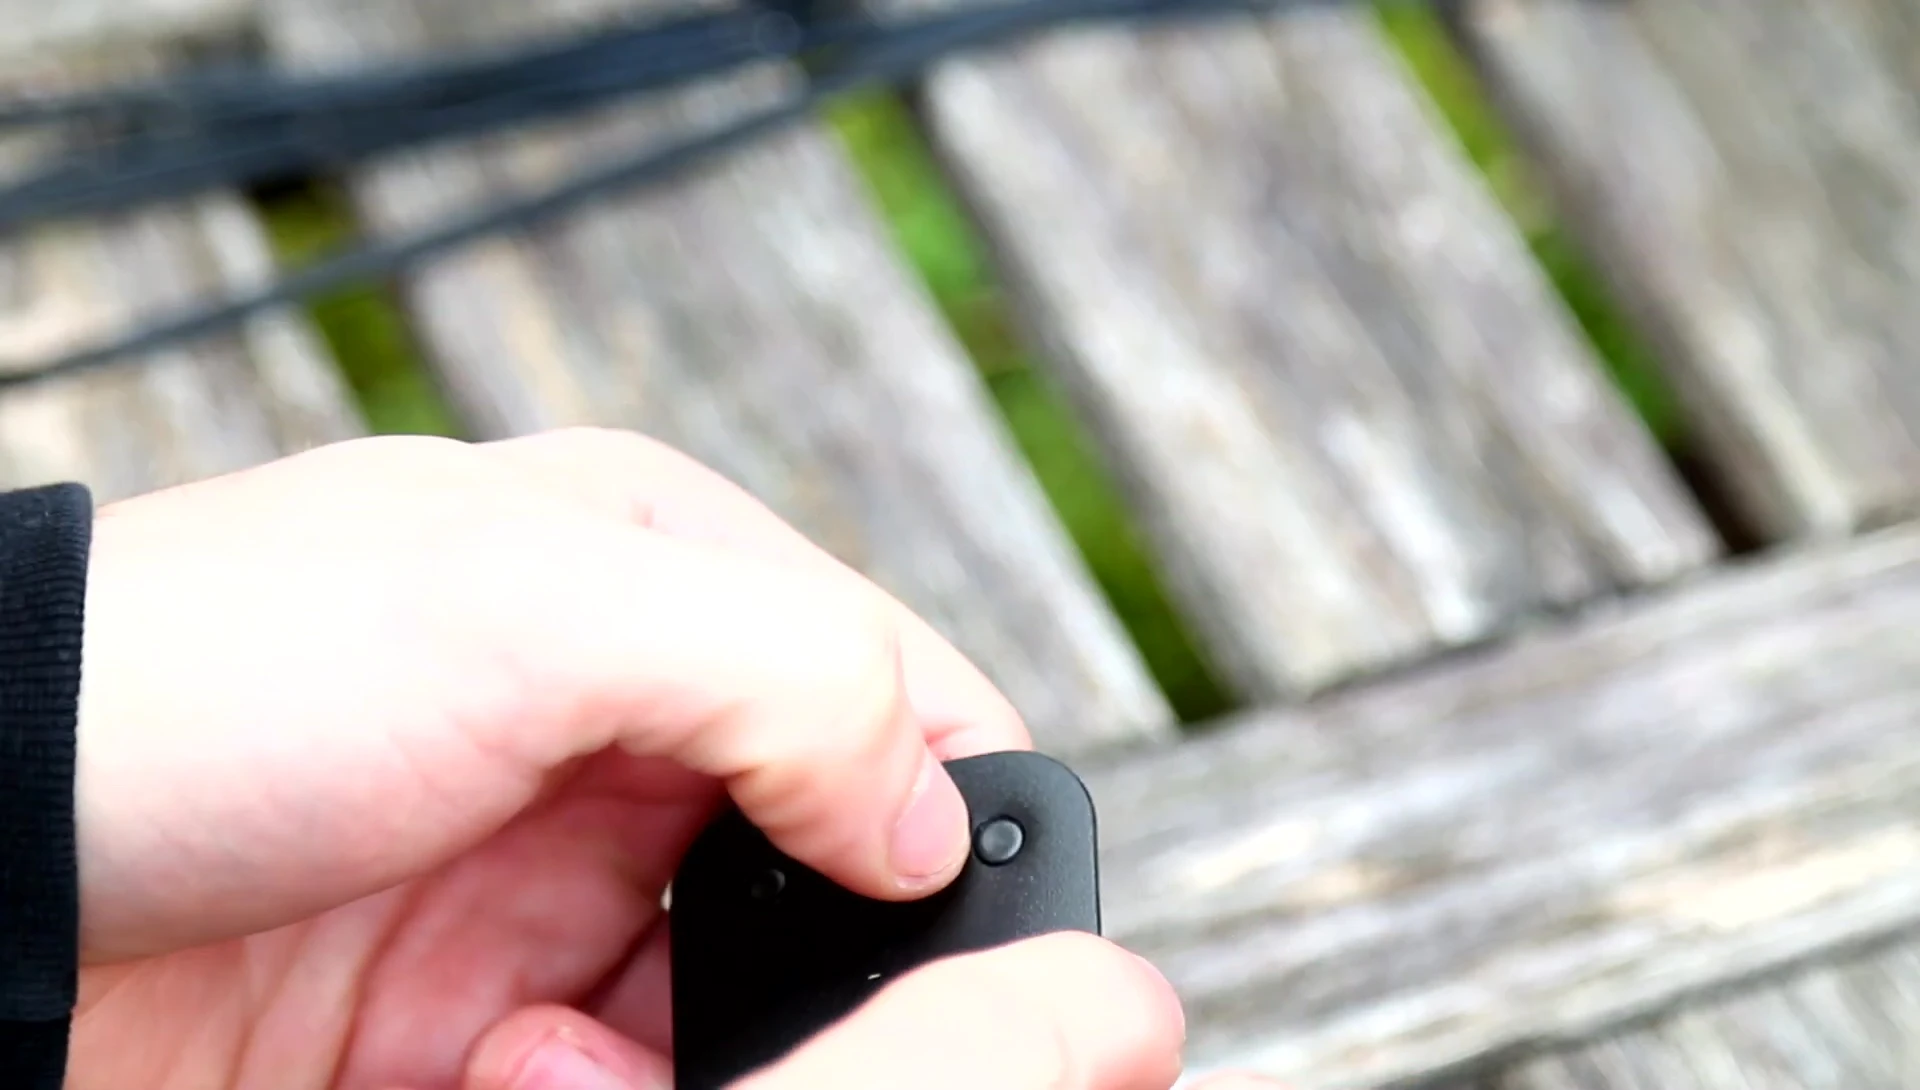
Begin by carefully unpacking the mudguard. Locate the pre-drilled holes where the cable ties will be inserted. Gently press out any remaining plastic from these holes to ensure a smooth insertion.
If the plastic is stubborn, you may use the side cutter to carefully remove it, avoiding damaging the mudguard.
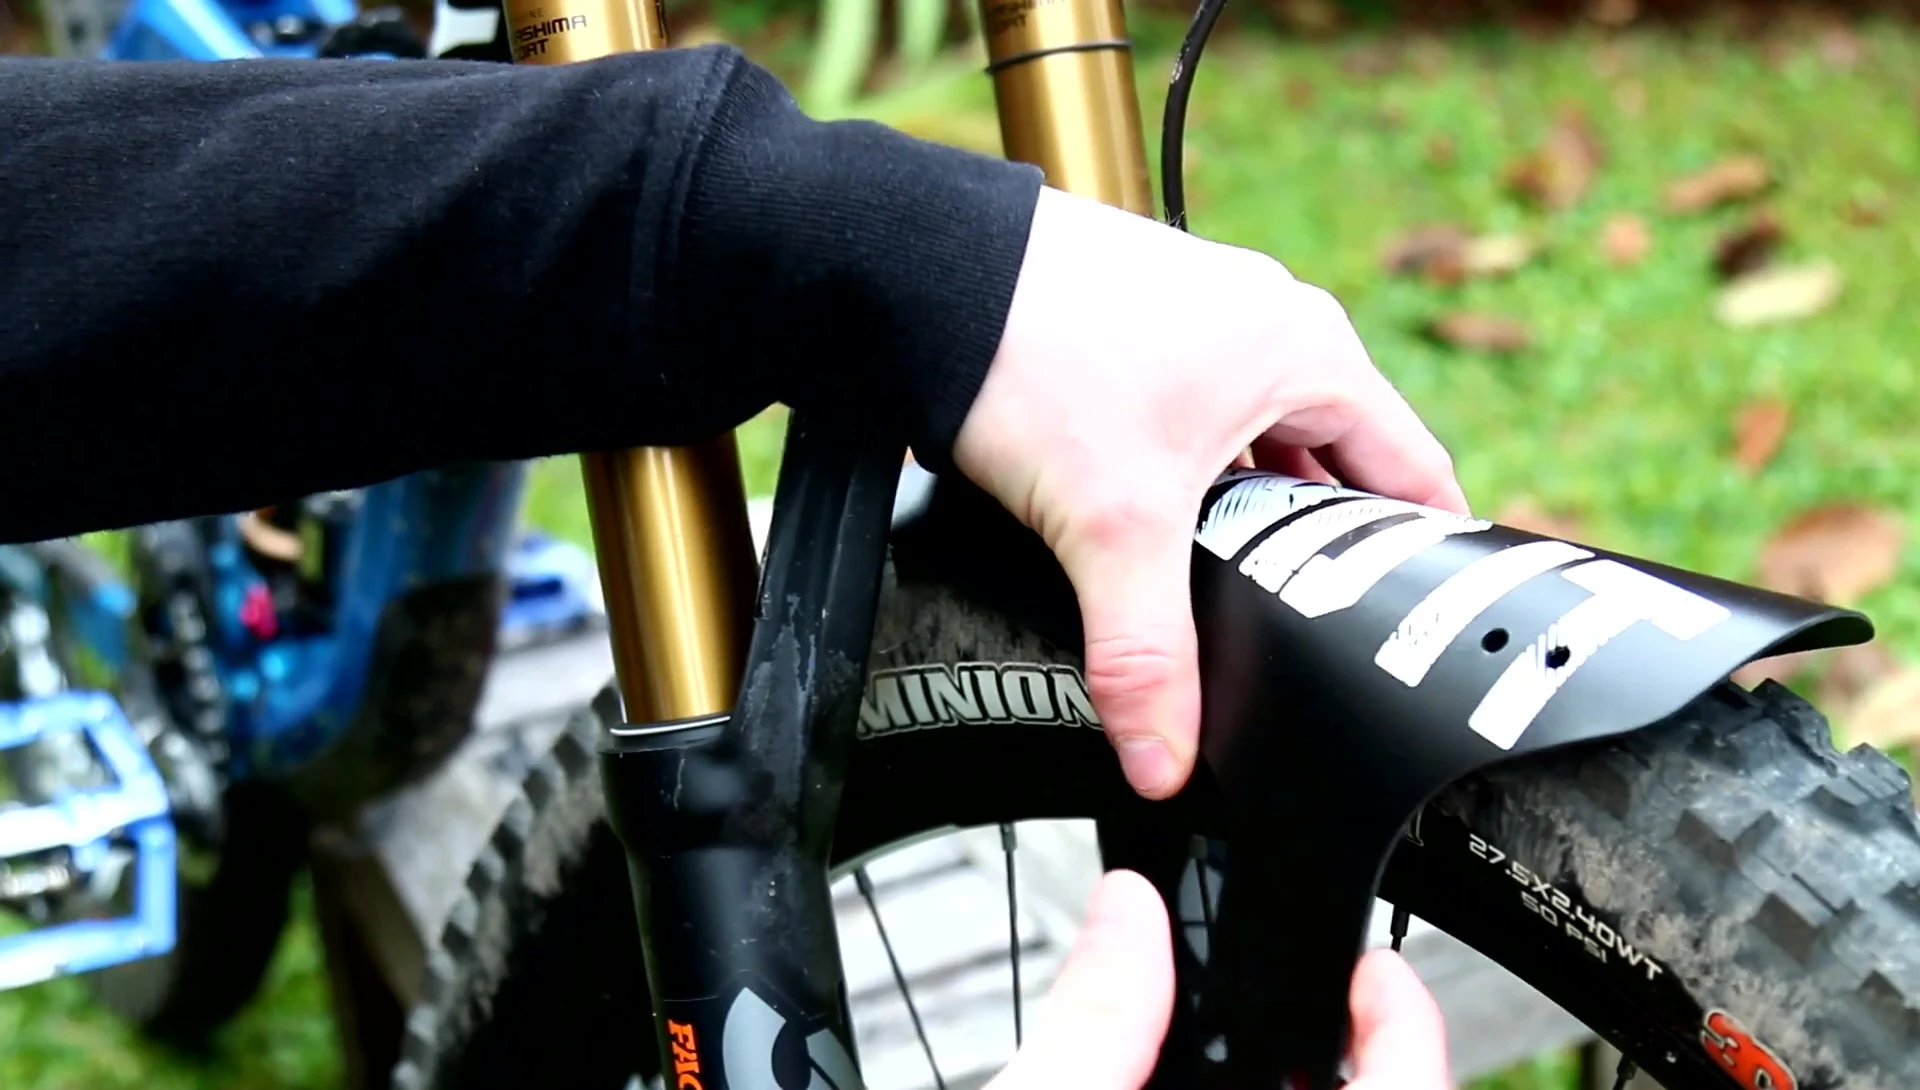
Note the orientation of the mudguard. It has two 'wings,' and the longer side should face the rear of the bike, while the shorter side faces the front.
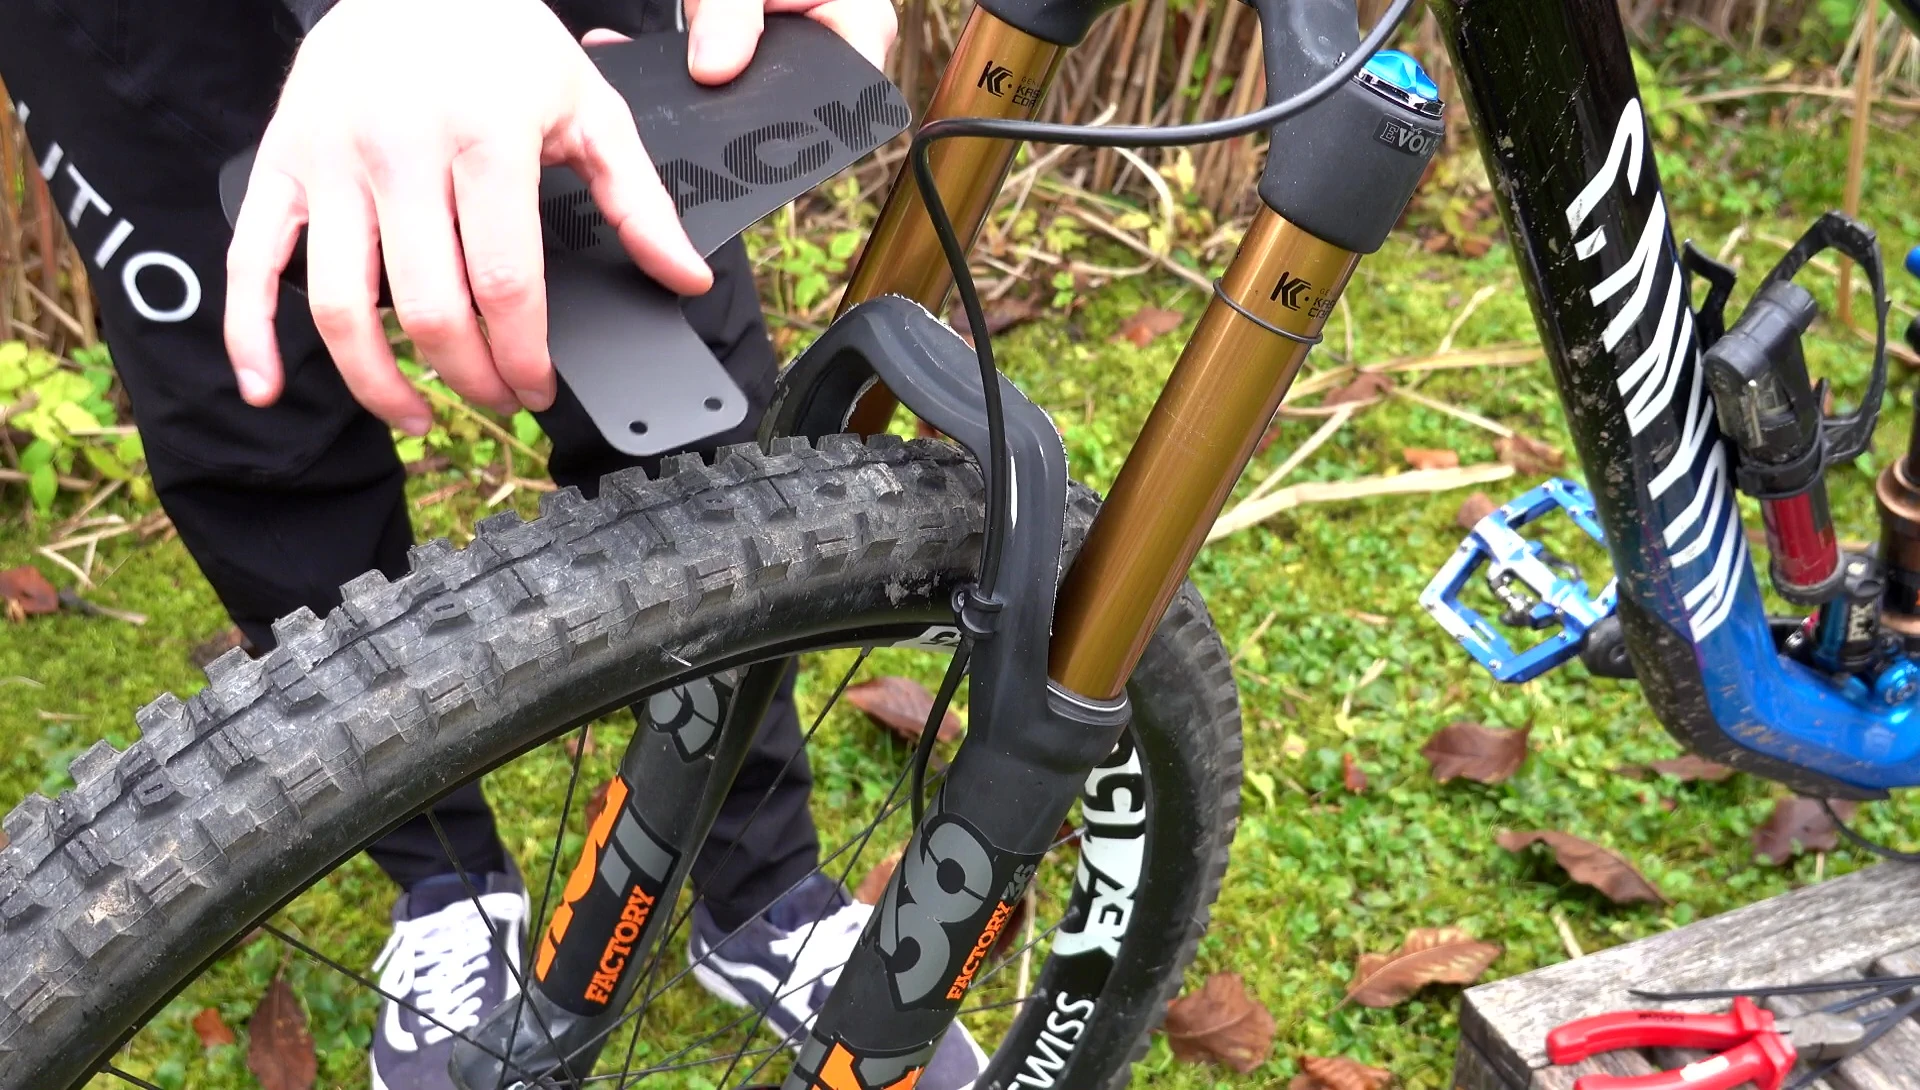
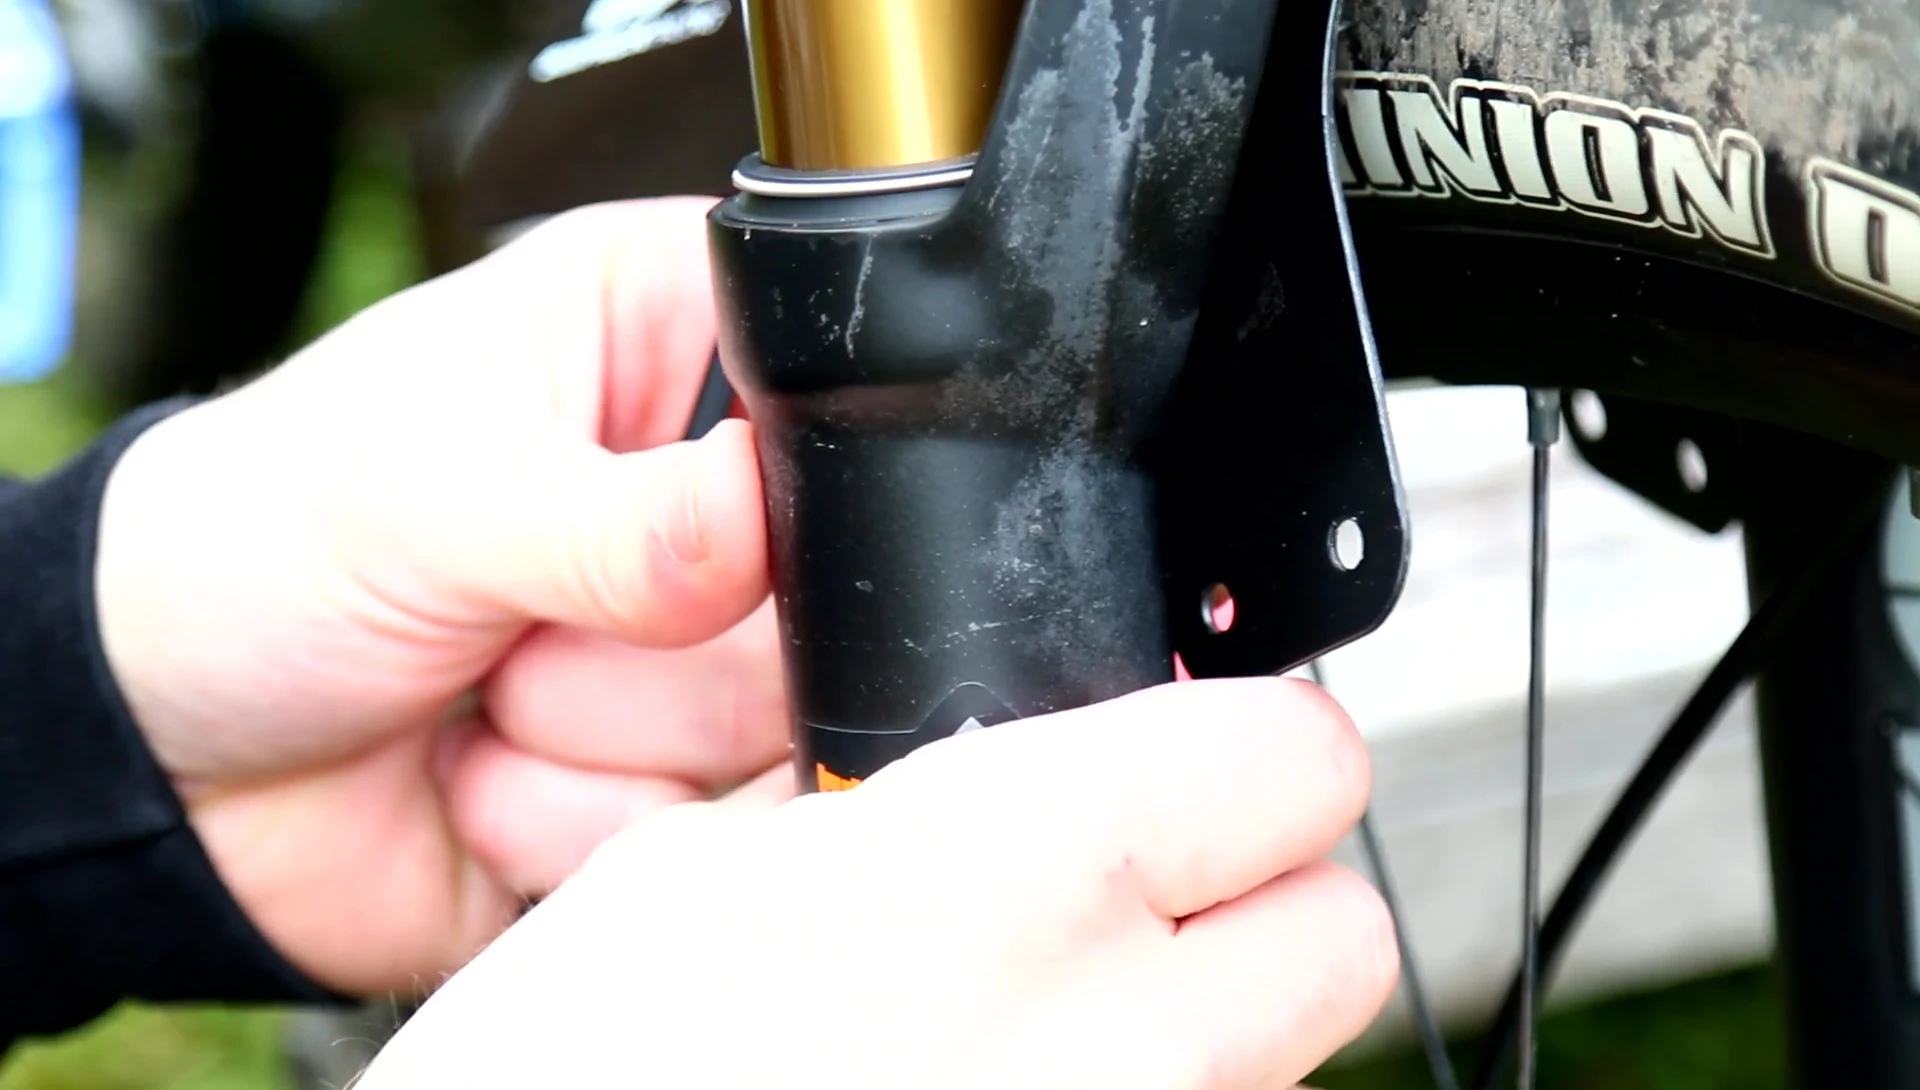
Attaching the Mudguard to the Fork
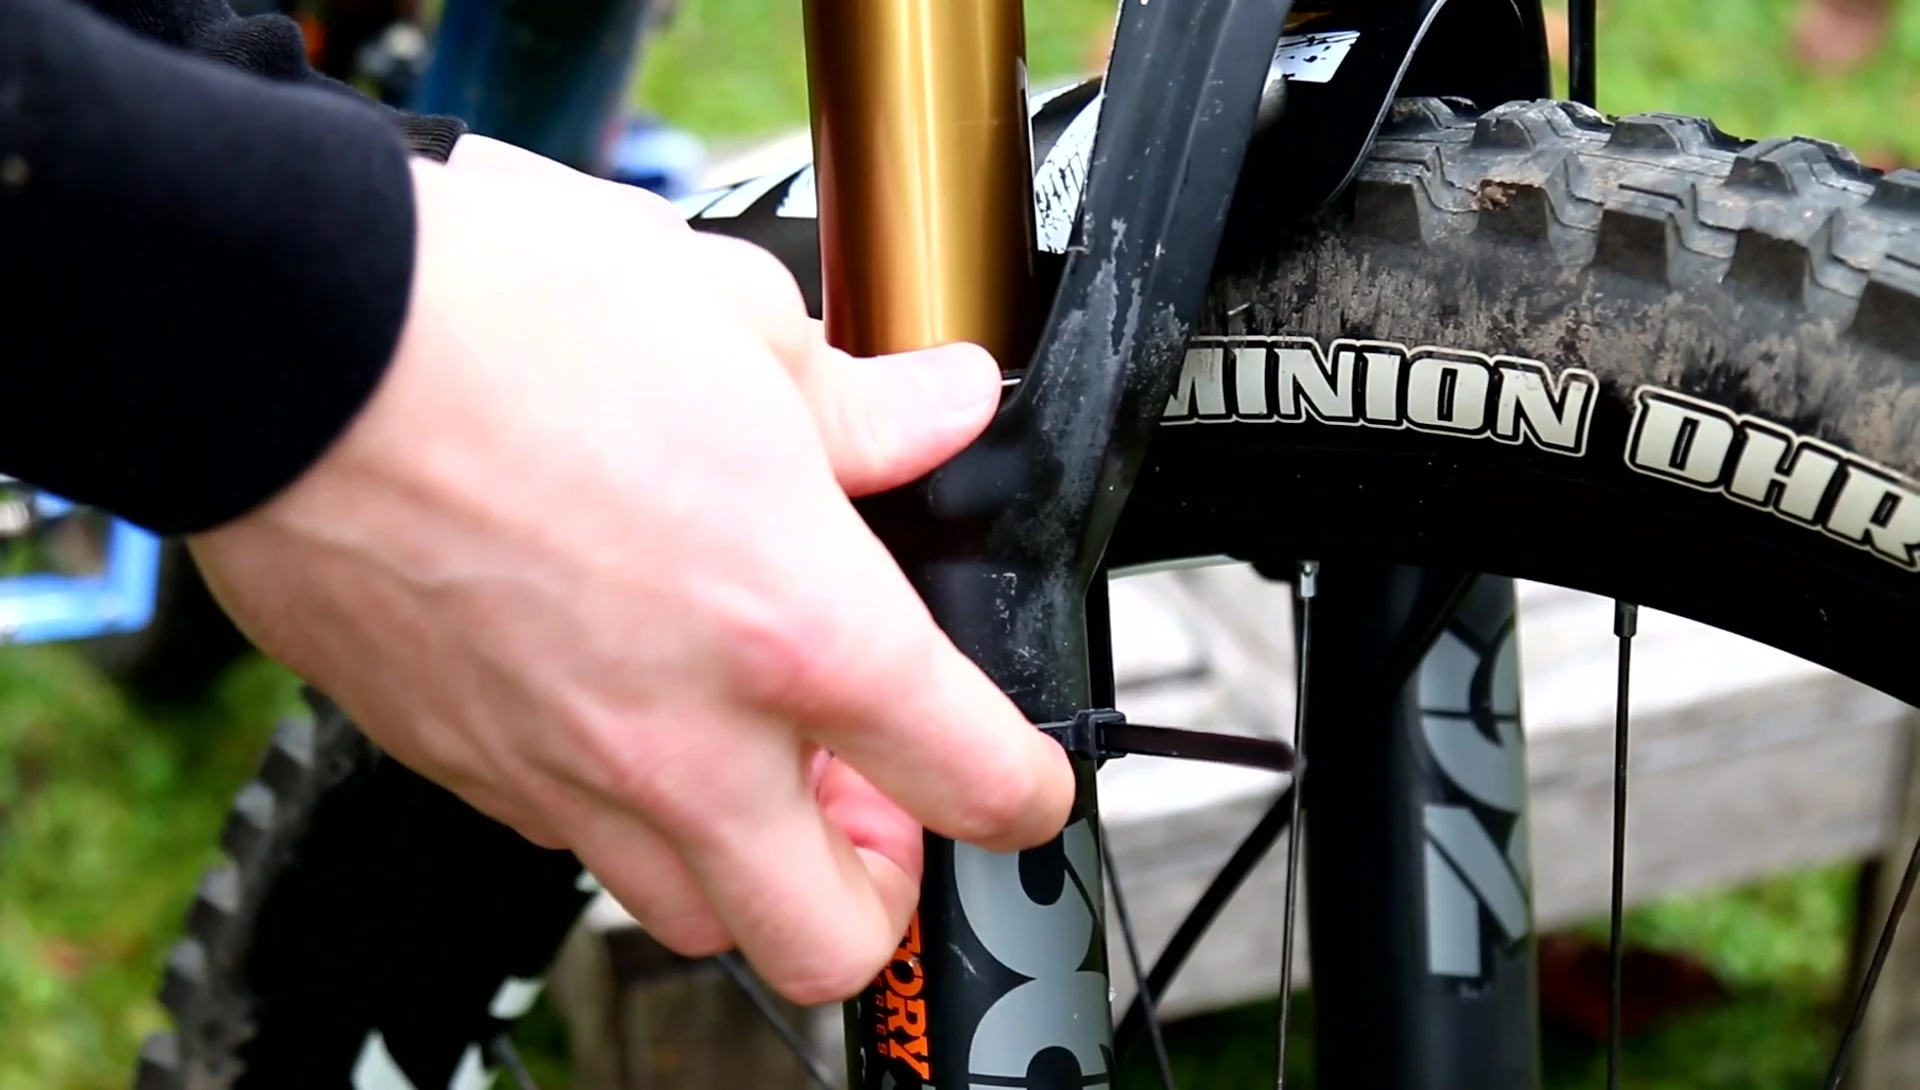
Position the mudguard against the bike fork, ensuring the longer wing faces the rear. The short wing should face the front.
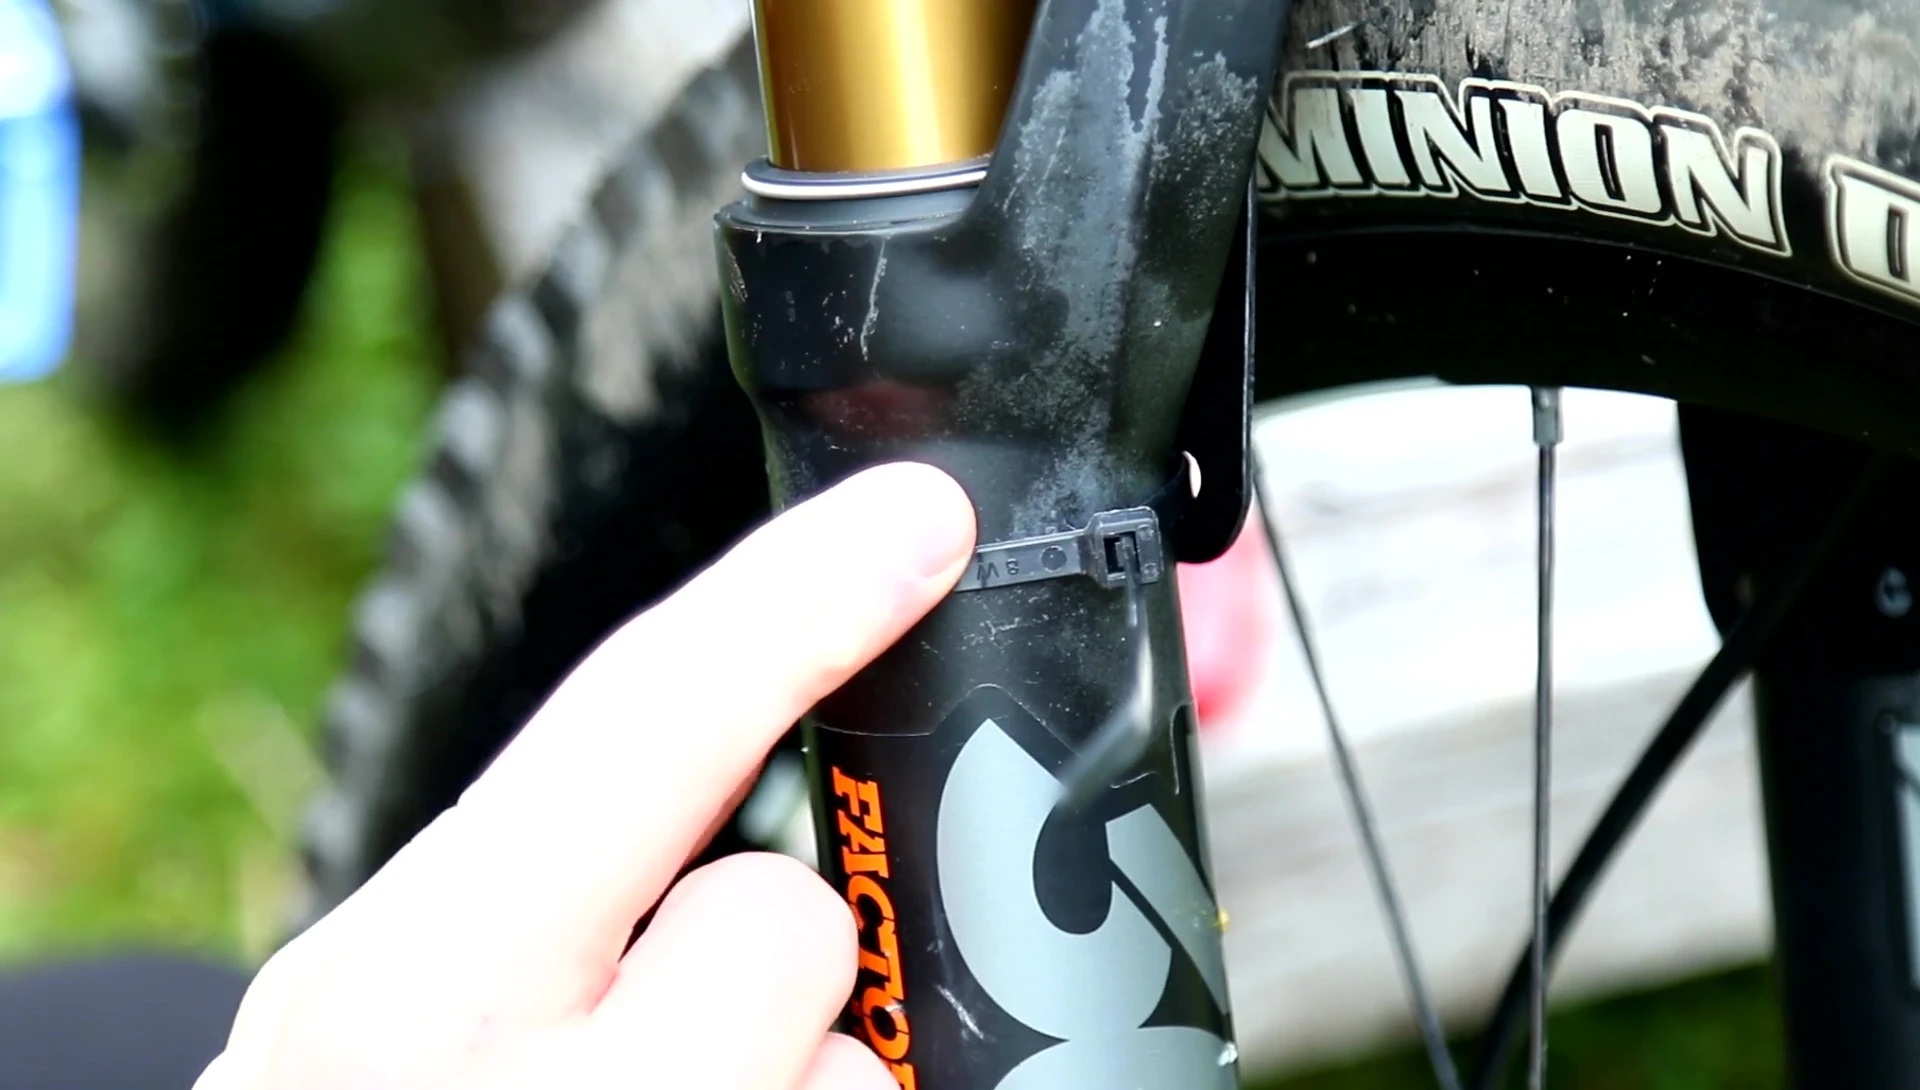
Use the first cable tie to secure the mudguard to the fork, paying attention to the placement of the cable tie's clasp. Ideally, this should face forward, away from the spokes.
Do not tighten the cable tie completely yet; leave some slack to allow for adjustments.

Securing the Mudguard: Repeat on the Other Side
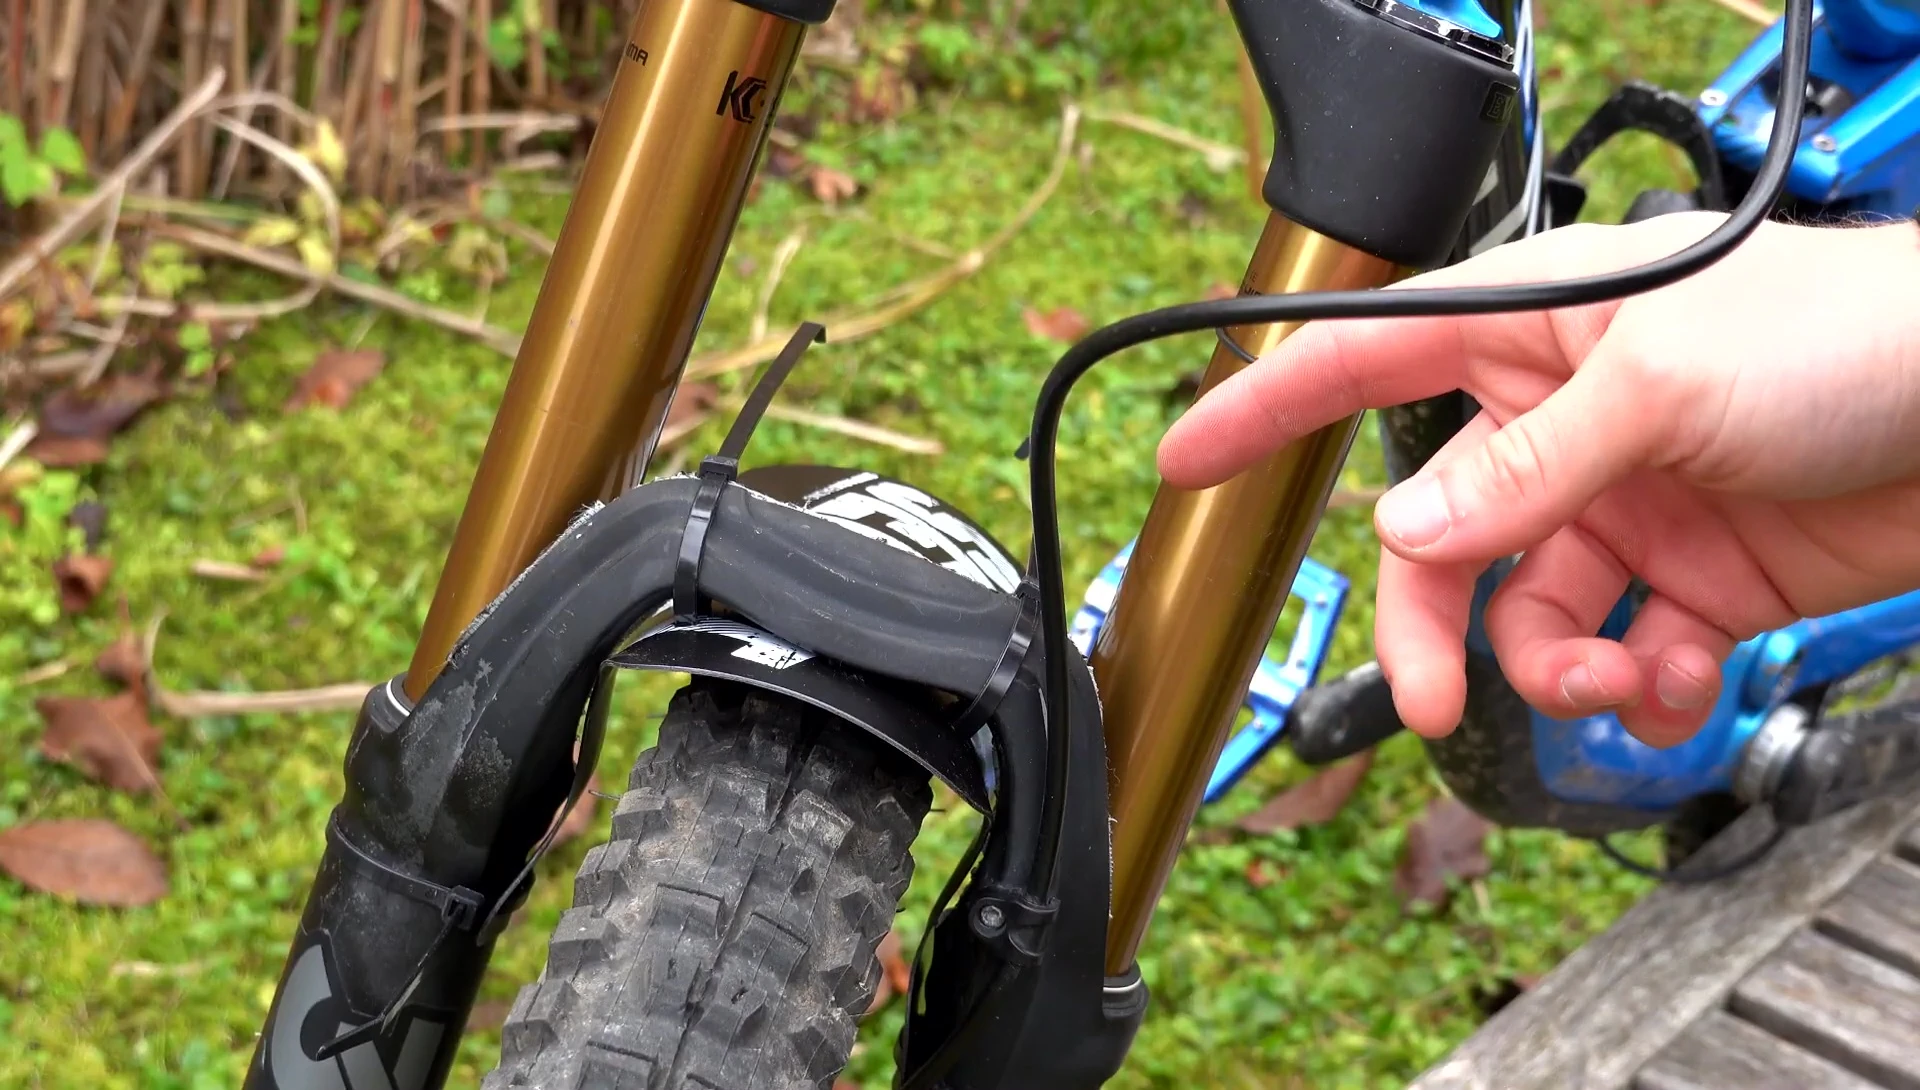
Repeat the process on the opposite side of the fork. Be mindful of the brake cable and ensure the cable tie doesn't clamp it.
Route the cable tie around the brake cable to avoid interference.
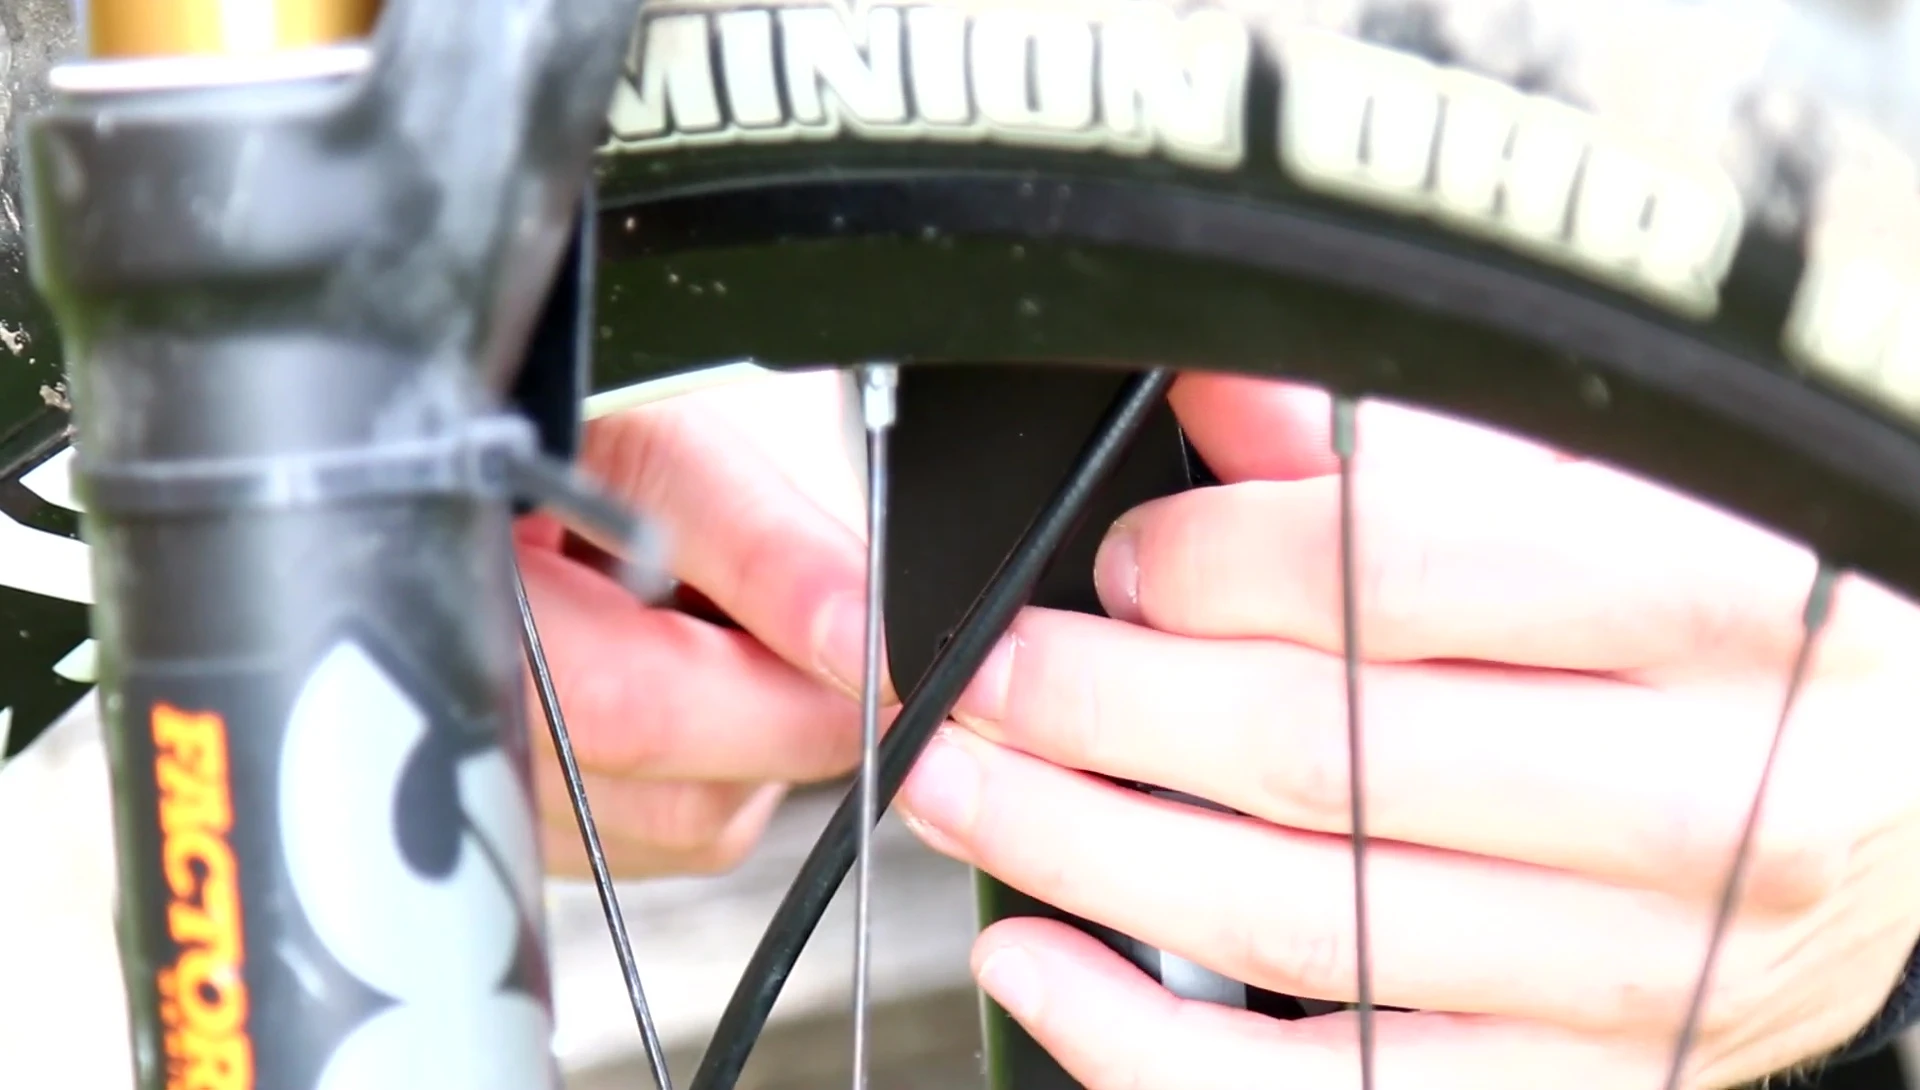
Again, do not fully tighten the cable ties, keeping some slack for final adjustments.
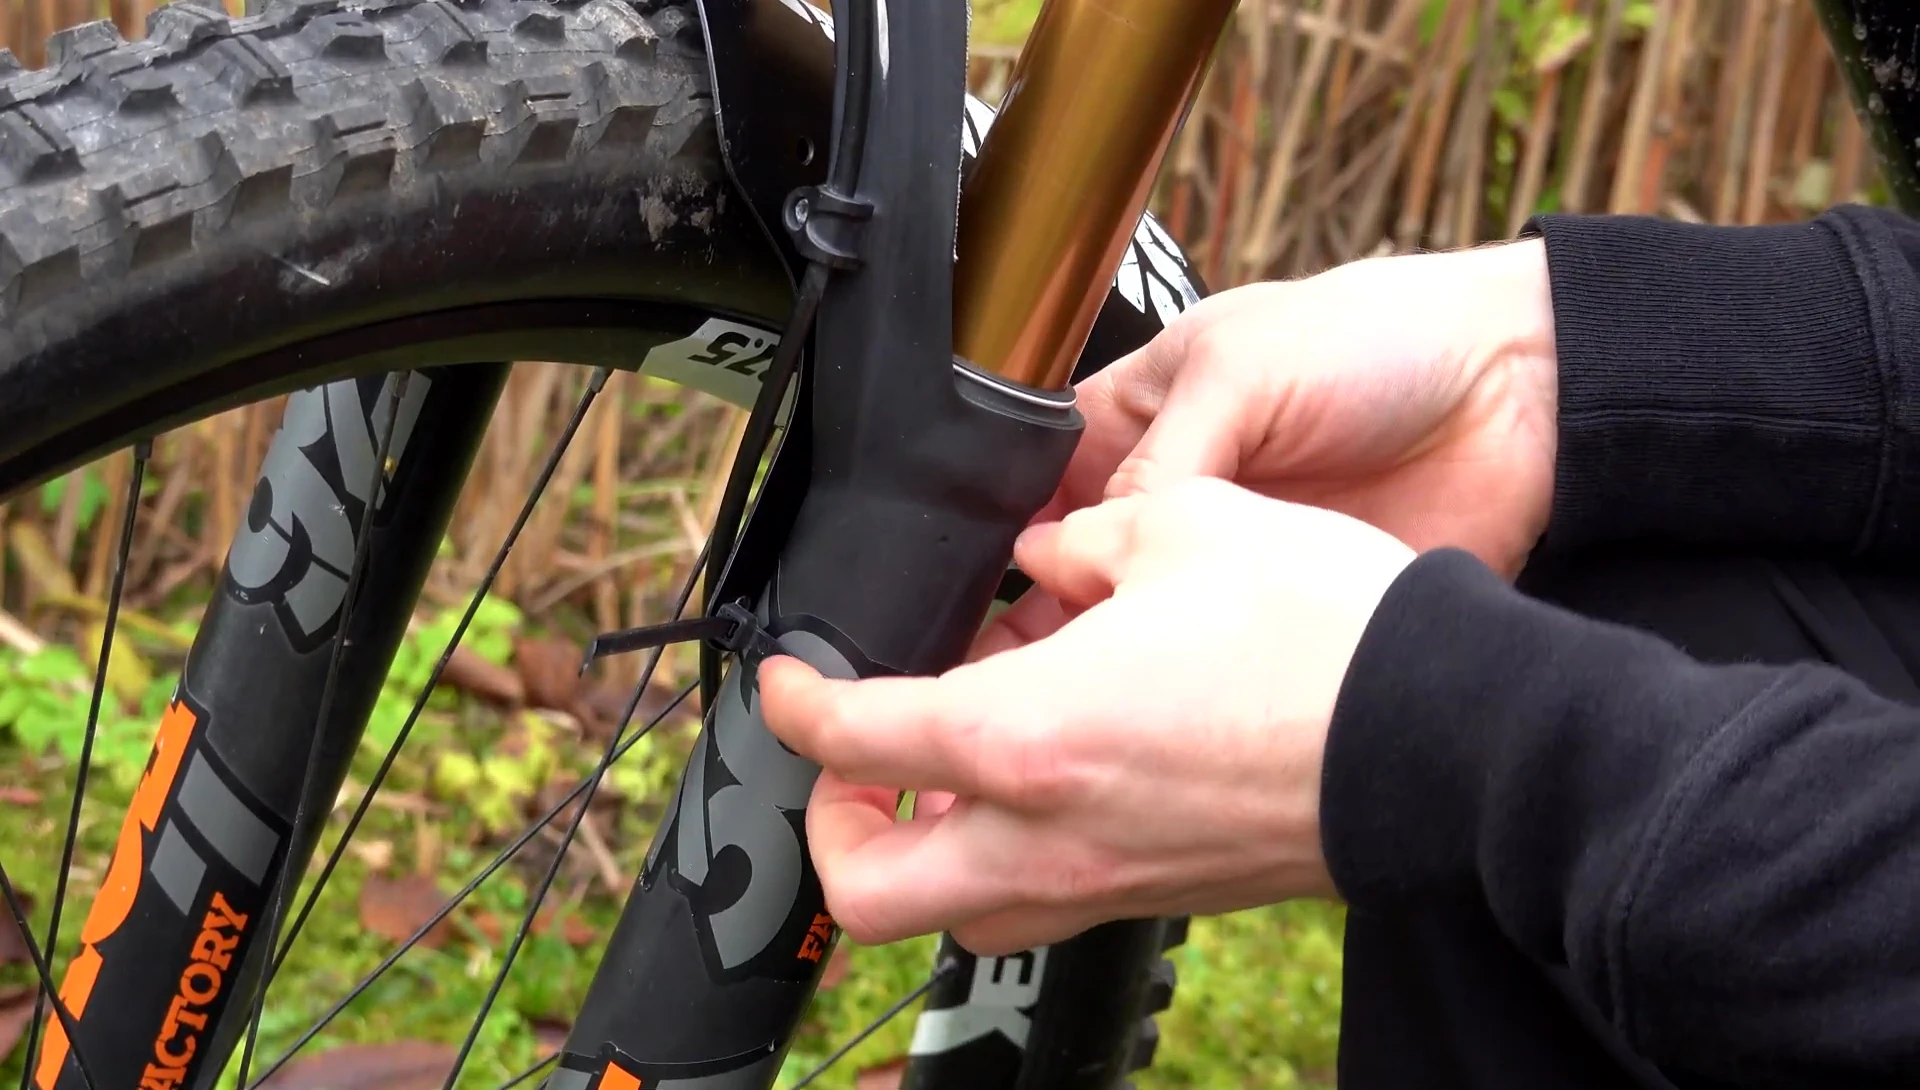
Final Adjustments and Tightening
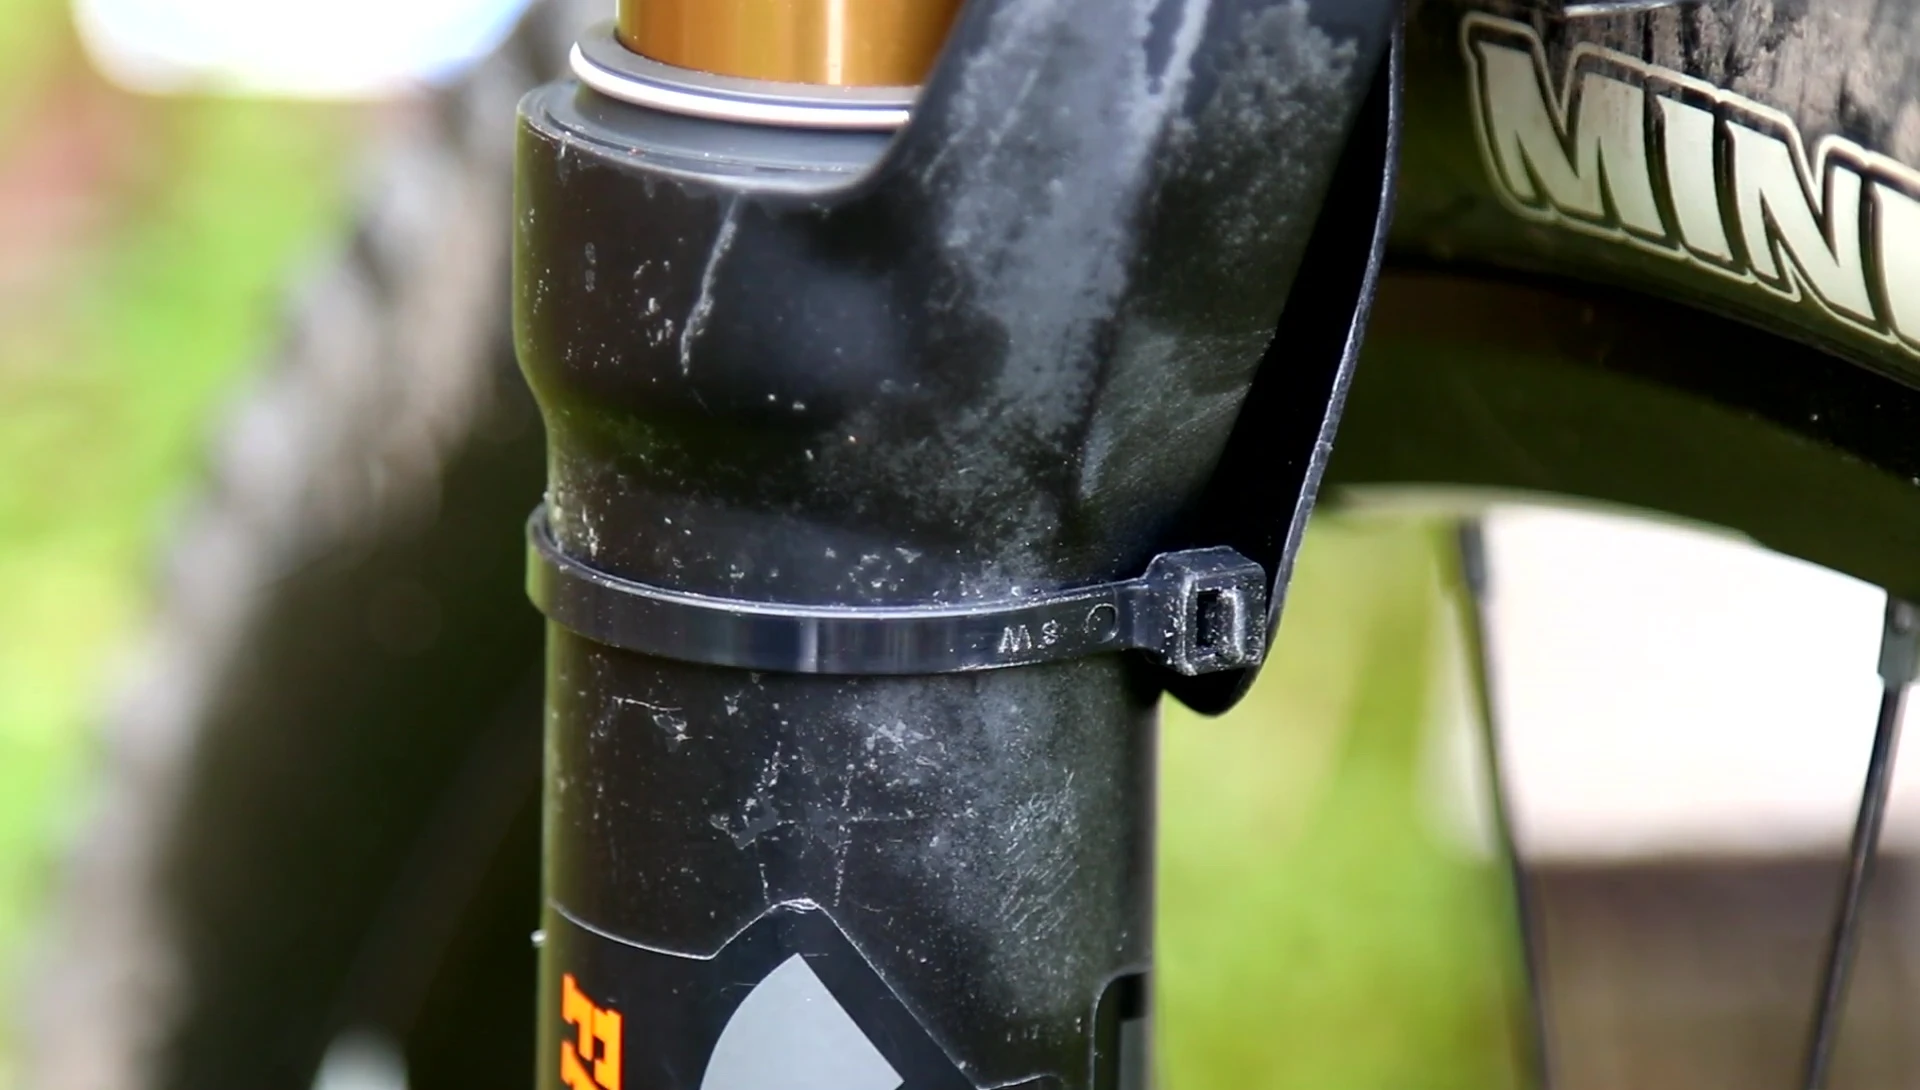
Once both sides are loosely secured, adjust the mudguard's position to ensure it's aligned and doesn't interfere with the wheel or any other components.
Tighten all four cable ties securely. Make sure the mudguard sits correctly on the bike fork and does not rub against the wheel or other parts.
Trim the excess cable tie ends using the side cutter, being careful not to scratch the bike's finish.
Smoothing Sharp Edges
Use sandpaper to smooth the sharp edges of the cut cable ties, especially those near moving parts like the brake cable.

This prevents accidental injury and damage to the bike components.
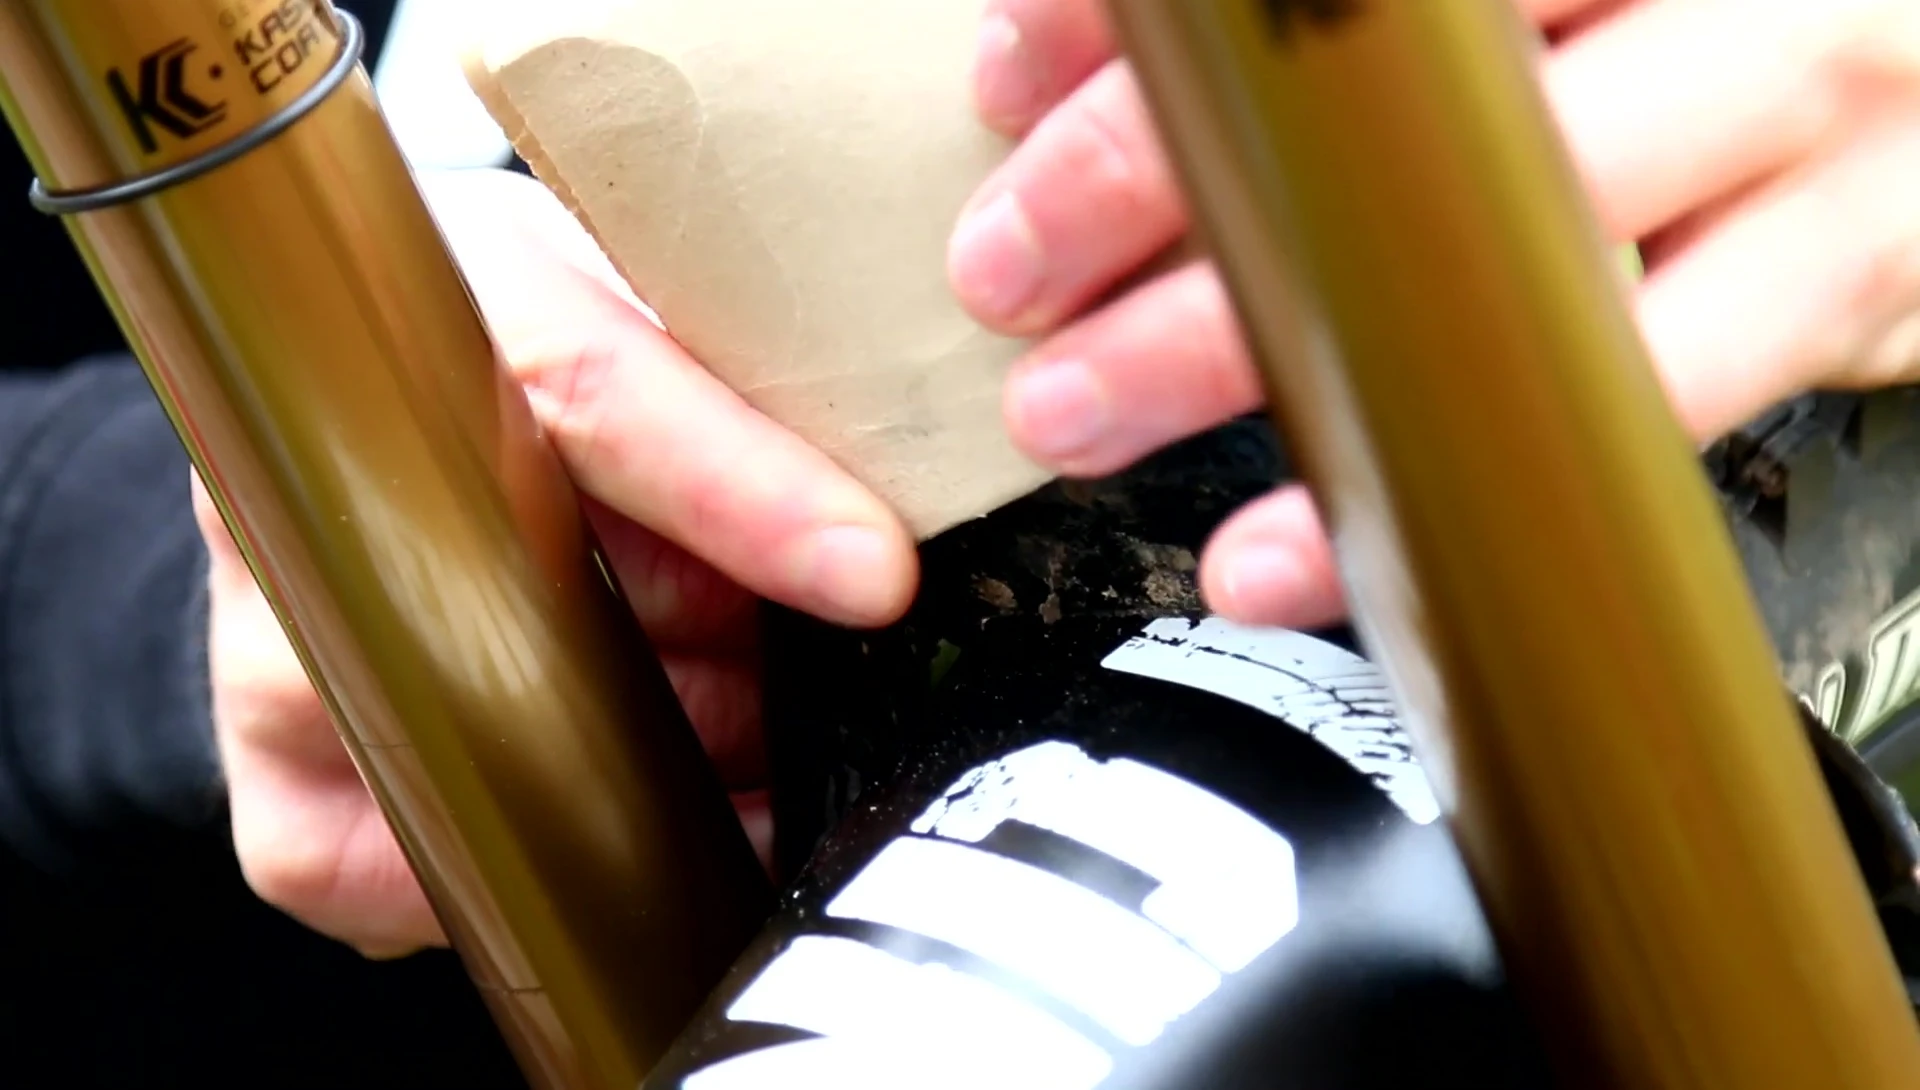
Protect your bike's frame and your fingers when sanding.
Conclusion
After following these steps, your MTB mudguard should be securely installed and effectively prevent mud and dirt from splattering onto your face. Remember to double-check the positioning and tightness of the cable ties.
This installation process is relatively straightforward, requiring basic tools and a bit of patience. Regular maintenance may be needed depending on usage.