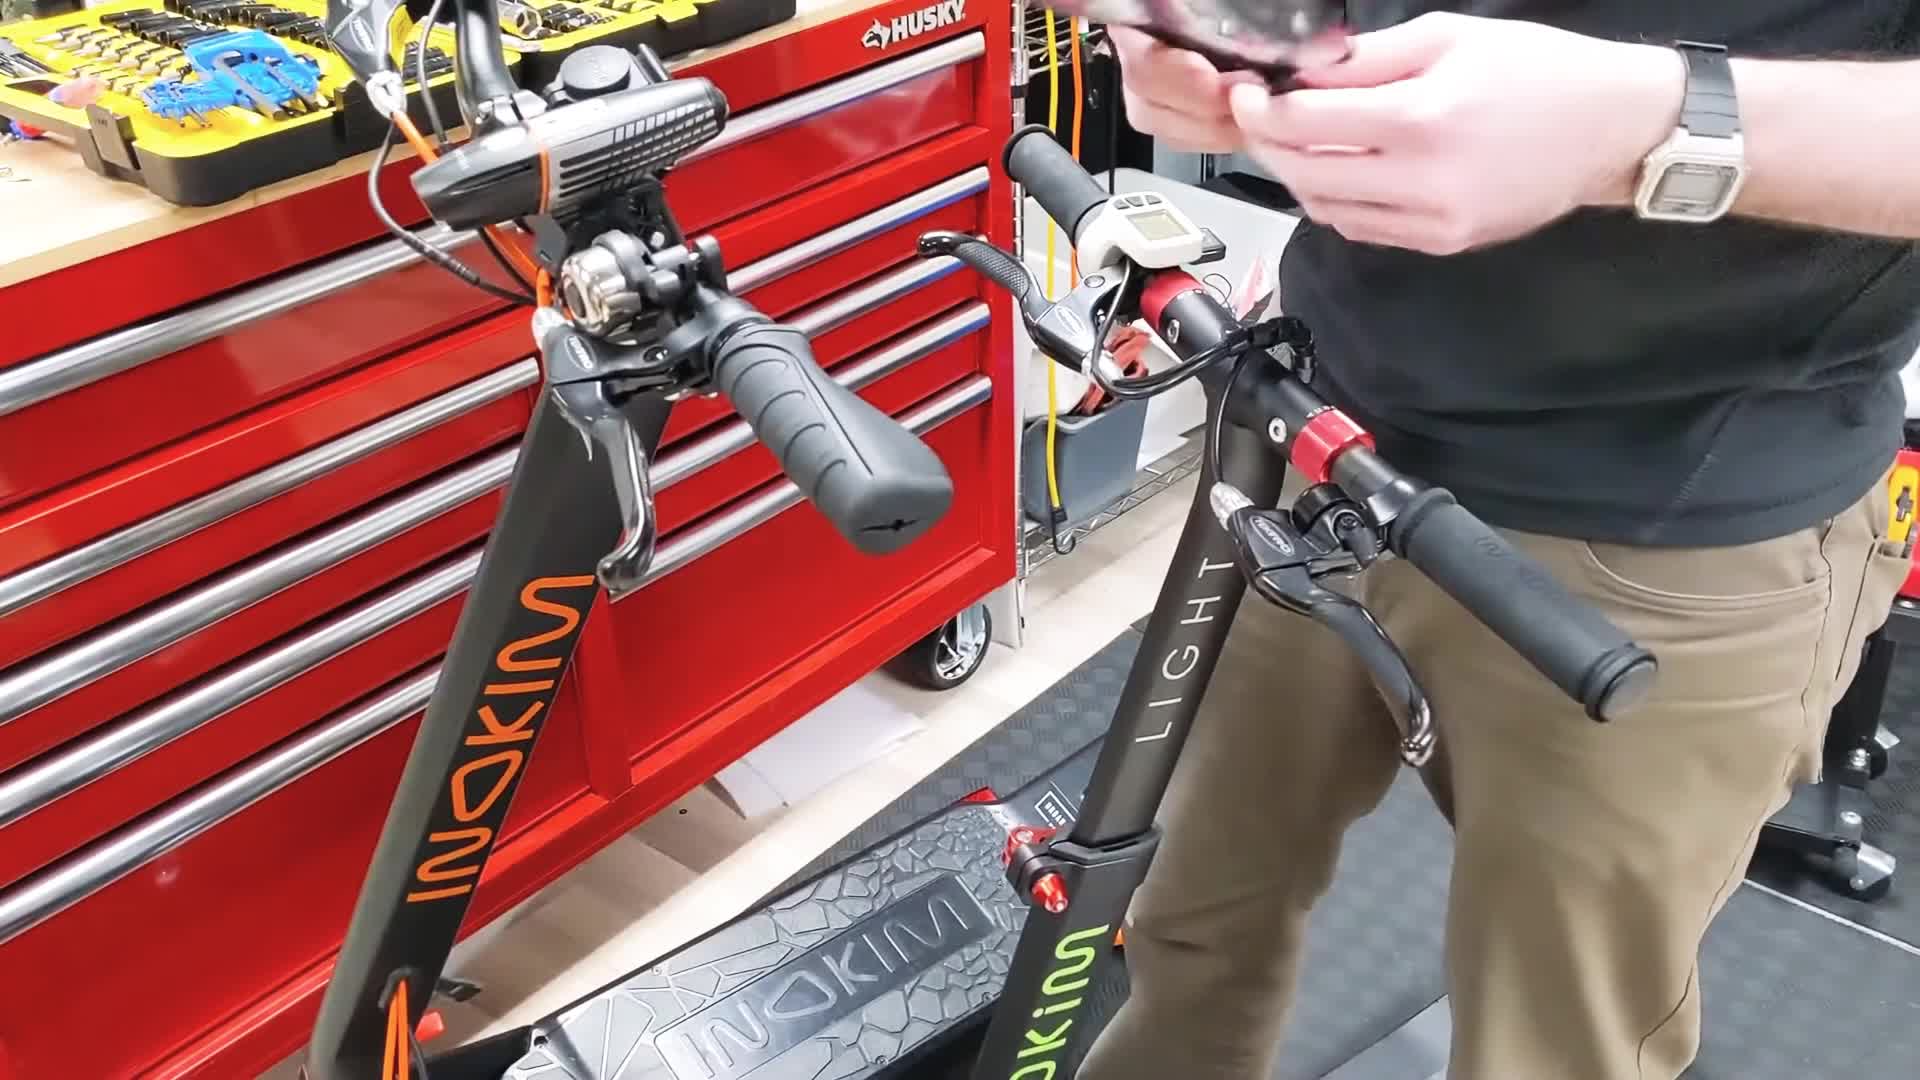
This guide provides a step-by-step walkthrough for installing INOKIM handlebar mirrors, catering to both easy-installation models and those with rubber grips. We'll cover two primary installation methods, focusing on simplicity and efficiency. Whether you're enhancing rear visibility on your All-Light 2 model or tackling a slightly more involved installation on a handlebar with rubber grips, this guide will equip you with the knowledge and techniques to complete the process successfully. Clear instructions and helpful tips will ensure a secure and properly adjusted mirror installation, maximizing your rearward view.This tutorial simplifies the seemingly complex task of installing handlebar mirrors. We detail the installation process for INOKIM’s All-Light 2 models, highlighting the easy method for those without rubber grips. For users with rubber grips, we offer a solution involving a small modification to accommodate the mirror. We'll guide you through each step, from removing the end cap to final angle adjustment, ensuring a secure and functional installation. By following these instructions, you'll quickly enhance your vehicle's safety and convenience with improved rear visibility.
Pros And Cons
- Can be installed with mirror upwards or downwards
- Angle adjustable
- Can be difficult to install on rubber grips (requires slitting or material removal)
- Should not be used for steering
Read more: 5 Best Bike Mirrors for Road Cycling
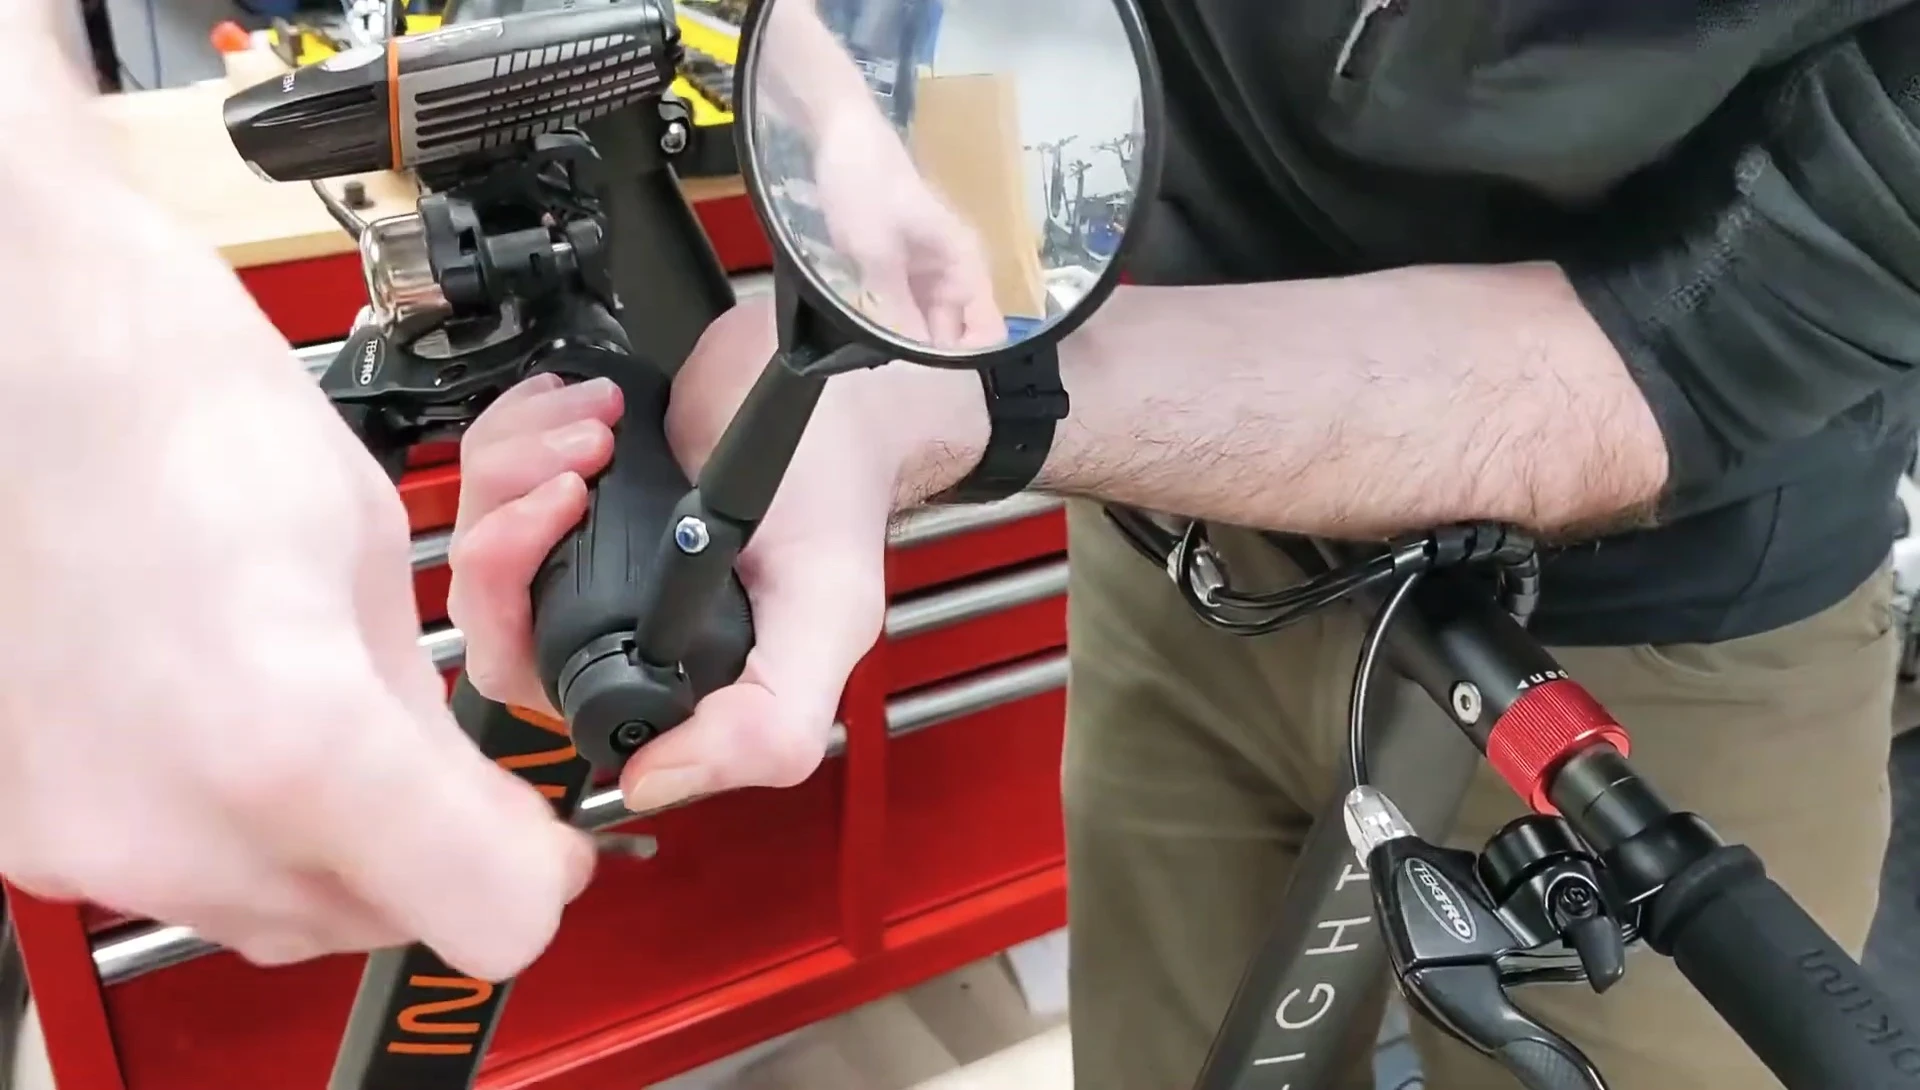
Installing on the All-Light 2 Models
The Innokin handlebar mirror comes in a two-pack, allowing for installation on both sides of your vehicle or just one. This guide focuses on the easier installation process for the All-Light 2 models.
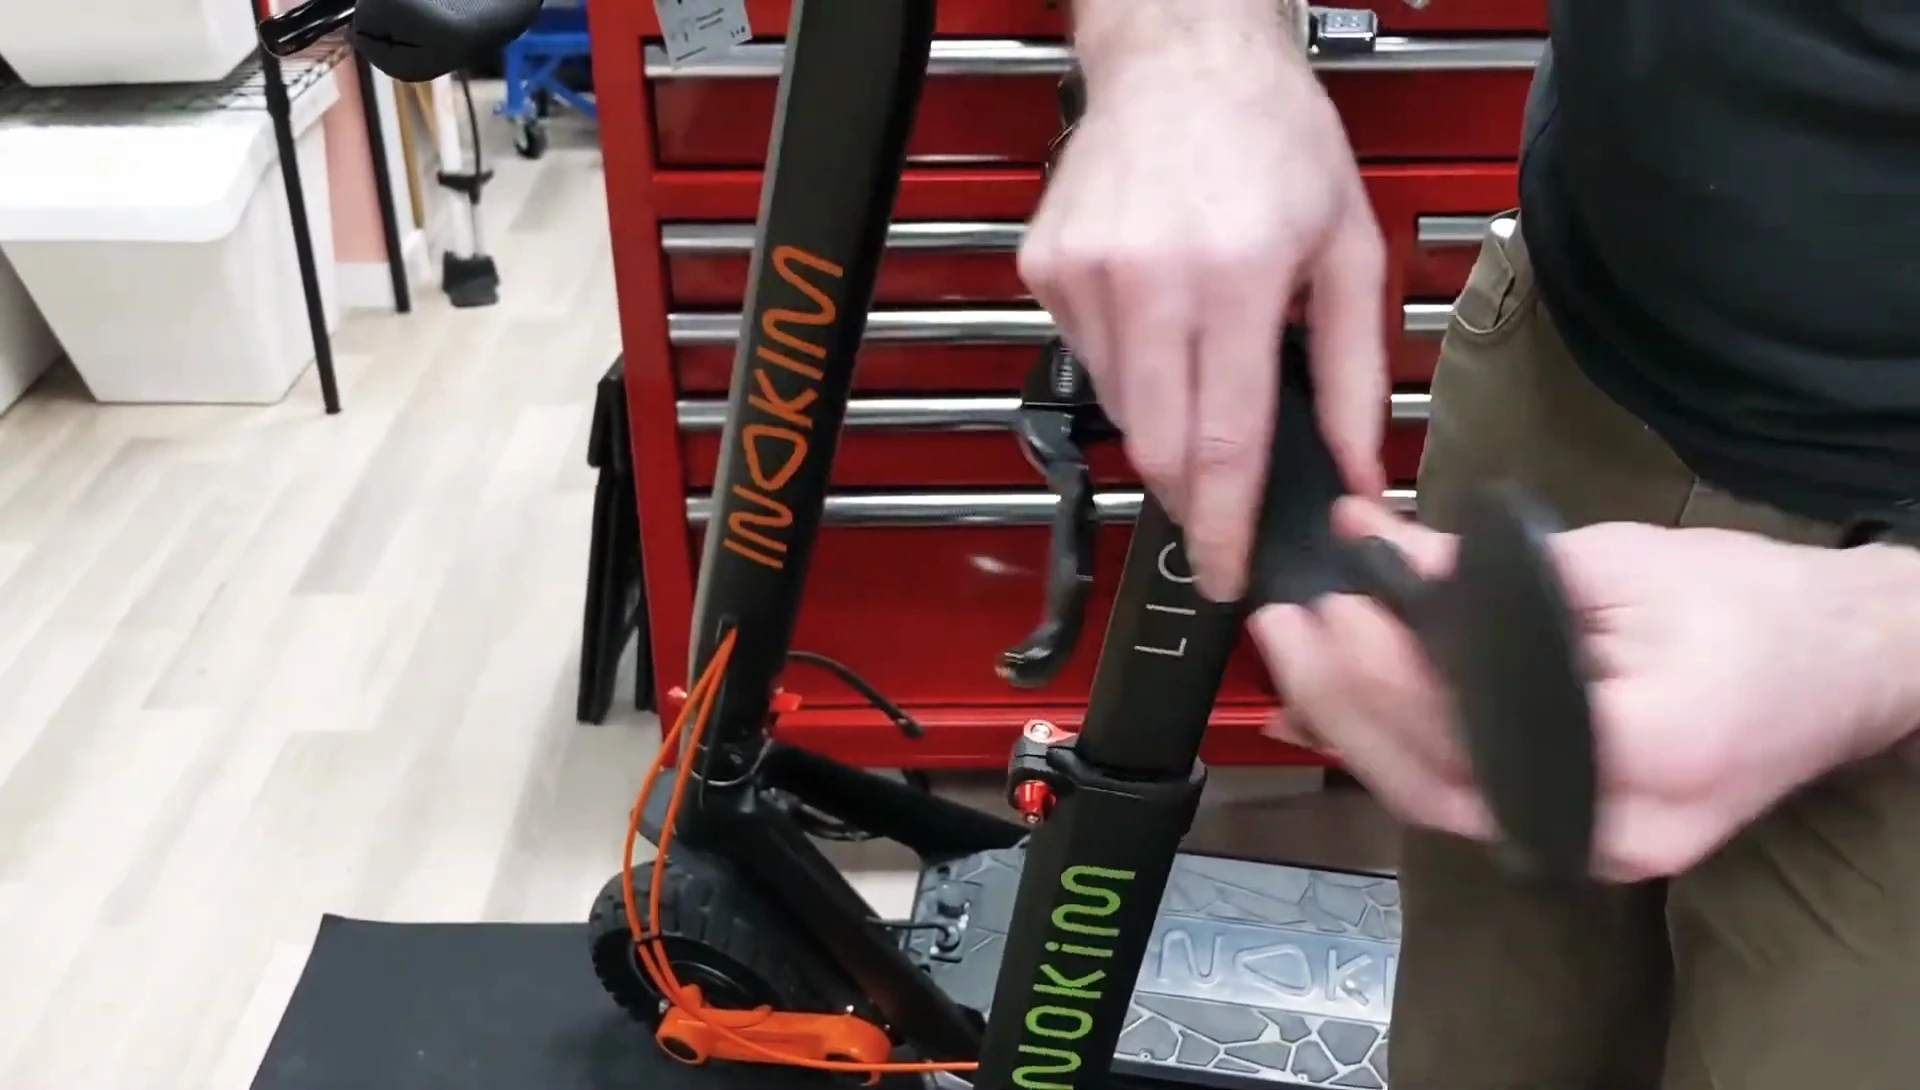
Begin by removing the plastic end cap. If your fingers aren't sufficient, use a small pry tool or flathead screwdriver to gently work it loose and wiggle it out.
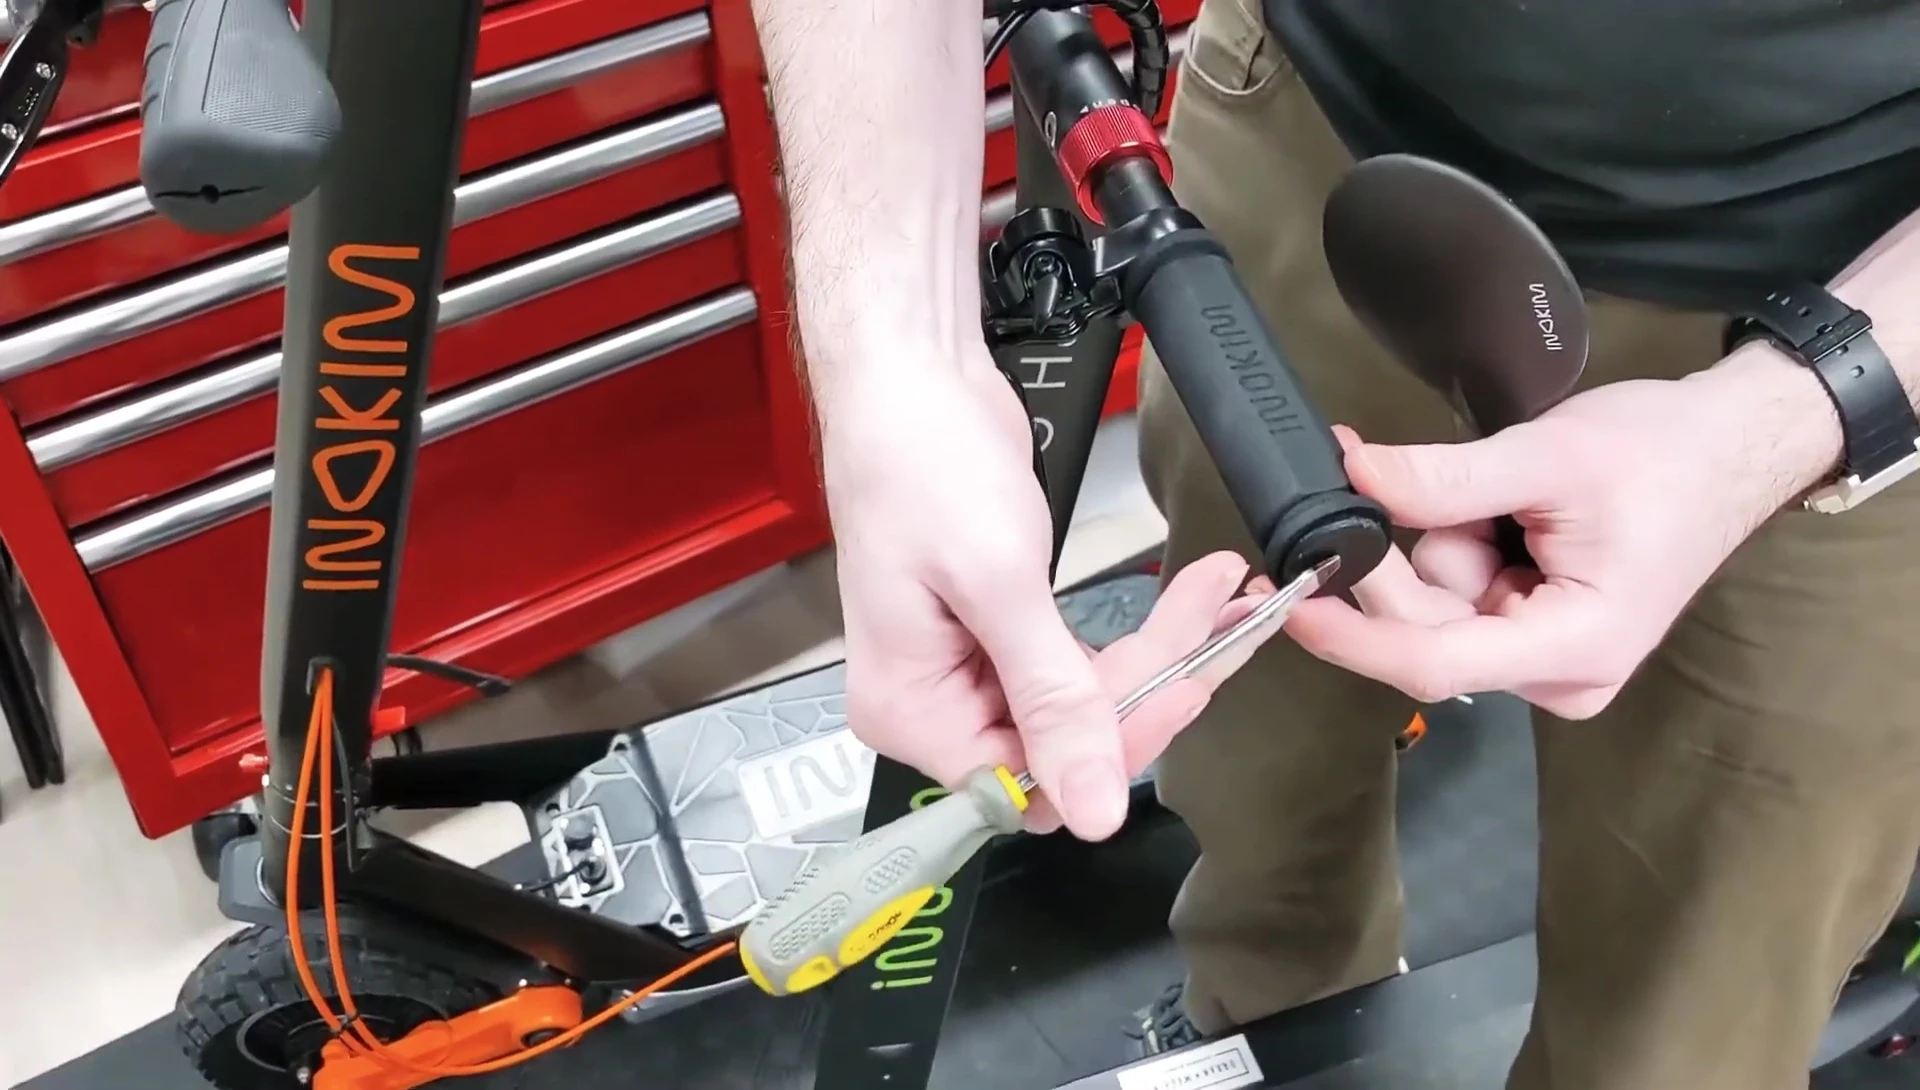
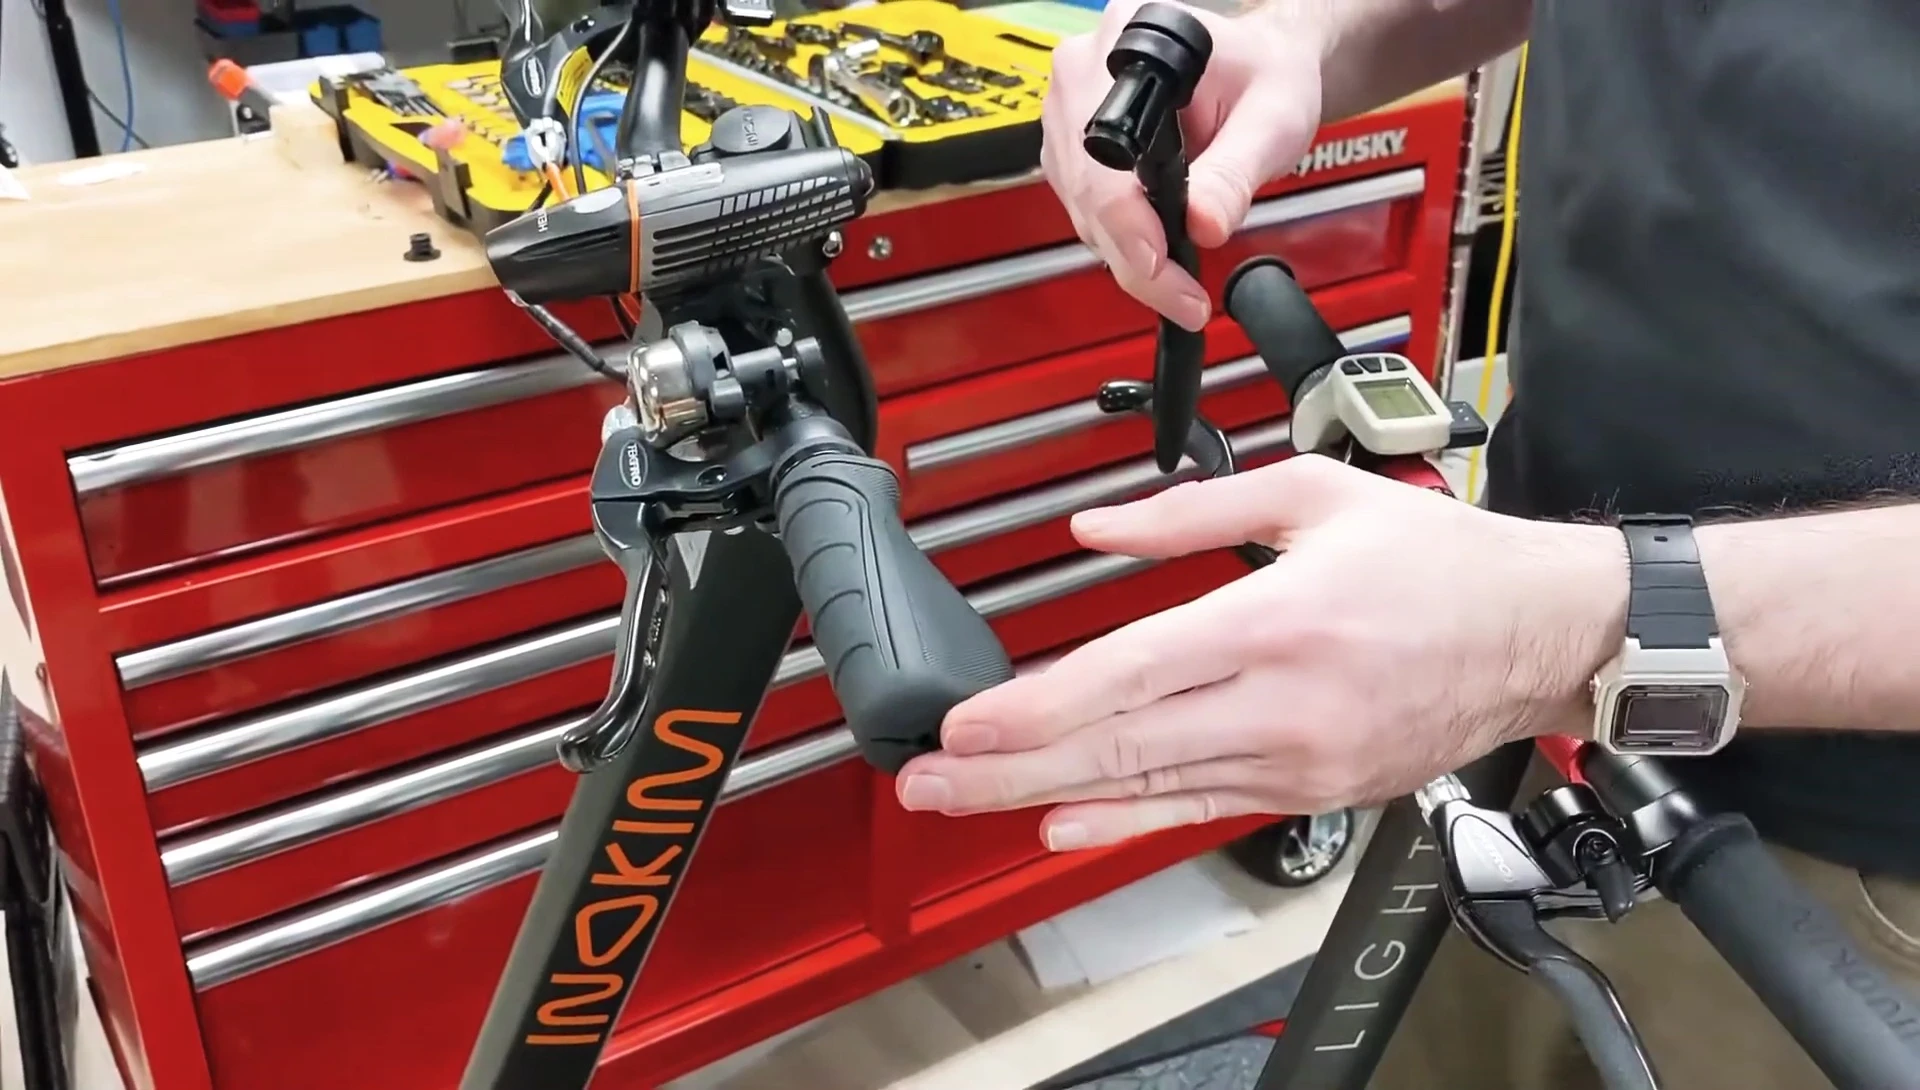
The mirror's 'petals' expand inside the handlebar to secure the mirror. Insert the mirror from the end cap, ensuring it's thin enough to fit. If the mirror pops out during insertion, this is normal; simply re-insert it.
Securing the Mirror and Adjusting the Angle
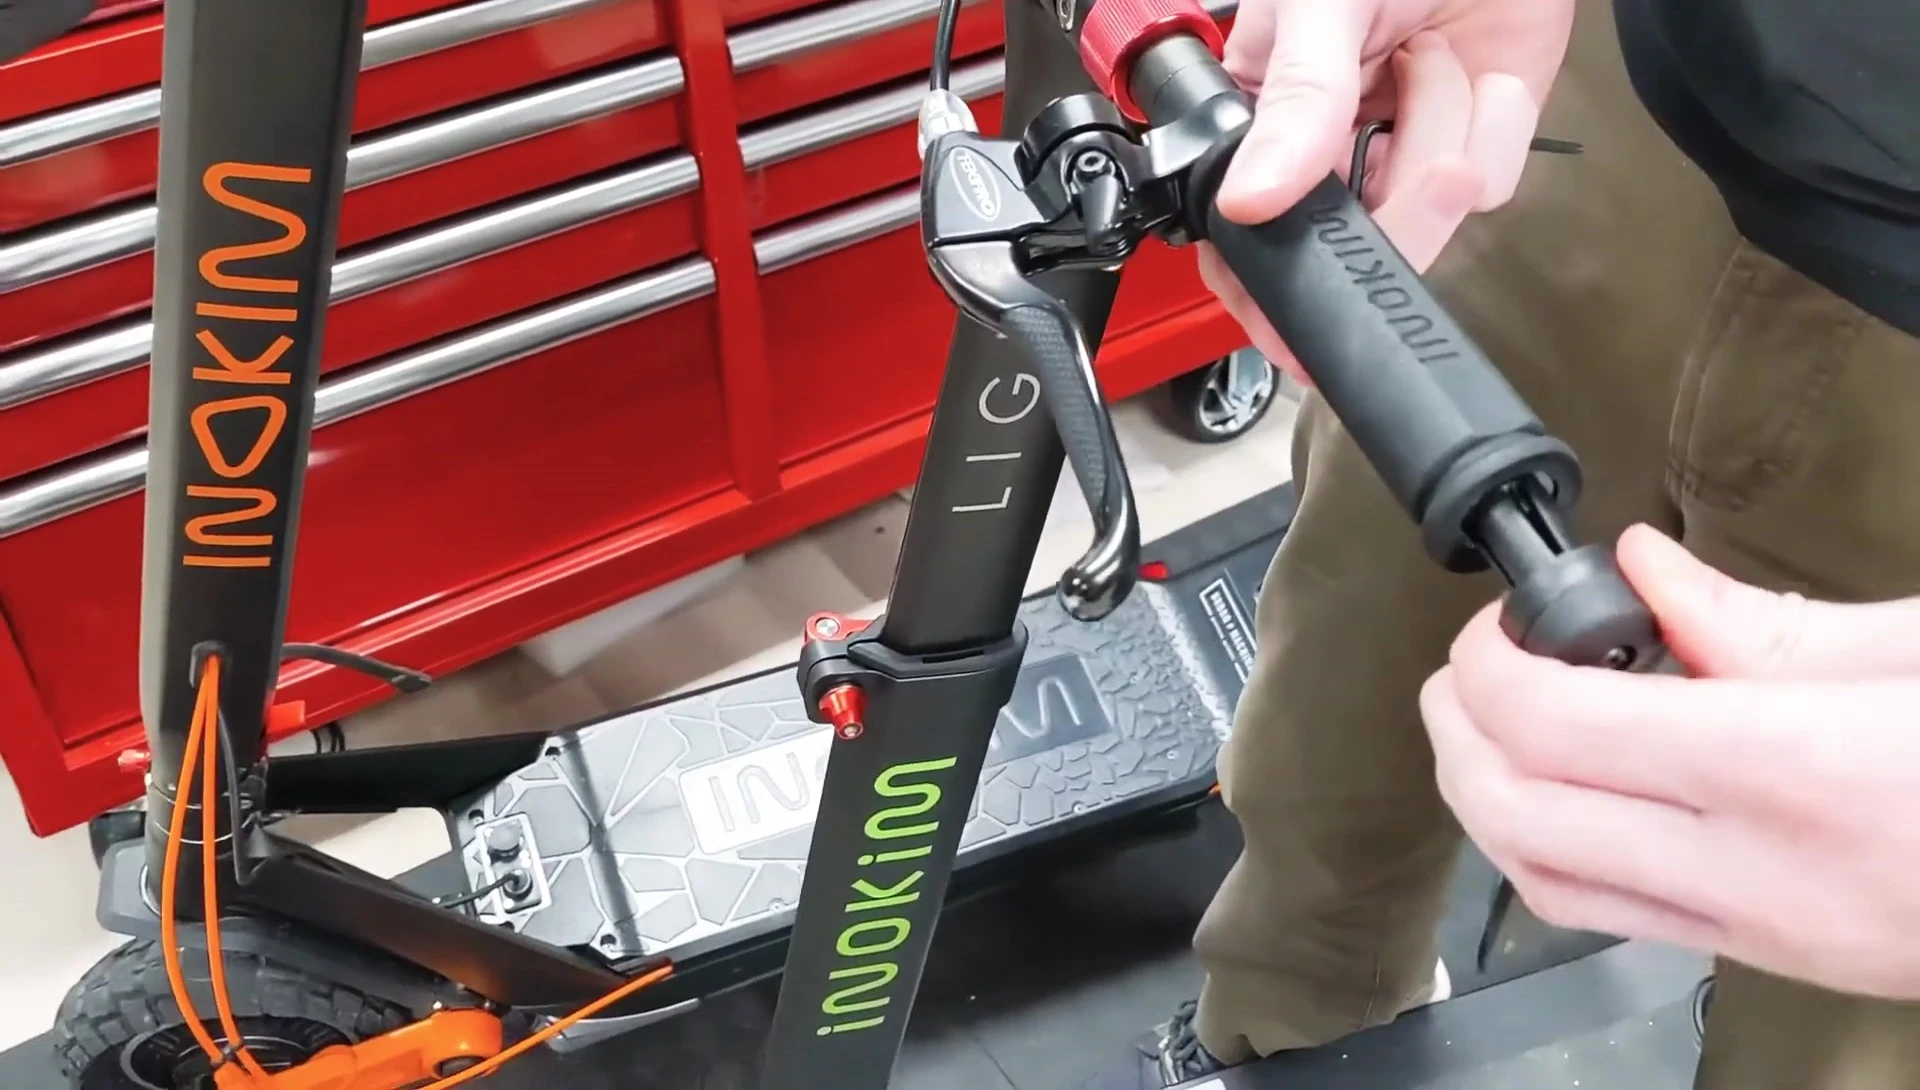
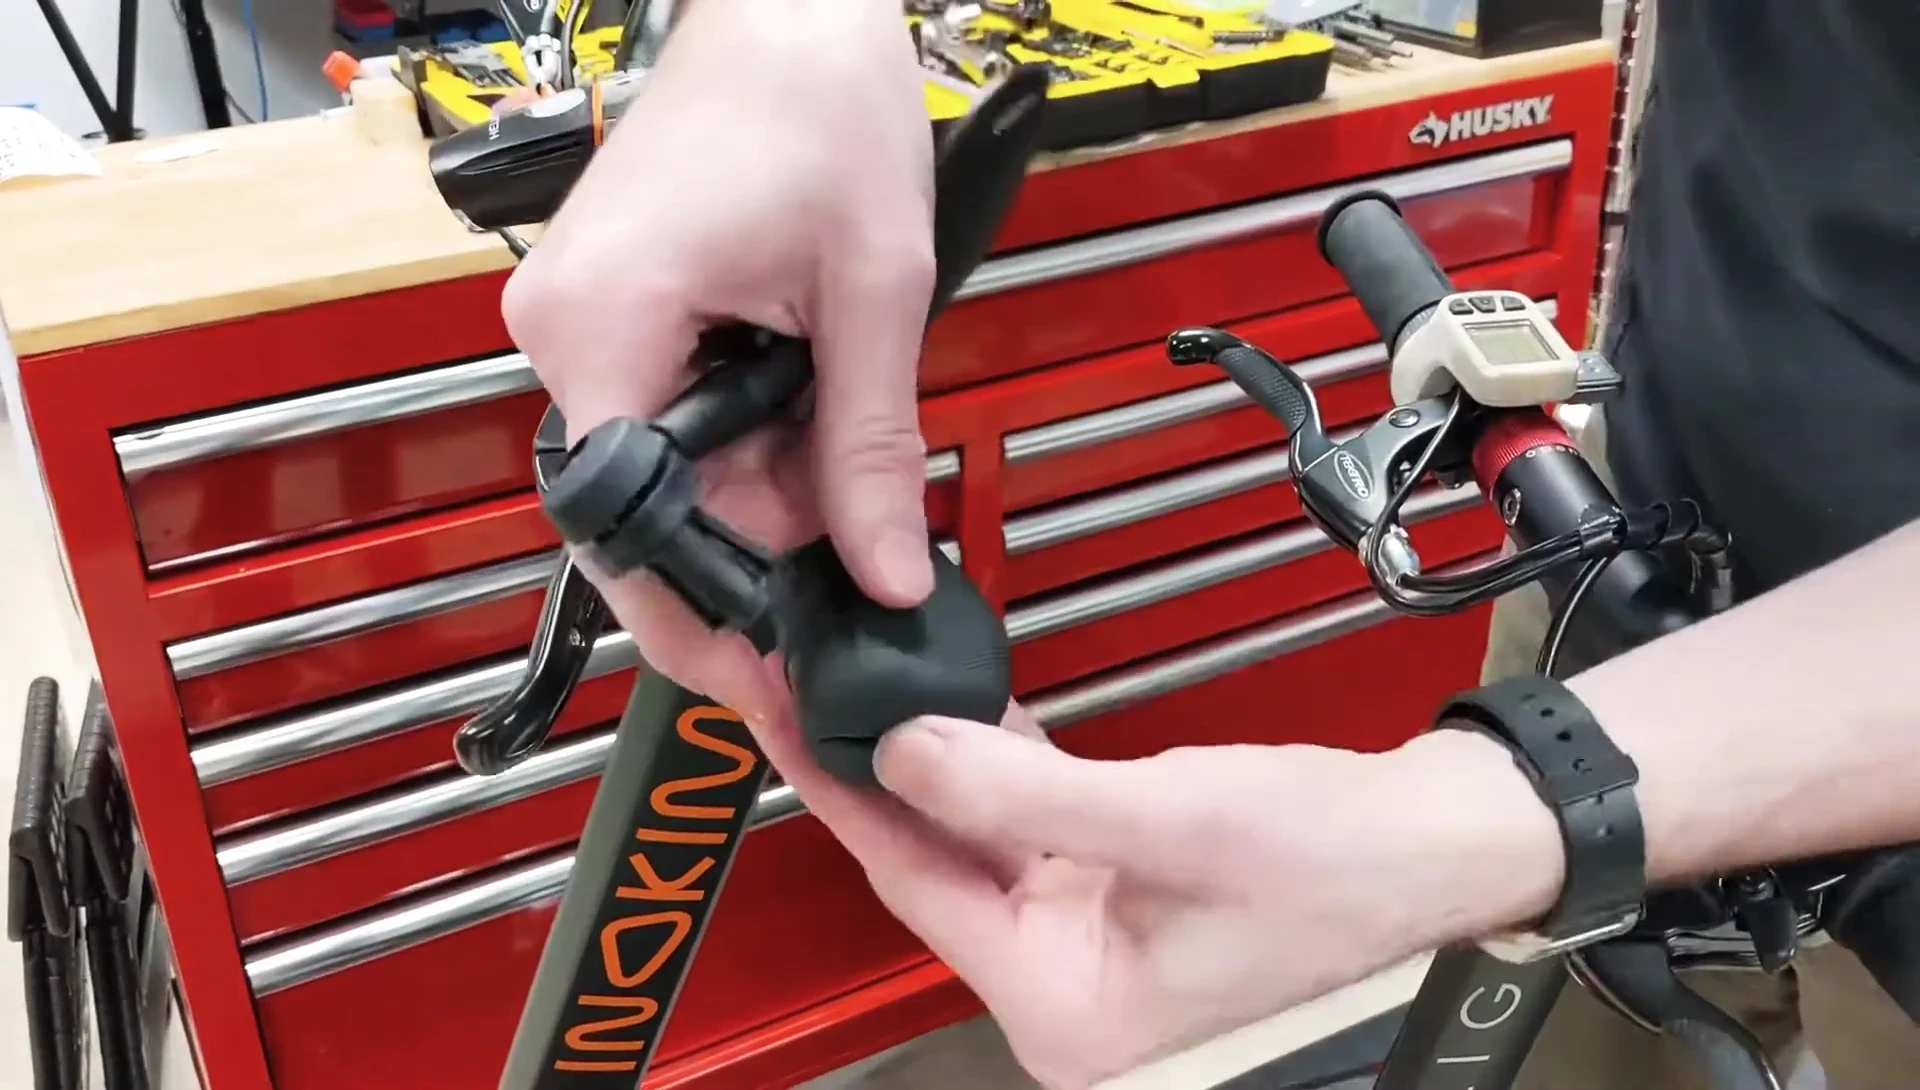
Once the mirror is inserted, press it in firmly. You can mount it vertically or at any angle. Use the provided Allen key to gently tighten the mirror into place. Then adjust to your preferred vertical position.
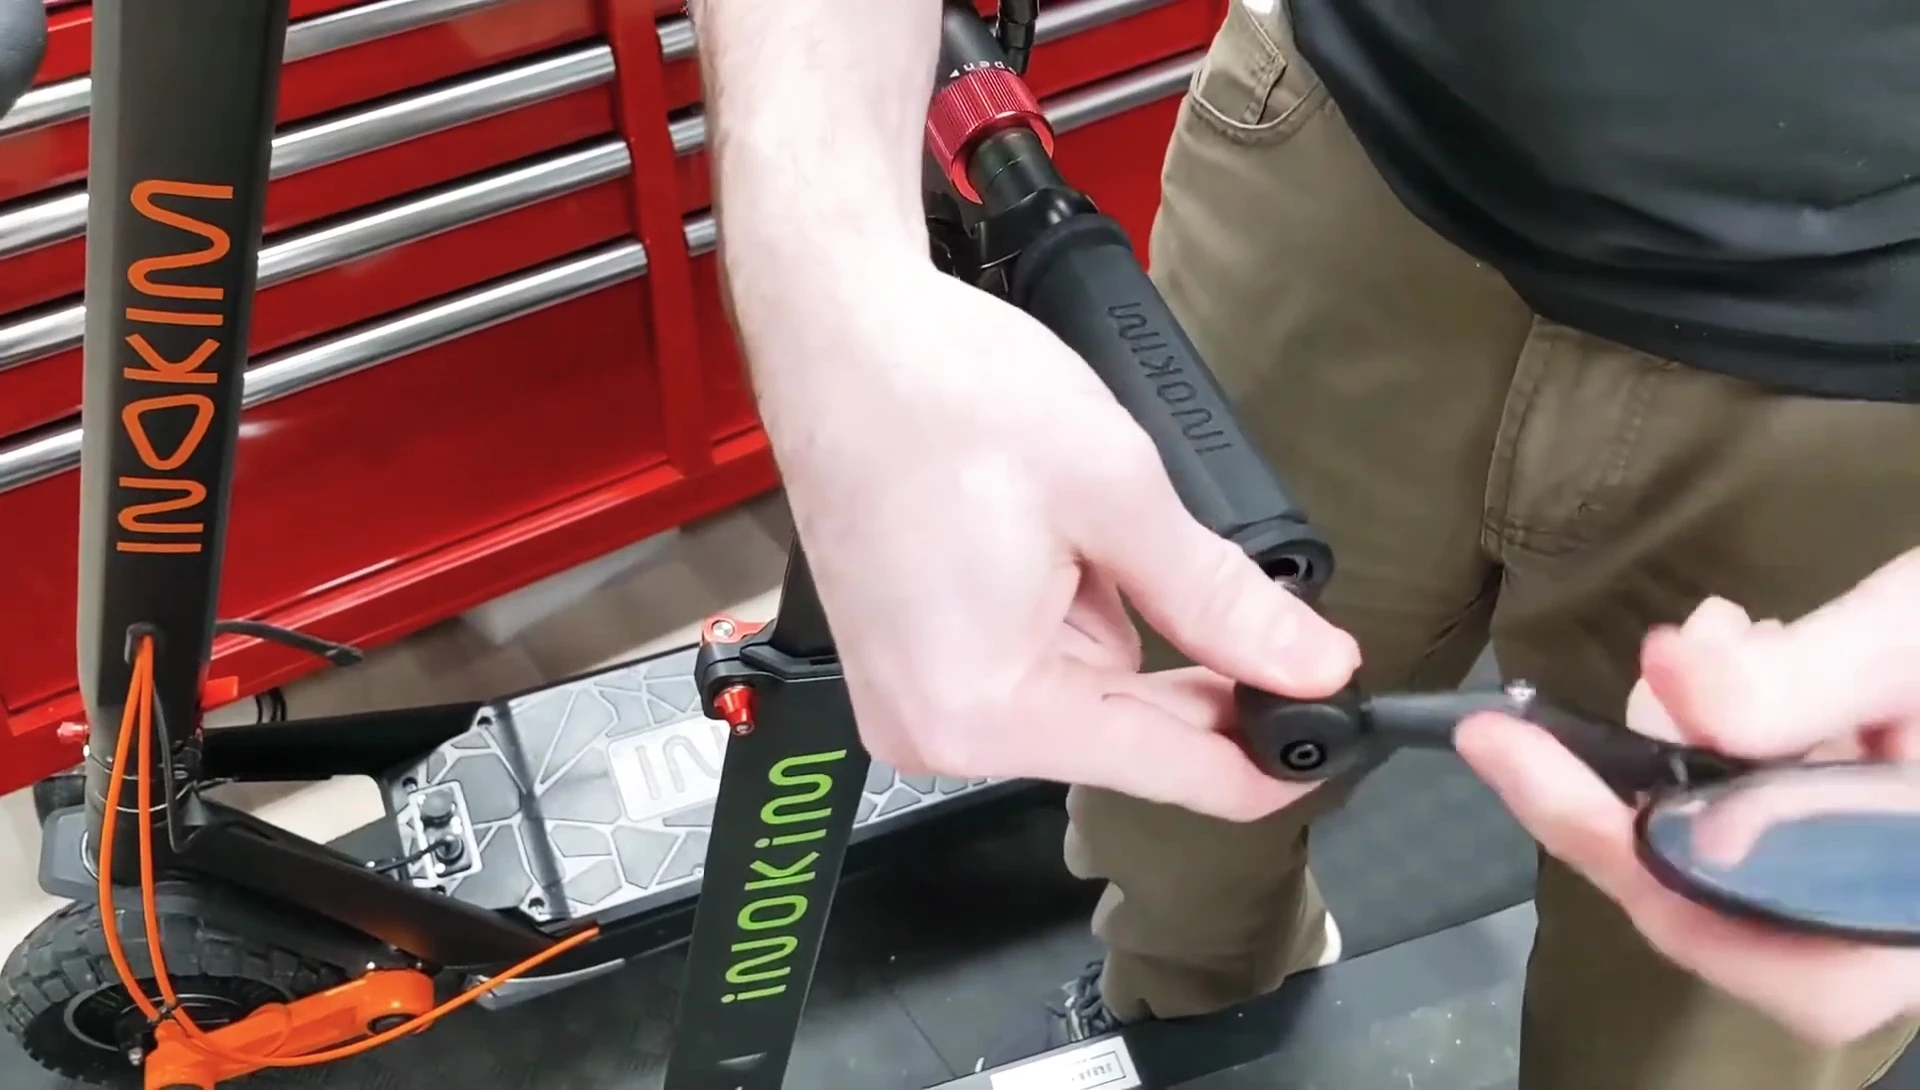
After getting the vertical position right, there's another screw at the back to fine-tune the angle. Remember to avoid using the mirror for steering; it's solely for rearview.
Tighten the back screw to achieve the desired mirror angle. The installation on the easier model is now complete.
Installation on Rubber Grip Models
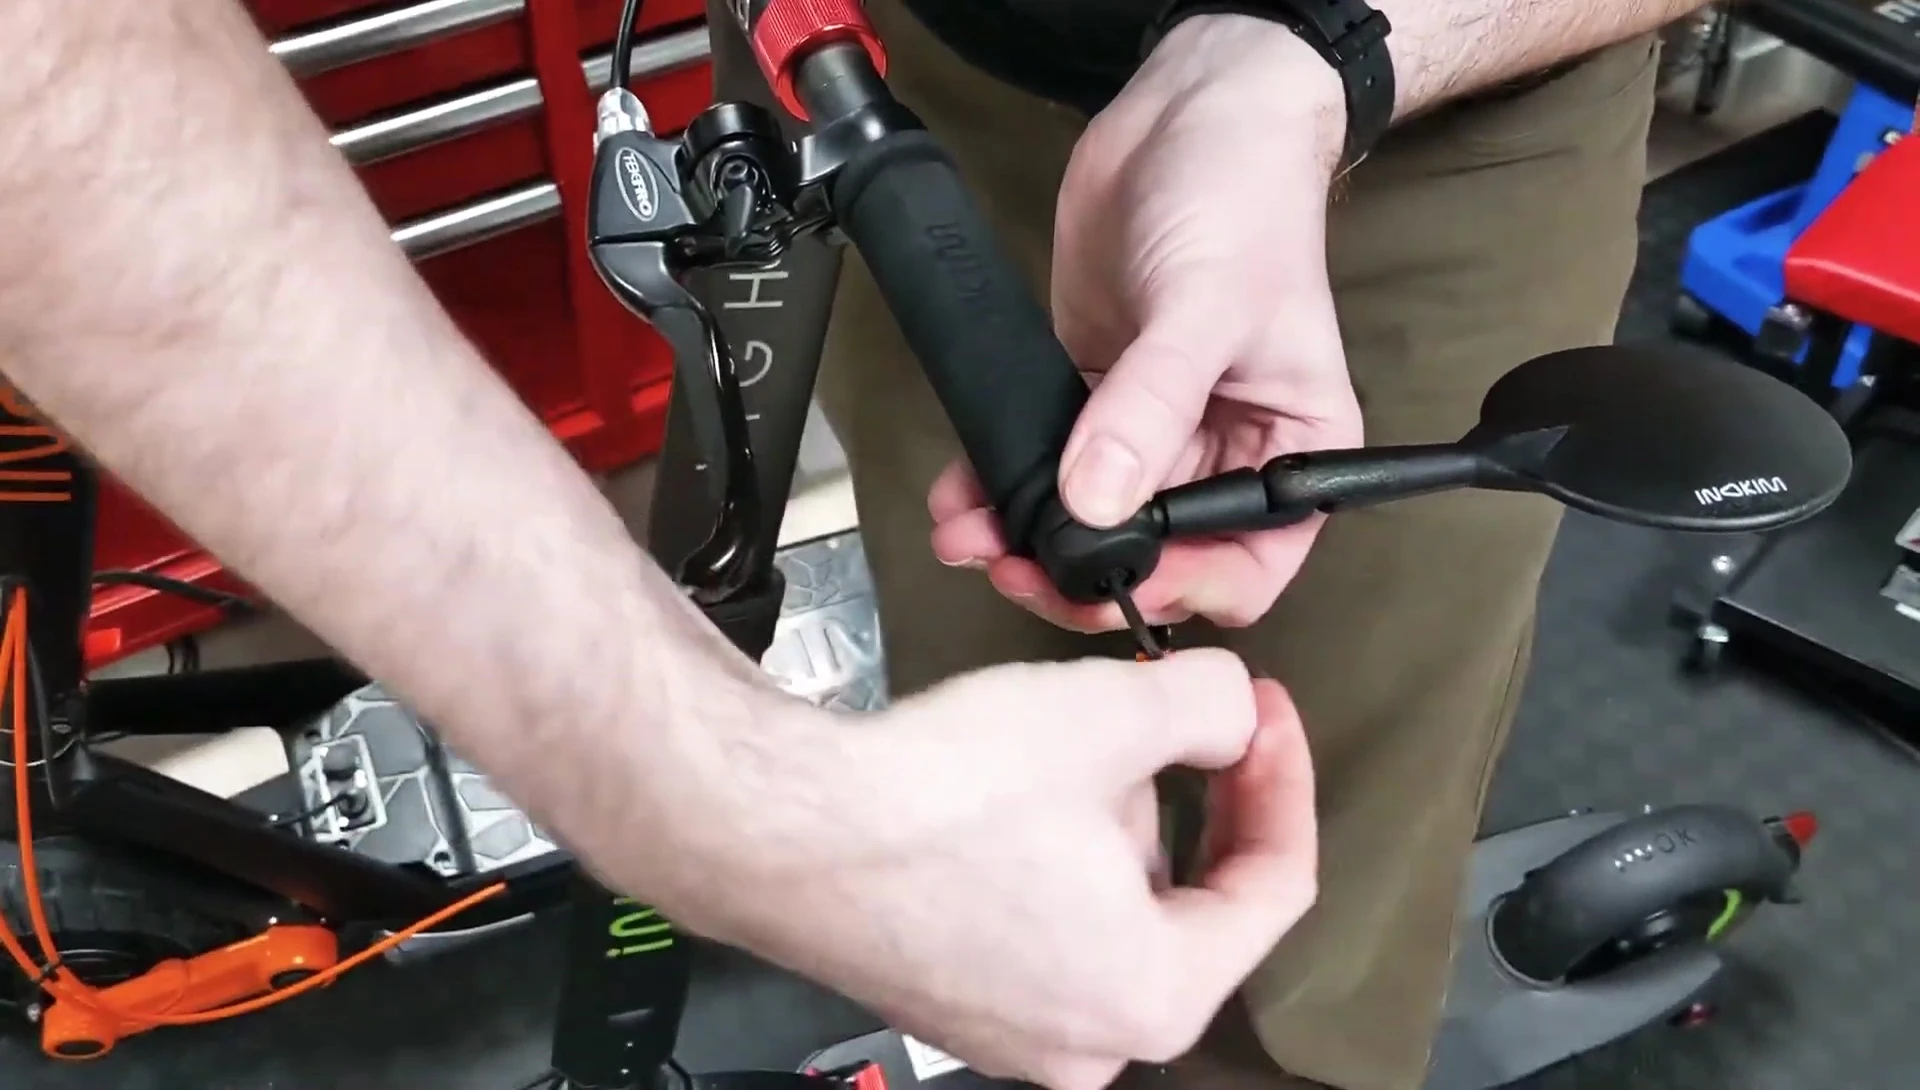
Models with rubber grips require slightly more work. Since the grips are closed at the end, either cut a slit or remove some material to accommodate the mirror.
I chose to cut a slit. After exposing the bar end, work the mirror into place, pressing it in as you tighten. This requires compressing the rubber grip with your hand.
Once secured, adjust the angle using the back screw. Ensure a firm mount and adjust the mirror to your optimal viewing position.
Conclusion
Installing the Innokin handlebar mirror is straightforward, with variations depending on the handlebar type. The all-light models offer a quicker, simpler process. Rubber grip models require a small amount of preparation to create space for mirror installation.
The installation process is clearly explained in the video, making it a manageable DIY project. The mirror’s adjustability allows for optimal viewing angles. Remember to only use the mirror for viewing, not for steering.
Overall, the Innokin handlebar mirror provides a practical and easy-to-install solution for improved rear visibility on your vehicle. The adjustability is a huge plus, making it customizable to individual needs.