Properly inflated mountain bike tires are crucial for a safe and enjoyable ride. Under-inflated tires can lead to poor handling, increased rolling resistance, and even punctures, while over-inflation can damage the tire and rim. This step-by-step guide will walk you through the process of inflating your mountain bike tires using a Presta valve, a common type found on many mountain bikes. We'll cover everything from preparing the valve to achieving the optimal tire pressure and ensuring proper sealing. Following these simple instructions will help you maintain the correct tire pressure, improving your ride quality and safety.This guide focuses on inflating tires with Presta valves, providing clear instructions for each stage. Learn how to correctly prepare the valve, securely attach your floor pump, and accurately gauge the pressure. We'll highlight the importance of knowing your bike's recommended tire pressure and emphasize the need for regular tire pressure checks. By the end, you'll be confident in your ability to inflate your mountain bike tires correctly, ensuring a smoother, safer, and more enjoyable riding experience.
Pros And Cons
- Includes PSI and bar scale
- Suitable for mountain bike tires
Read more: Top 5 High-Pressure Bike Pumps for Effortless Inflation
Preparing the Presta Valve
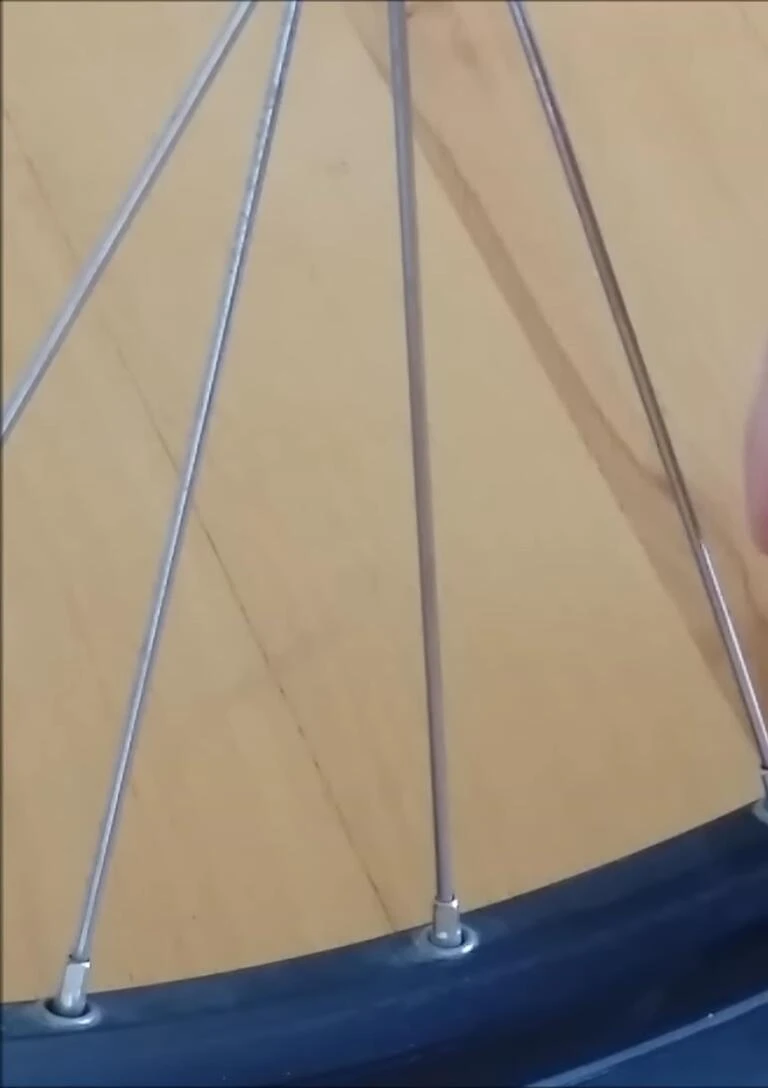
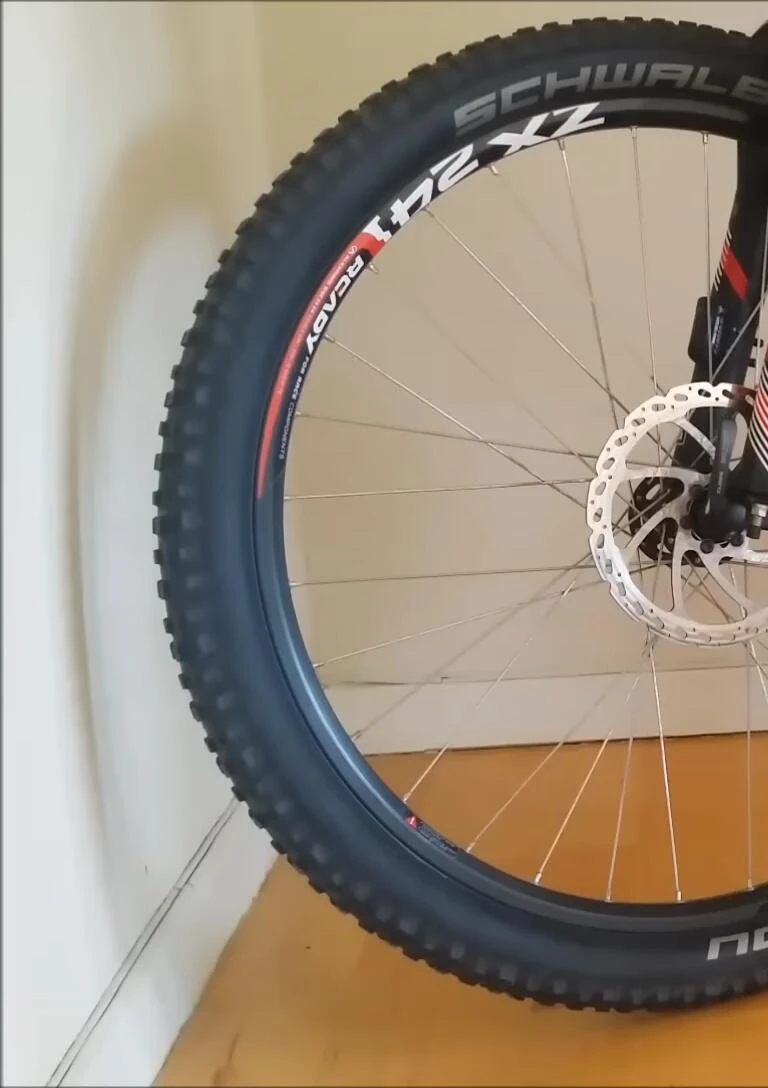
Before you begin inflating your mountain bike tire, ensure the wheel is positioned with the valve at the bottom. This makes access much easier. Remove the plastic dust cap protecting the valve.
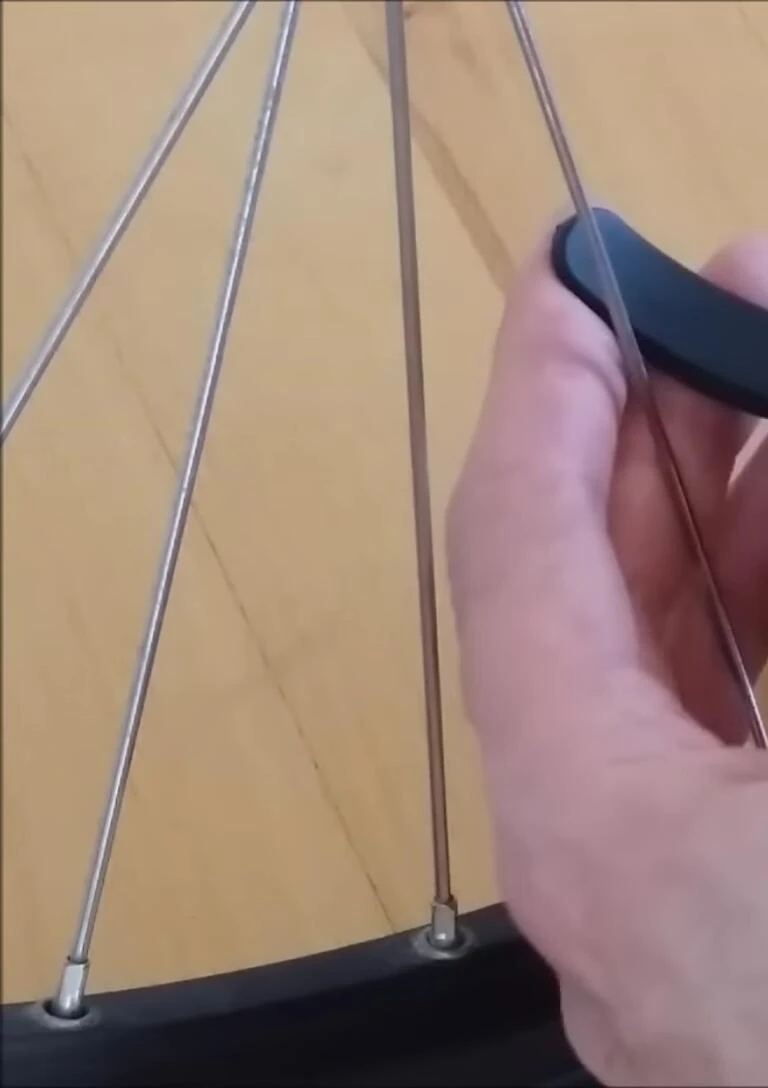
Next, locate the small nut at the top of the Presta valve. You'll need to unscrew this counter-clockwise to open the valve. Be gentle to avoid stripping the threads.

Once open, give the valve a couple of taps to clear out any dirt or debris. This ensures smooth air flow and prevents damage to the valve mechanism.

Inflating with a Floor Pump
Attach your floor pump to the Presta valve. Make sure it's securely connected to prevent leaks during inflation. The pump should be a reliable model with a pressure gauge (PSI or bar) for accurate inflation.

For mountain biking, a tire pressure of around 2 bar is generally recommended. This can vary based on your terrain and personal preference. Always check your bike's manual or tire sidewall for recommended pressure ranges.
Pump to the desired pressure, monitoring the gauge carefully. Don't overinflate, as this can damage the tire and compromise your ride. Once reached, stop pumping immediately.

Final Steps & Conclusion
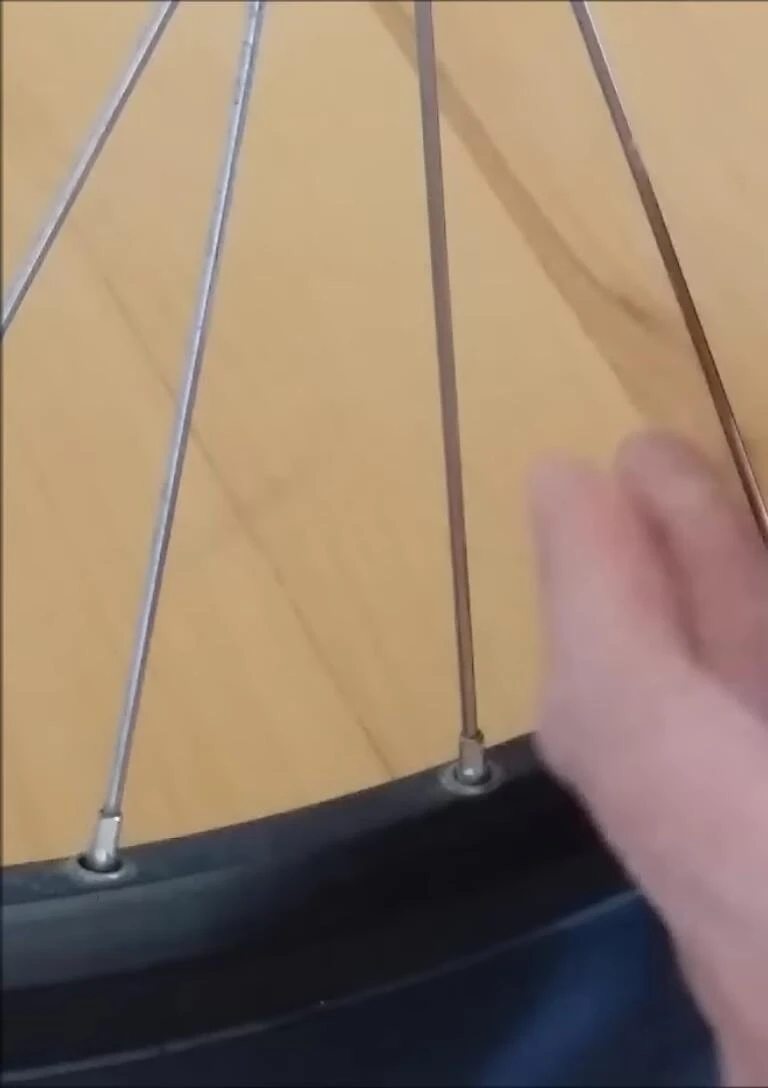
Once the tire is inflated to the correct pressure, carefully remove the pump. Remember, it's essential to use your thumb to test for optimal inflation while riding since you might not always have access to a pump during your rides.
Close the Presta valve by tightening the small nut clockwise. Replace the plastic dust cap to protect the valve from dirt and debris.

This process ensures that your mountain bike tires are inflated correctly, leading to a safer, more enjoyable ride. Regularly checking tire pressure is crucial for maintaining optimal performance and safety.