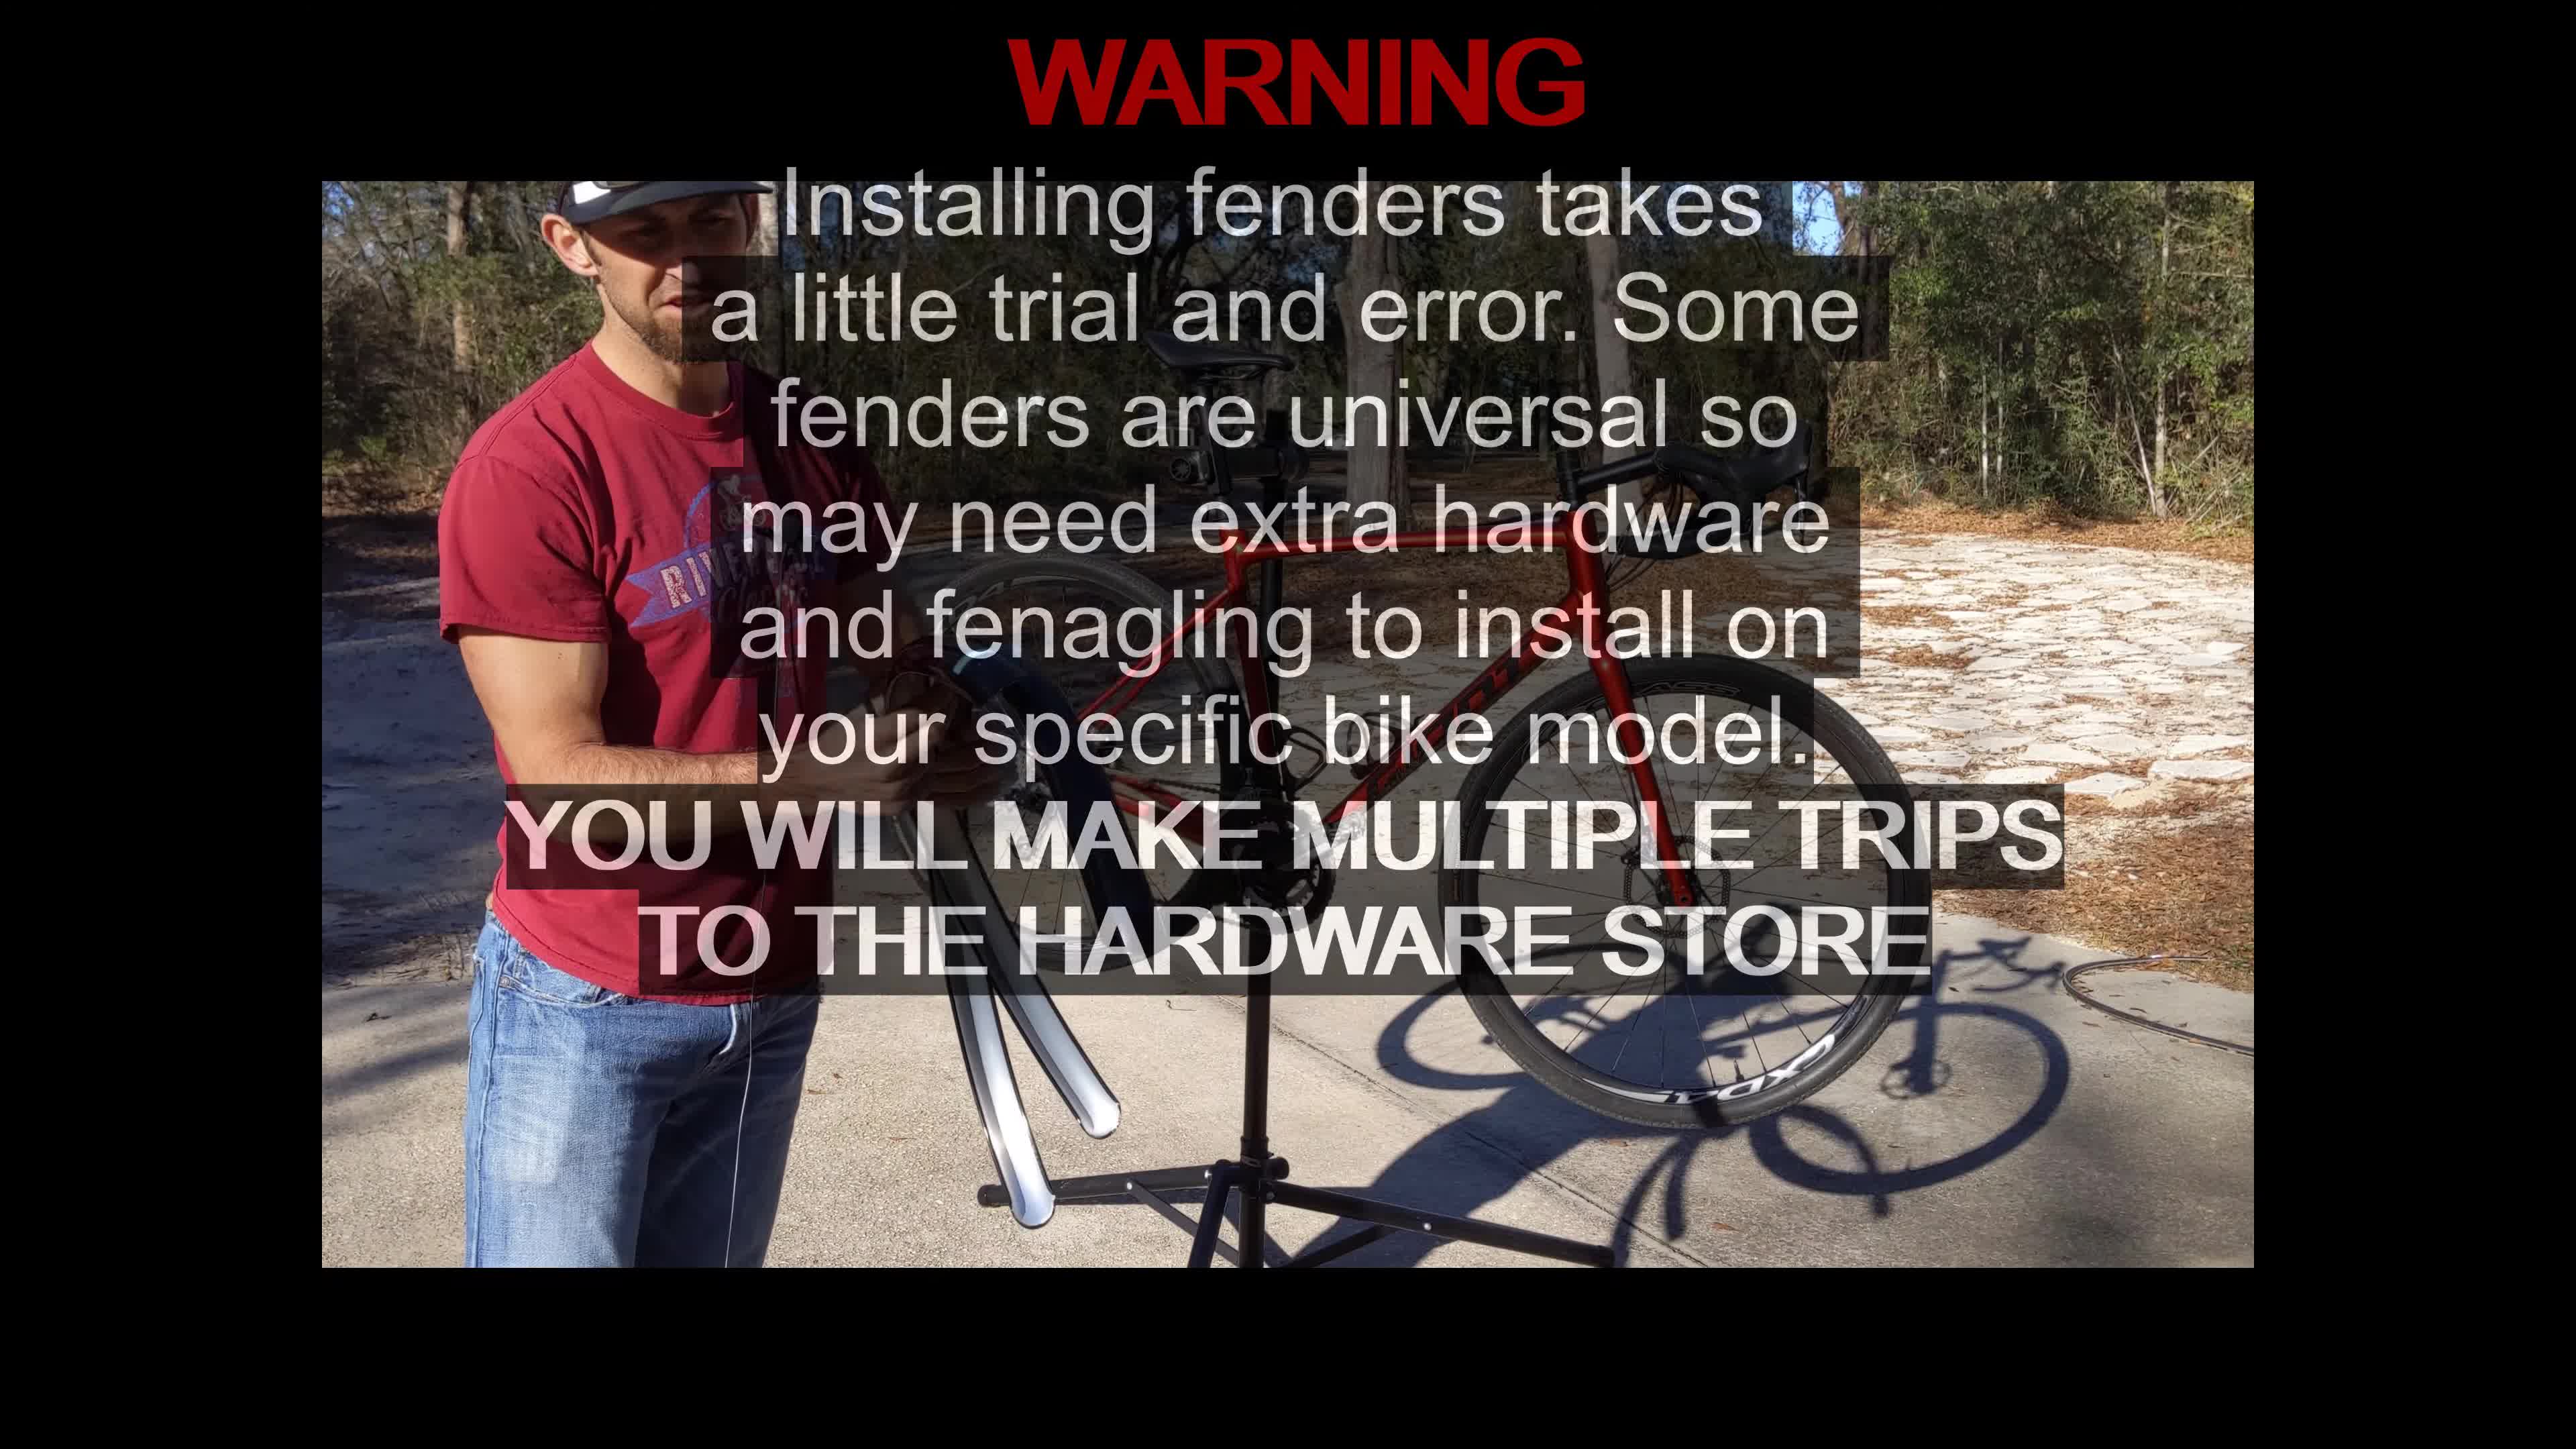
This comprehensive guide provides a step-by-step tutorial on installing Honjo fenders (also known as Renee Hurst fenders) on a Giant Contend AR bike. These lightweight aluminum fenders offer superior shape retention compared to plastic alternatives, making them ideal for road bikes with tires up to 35c. The installation process, while detailed, is achievable with patience and the right tools. We'll cover everything from preparing your bike and fenders to the precise drilling and mounting techniques needed for both the front and rear fenders. This guide emphasizes the importance of accurate measurements and the use of appropriate hardware to ensure a secure and functional fit.Improper installation can lead to damage to your bike frame or fenders, so paying close attention to each step is crucial. We'll address common challenges, such as dealing with rusted bolts and achieving optimal tire clearance. By following this guide, you'll learn how to confidently install these high-quality fenders, transforming your road bike with superior protection from road spray and rain. The end result is a sleek, functional, and durable fender system that enhances both your riding experience and your bike's aesthetic appeal.
Read more: 5 Best Child Bike Fenders to Keep Your Little One Dry
Choosing the Right Fenders
This guide details the installation of Honjo fenders, rebranded as Renee Hurst fenders, on a Giant Contend AR bike. These aluminum fenders are favored for their lightweight nature and superior shape retention compared to plastic alternatives. They're suitable for tires up to 35c. For larger tires, such as those on gravel bikes, these fenders might not fit properly. The video emphasizes these fenders are best suited for road bikes with smaller tires.
The speaker mentions using a dedicated road bike for the installation. This choice highlights that the fender size and compatibility must be carefully considered for the specific bike and tire size before purchase.
Preparing the Bike and Drilling the Fender
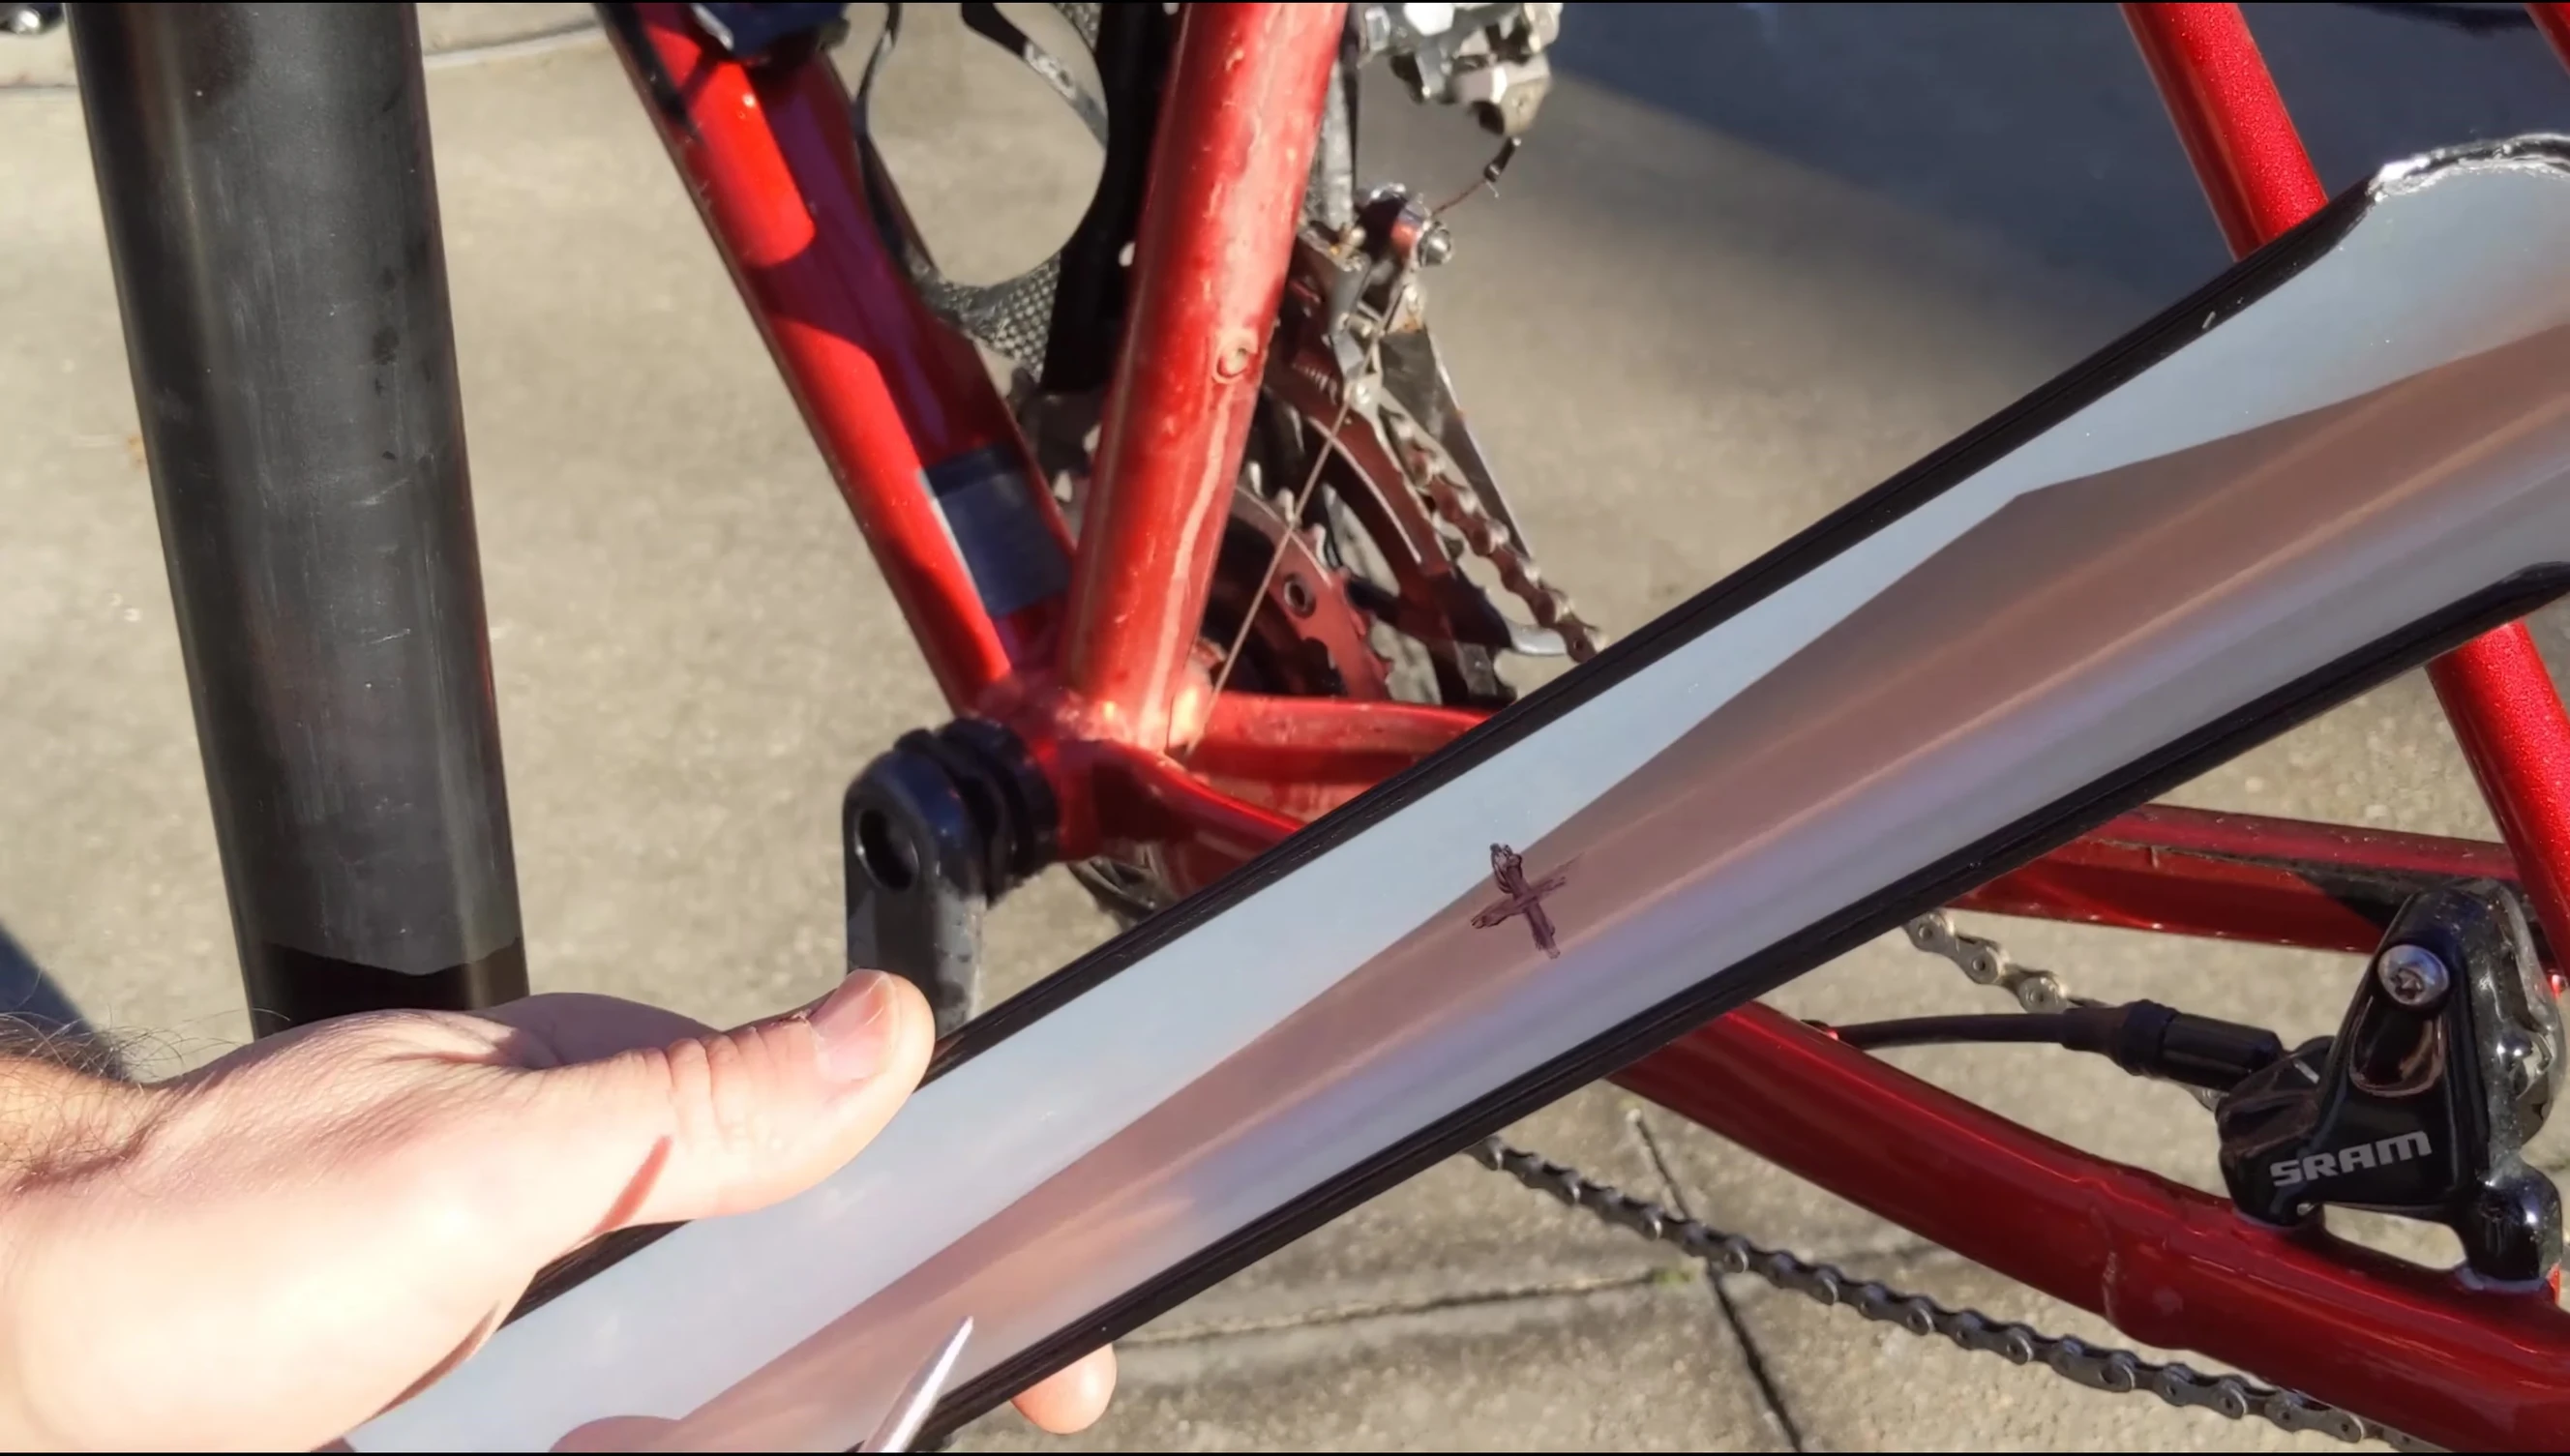
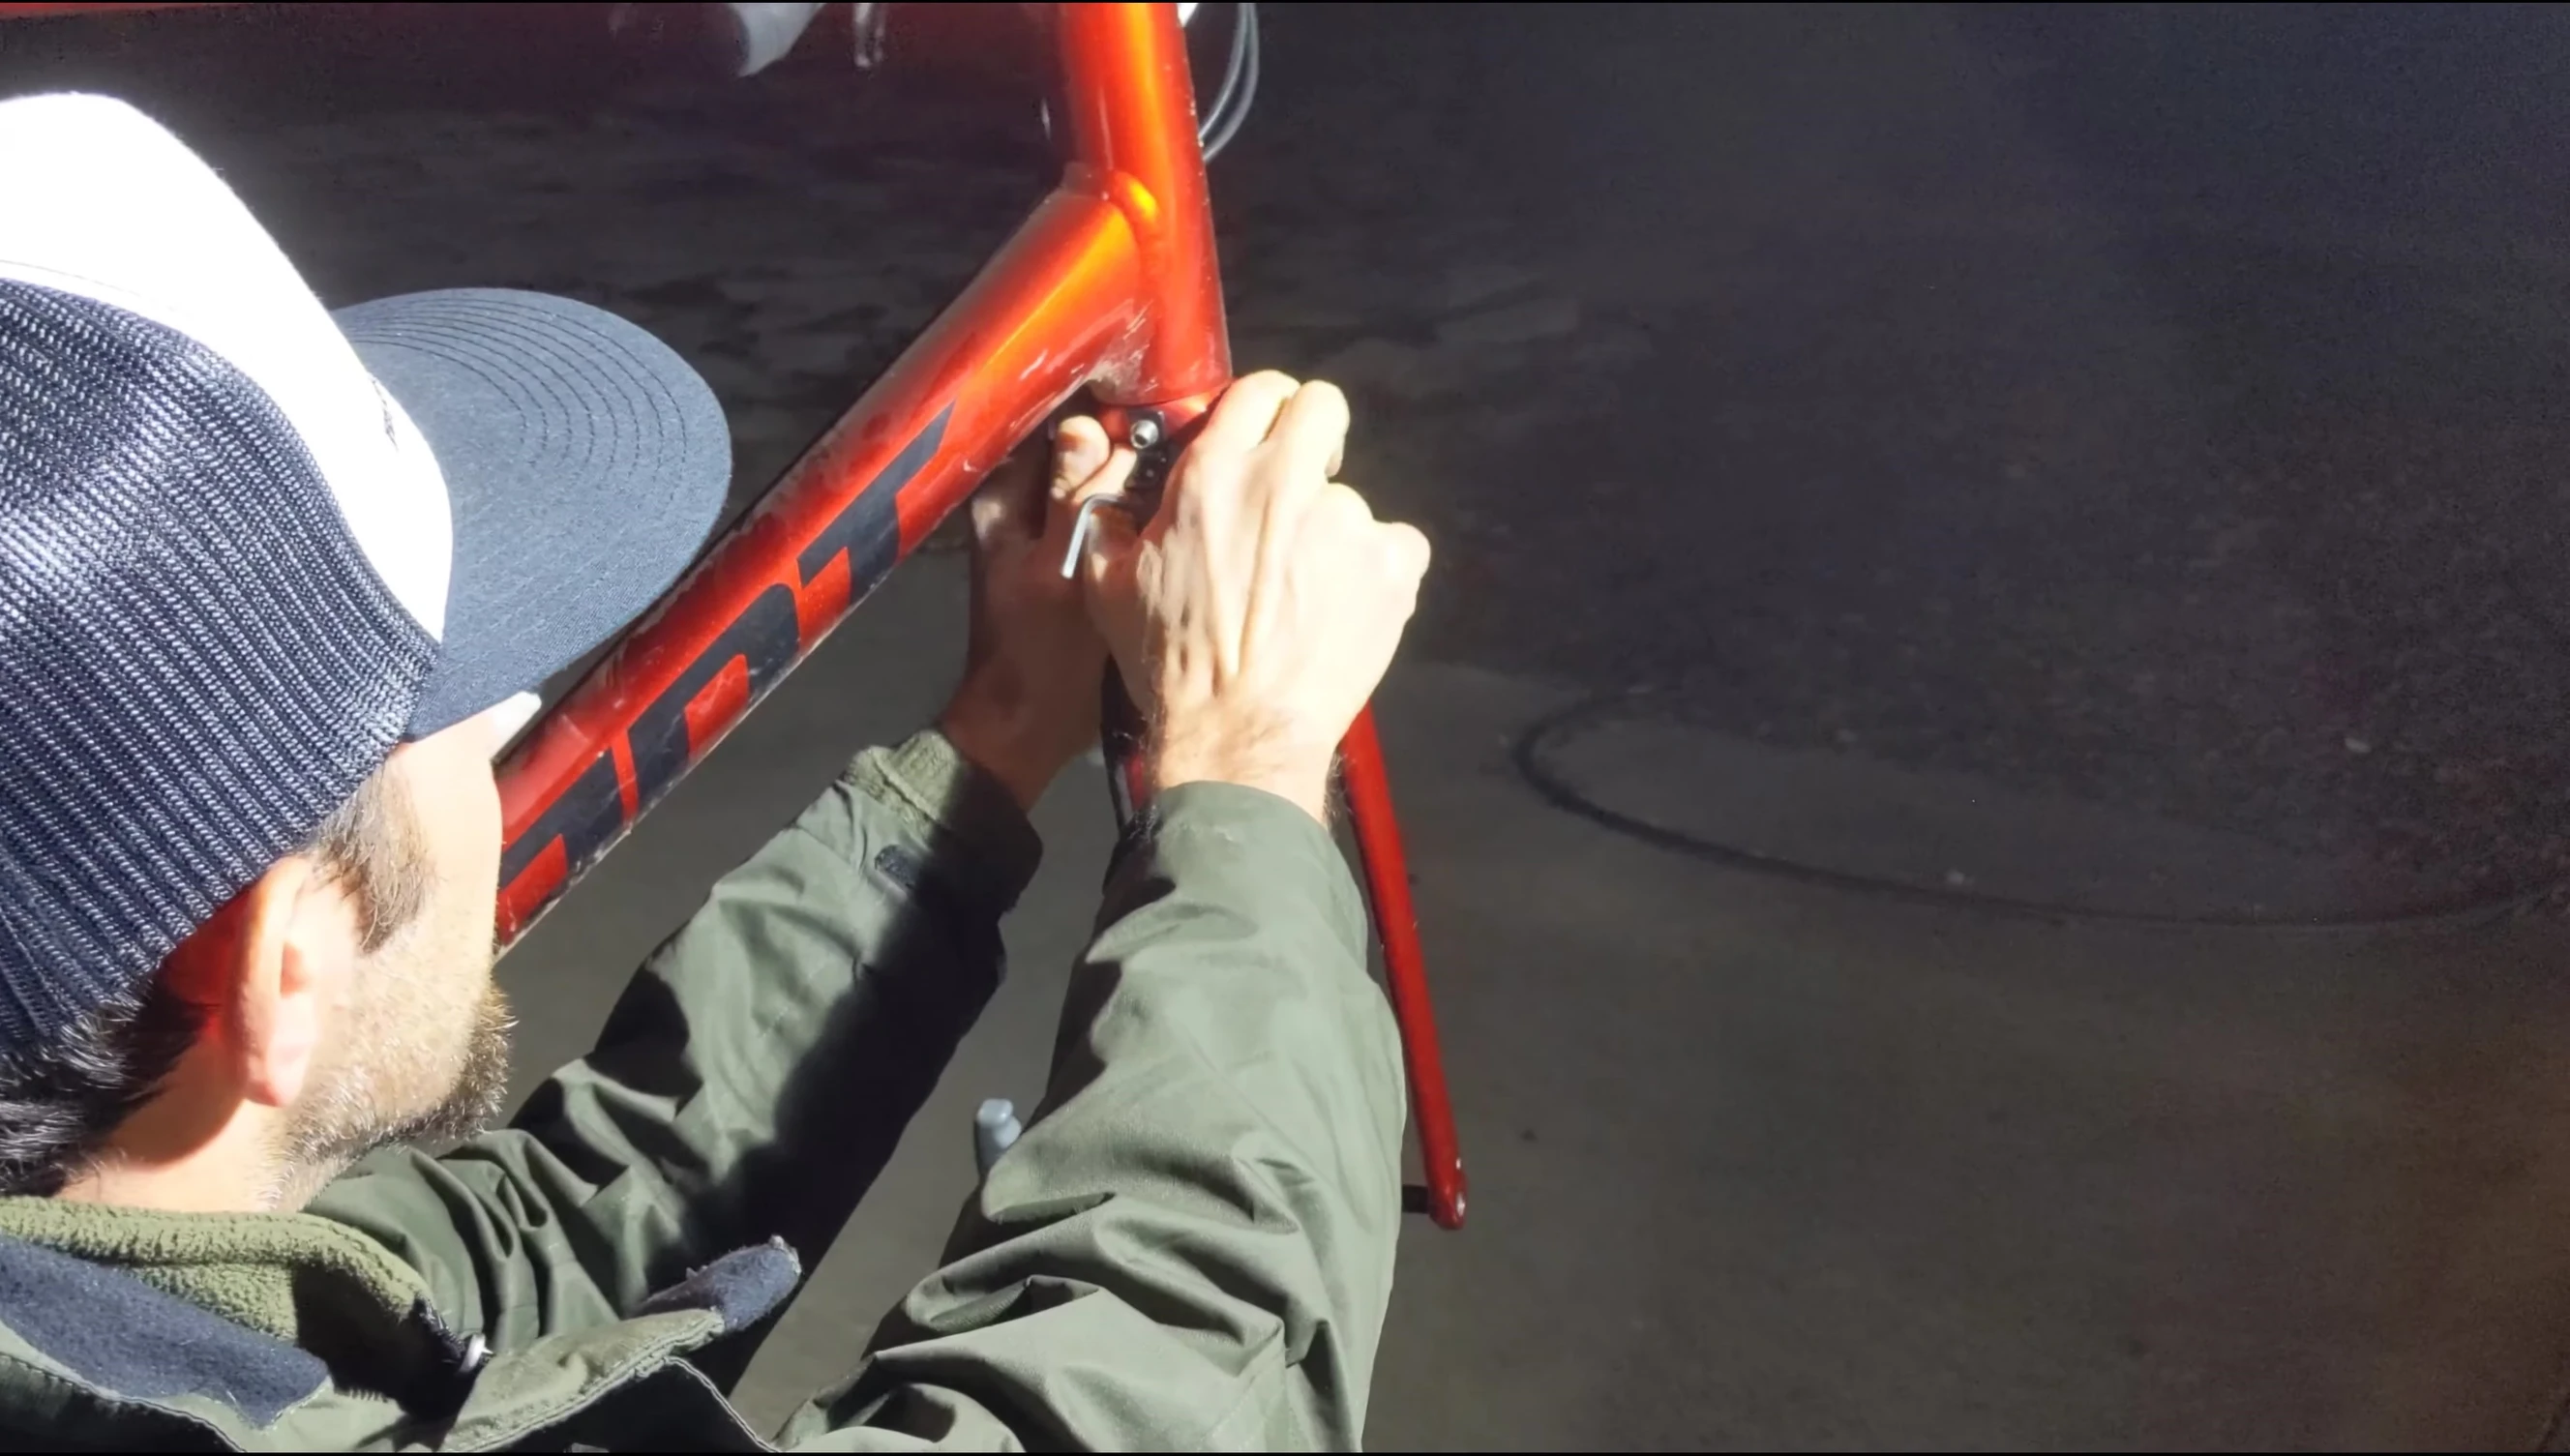
Before starting, remove the wheels and tires. The video demonstrates the process, and the speaker highlights using a punch and a series of progressively larger drill bits to create the necessary hole in the fender for mounting. The process involves removing the rubber plug from the bike's frame, marking the fender, using a spring punch to create a pilot hole, and slowly drilling out to the correct size.
Precision is key to prevent damage. The smallest drill bit should be used initially, gradually increasing the size to match the bolt diameter. Finally, smoothing the edges prevents the bolt from being damaged.
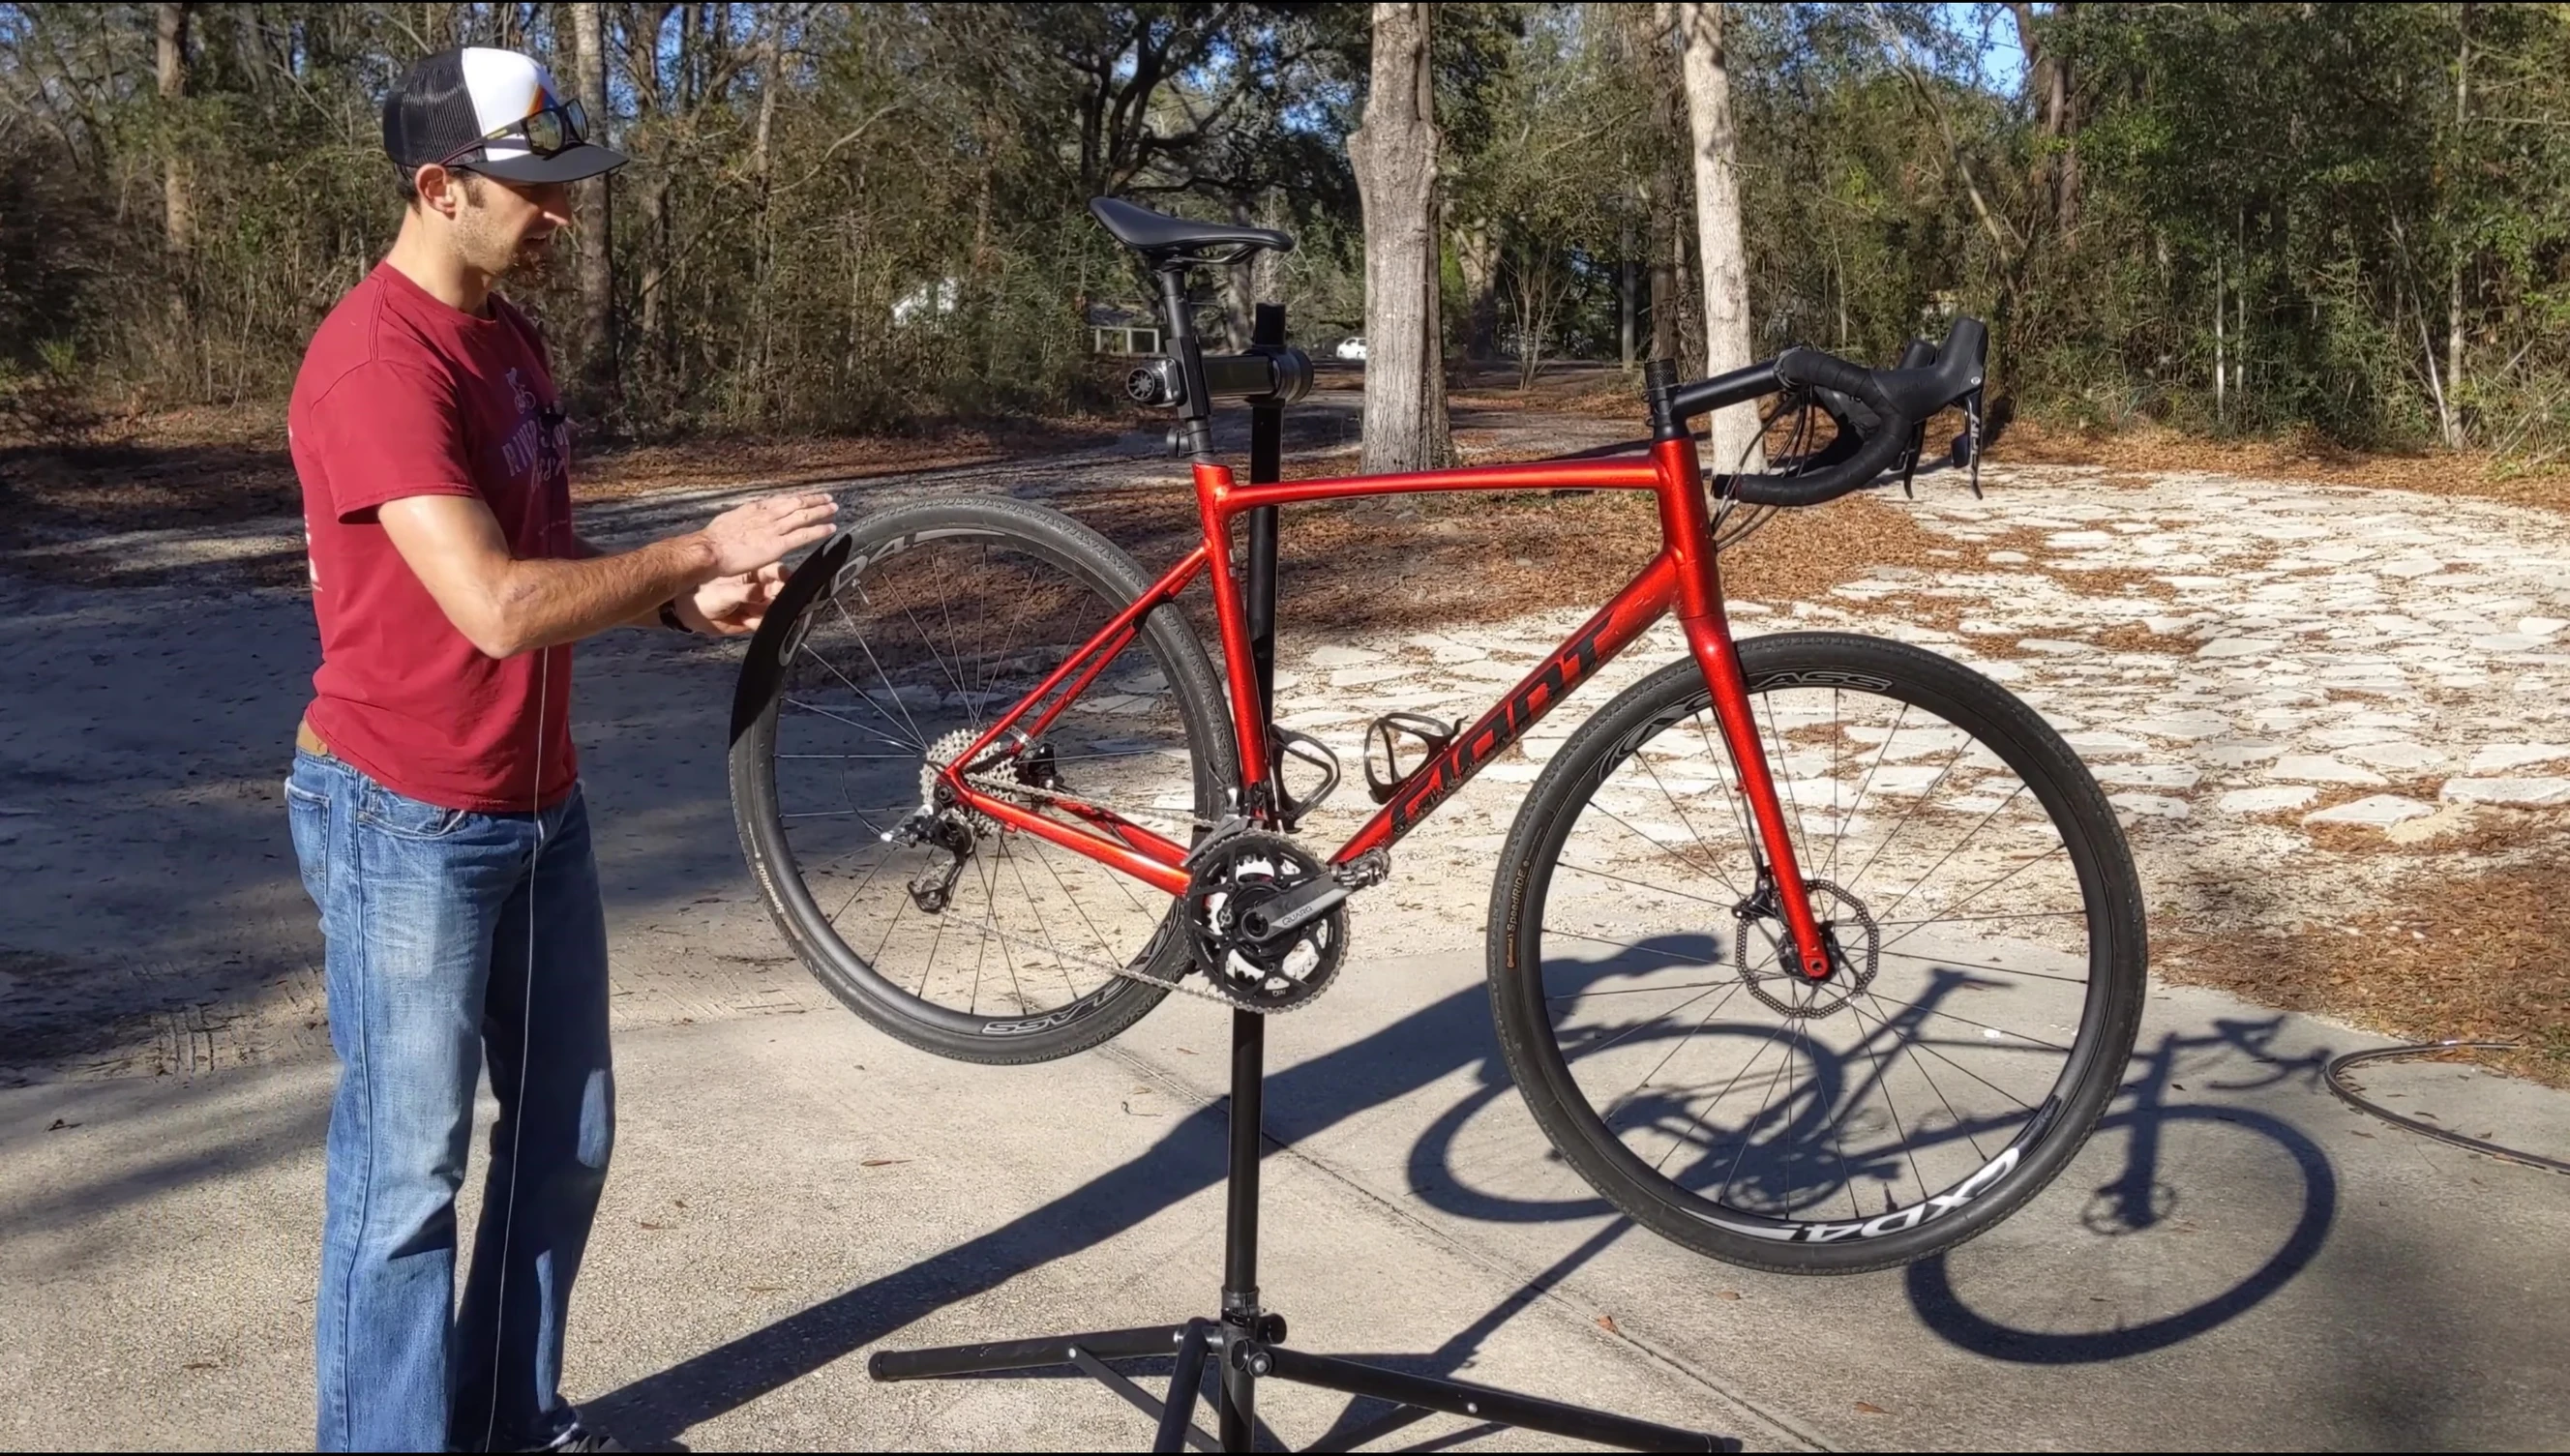
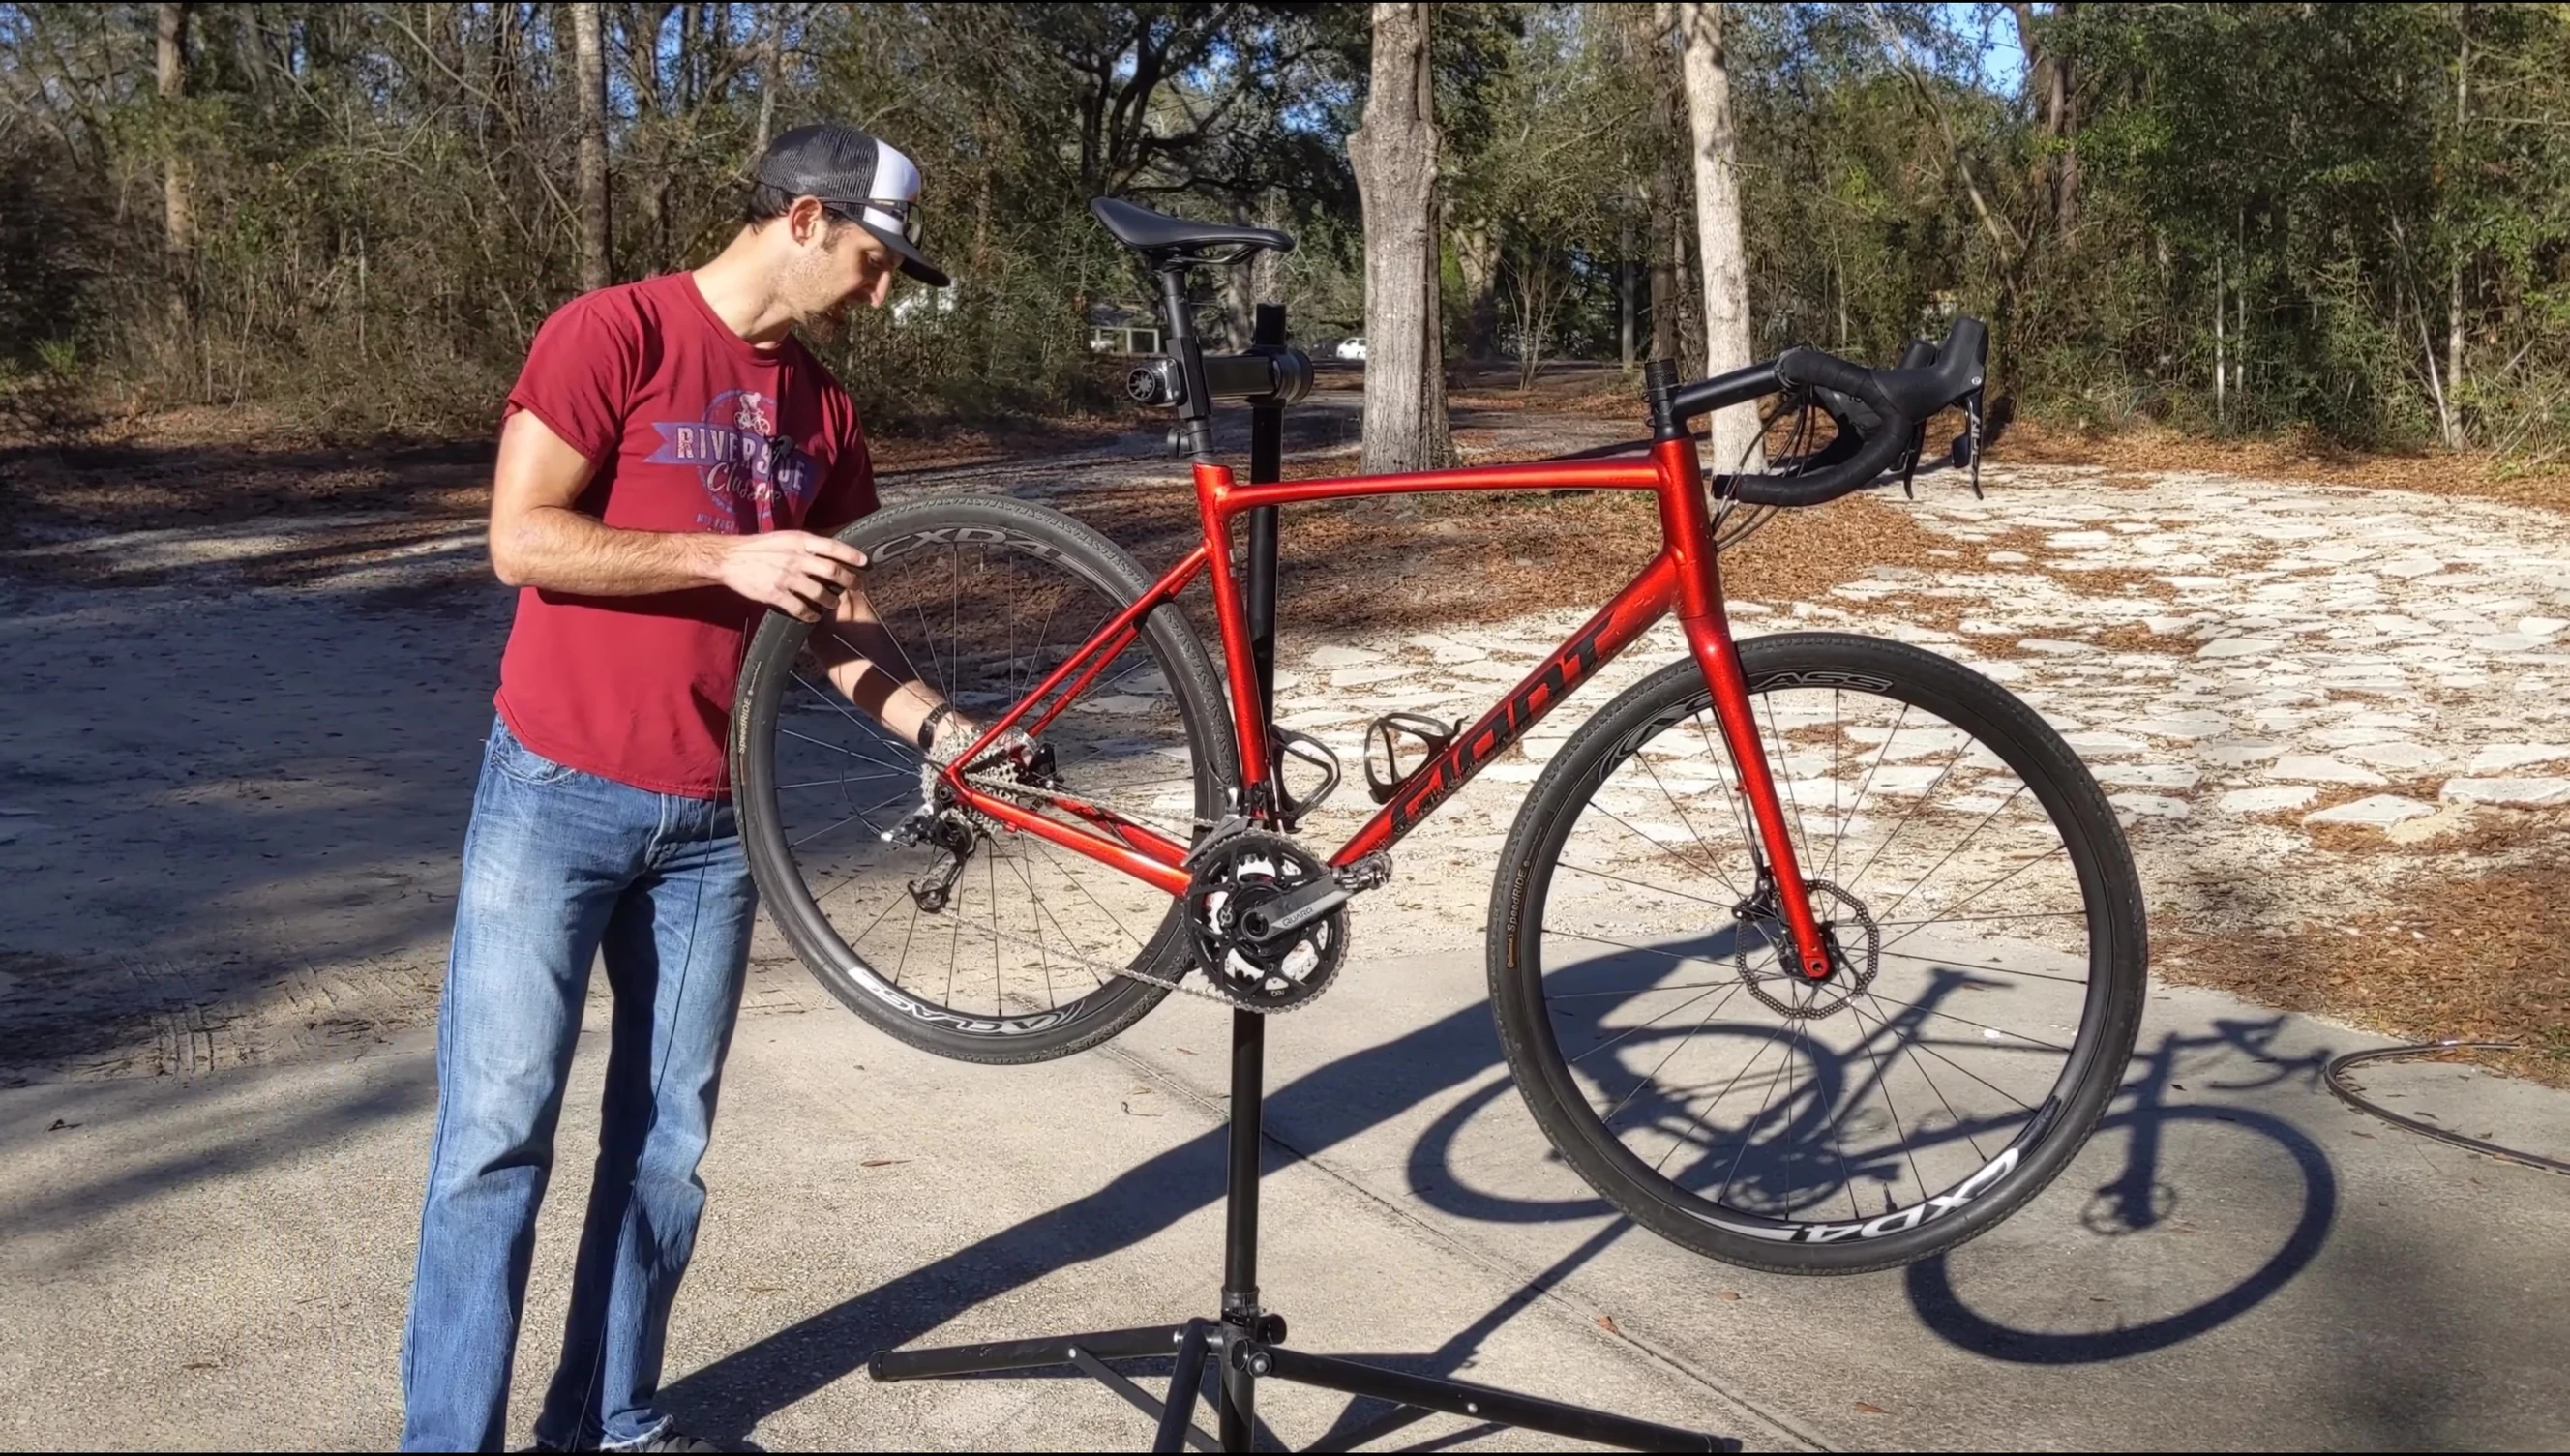
Mounting the Front Fender
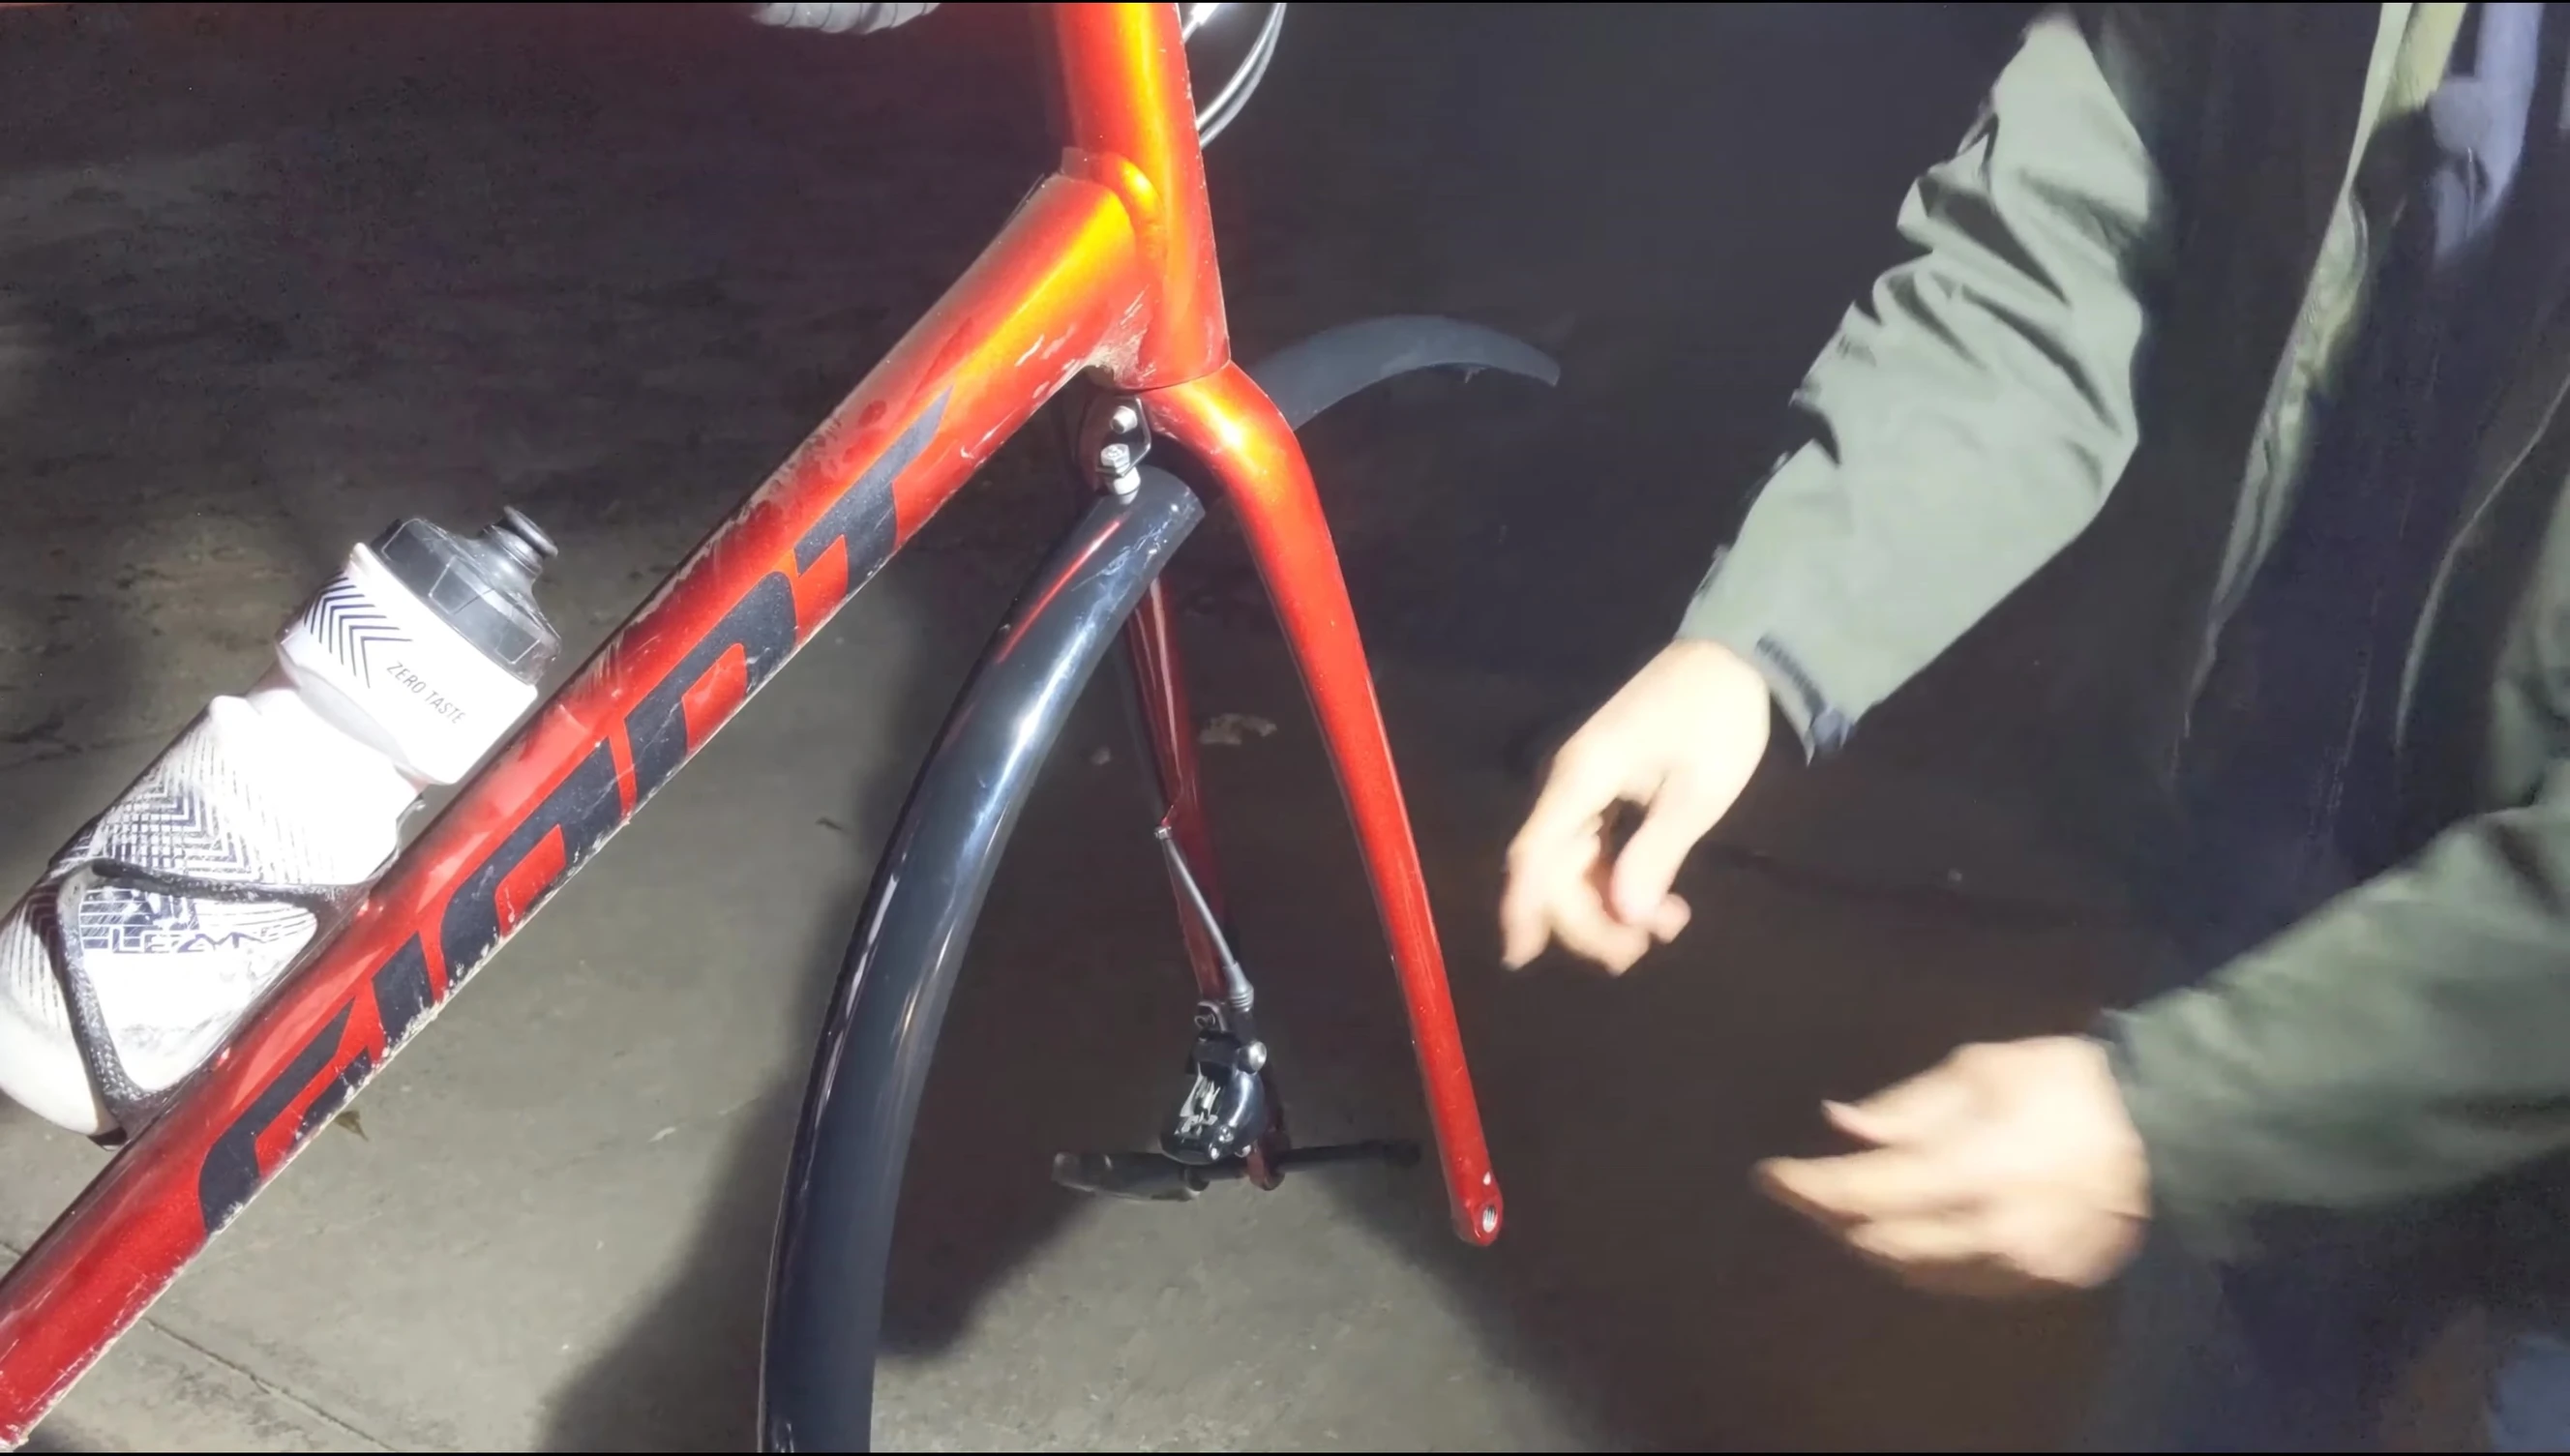
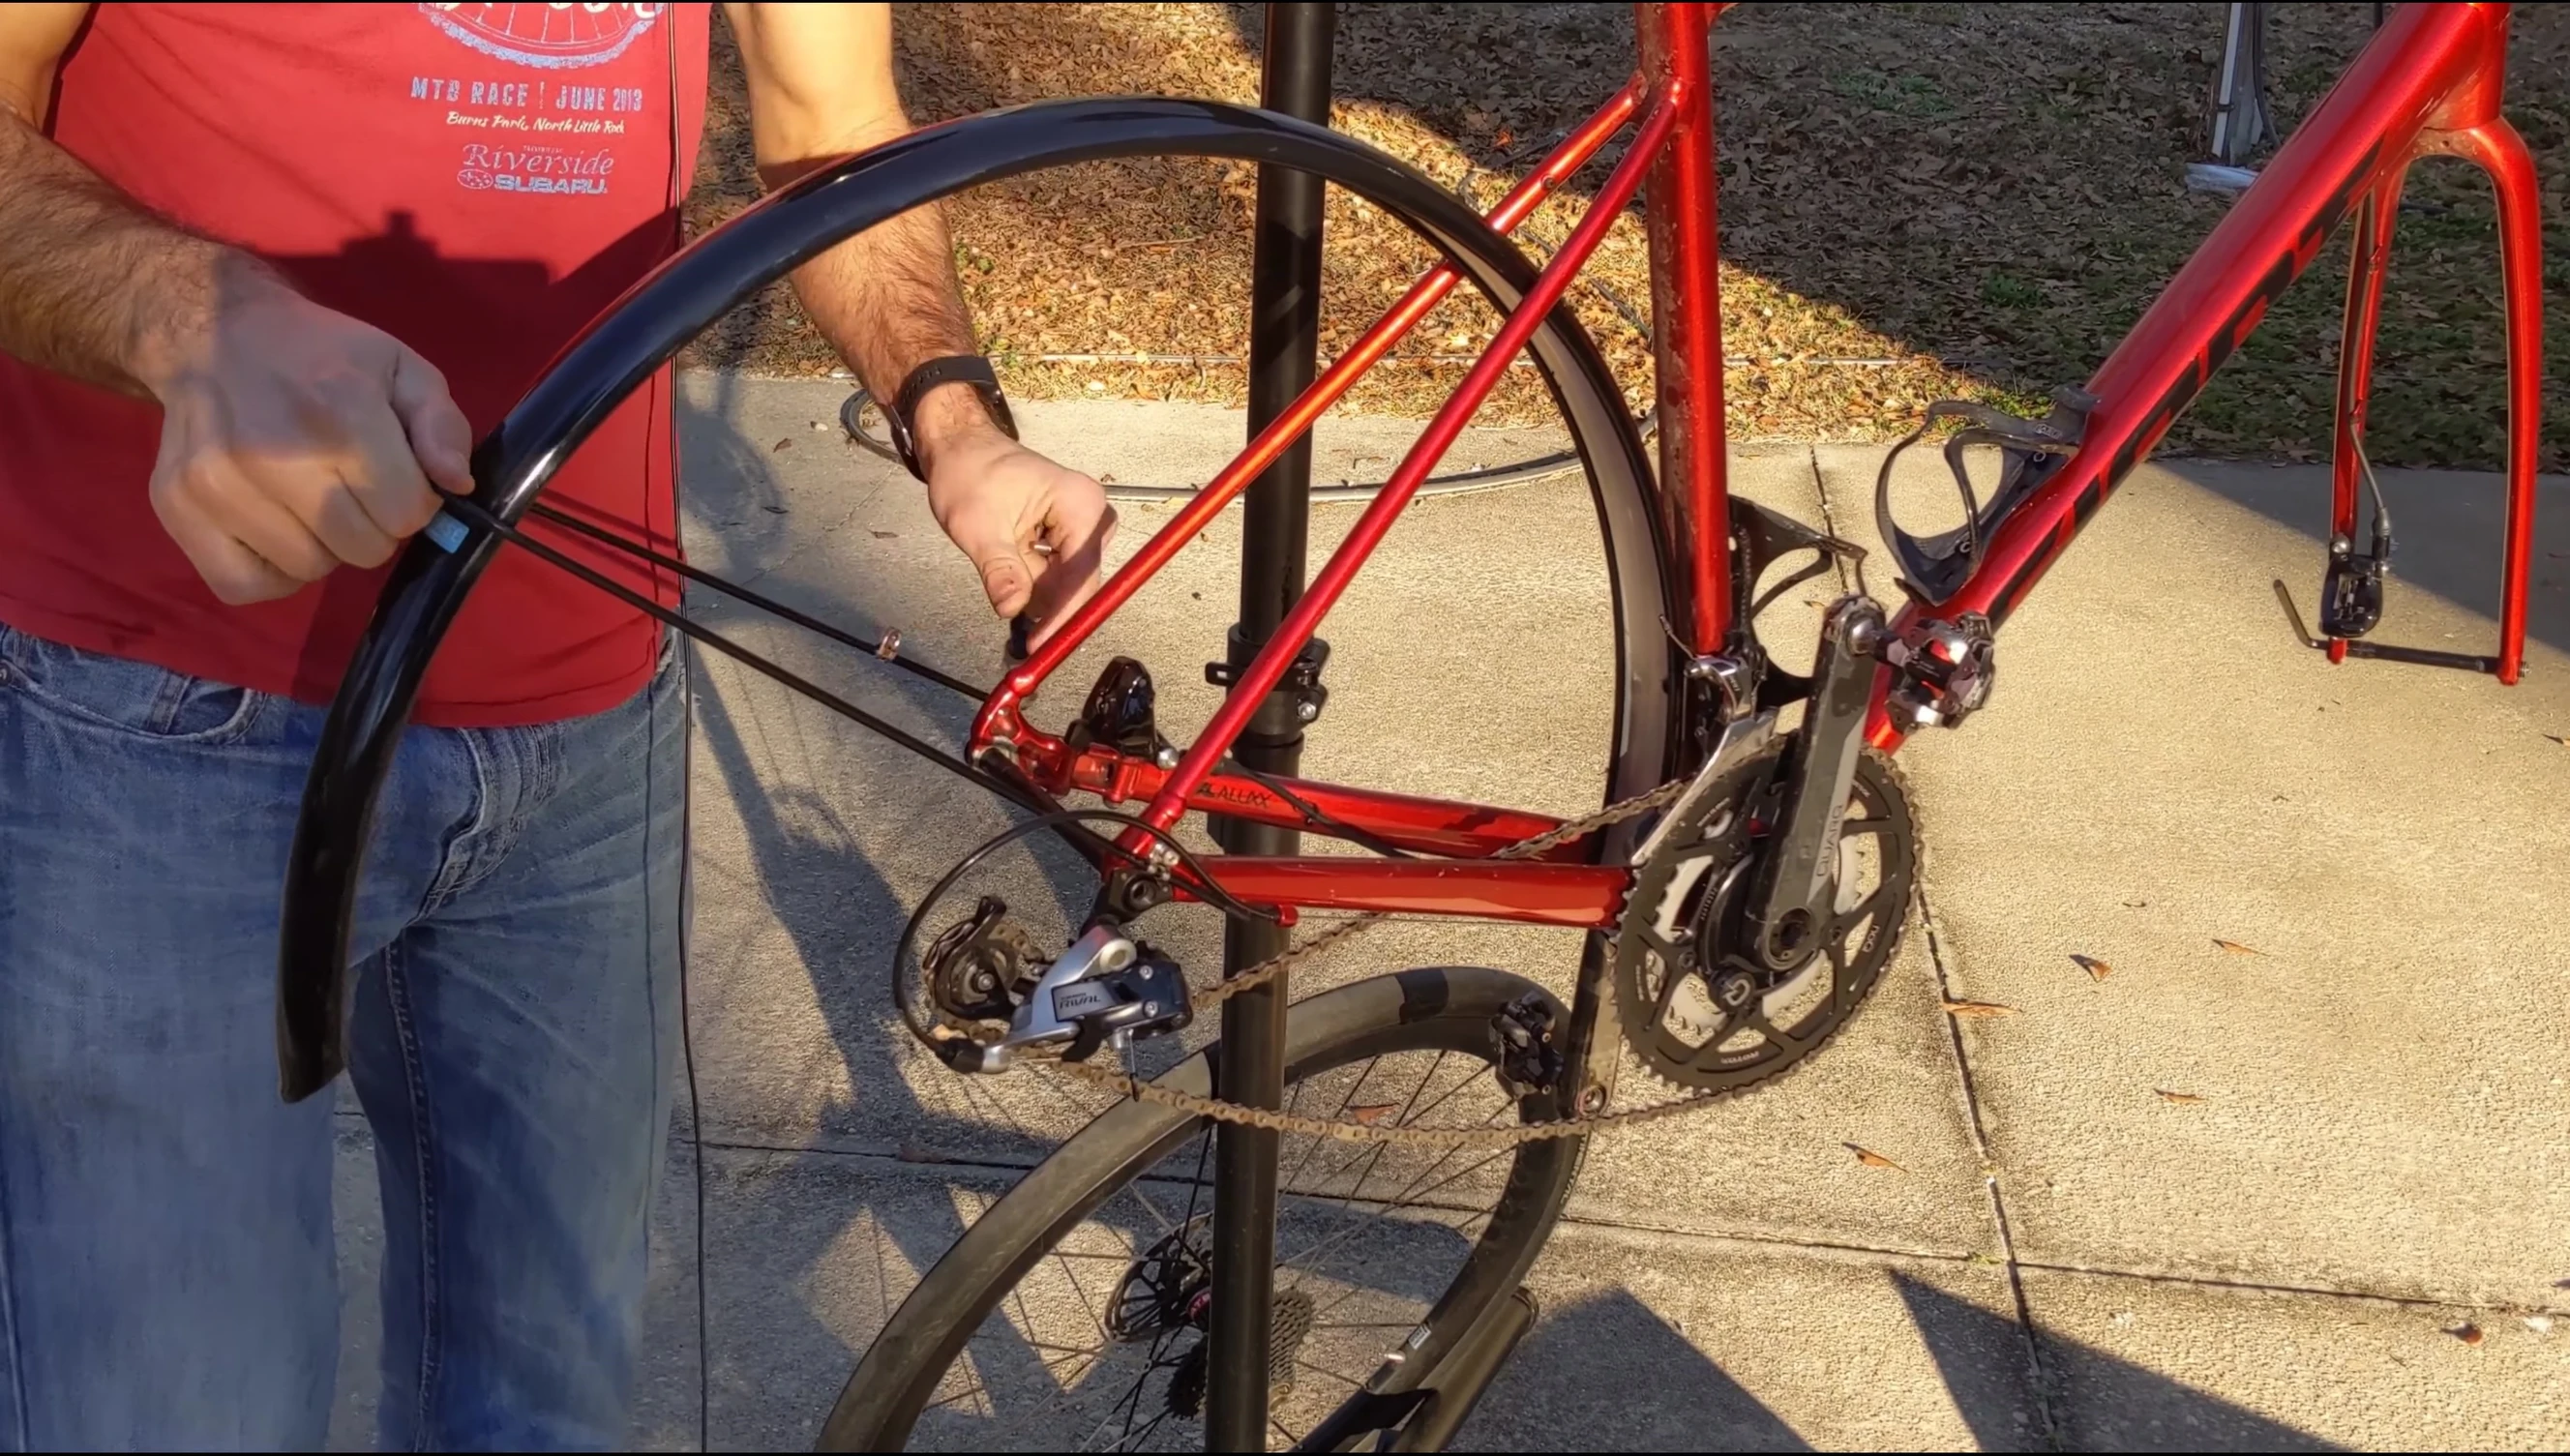
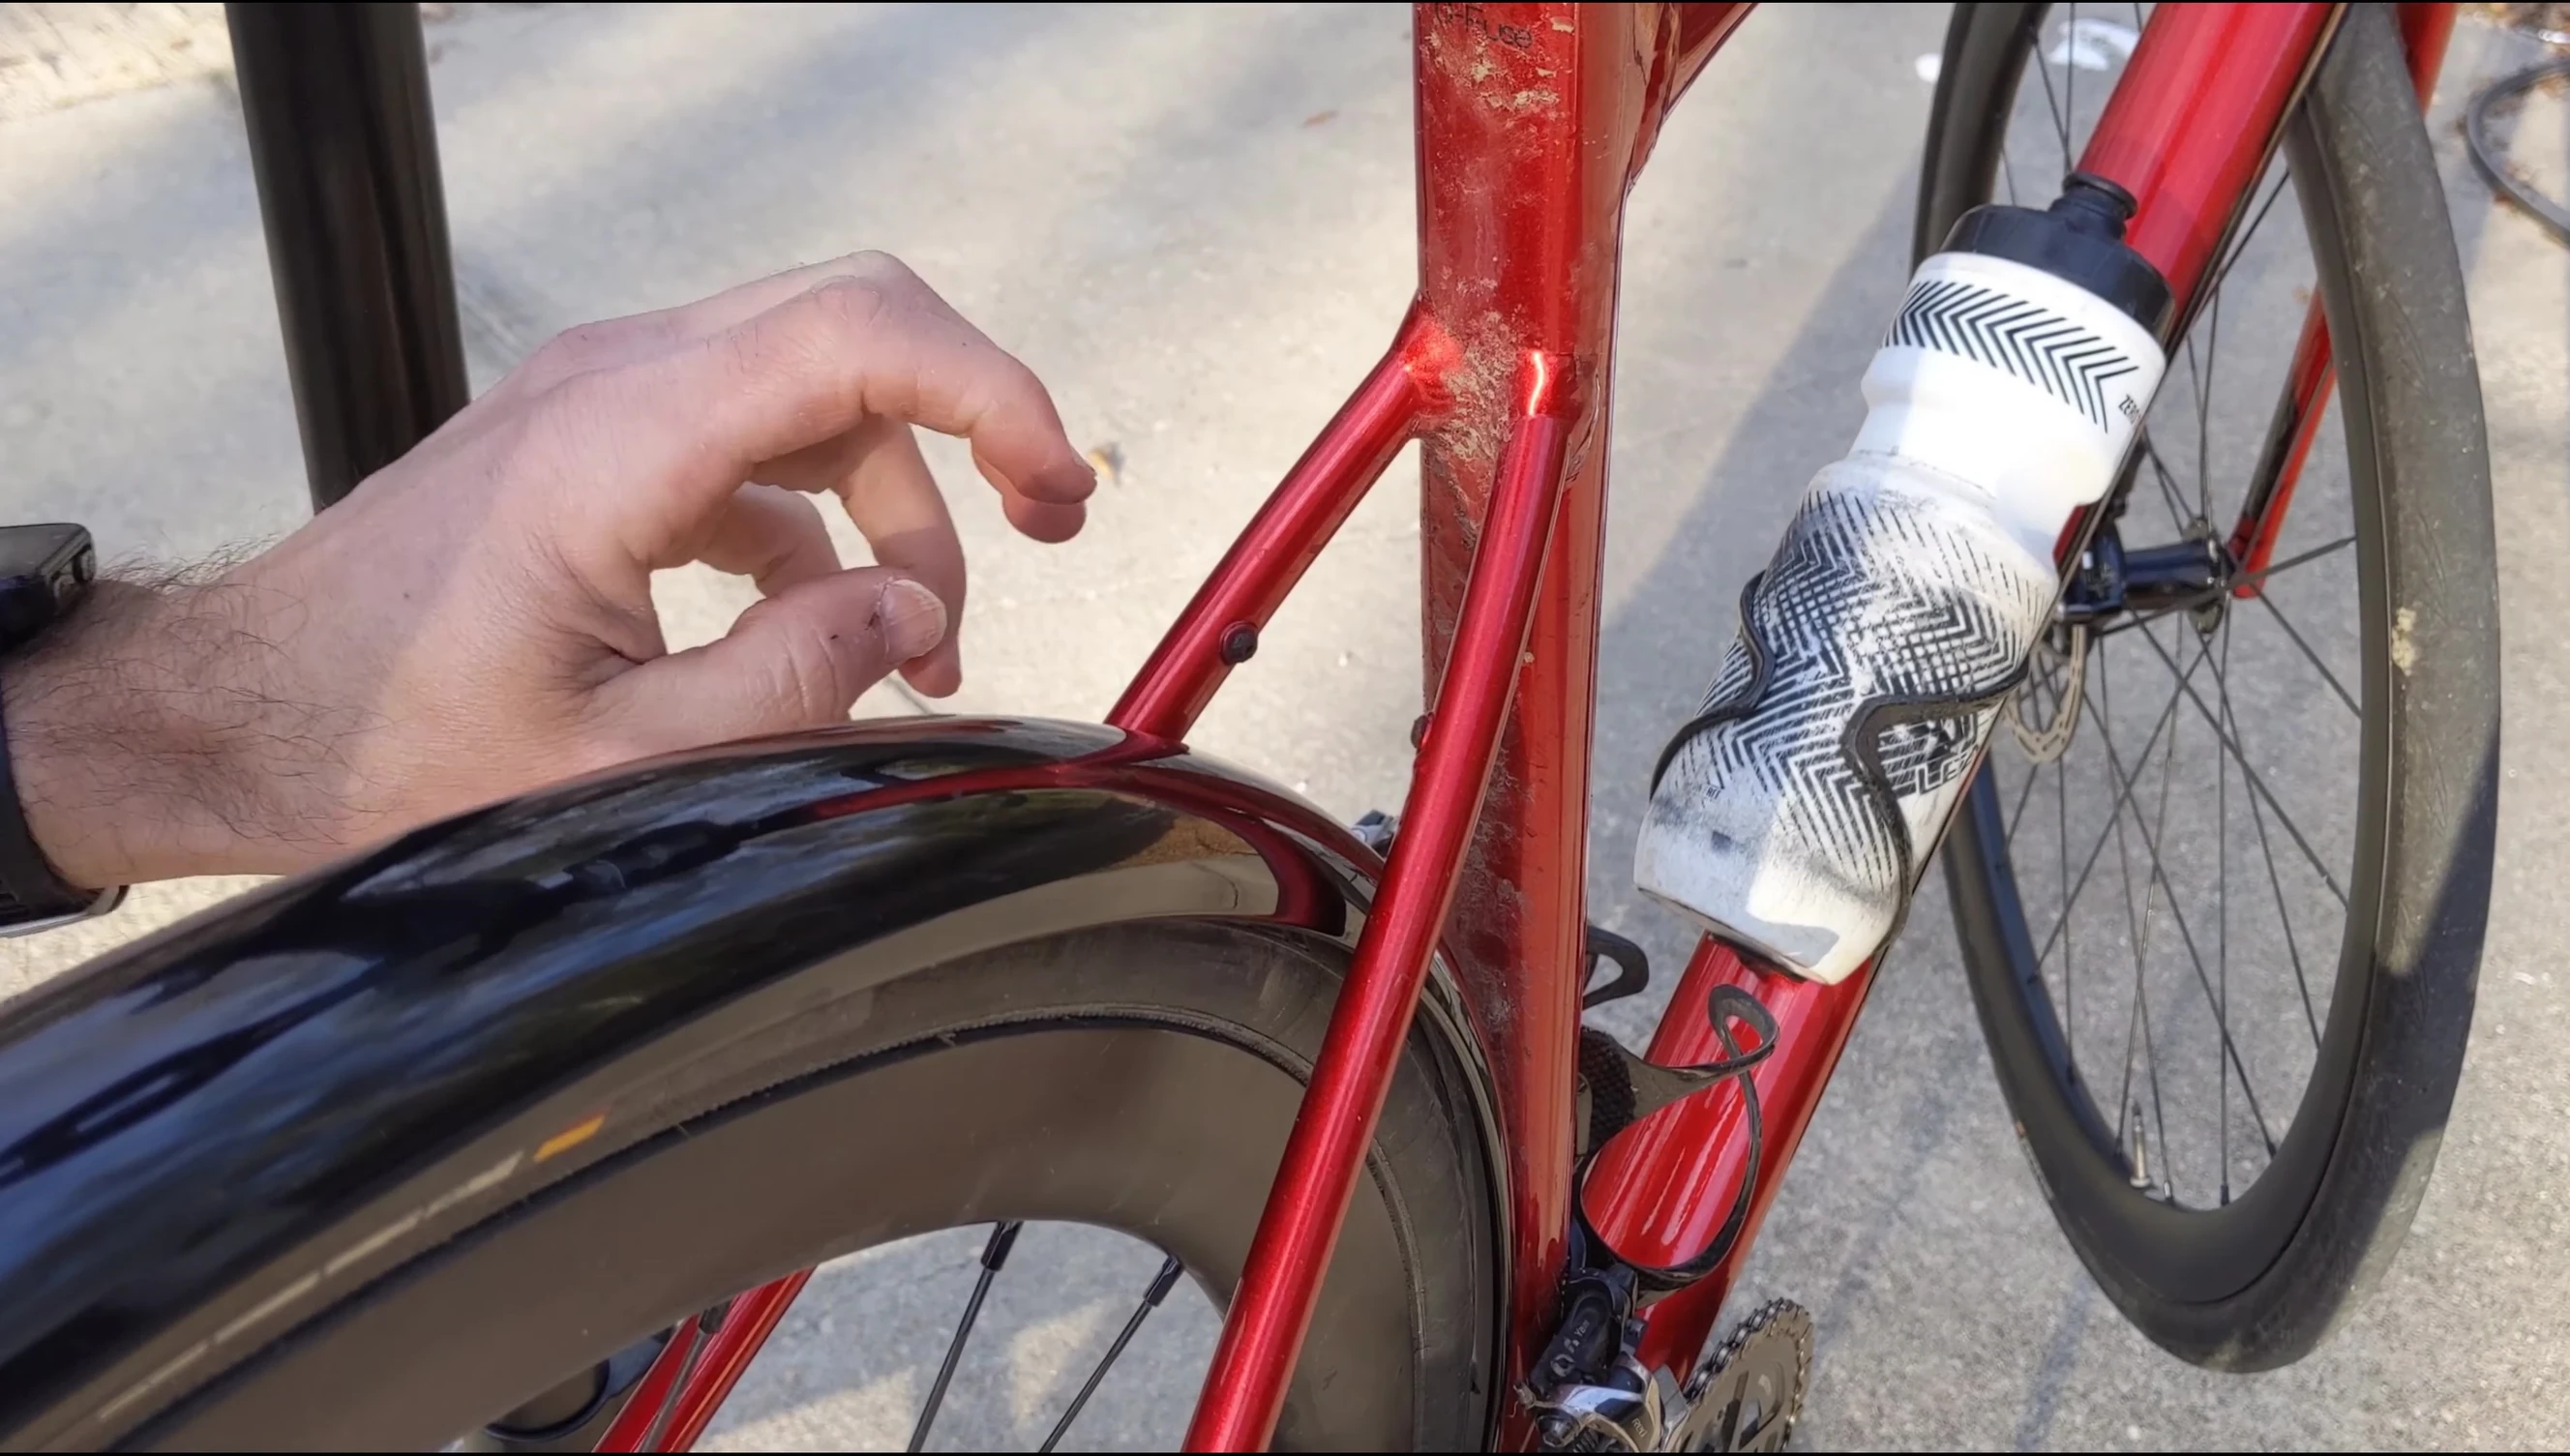
The speaker discusses the mounting of the front fender, highlighting the use of the fender stays and the process of attaching these to both the fender and the bike frame. Measuring carefully is recommended, especially for the placement of the stays. The process may require additional drilling to attach the stays to the fender.
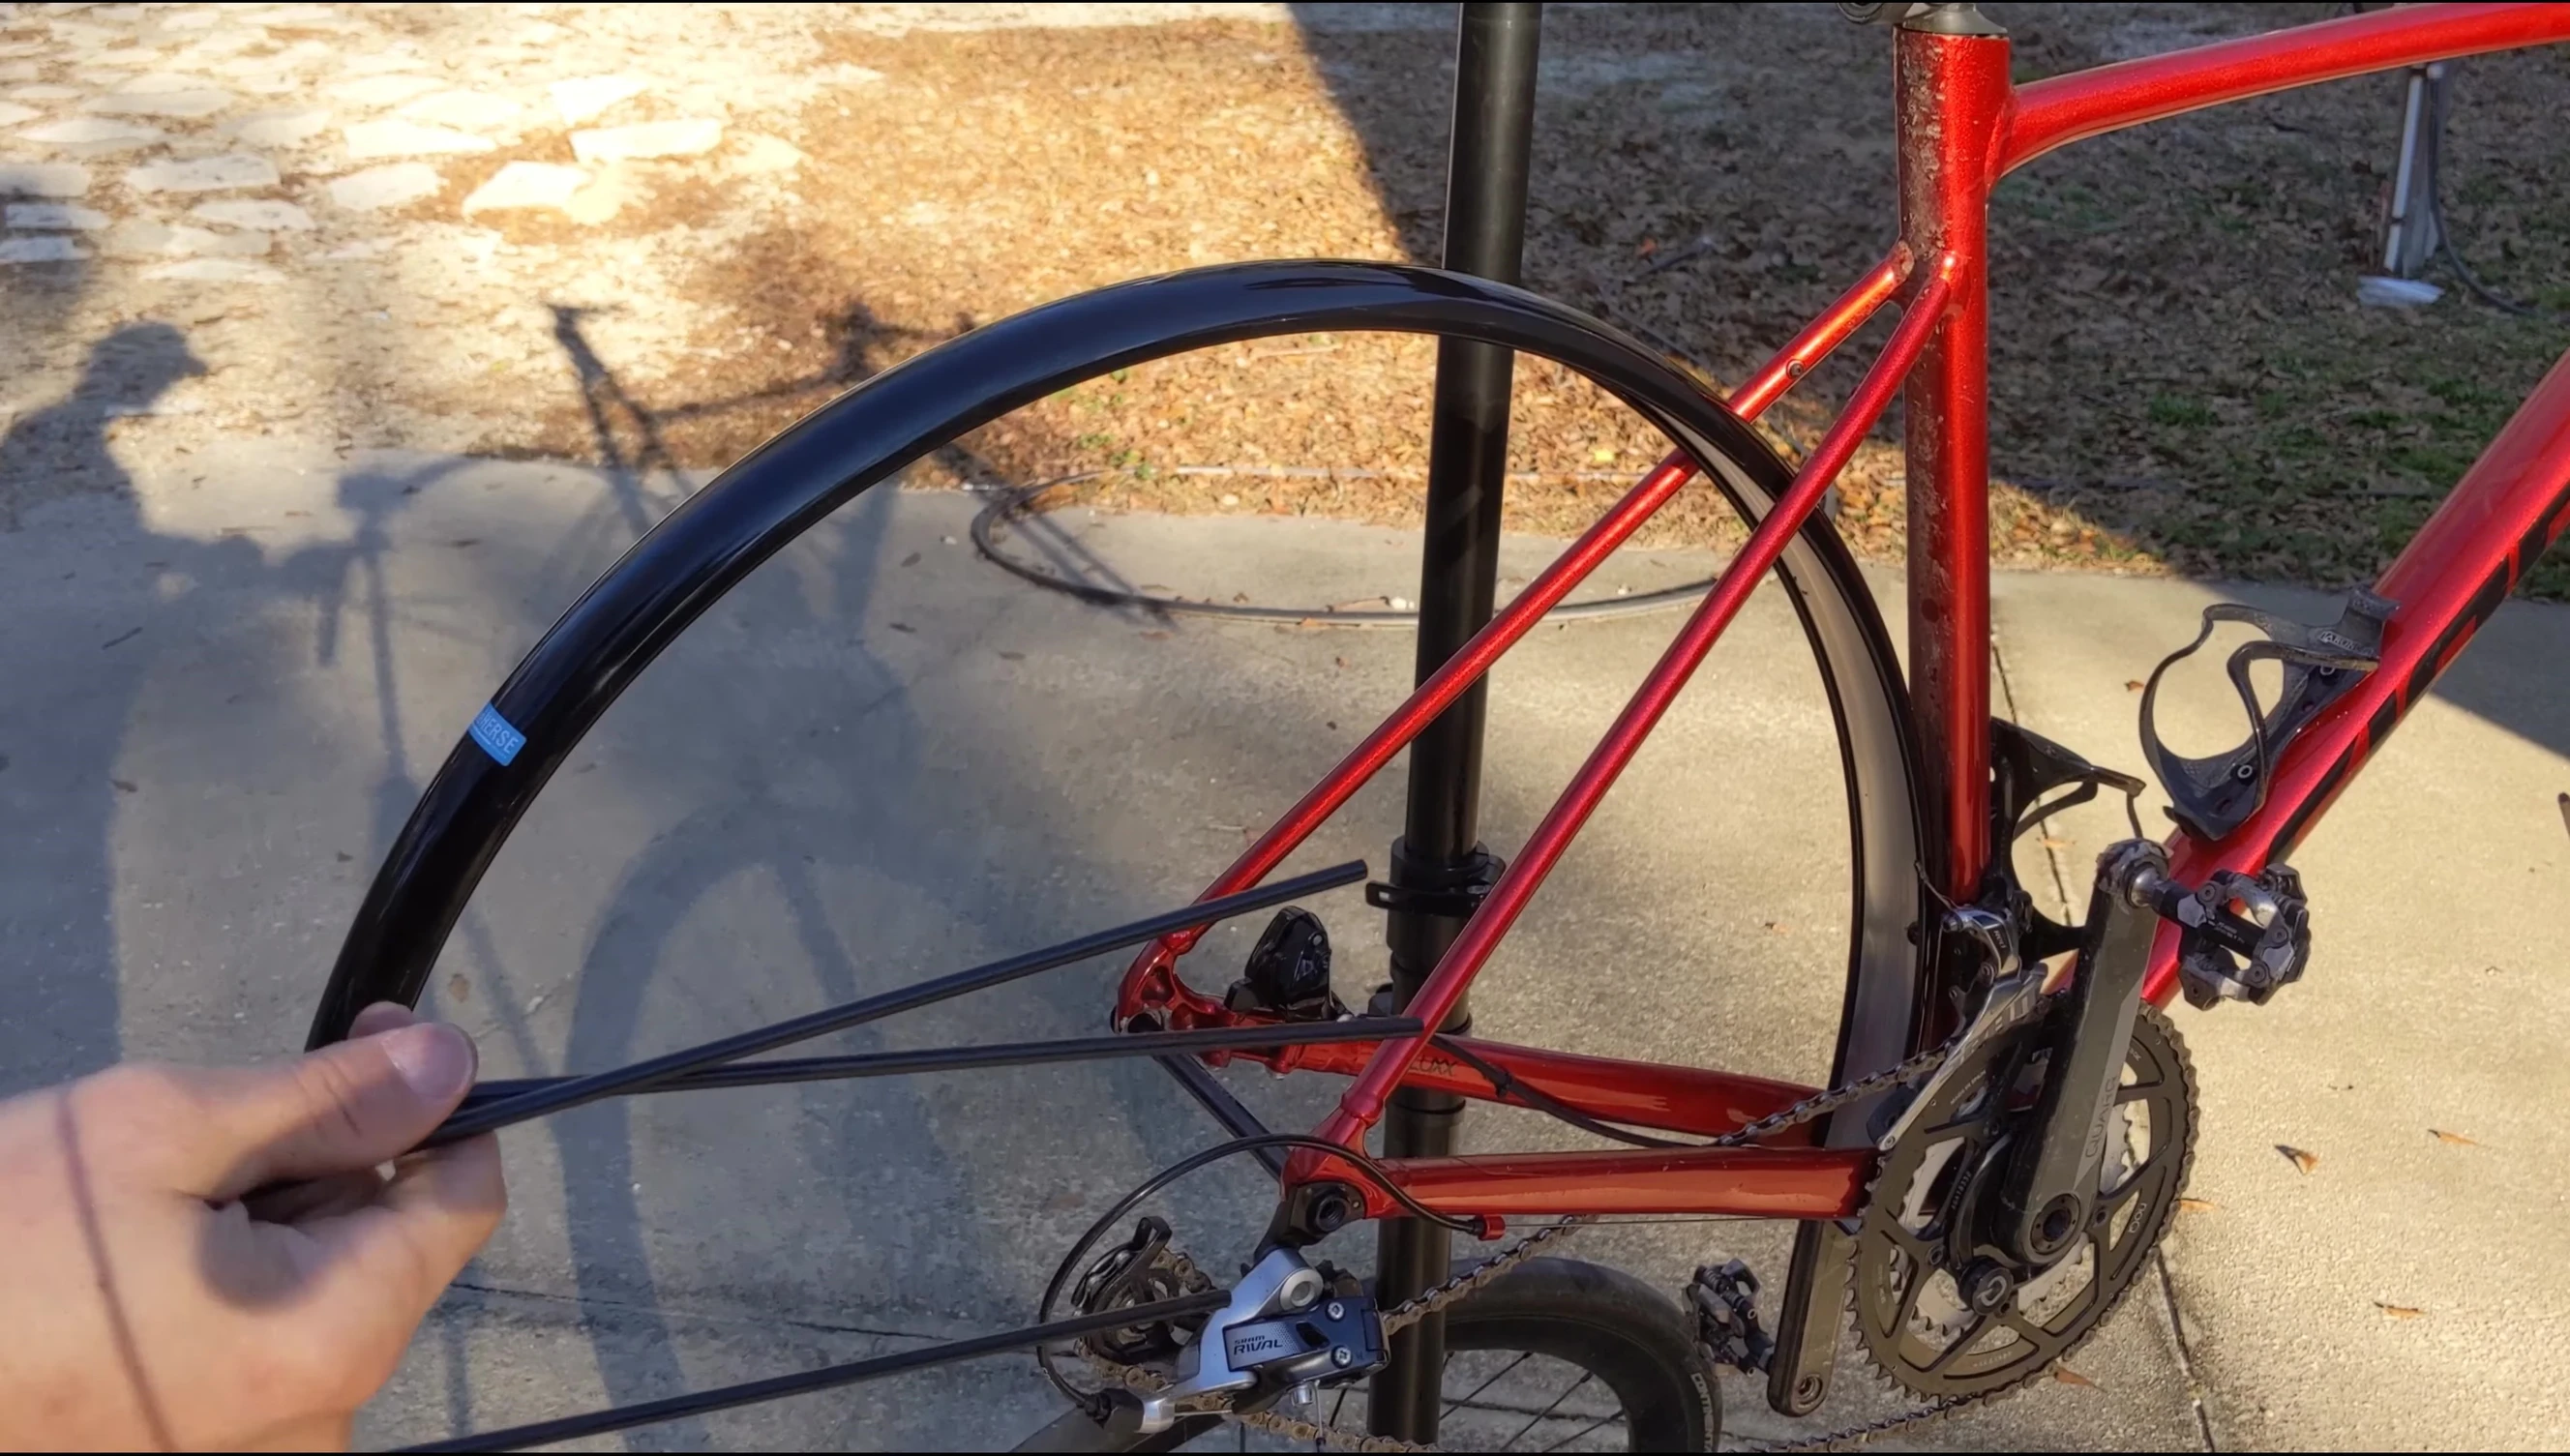
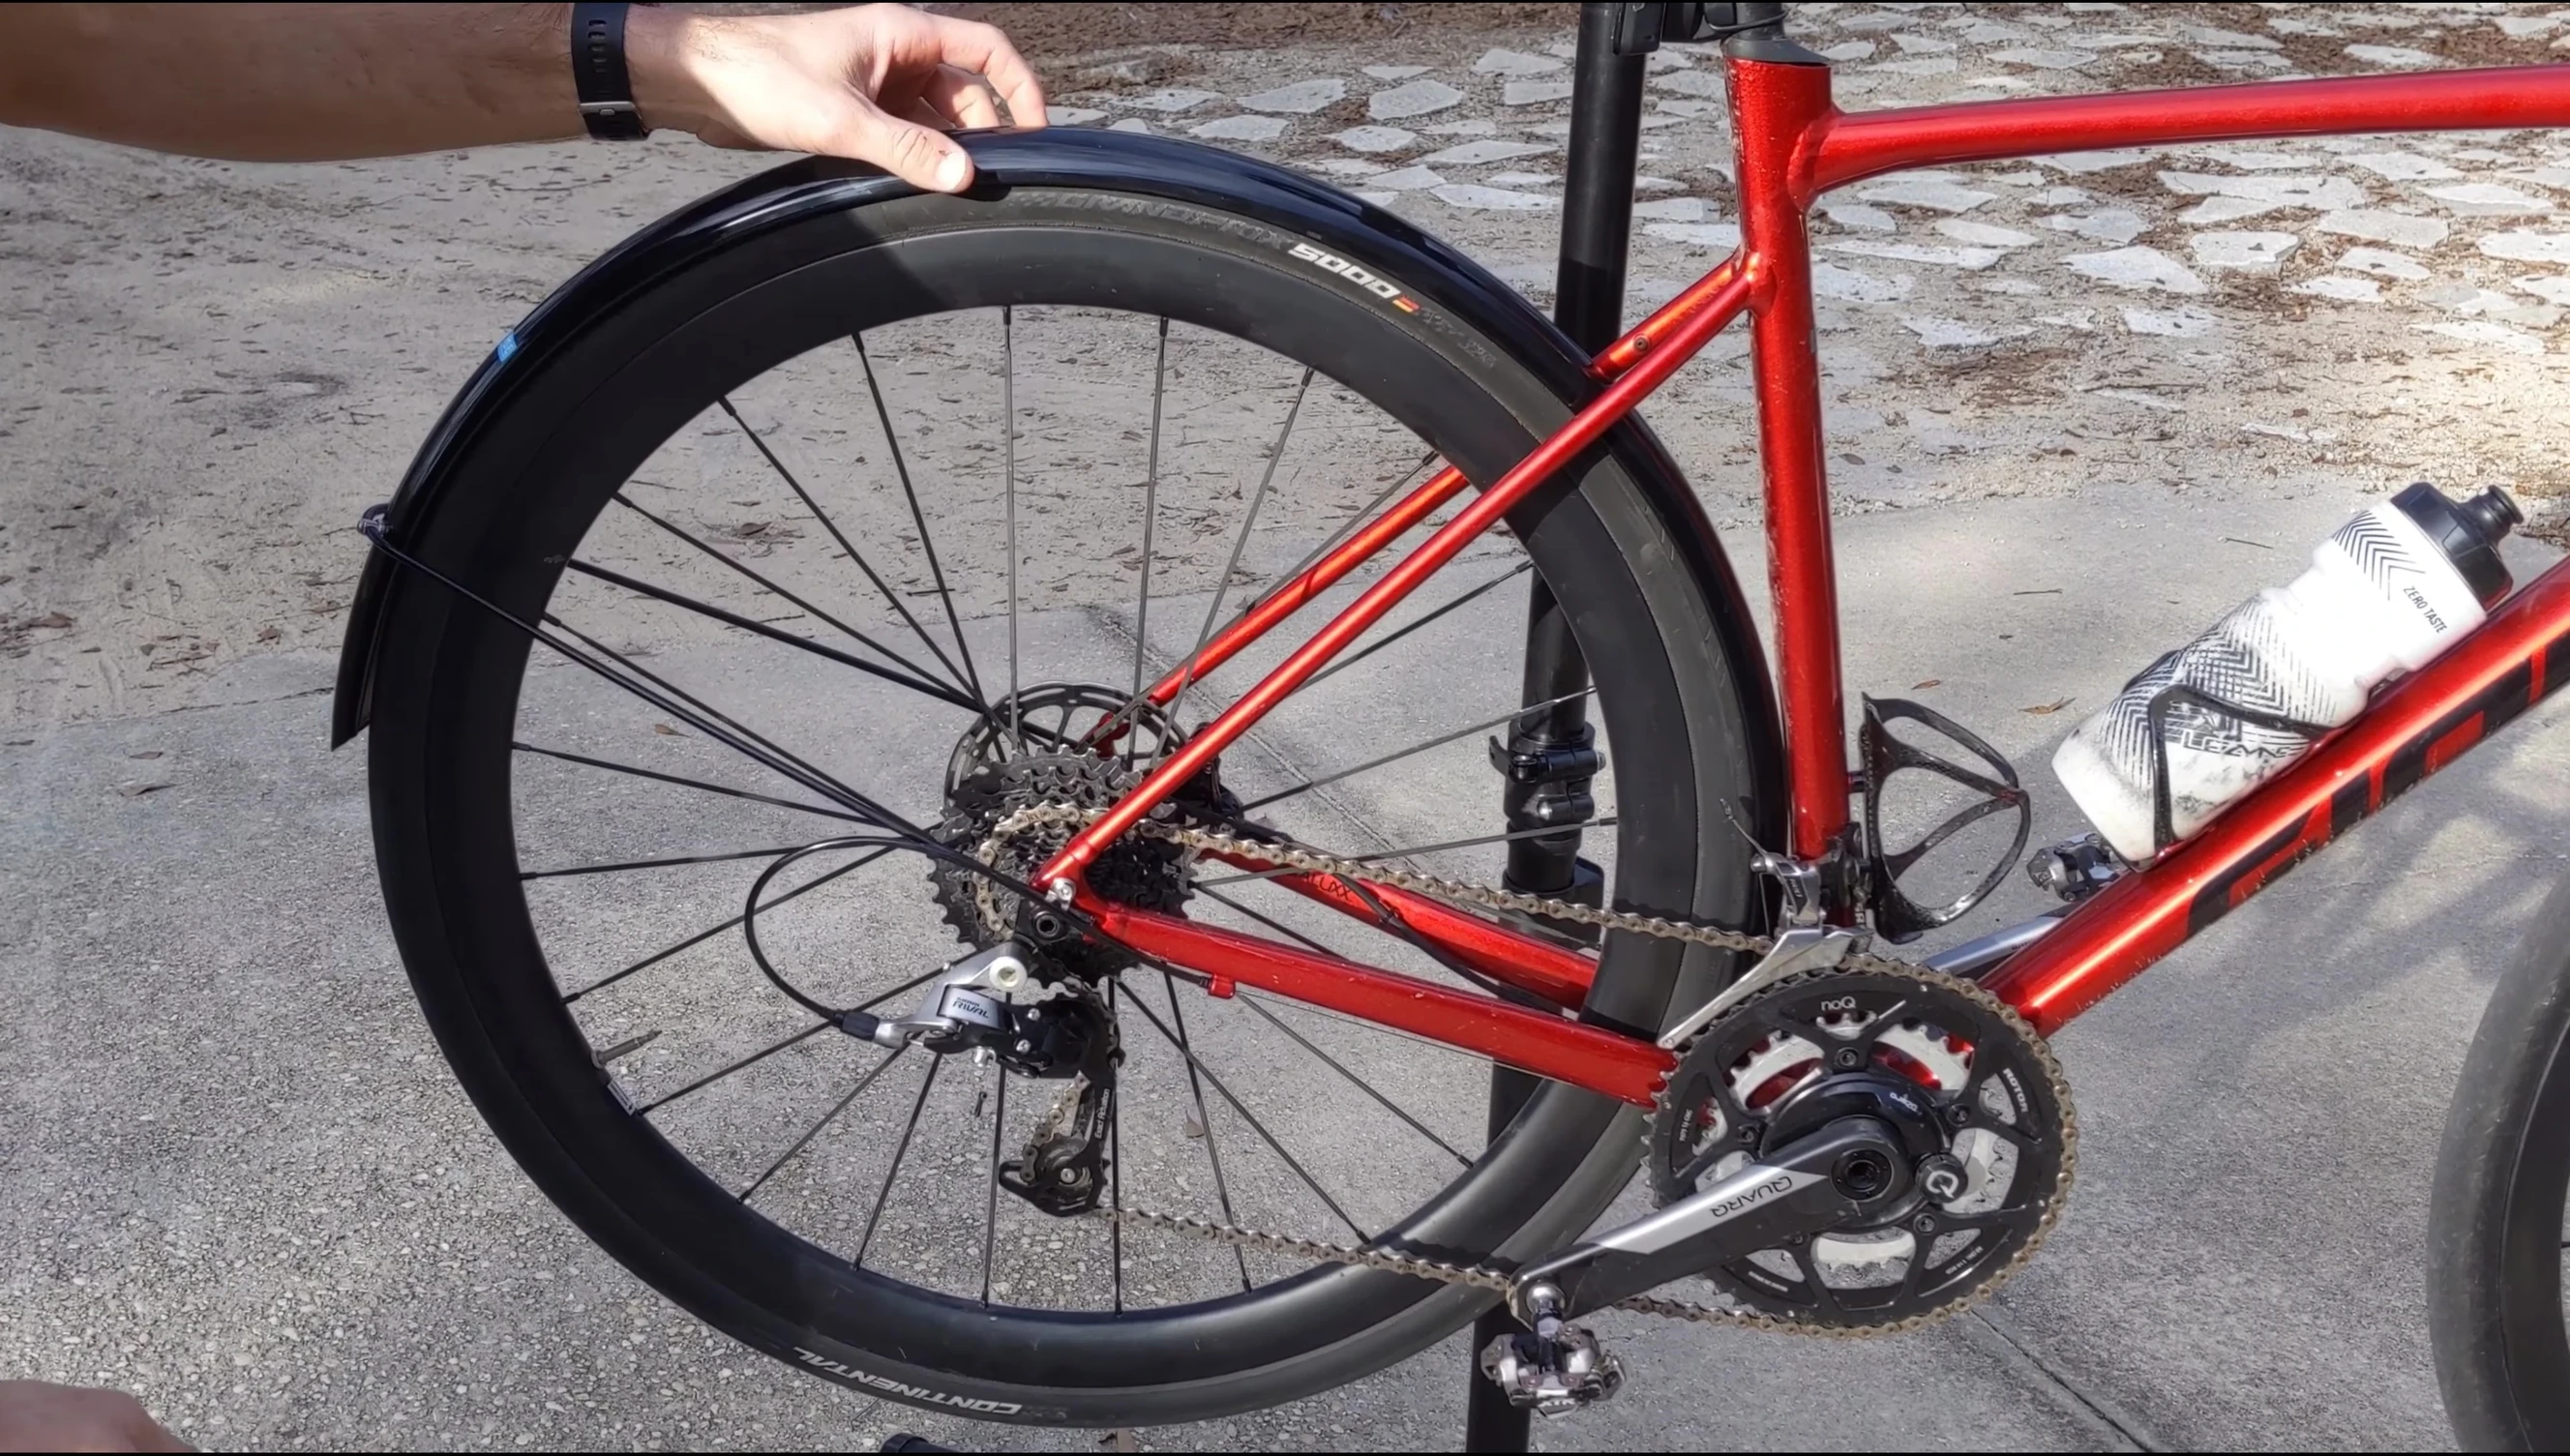
Adjusting the fender's position to optimize tire clearance is essential. The recommended distance from the bottom of the fender to the mounting points is 12-14 centimeters (approximately 5 inches). This ensures proper clearance and prevents rubbing or damage to the tire or fender.
Mounting the Rear Fender
The rear fender installation involves attaching it to the seat stays and seat tube. The process includes drilling additional holes in the fender and the use of brackets, screws, and washers. Again, patience and accurate measurements are crucial for a secure and functional installation. Consider using high-quality hardware (stainless steel or titanium) to prevent rusting, especially in areas prone to moisture.
The video details the challenges of working with rusted existing bolts, which highlights the importance of using new and appropriate fasteners during the installation. The use of a dremel tool to create slits for easier removal of the existing bolts is mentioned, emphasizing the need for appropriate tools.
Final Adjustments and Conclusion
Final adjustments of the front fender involve ensuring proper clearance and alignment. This might include using spacers or different brackets to optimize the fender's position relative to the tire. The video emphasizes patience and attention to detail throughout the installation process, especially when drilling holes or working with pre-existing fasteners.
The Honjo/Renee Hurst fenders provide a lightweight and durable solution for protecting the bike and rider from road spray and rain. While the installation process may seem complex, careful planning and attention to detail result in a secure and effective fender system.