This comprehensive guide provides a step-by-step walkthrough on how to overhaul your Shimano SPD clipless pedals. Keeping your pedals well-maintained is crucial for optimal performance and longevity, ensuring smooth engagement and preventing unexpected failures during rides. This guide covers everything from removing the lock nut and accessing internal components to cleaning, inspecting, and regreasing bearings, and finally, the correct reassembly procedure. Whether you're a seasoned mechanic or a beginner tackling your first pedal overhaul, this detailed guide will equip you with the knowledge and confidence to complete the task effectively.We will cover the tools and techniques necessary for a successful overhaul, highlighting important considerations such as bearing replacement and the selection of appropriate grease. Following these instructions carefully will help you extend the lifespan of your SPD pedals, saving you money and ensuring reliable performance on every ride. This guide emphasizes a methodical approach, ensuring that you understand each step before proceeding, minimizing the risk of damage and maximizing the effectiveness of your efforts.
Pros And Cons
- Smooth spinning after servicing
- Plastic bushing can wear down
- Requires specialized tools for servicing (TL-PD40 or adjustable pliers)
- Bearings may pop out if dry during disassembly
Read more: 5 Best Child Bike Pedals for Smooth Rides
Disassembling the Pedal
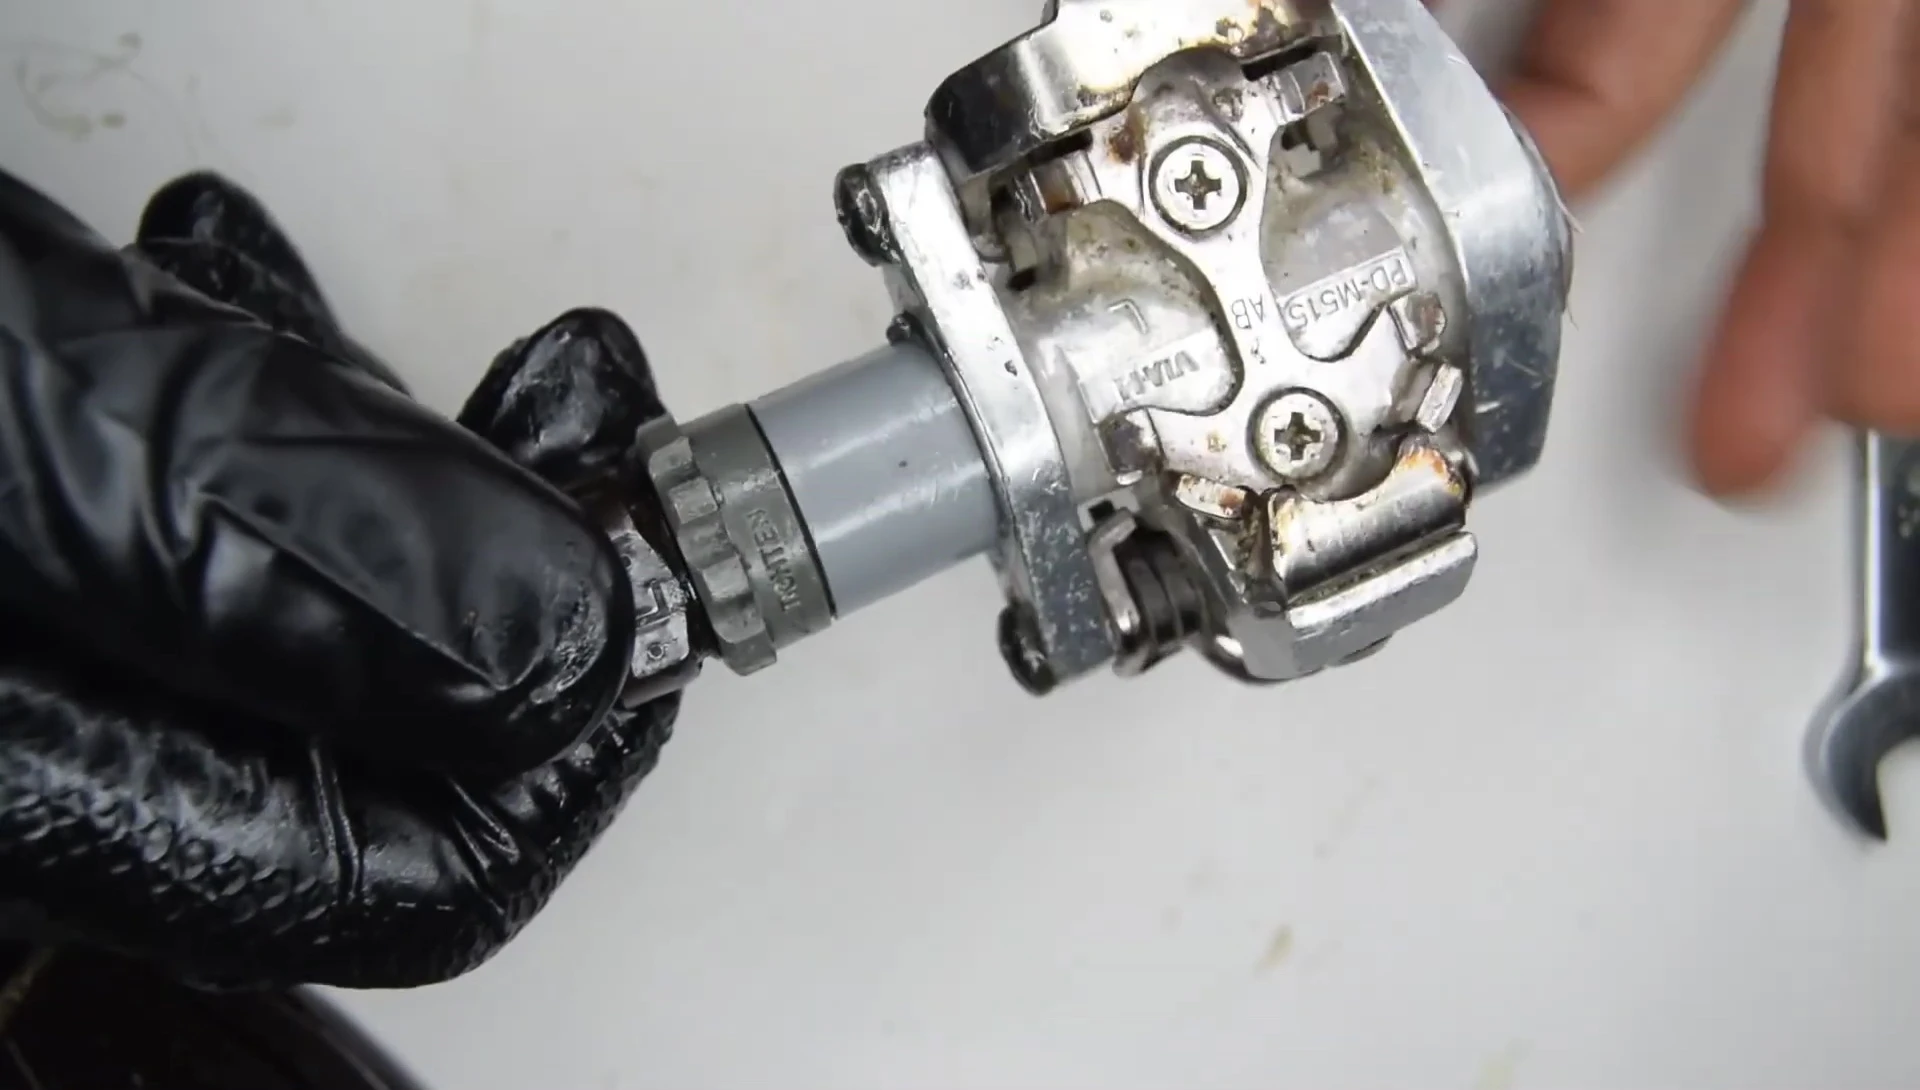
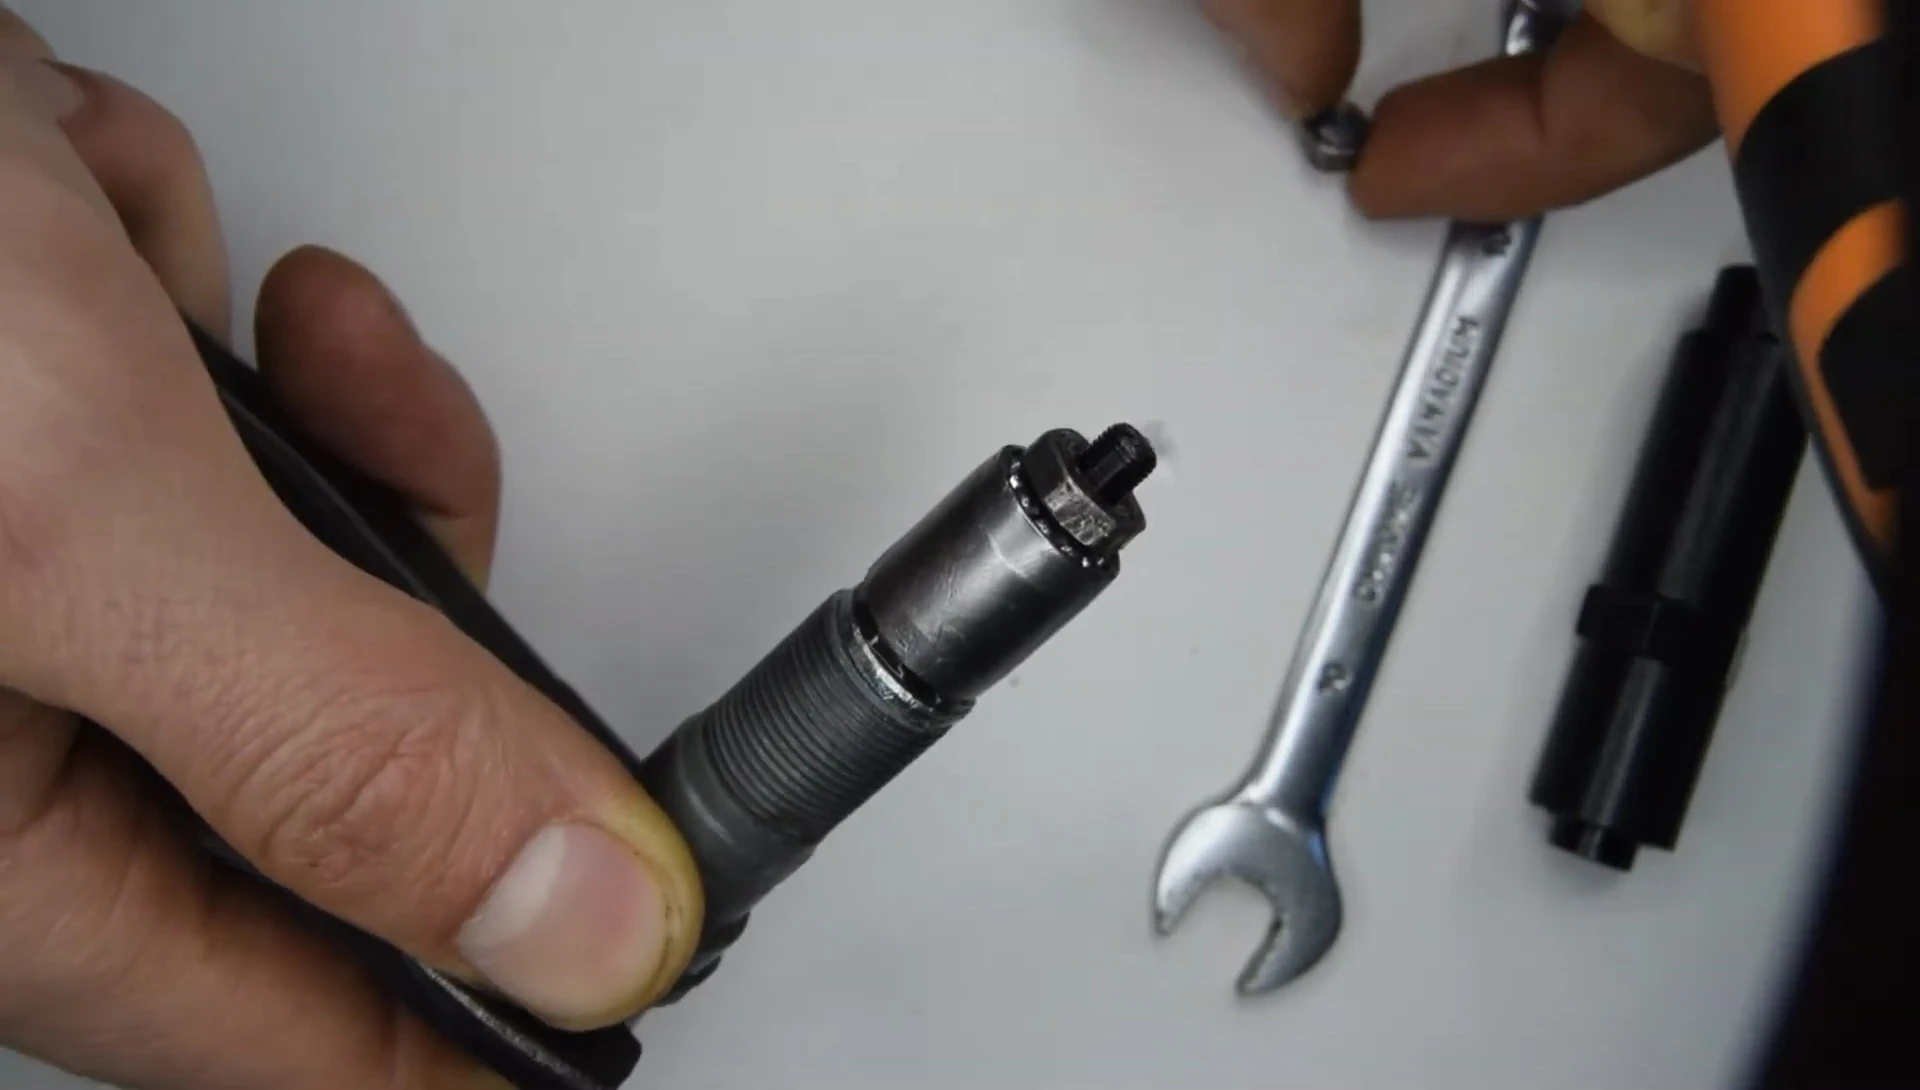
Begin by removing the plastic lock nut. This can be tricky; use a Shimano TL-PD40 tool or carefully employ adjustable pliers with rubber grips to avoid damage. Secure the pedal in a vise or clamp for firm control.
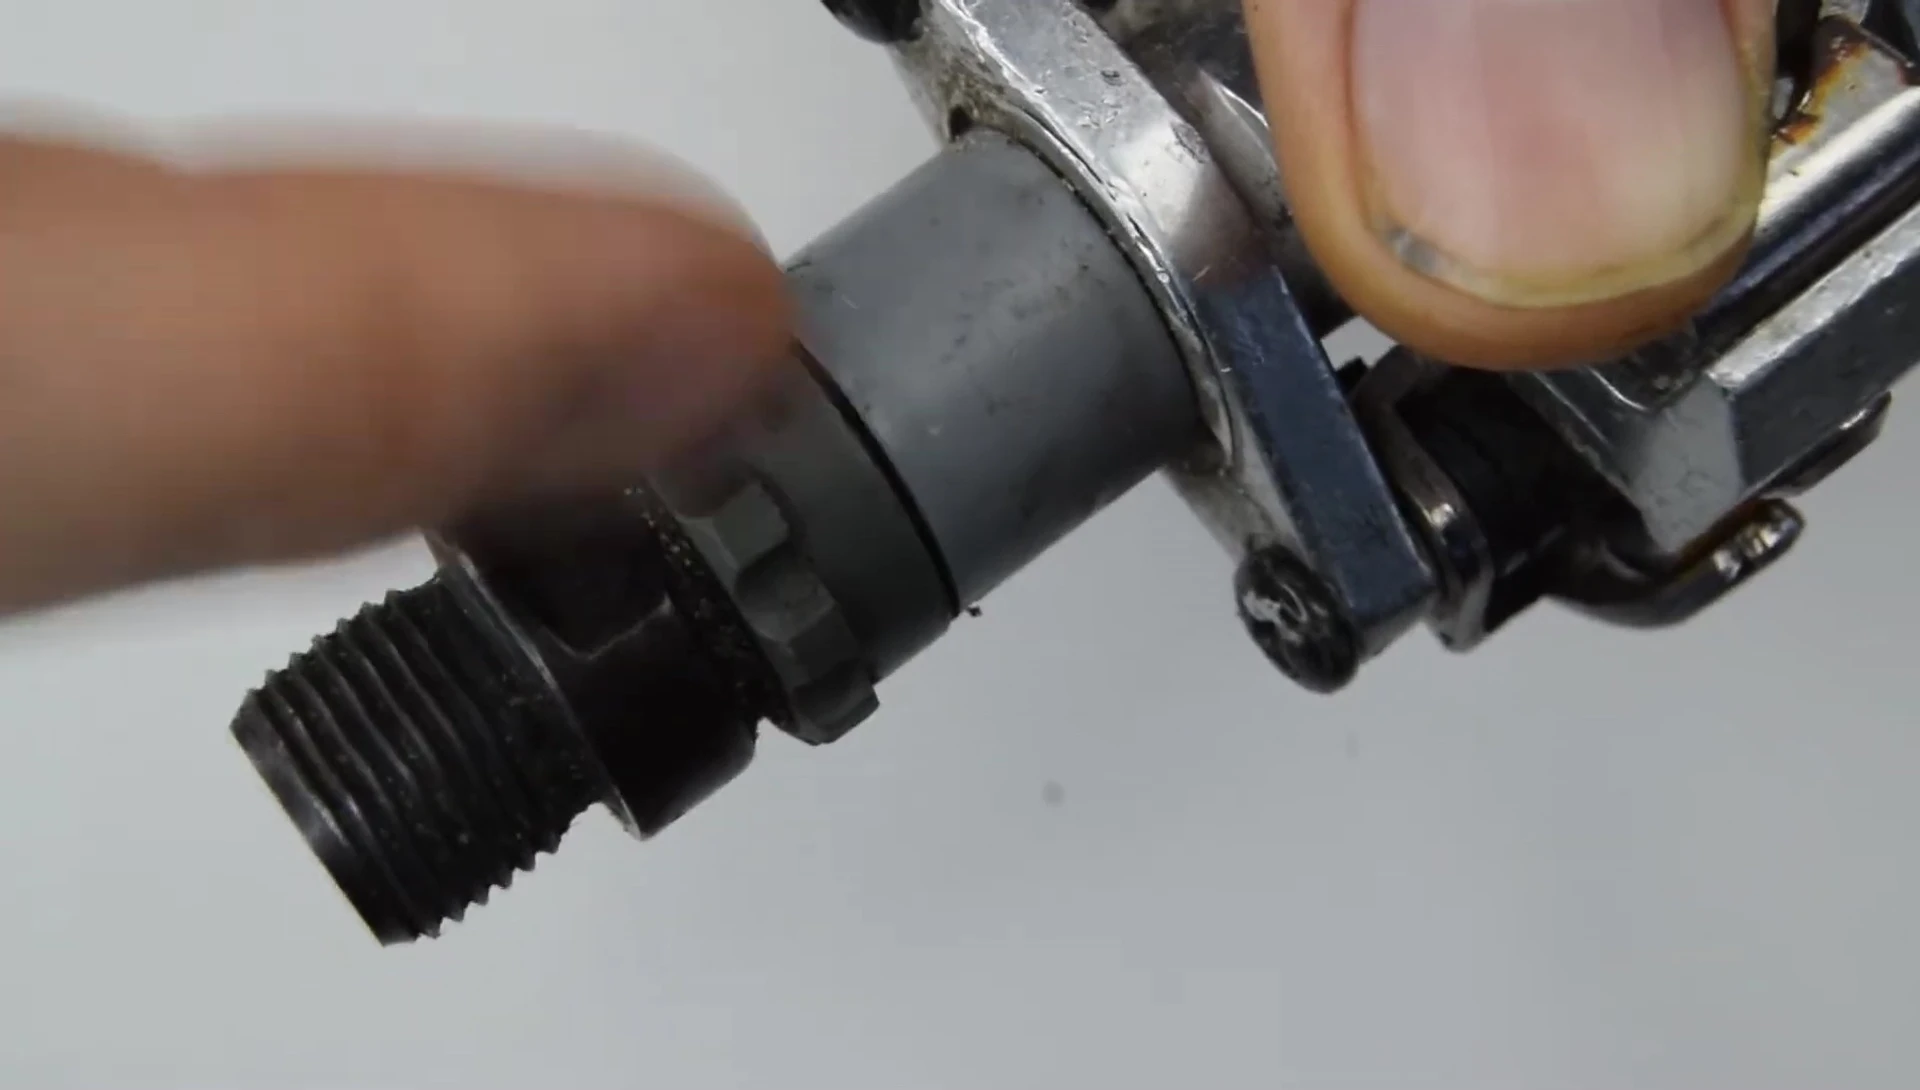
Once the lock nut is off, you'll expose the pedal's internal components. Depending on the model, you might encounter a plastic bushing with teeth engaging the pedal body. Remove this carefully.
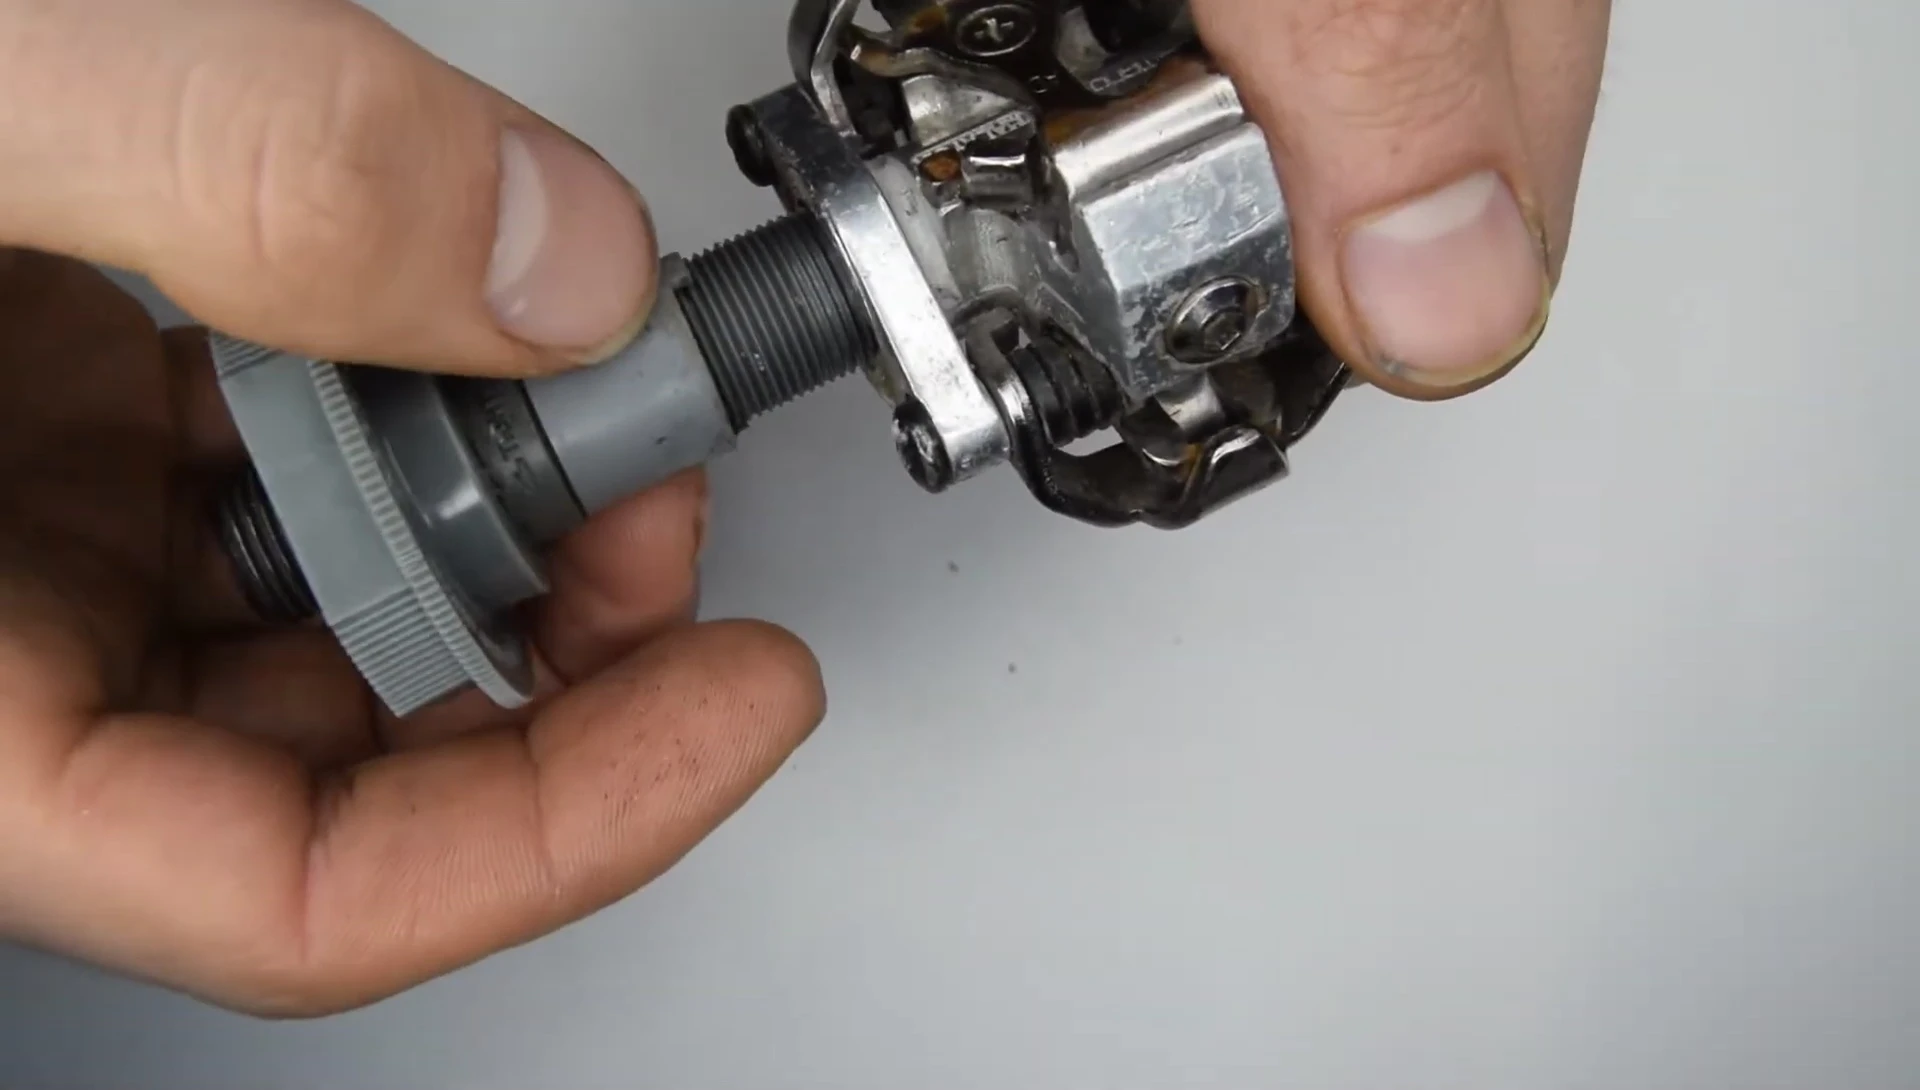
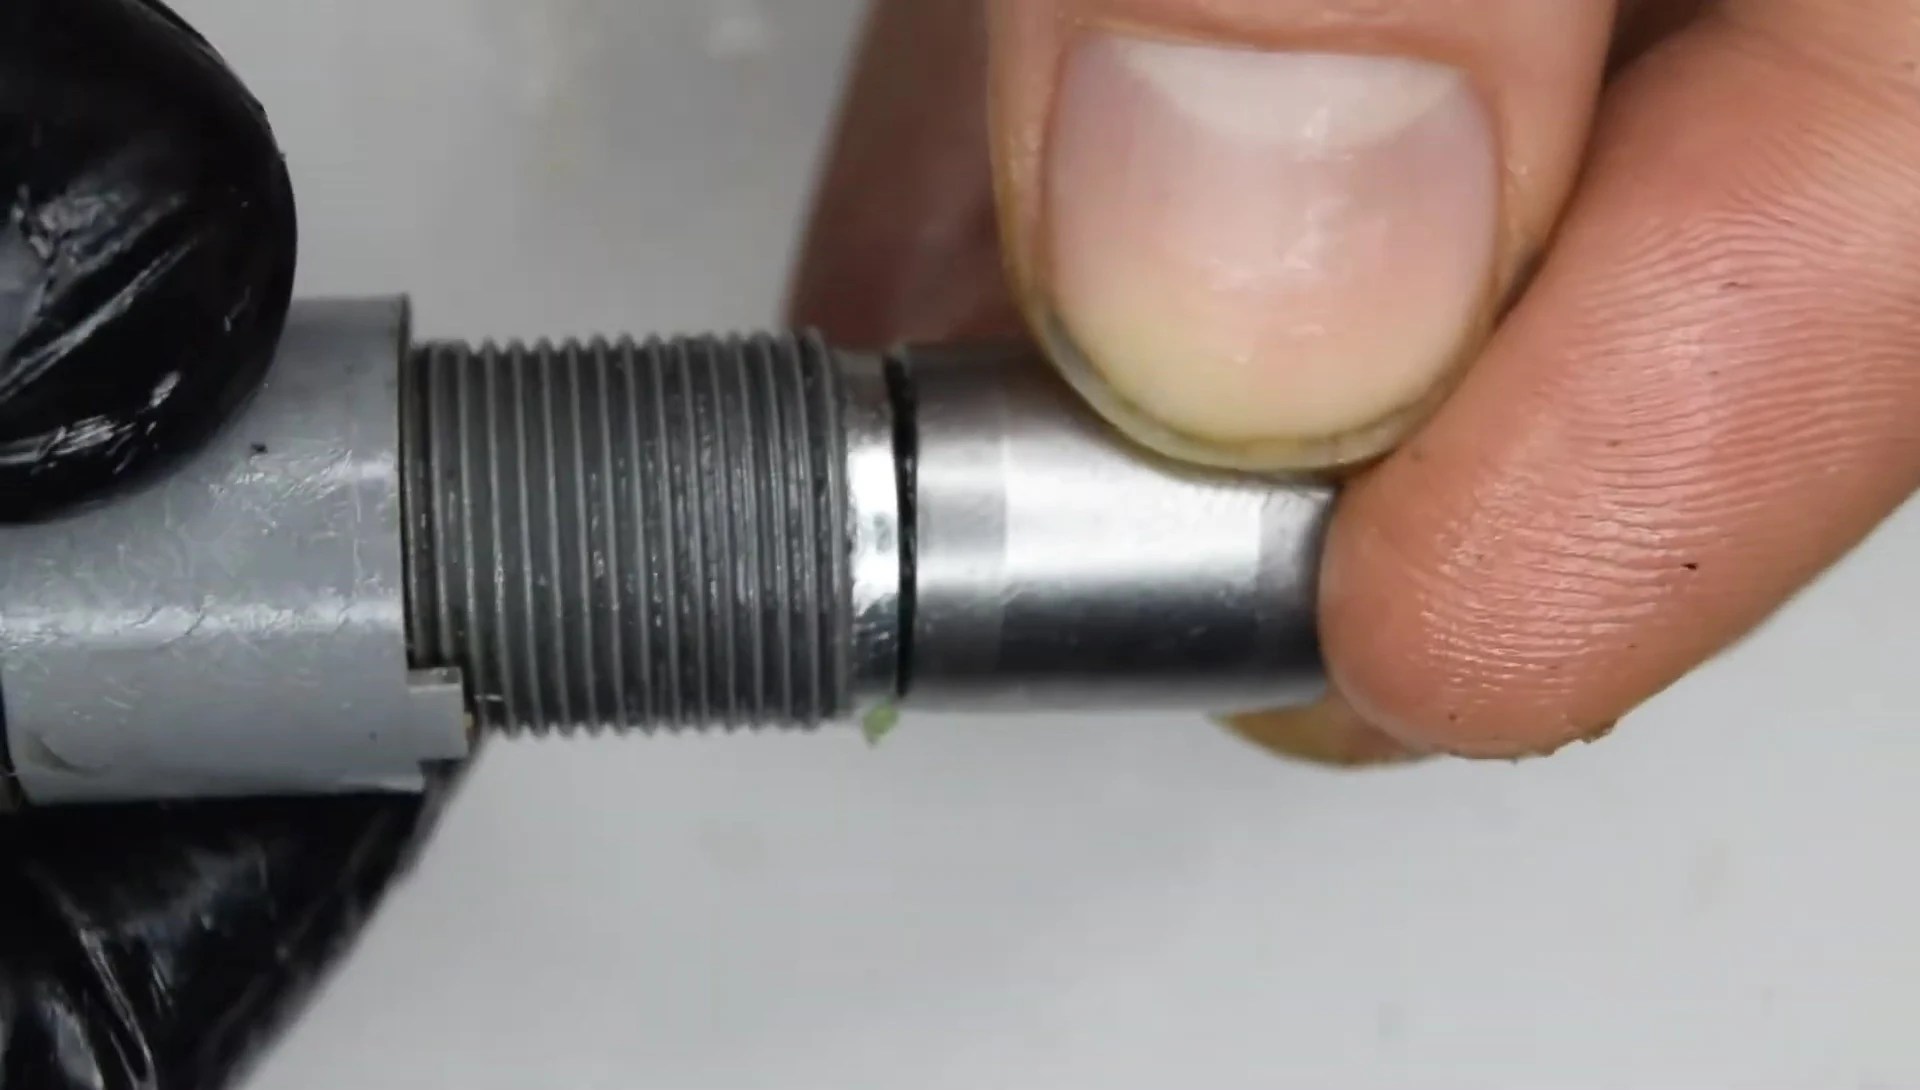
Next, remove the Phillips screw at the back to detach any retaining clips. Then, gently slide off the plastic bushing. This reveals the cone and bearings that require servicing.
Bearing Removal and Cleaning
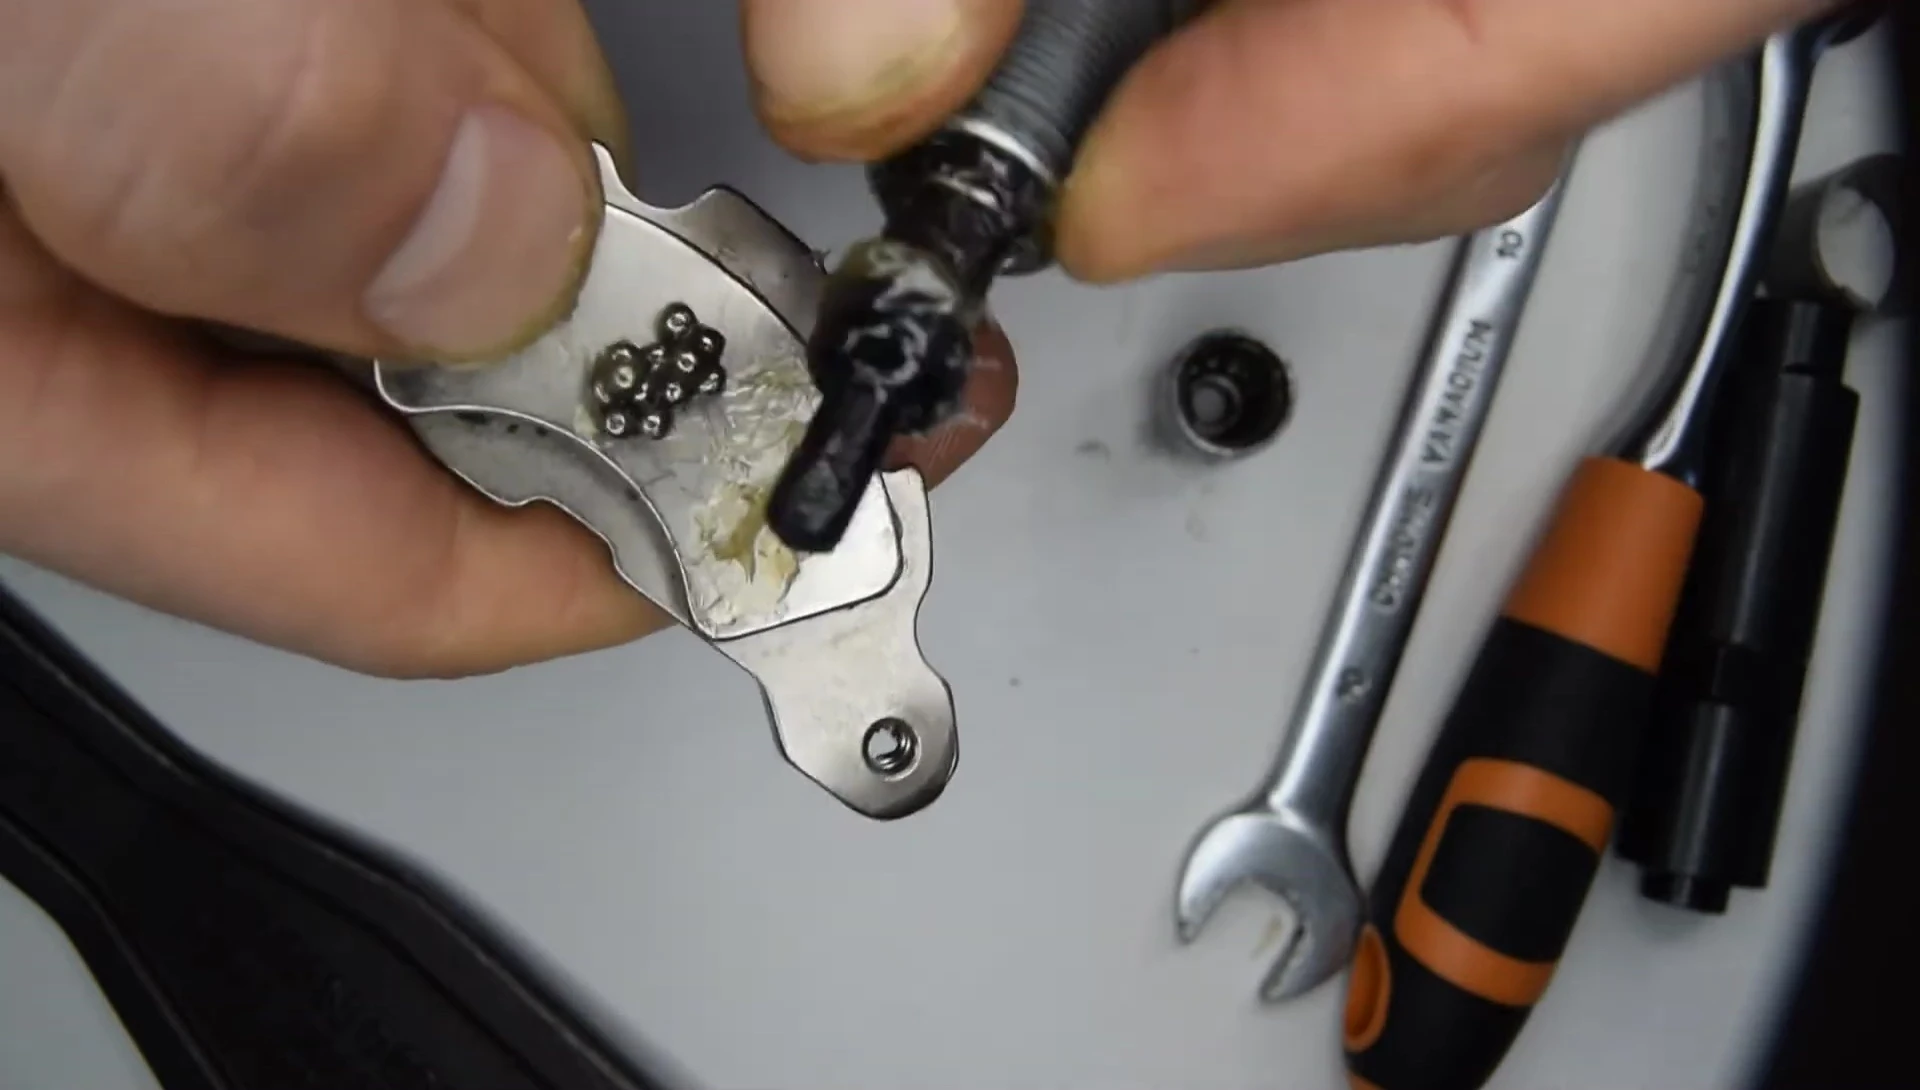
Remove the cone nuts and carefully extract the ball bearings. A magnet is highly recommended for this step to prevent losing small bearings. Note that different SPD models use different sized cone nuts (e.g., 10mm and 7mm).

Once the bearings are removed, thoroughly clean all components. Use a suitable degreaser to remove old grease and dirt. Ensure all surfaces are clean and free of debris before proceeding.
Inspect the bearings for wear. While replacing bearings on budget SPD pedals is often not cost-effective, you may want to consider an upgrade to higher grade bearings (25 grade or higher) for longer life and smoother performance.
Reassembly and Lubrication
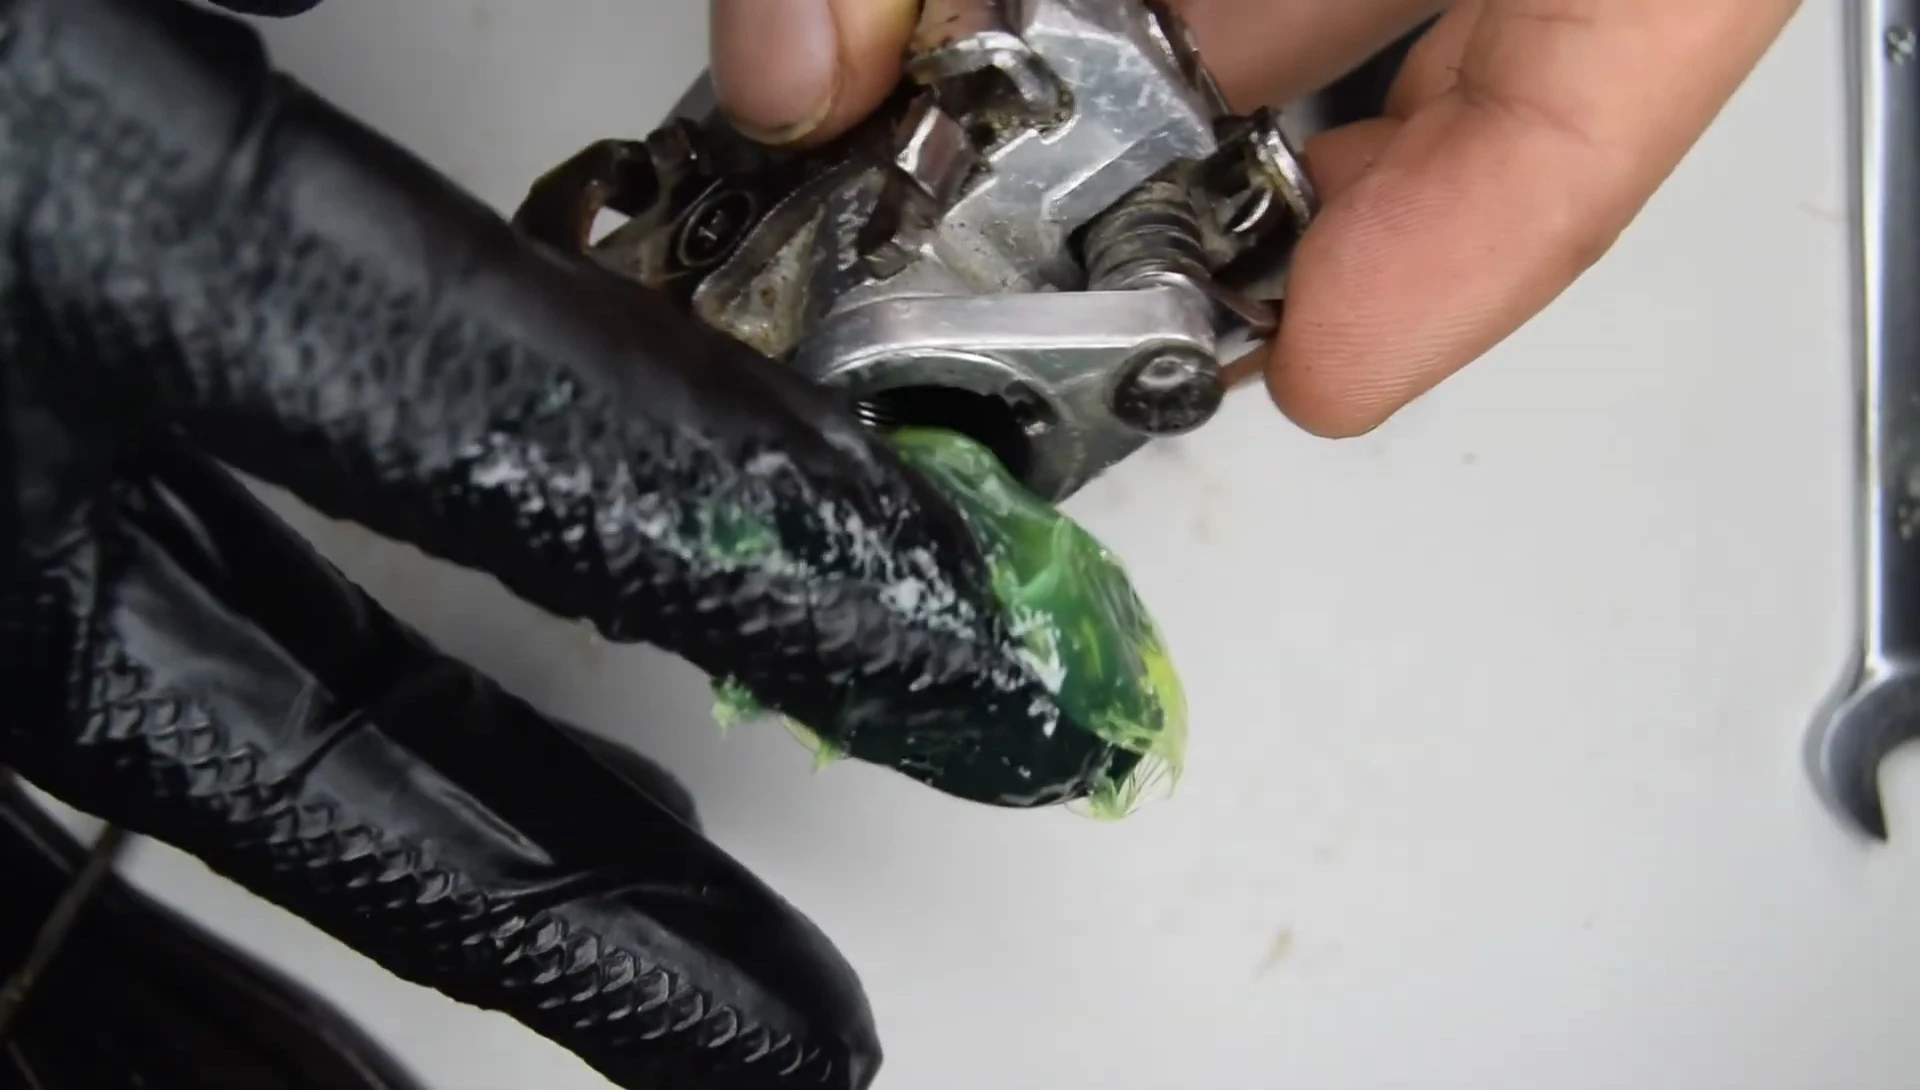
Apply a high-quality, sticky grease to all bearings, the seals, and the plastic components. This type of grease is crucial to keep the bearings lubricated and prevent wear.
Carefully reassemble the components. Pay attention to the orientation of the seals and plastic bushings. Ensure the bearings are correctly positioned within the cone.
Reinstall the cone nuts and lock nut, tightening them appropriately. Use two wrenches to hold the cone nut while tightening the lock nut. This ensures proper compression and prevents damage.
Final Steps and Conclusion
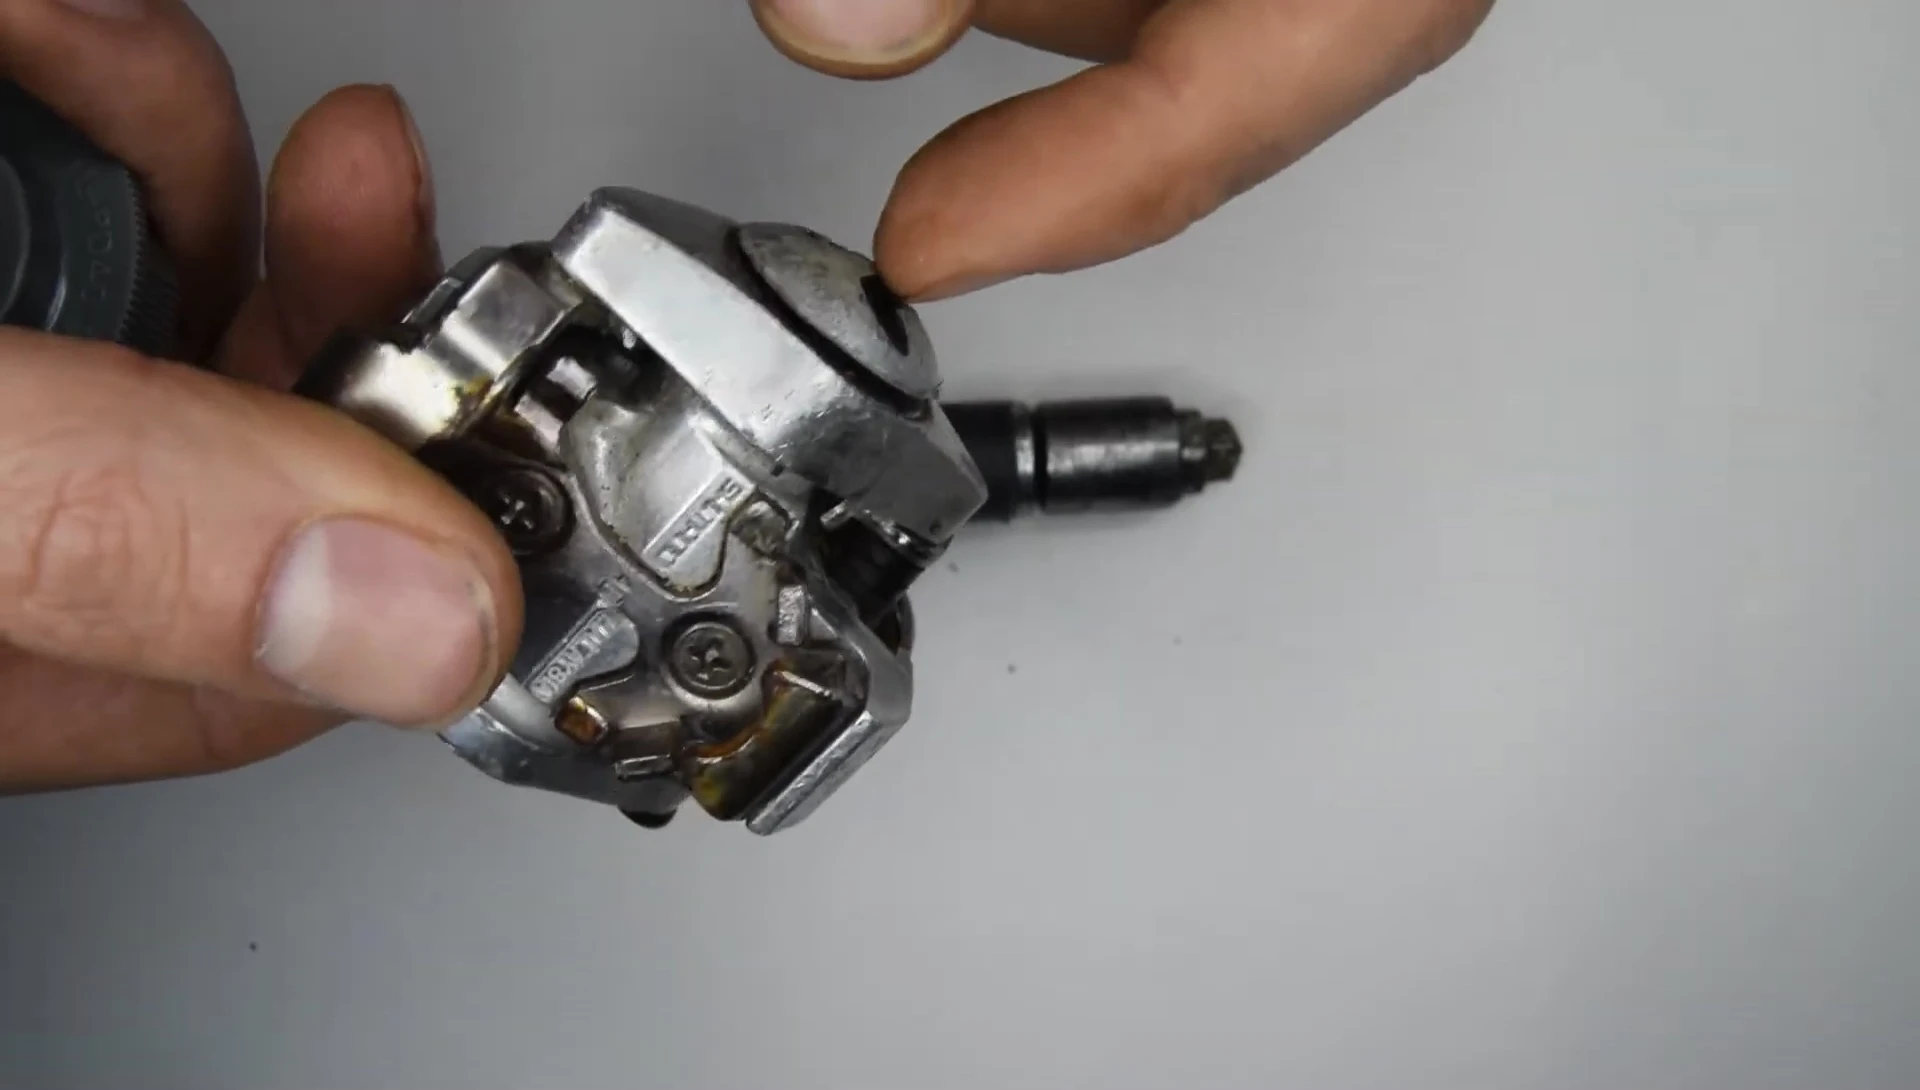
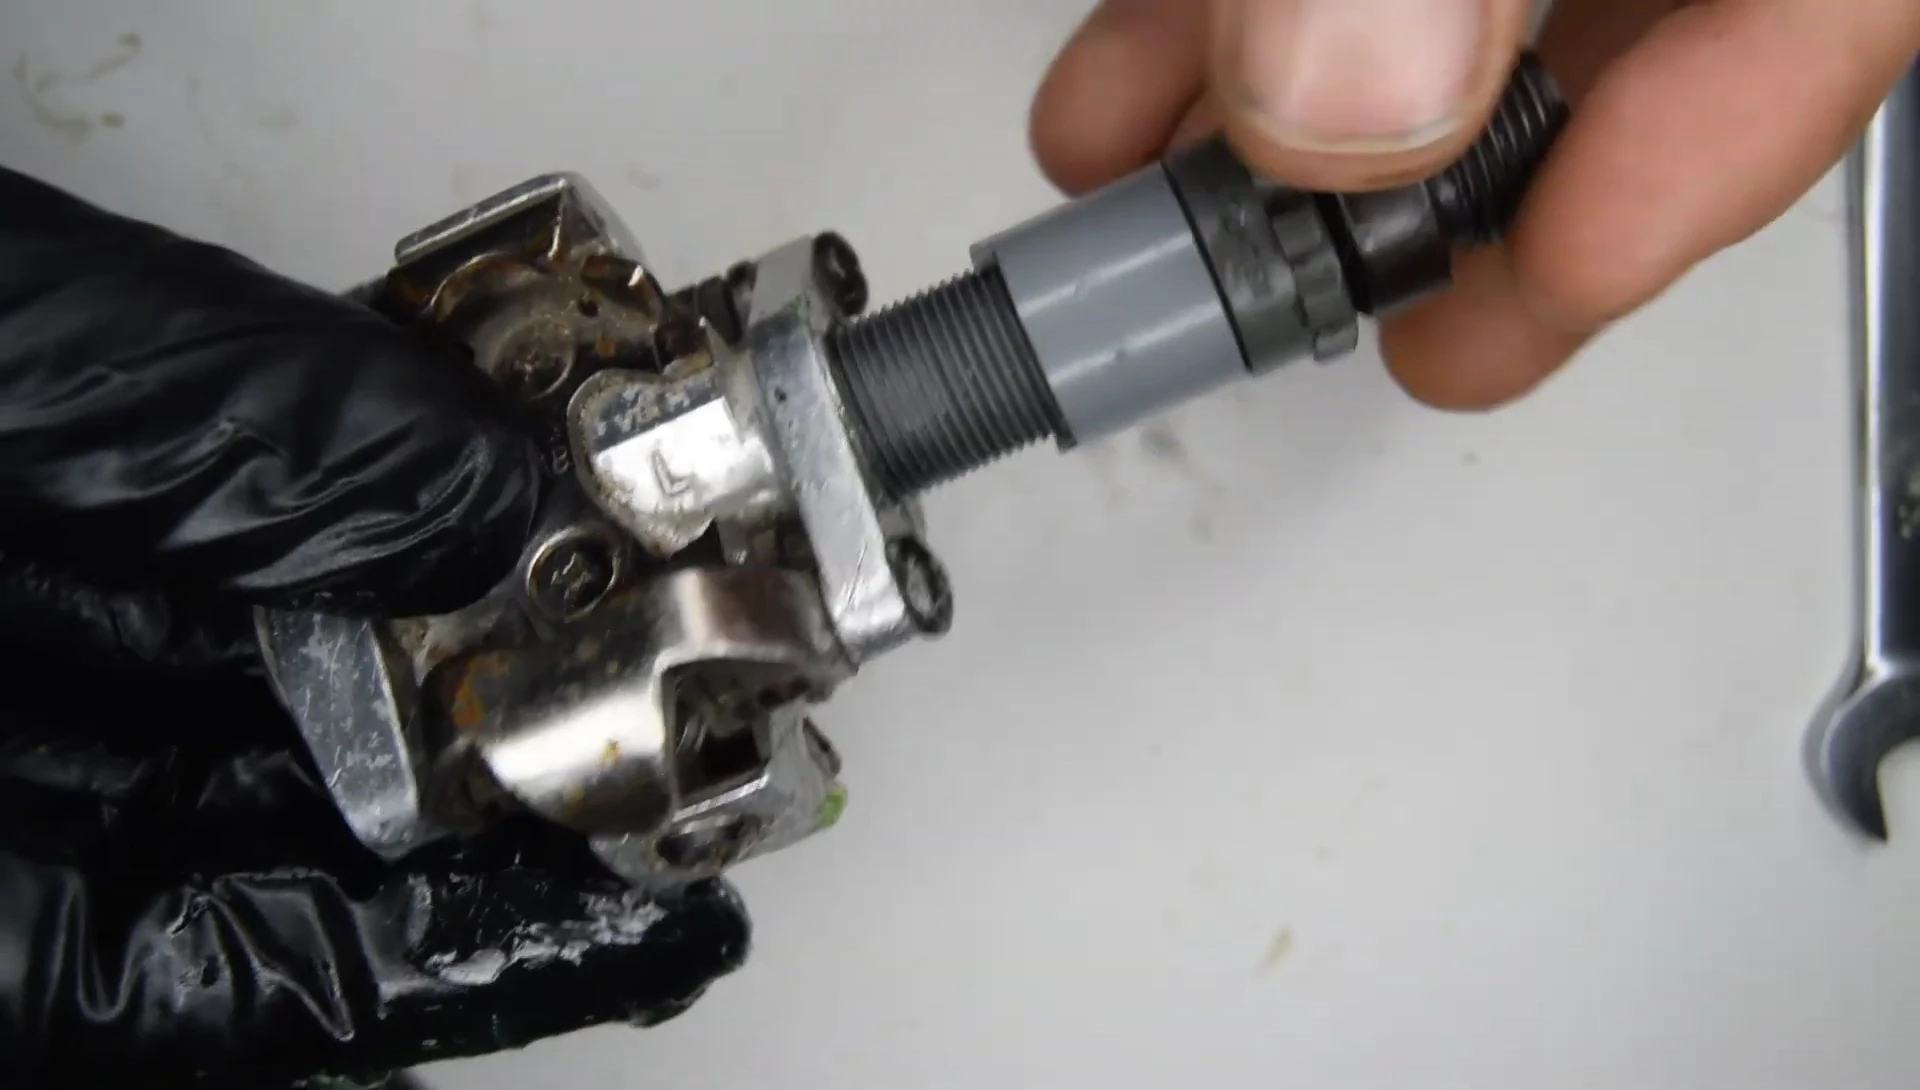
Once all components are reassembled and properly tightened, install the pedal body. Apply grease to the threads to aid smooth installation.
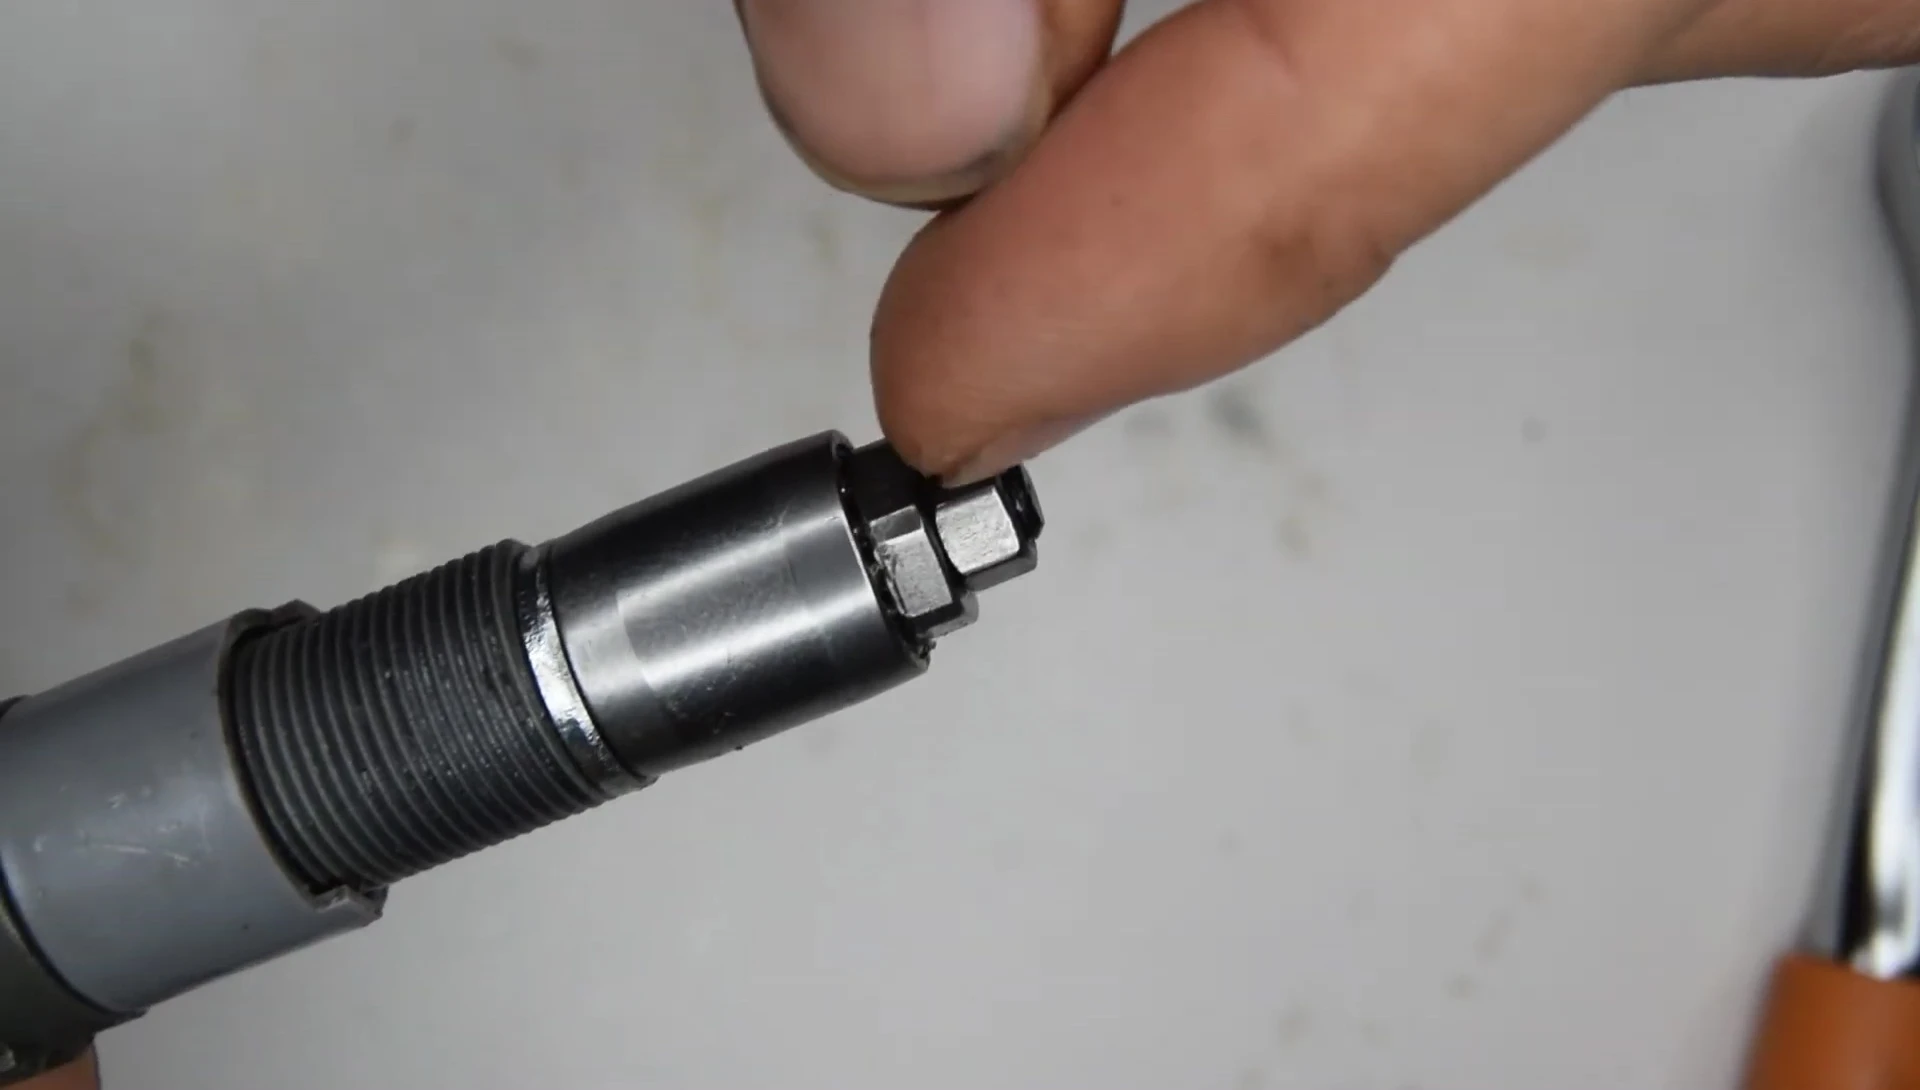
Screw the axle tightly into the pedal body, ensuring it fully engages with the retaining slots. The pedals should spin freely with no play.
Test the functionality of the pedals by attaching them to your shoes. If everything is working as expected, your SPD pedals are now serviced and ready to use.