This guide provides a step-by-step tutorial on installing FOX 36/38 mudguards, covering both standard and XL versions. These mudguards are compatible with all 2021 and later FOX 36 and 38 forks, offering superior protection against trail debris. We'll walk you through the entire process, from gathering the necessary tools and preparing your fork, to securing the mudguard and reinstalling your front wheel. Whether you're a seasoned mechanic or a novice, this guide will empower you to quickly and efficiently install this valuable accessory.The installation process is straightforward, requiring common tools and a little patience. We'll cover specific instructions for different FOX fork models, highlighting crucial steps to ensure a secure and leak-free fit. This guide aims to make the mudguard installation a seamless experience, maximizing the benefits of this essential upgrade for your FOX 36/38 fork. Enhance your riding experience and protect your valuable equipment with this easy-to-follow installation guide.
Read more: 5 Best Child Bike Fenders to Keep Your Little One Dry
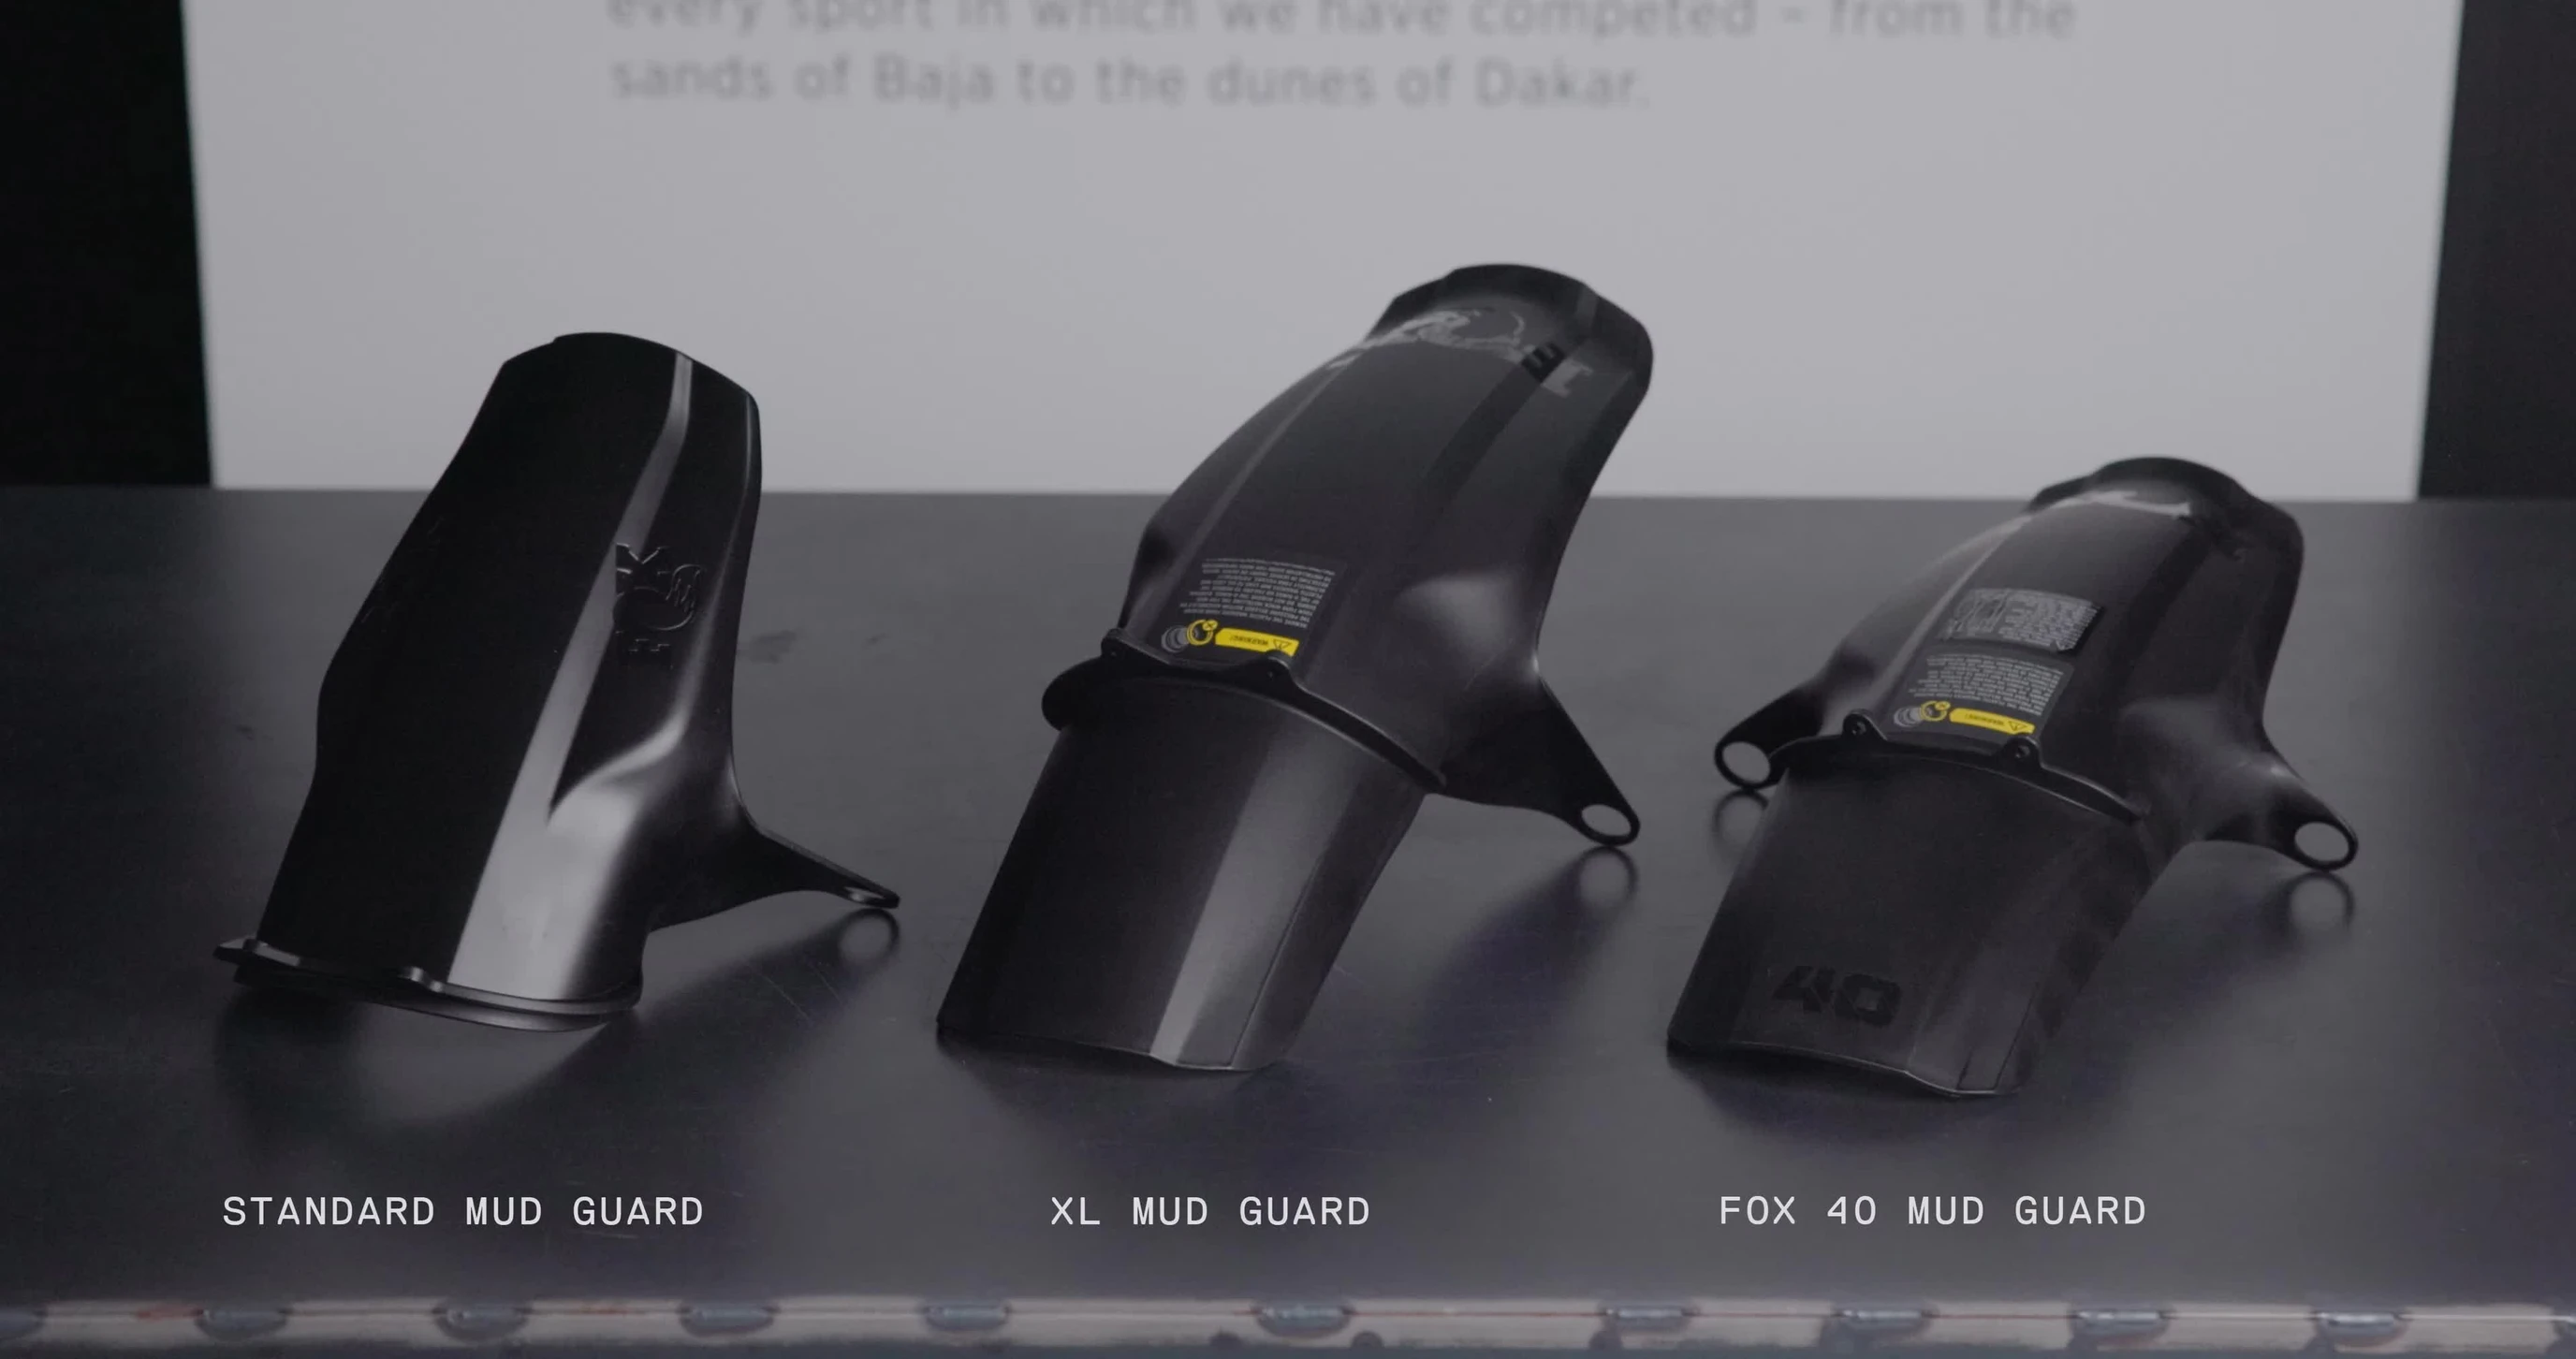
Compatibility and Tools
The FOX 36 and 38 mudguards (both standard and XL) share the same mounting points and are compatible with all 2021 and newer FOX 36 and 38 forks. The FOX 40 mudguard, however, only fits 2021 and newer FOX 40 forks. Remember that the guards aren't interchangeable between different FOX fork models.
Before starting, gather the necessary tools: a 13mm socket, a 2mm hex wrench, a 5mm hex wrench, a ratchet, a seal pick, and a torque wrench. While not mandatory, removing the front wheel simplifies access to the fork.
It's crucial to ensure both your fork and bike are clean before installation to prevent debris from entering the fork during the process. This will help ensure a smoother and more efficient installation.

Preparing the Fork
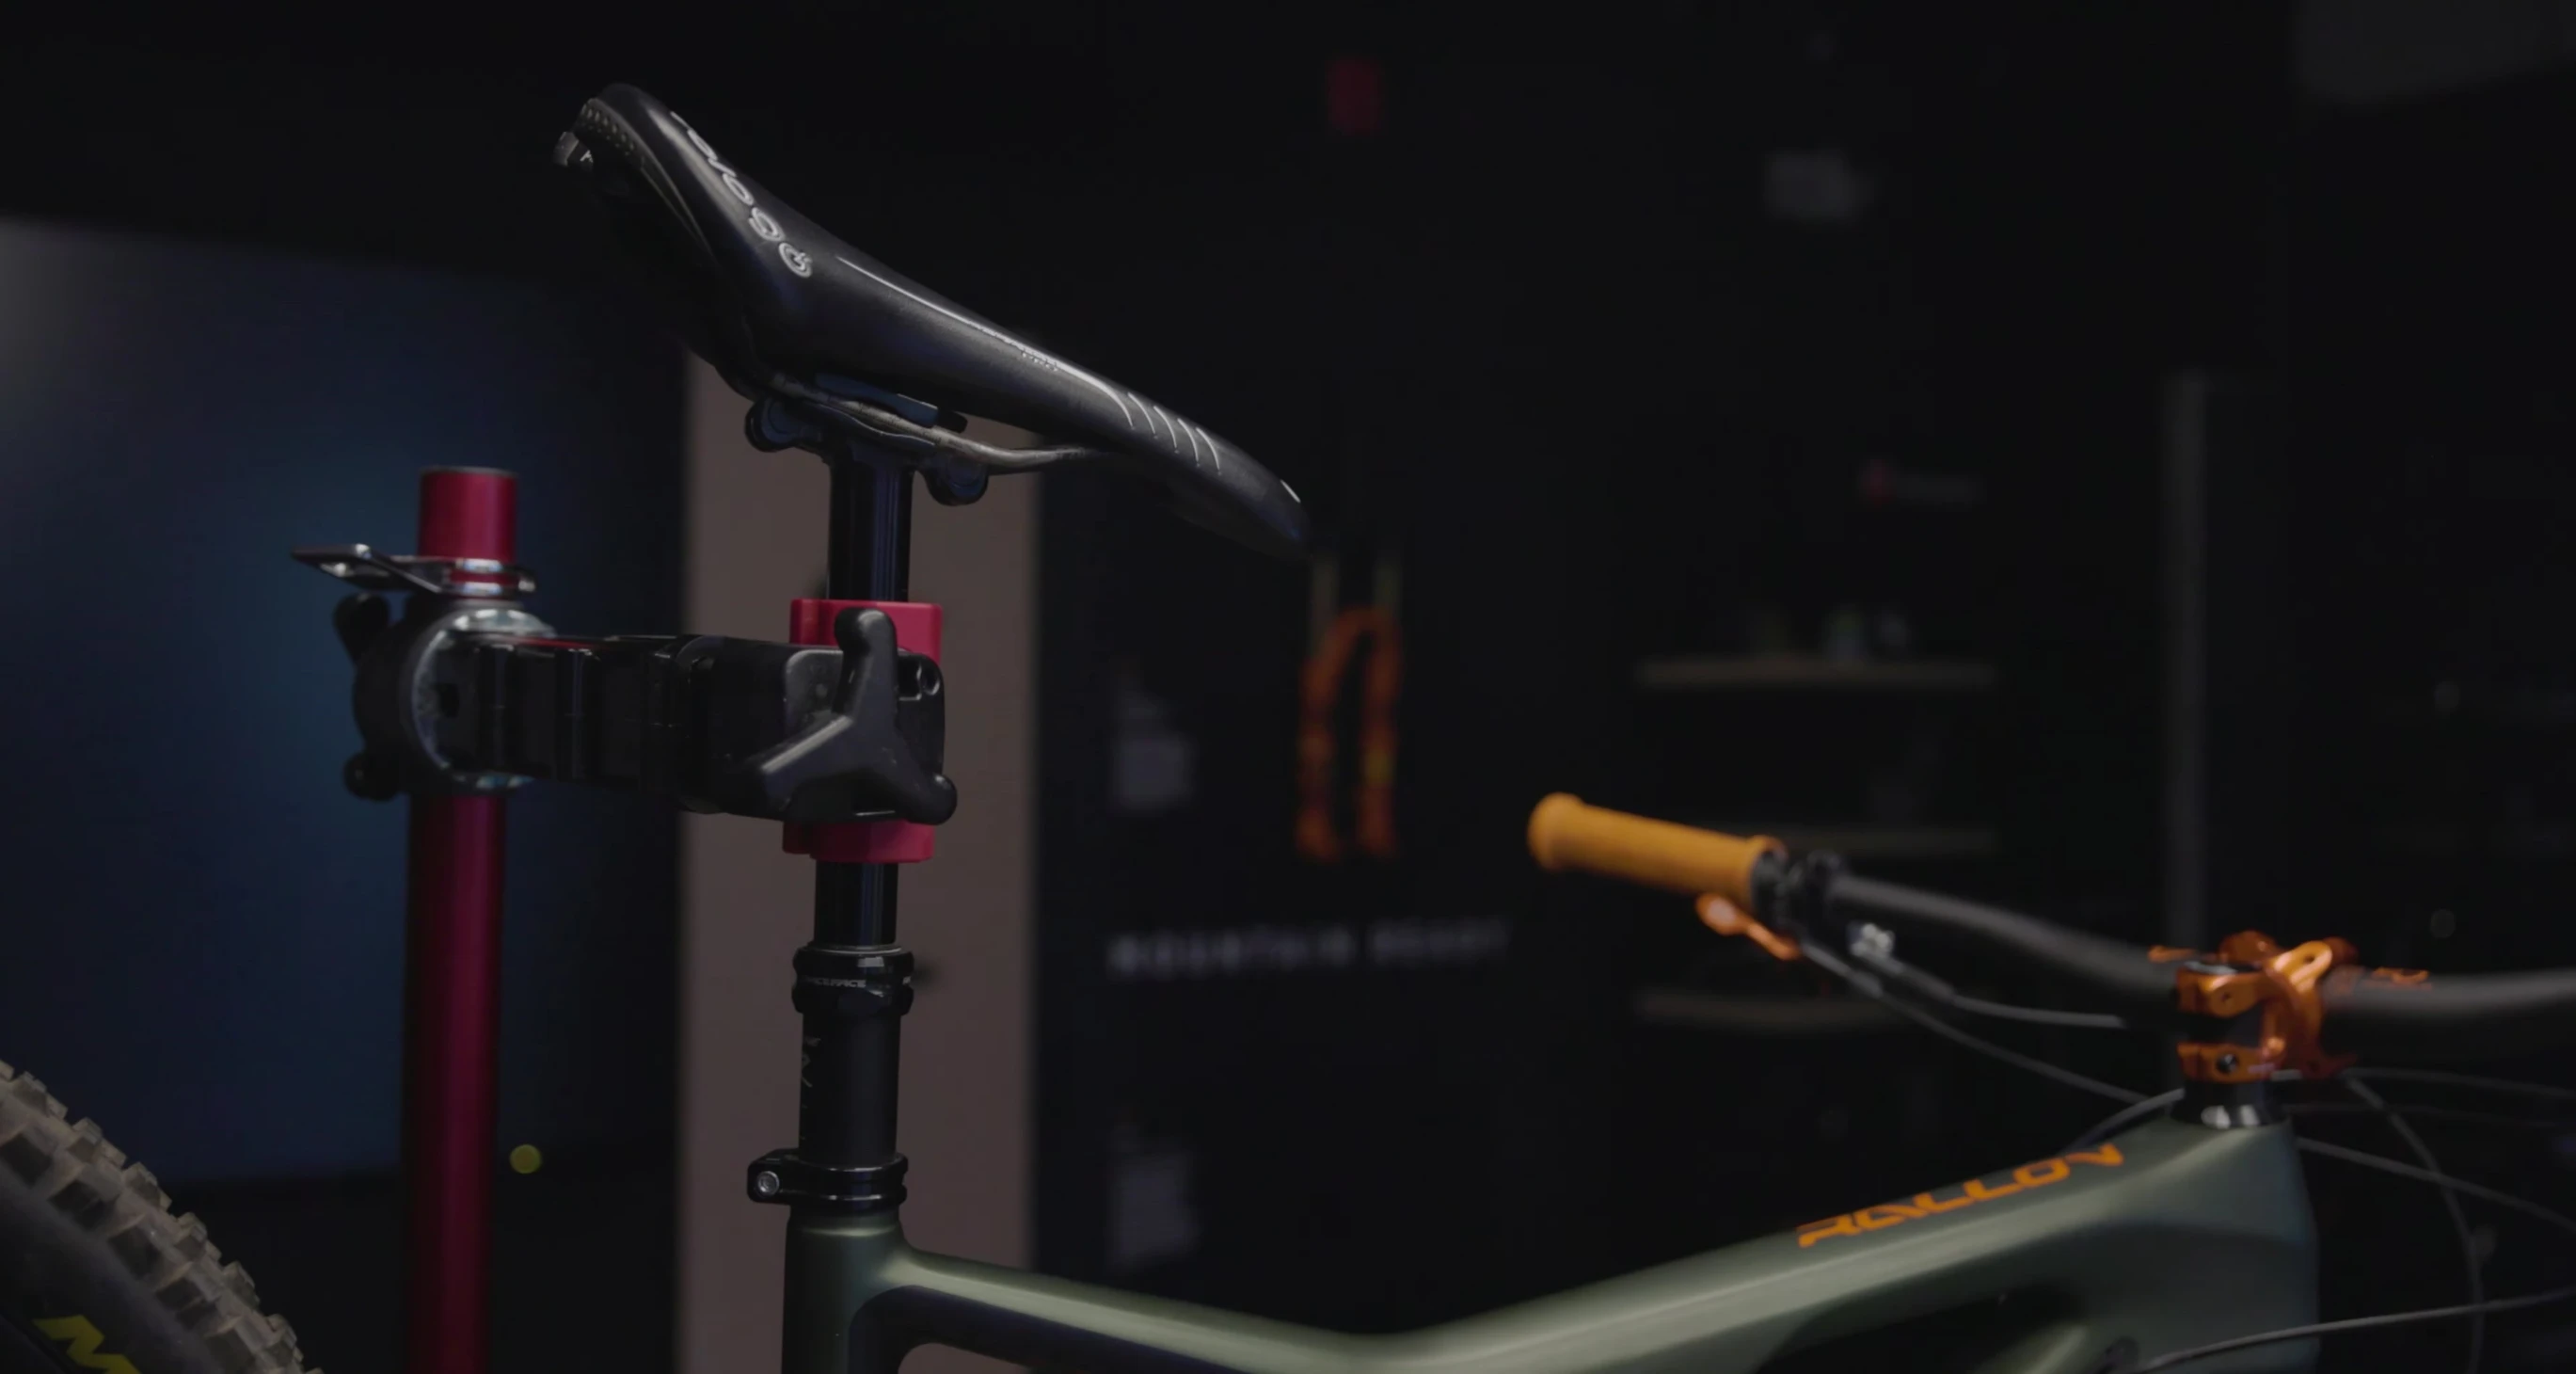
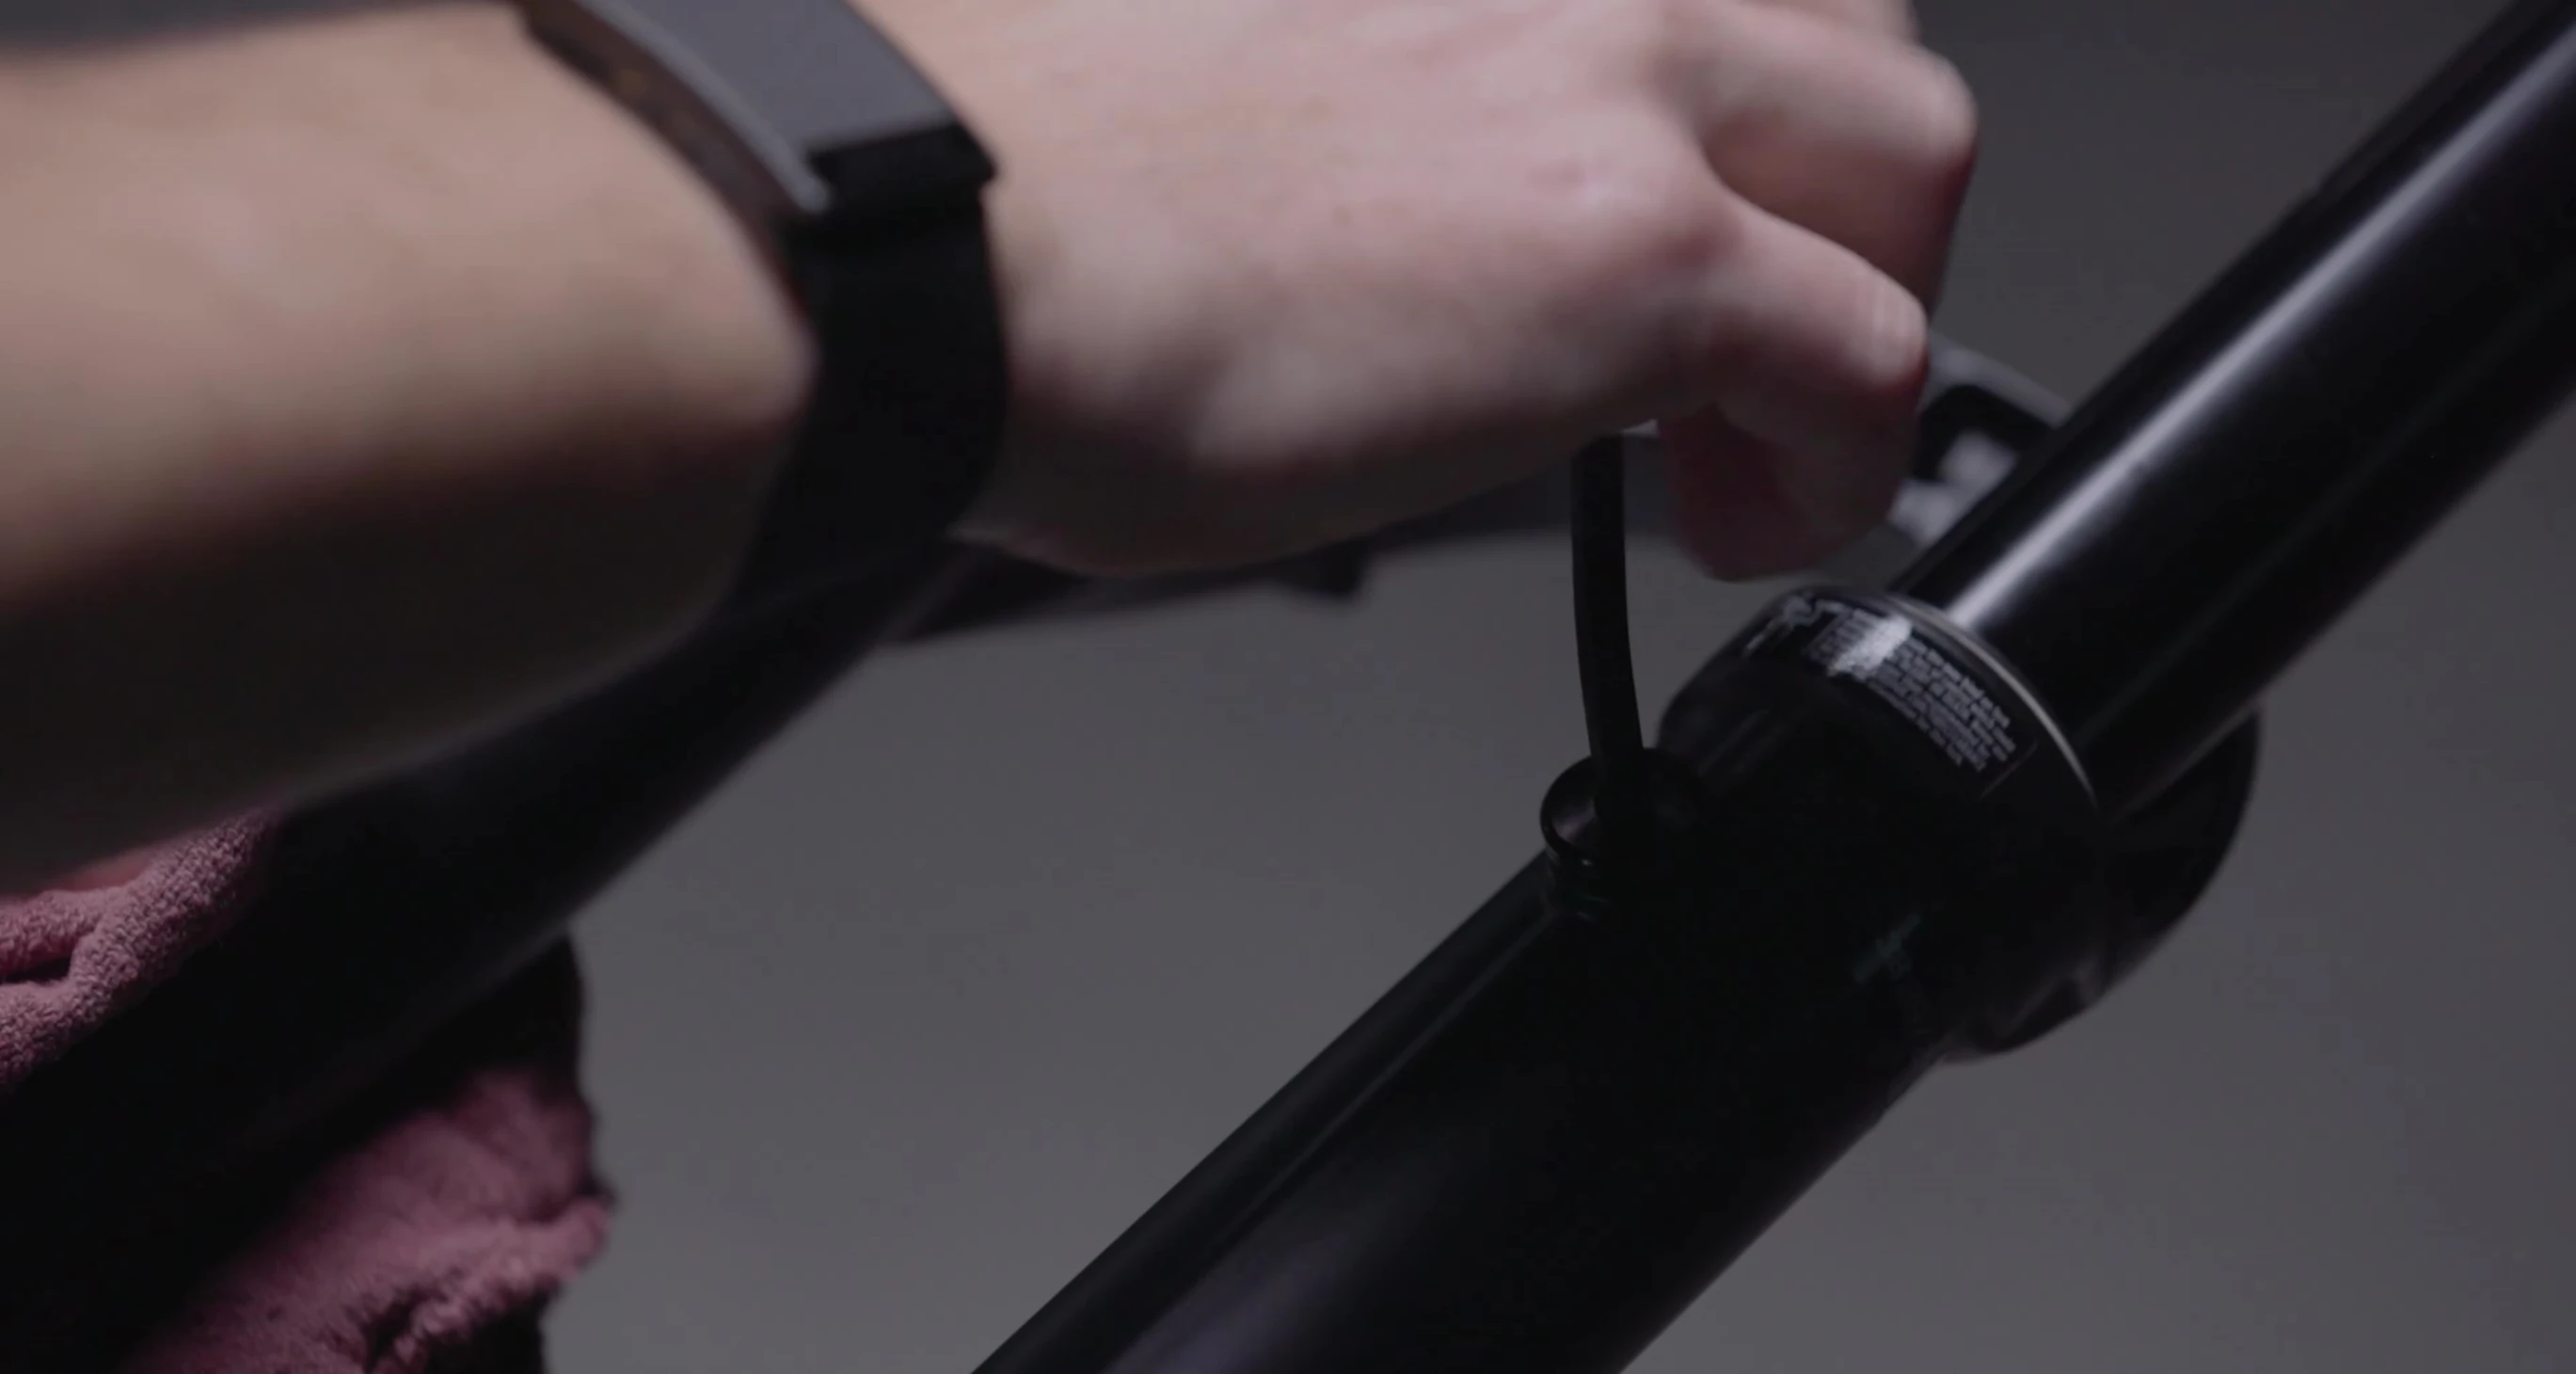
Secure your fork in a bike stand or ensure it’s firmly attached to your bike. Orient the fork with the pressure release buttons or plugs facing upwards to minimize the risk of oil leaks.
Release the air pressure from the pressure release buttons. Some slight oil leakage is expected and normal, but if you experience significant oil loss, contact your nearest FOX service center immediately.

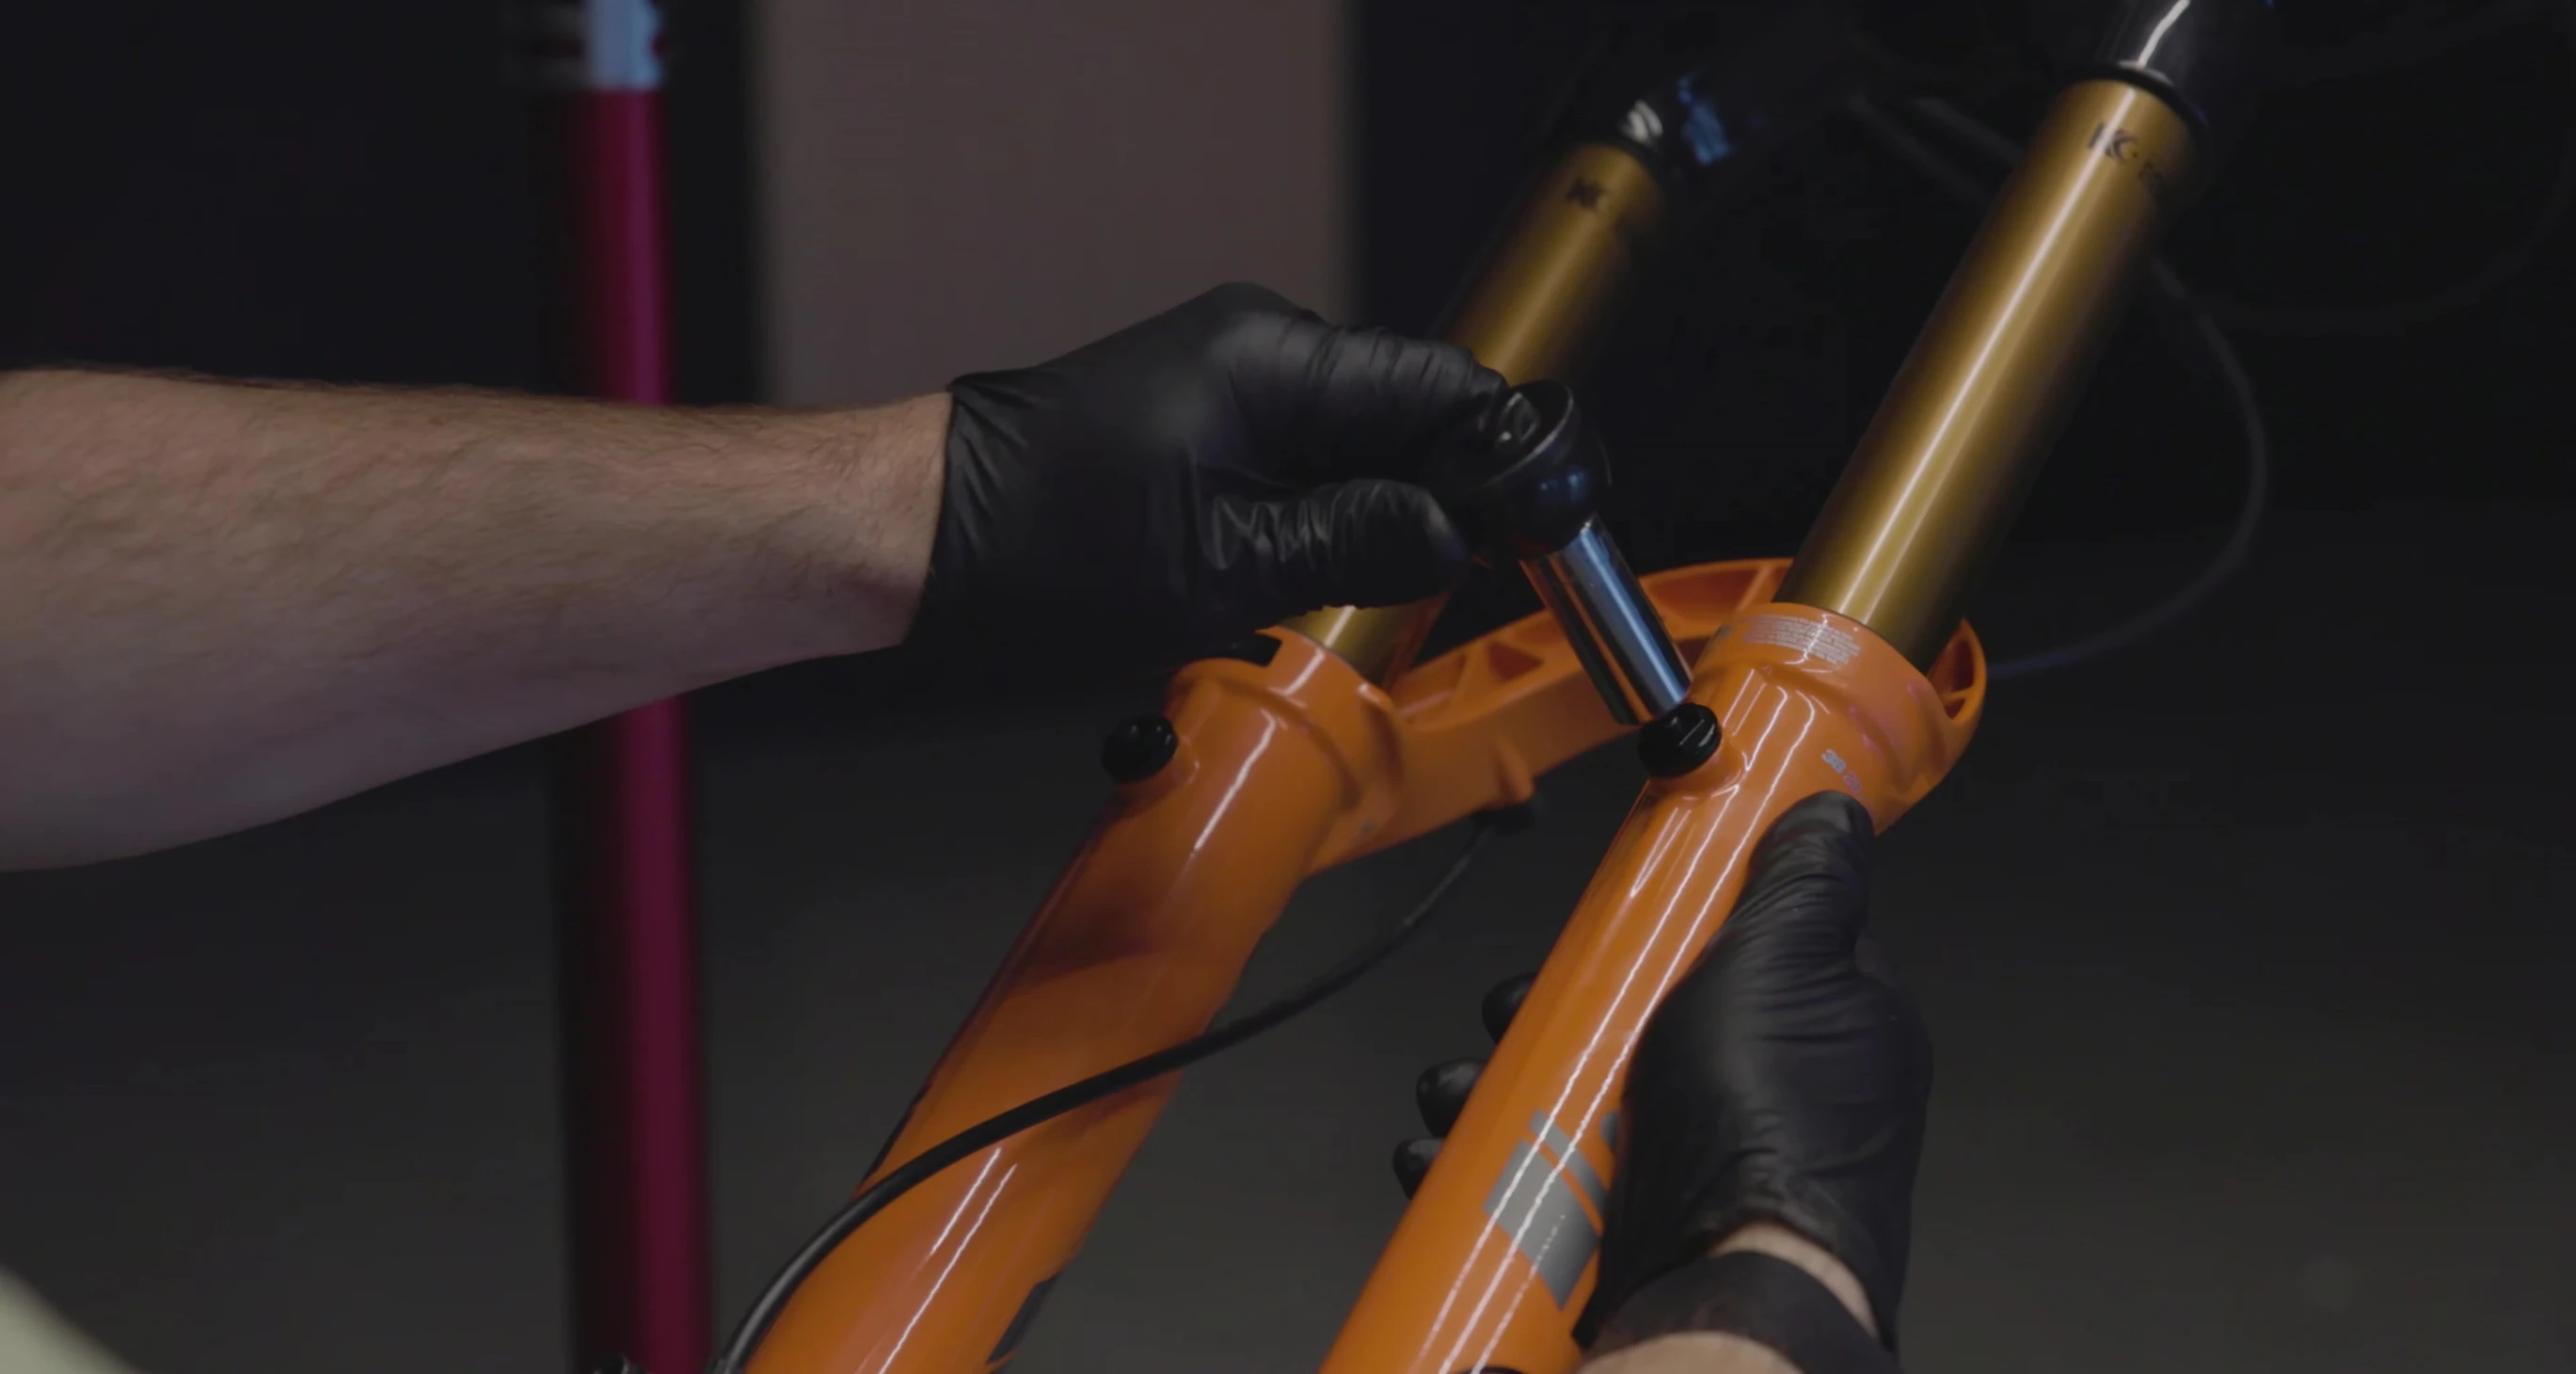
After releasing air pressure, unscrew the pressure release button assembly counter-clockwise using the 13mm socket and ratchet. Ensure the socket is fully flush with the bleeder to avoid damaging it.
Installing the Mudguard
For FOX 36 or 38 Performance Series forks, use a 5mm hex wrench to remove the pressure release plug counter-clockwise. Remove the spacer from the pressure release button or plug assembly.
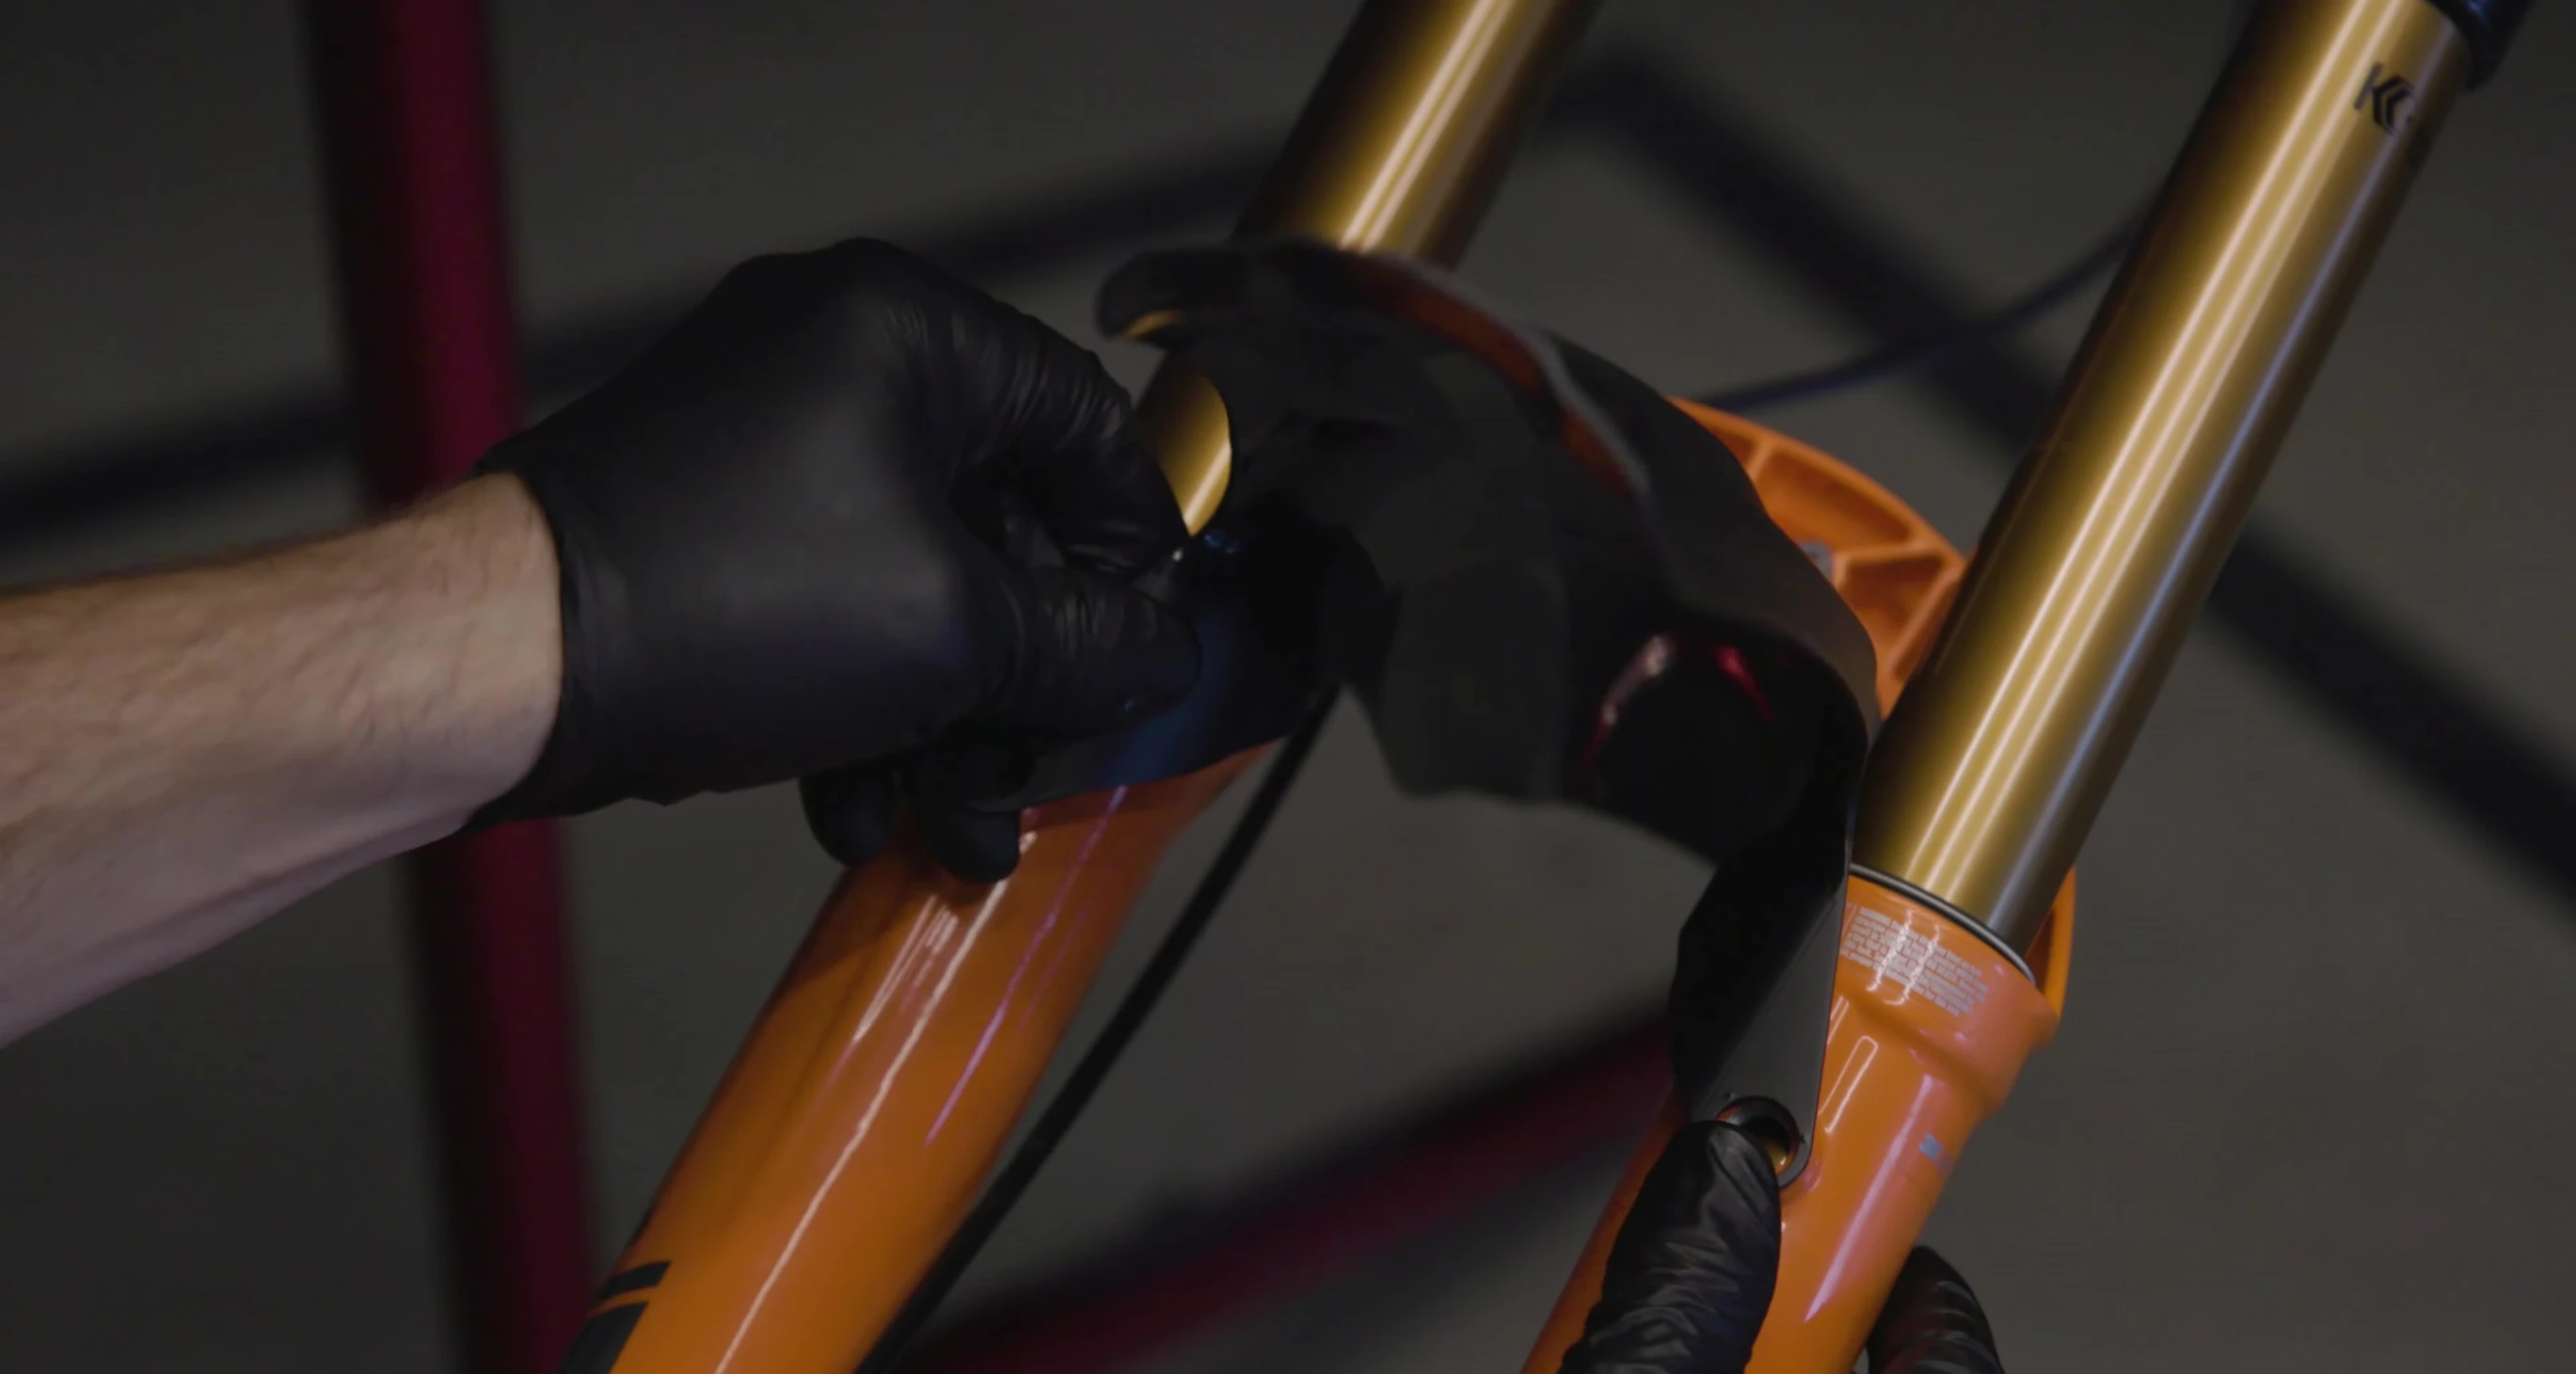
Position the mudguard so the large holes align with the pressure release ports and the smaller holes align with the threaded holes on the back of the lower leg brace.
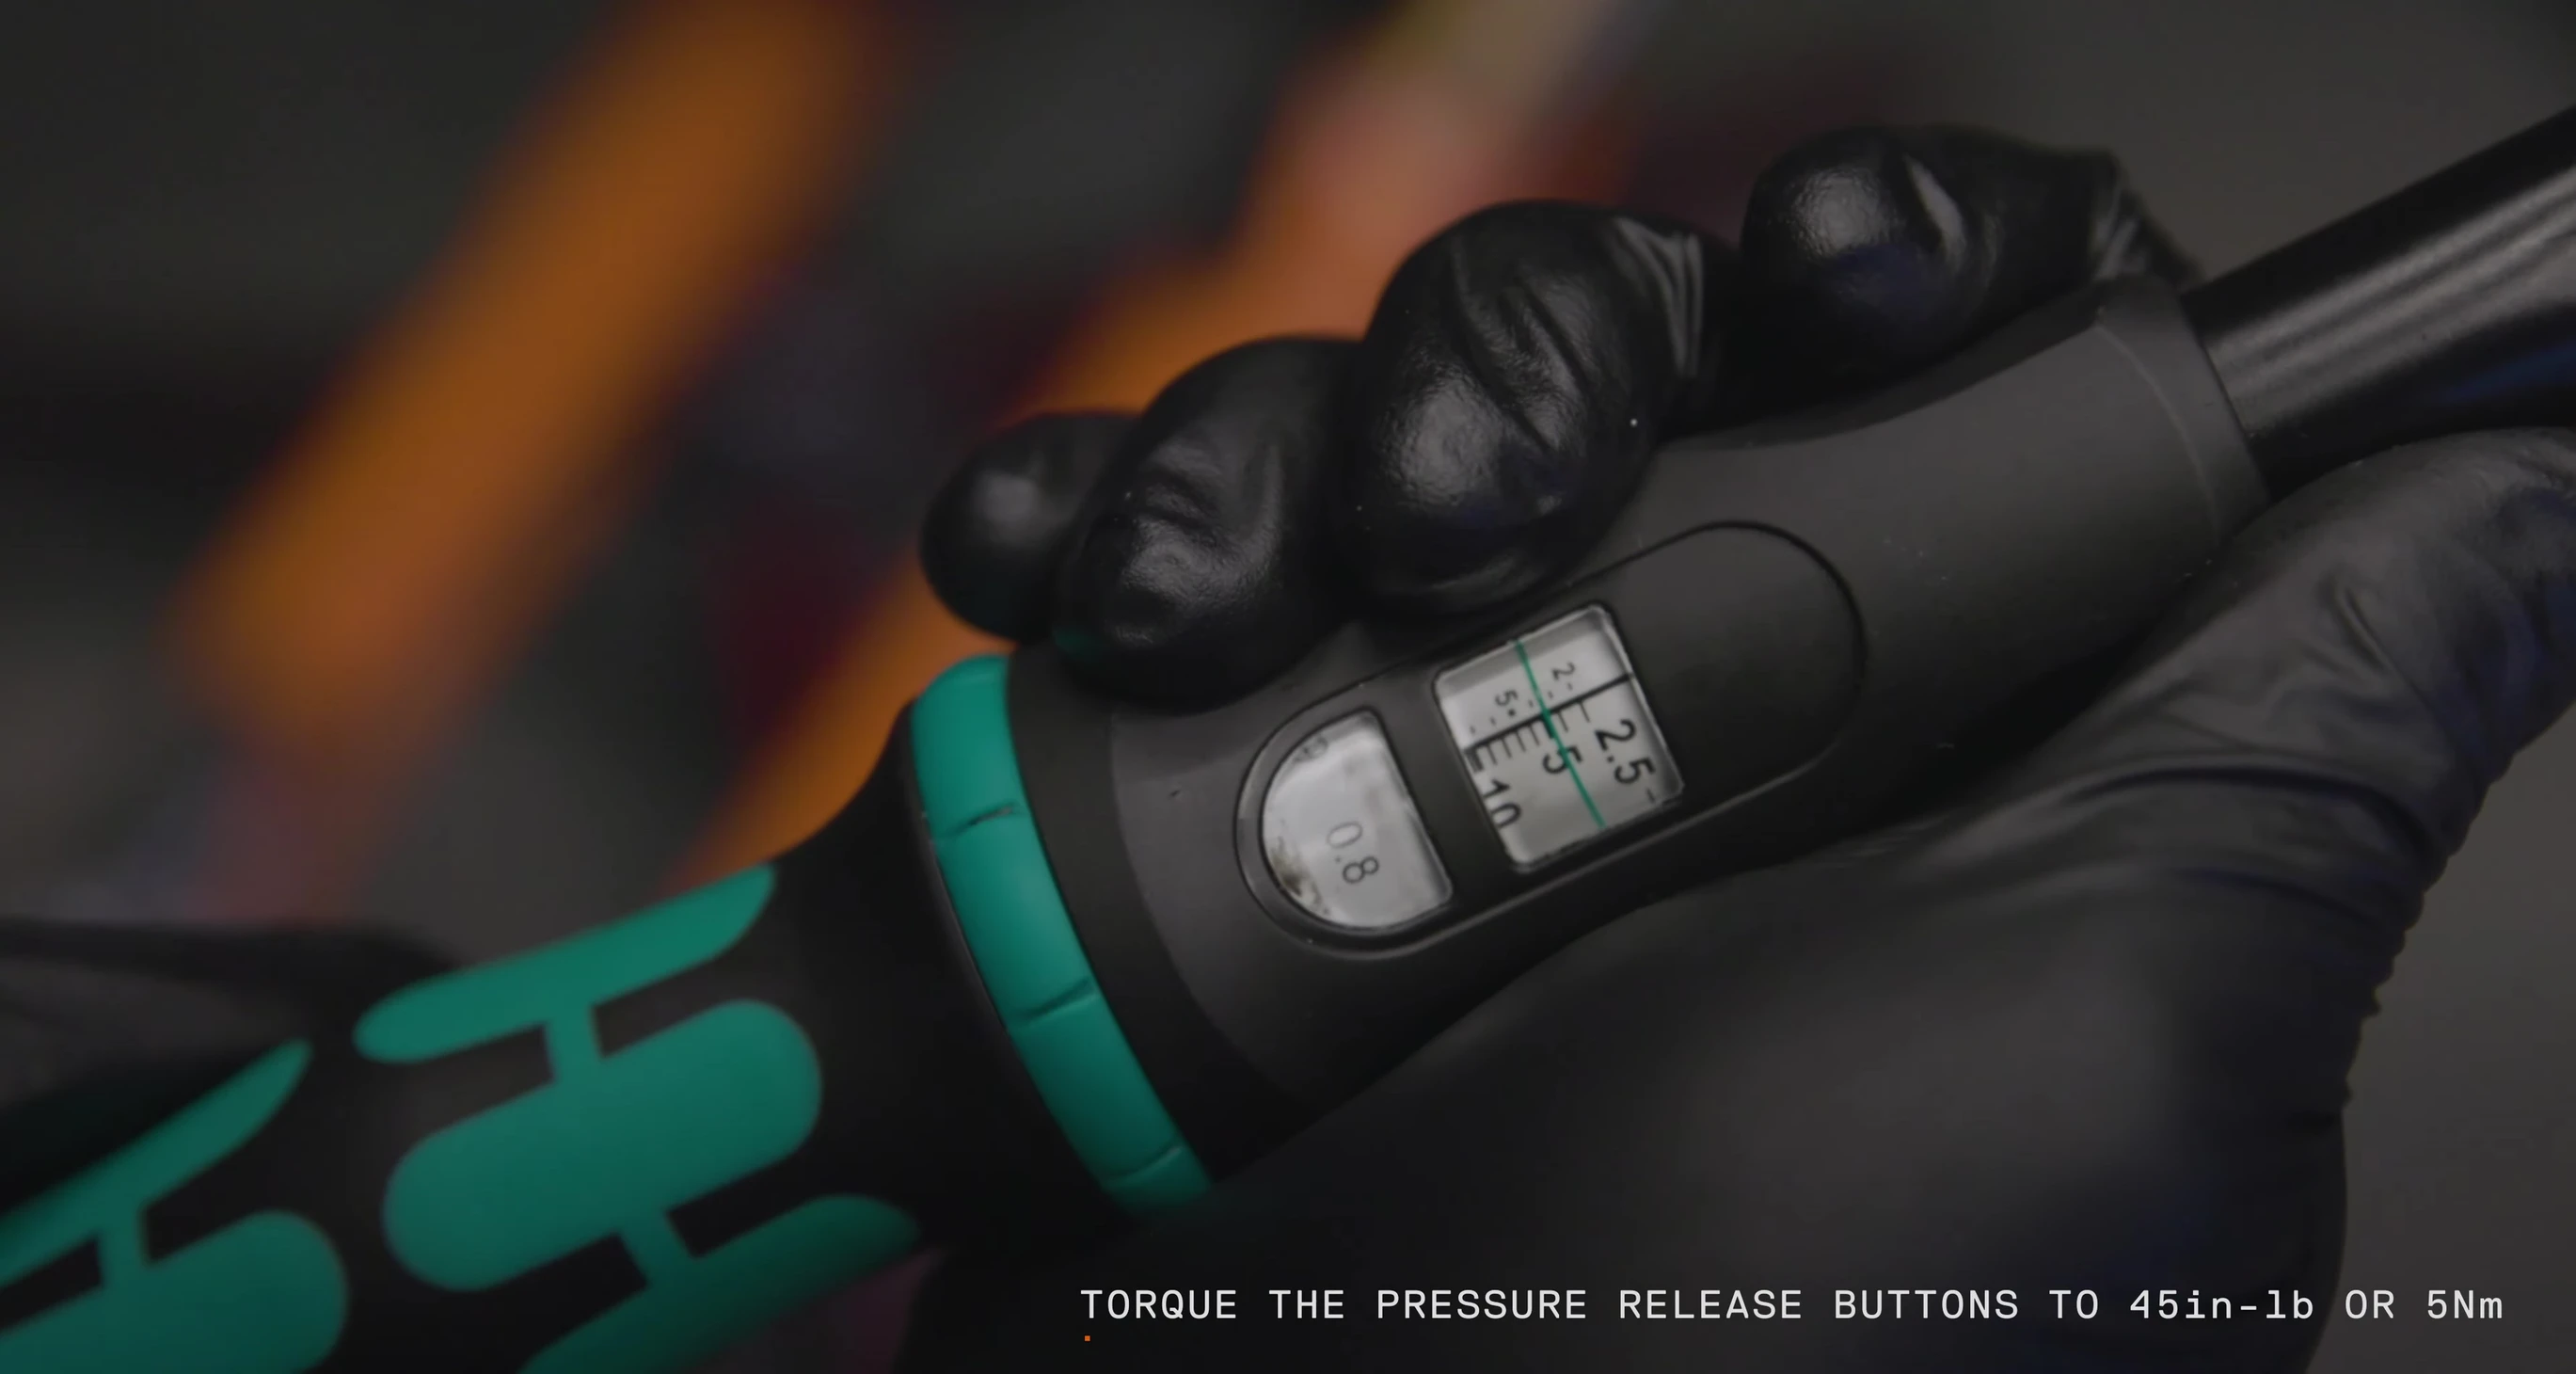
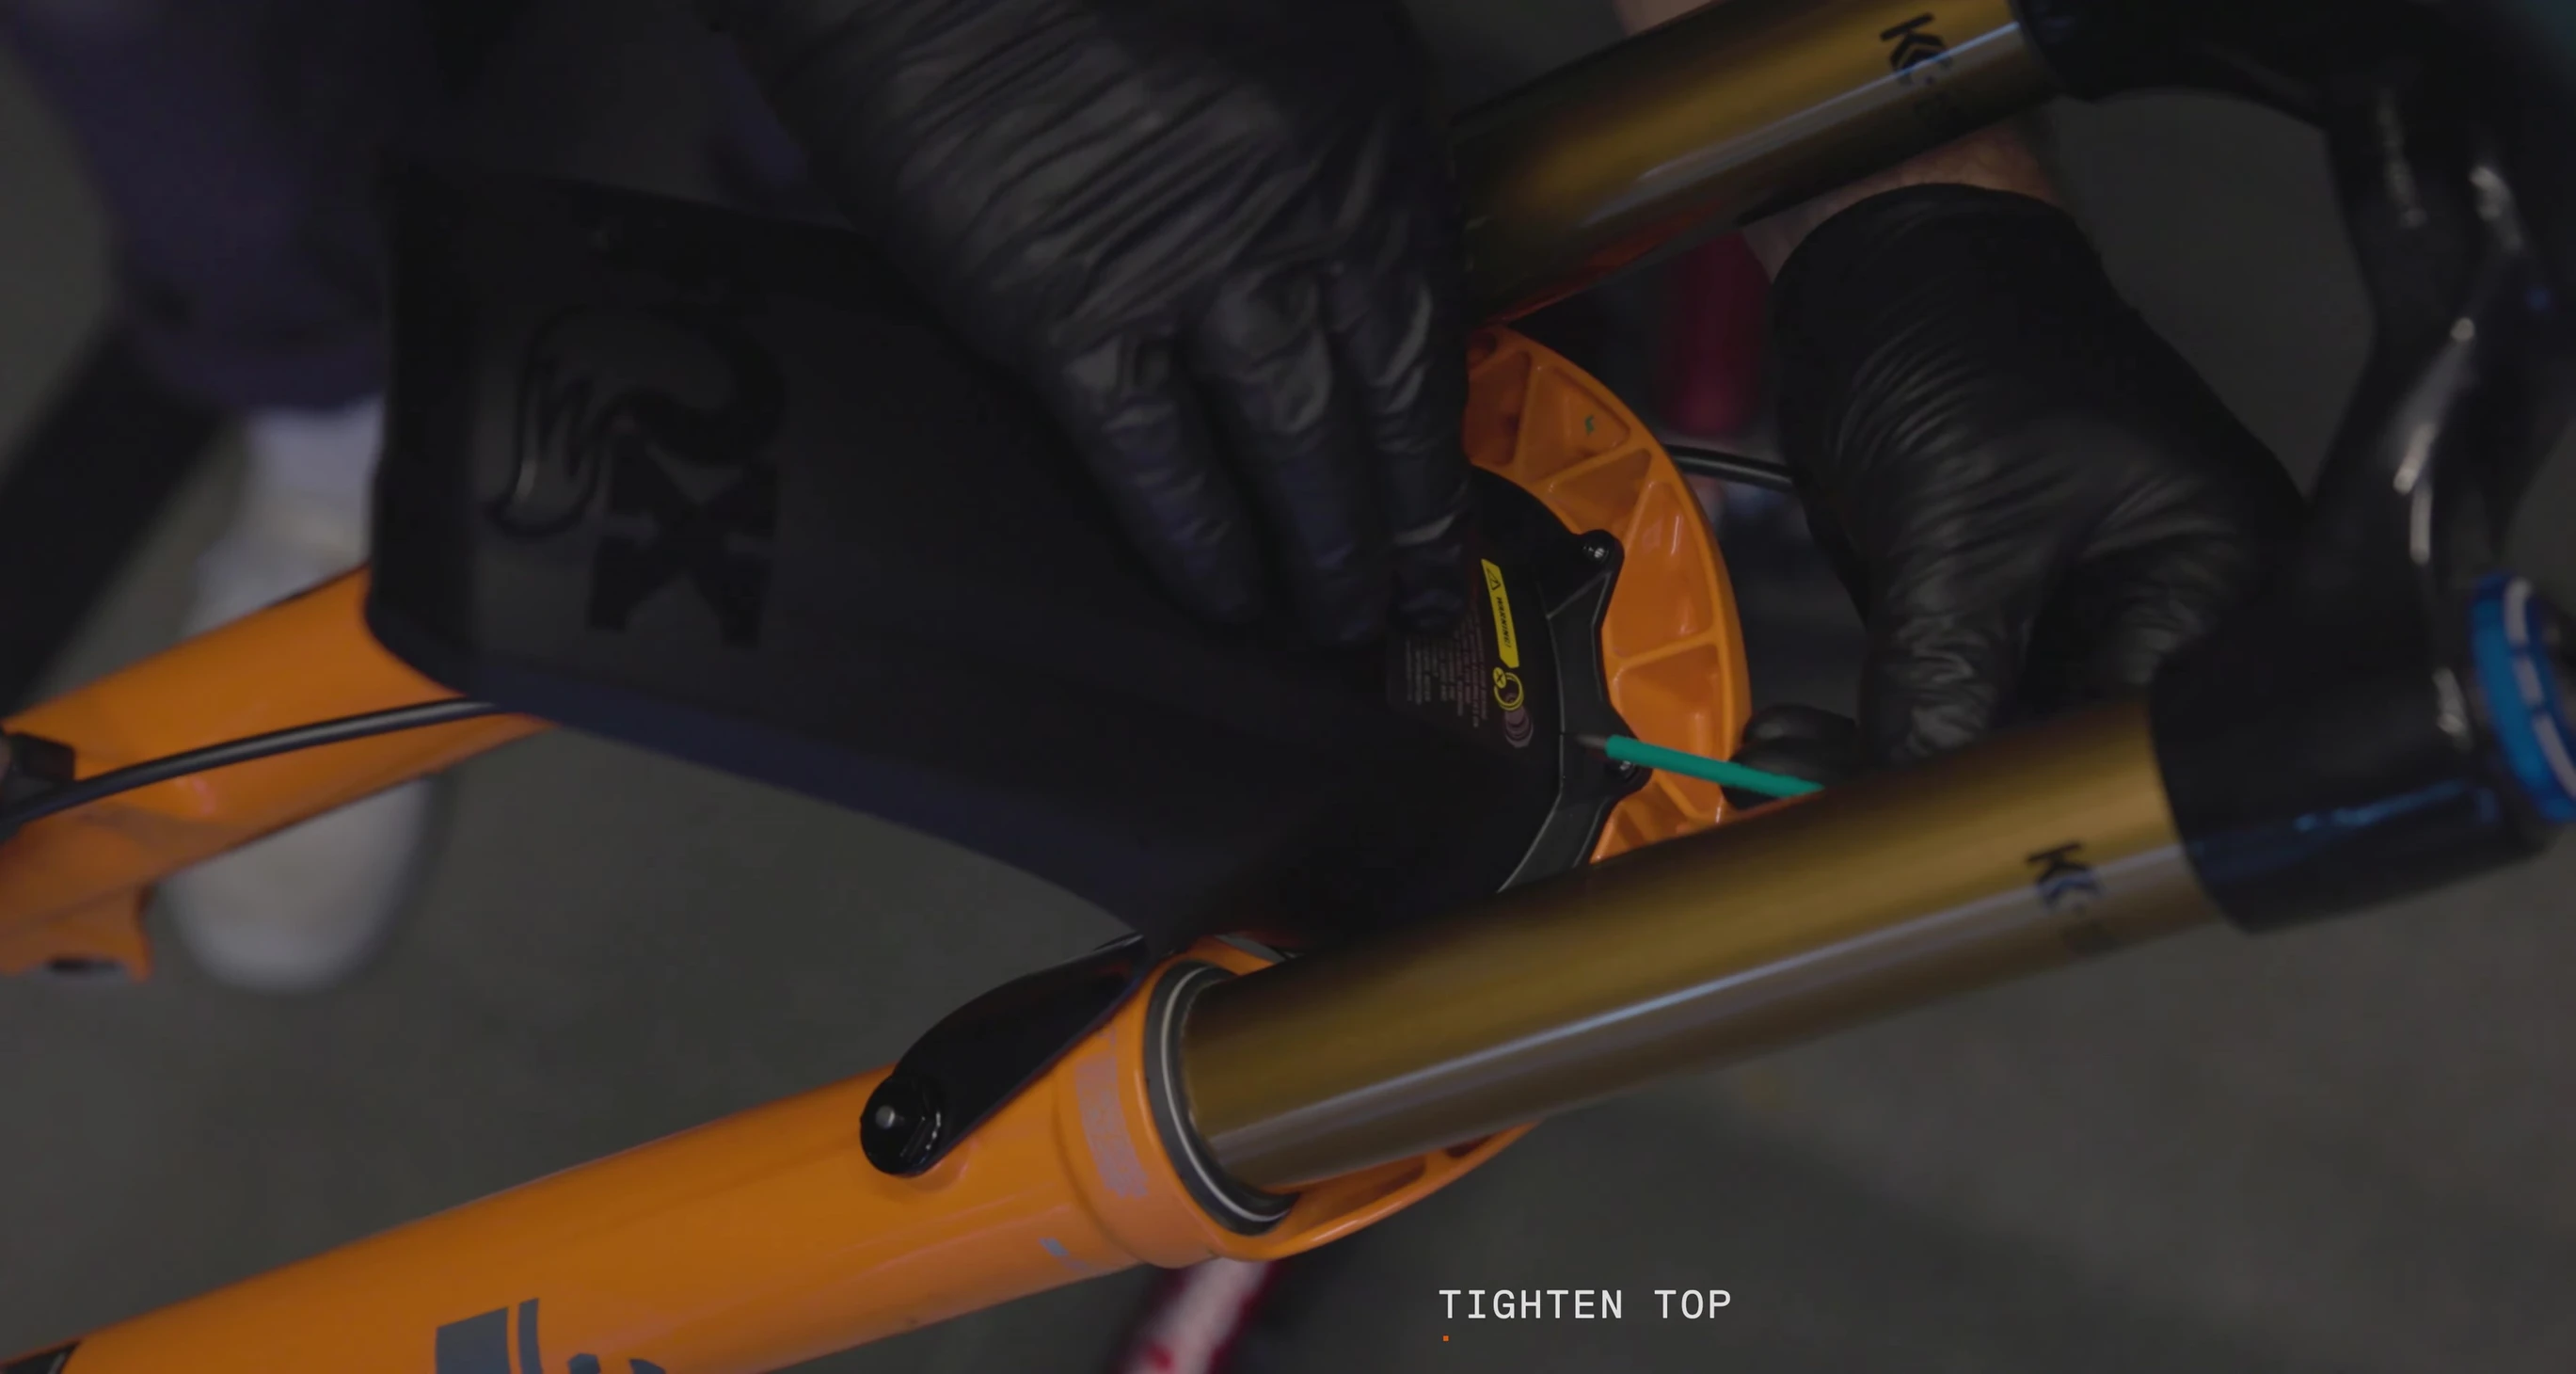
Torque the screws (using the 2mm hex wrench) into the small holes of the mudguard and into the lower fork leg brace clockwise to 4.5 inch-pounds (0.5 Newton meters). Then torque the pressure release buttons or plugs to 45 inch-pounds (5 Newton meters).
Final Steps and Conclusion
Once all four mudguard mounting points are secured, reinstall the front wheel following the manufacturer's instructions.
The FOX 36/38 mudguard installation is now complete. This simple yet effective mudguard provides excellent protection from trail debris, enhancing your riding experience. The detailed instructions ensure easy installation, making it a worthwhile addition for any FOX 36/38 owner.

The compatibility with various FOX fork models and its robust construction make it a reliable accessory for any mountain biker looking to improve their riding conditions. The relatively easy installation makes this a worthwhile upgrade for most riders.