Upgrading your mountain bike's pedals can significantly improve your riding experience, offering enhanced stability and comfort. This review focuses on the Fooker flat pedals, a budget-friendly alternative to more expensive brands like Race Face Chester. We'll guide you through the simple process of removing your old pedals and installing the Fookers, highlighting key considerations like thread direction and tightening torque. This step-by-step guide ensures a smooth and safe installation.This detailed review covers the entire process, from unboxing and initial inspection to a real-world test ride on various terrains. We’ll assess the Fooker pedals' performance, durability, and overall value, comparing them directly to the popular Race Face Chester pedals. Discover if these affordable alternatives offer the same performance as their higher-priced competitors, and whether they are the right choice for your riding needs and budget.
Pros And Cons
- Significantly wider than default pedals, providing more foot space.
- Cheaper than comparable pedals (e.g., Race Face Chester pedals).
- Does not spin as smoothly as it should (possibly due to dirt or bearing issues).
- Unspecified brand; described as a "high-quality Chinese product".
Read more: 5 Best Child Bike Pedals for Smooth Rides
Removing the Default Pedals
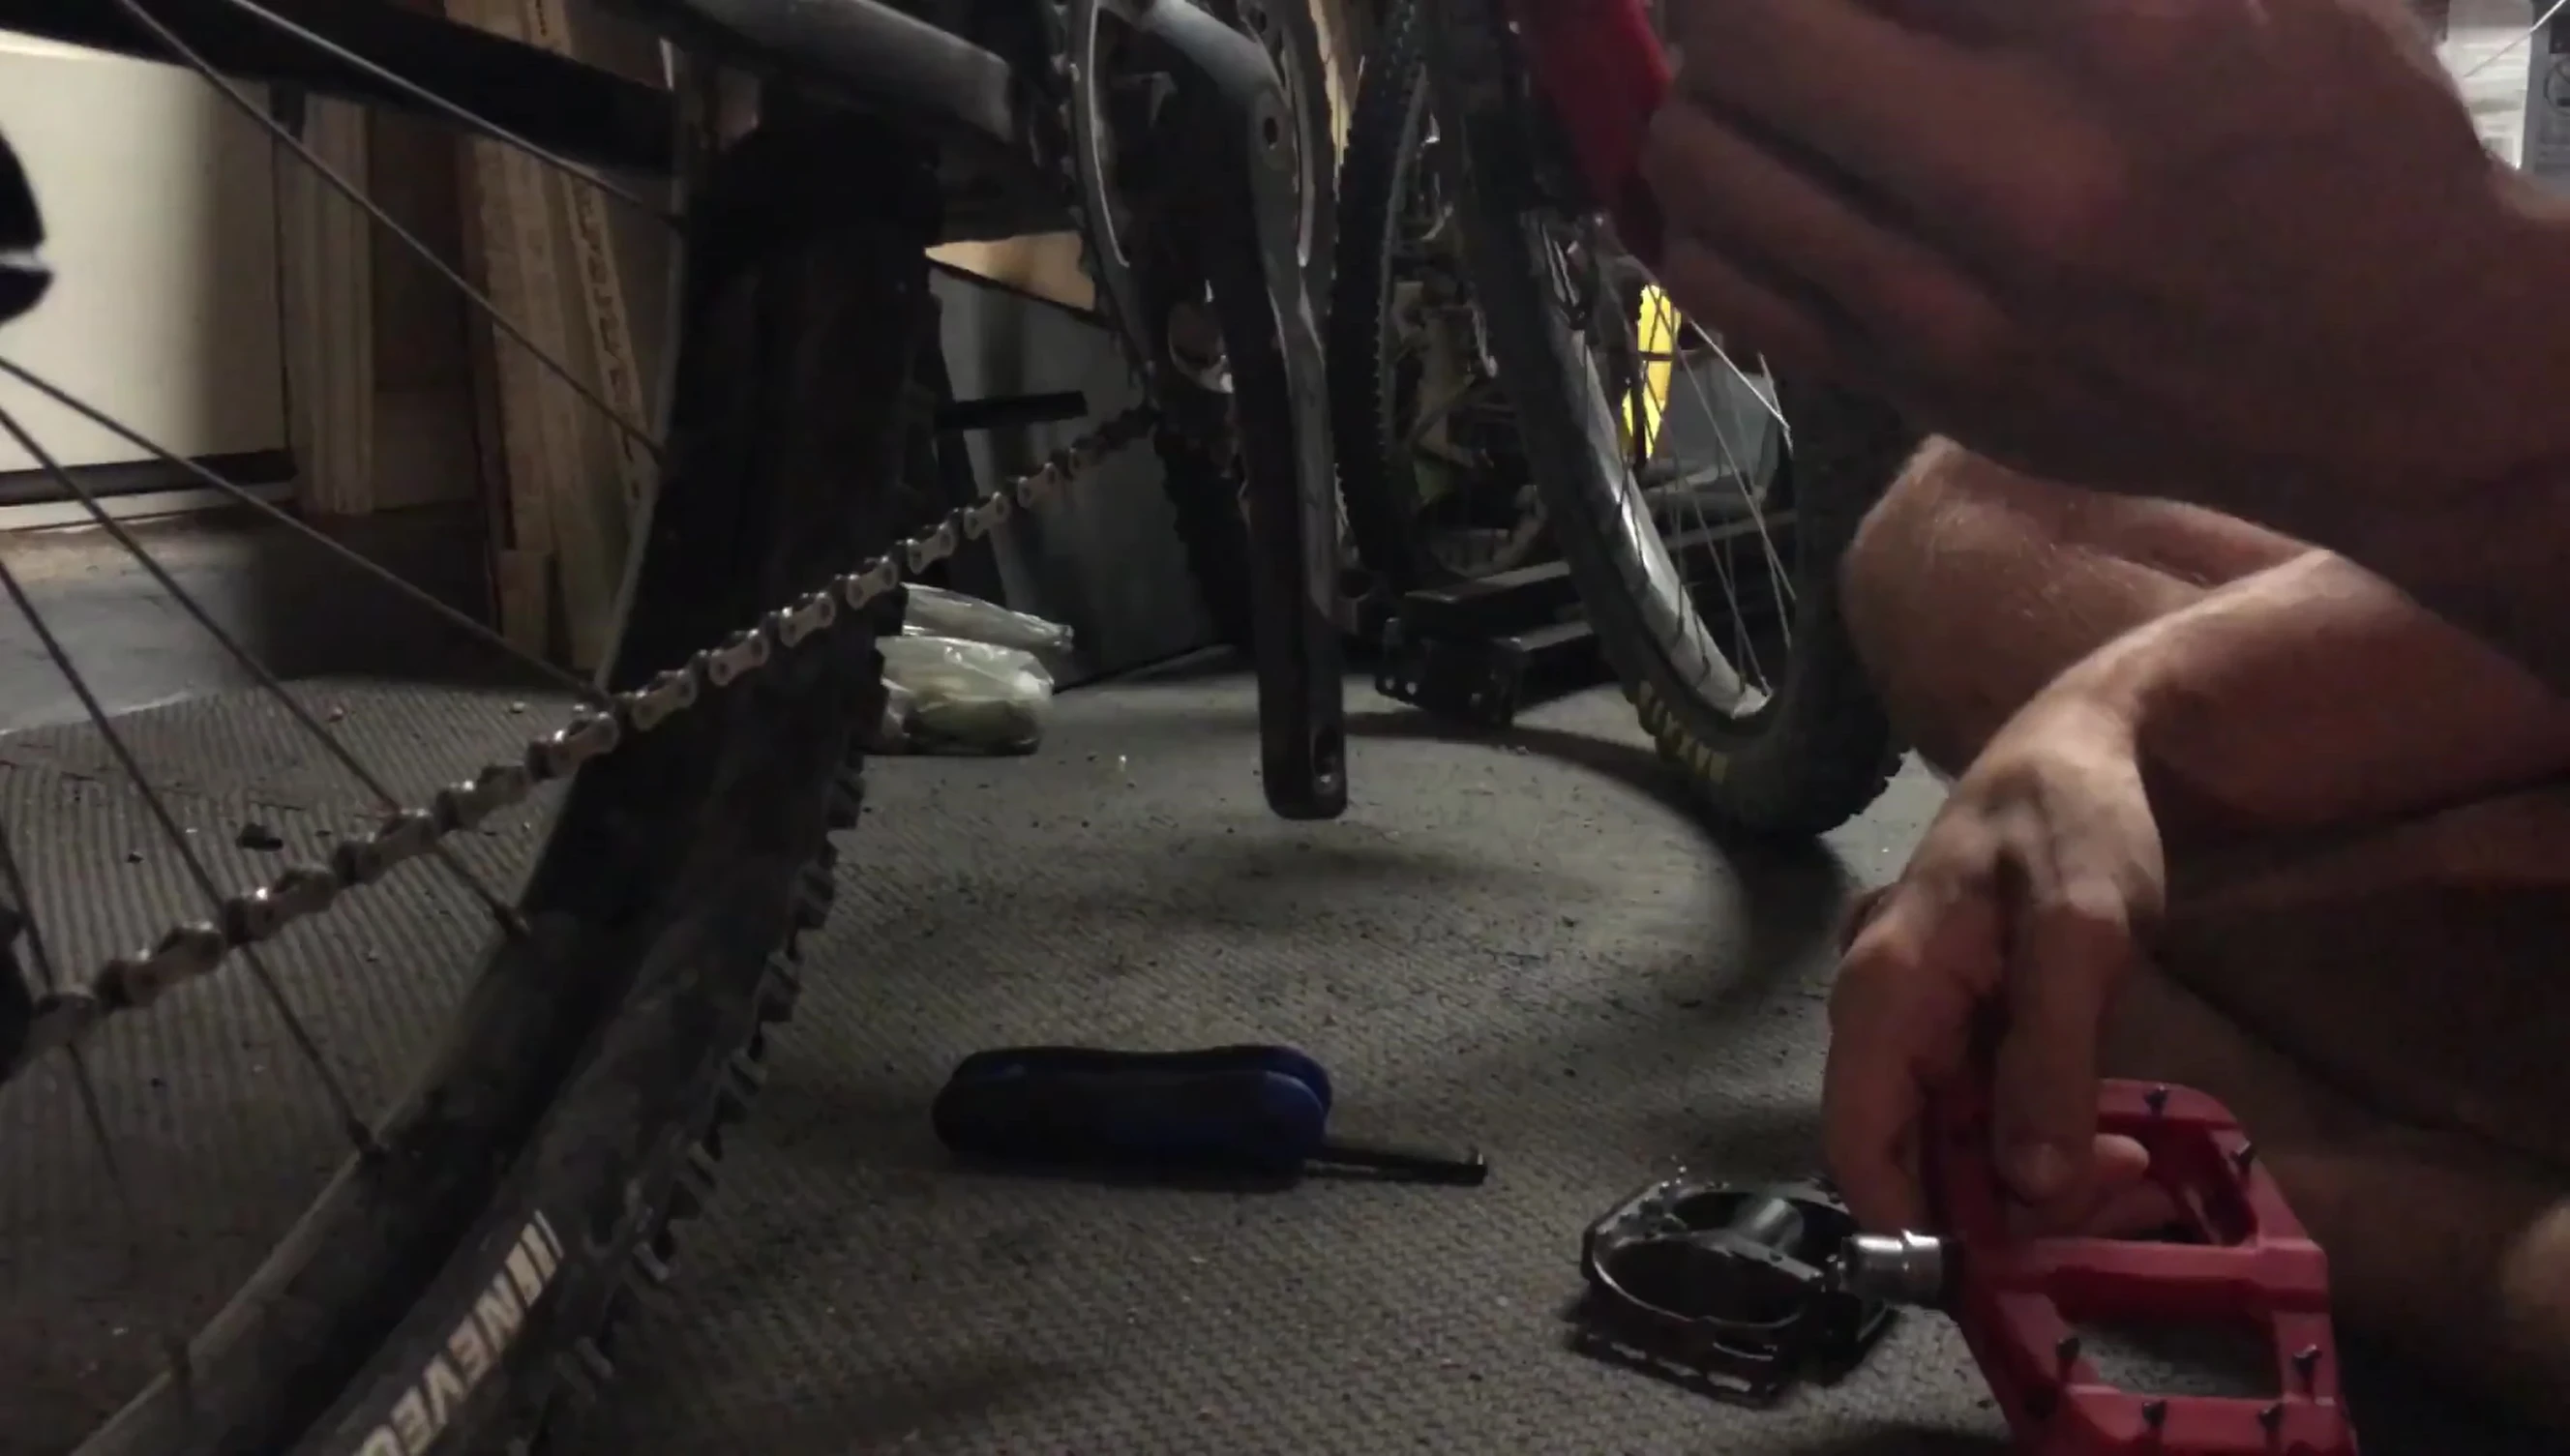
The first step in upgrading your mountain bike is removing the existing pedals. This usually involves using a wrench (mine was 15mm, yours may vary) to loosen the hex nut on each pedal. Remember to loosen the pedals on the drive side first, it's usually a bit tighter.
The process is simple. Unscrew the hex nut, and the pedal should come off easily. If stuck, use the wrench against the back of the bike to loosen them.
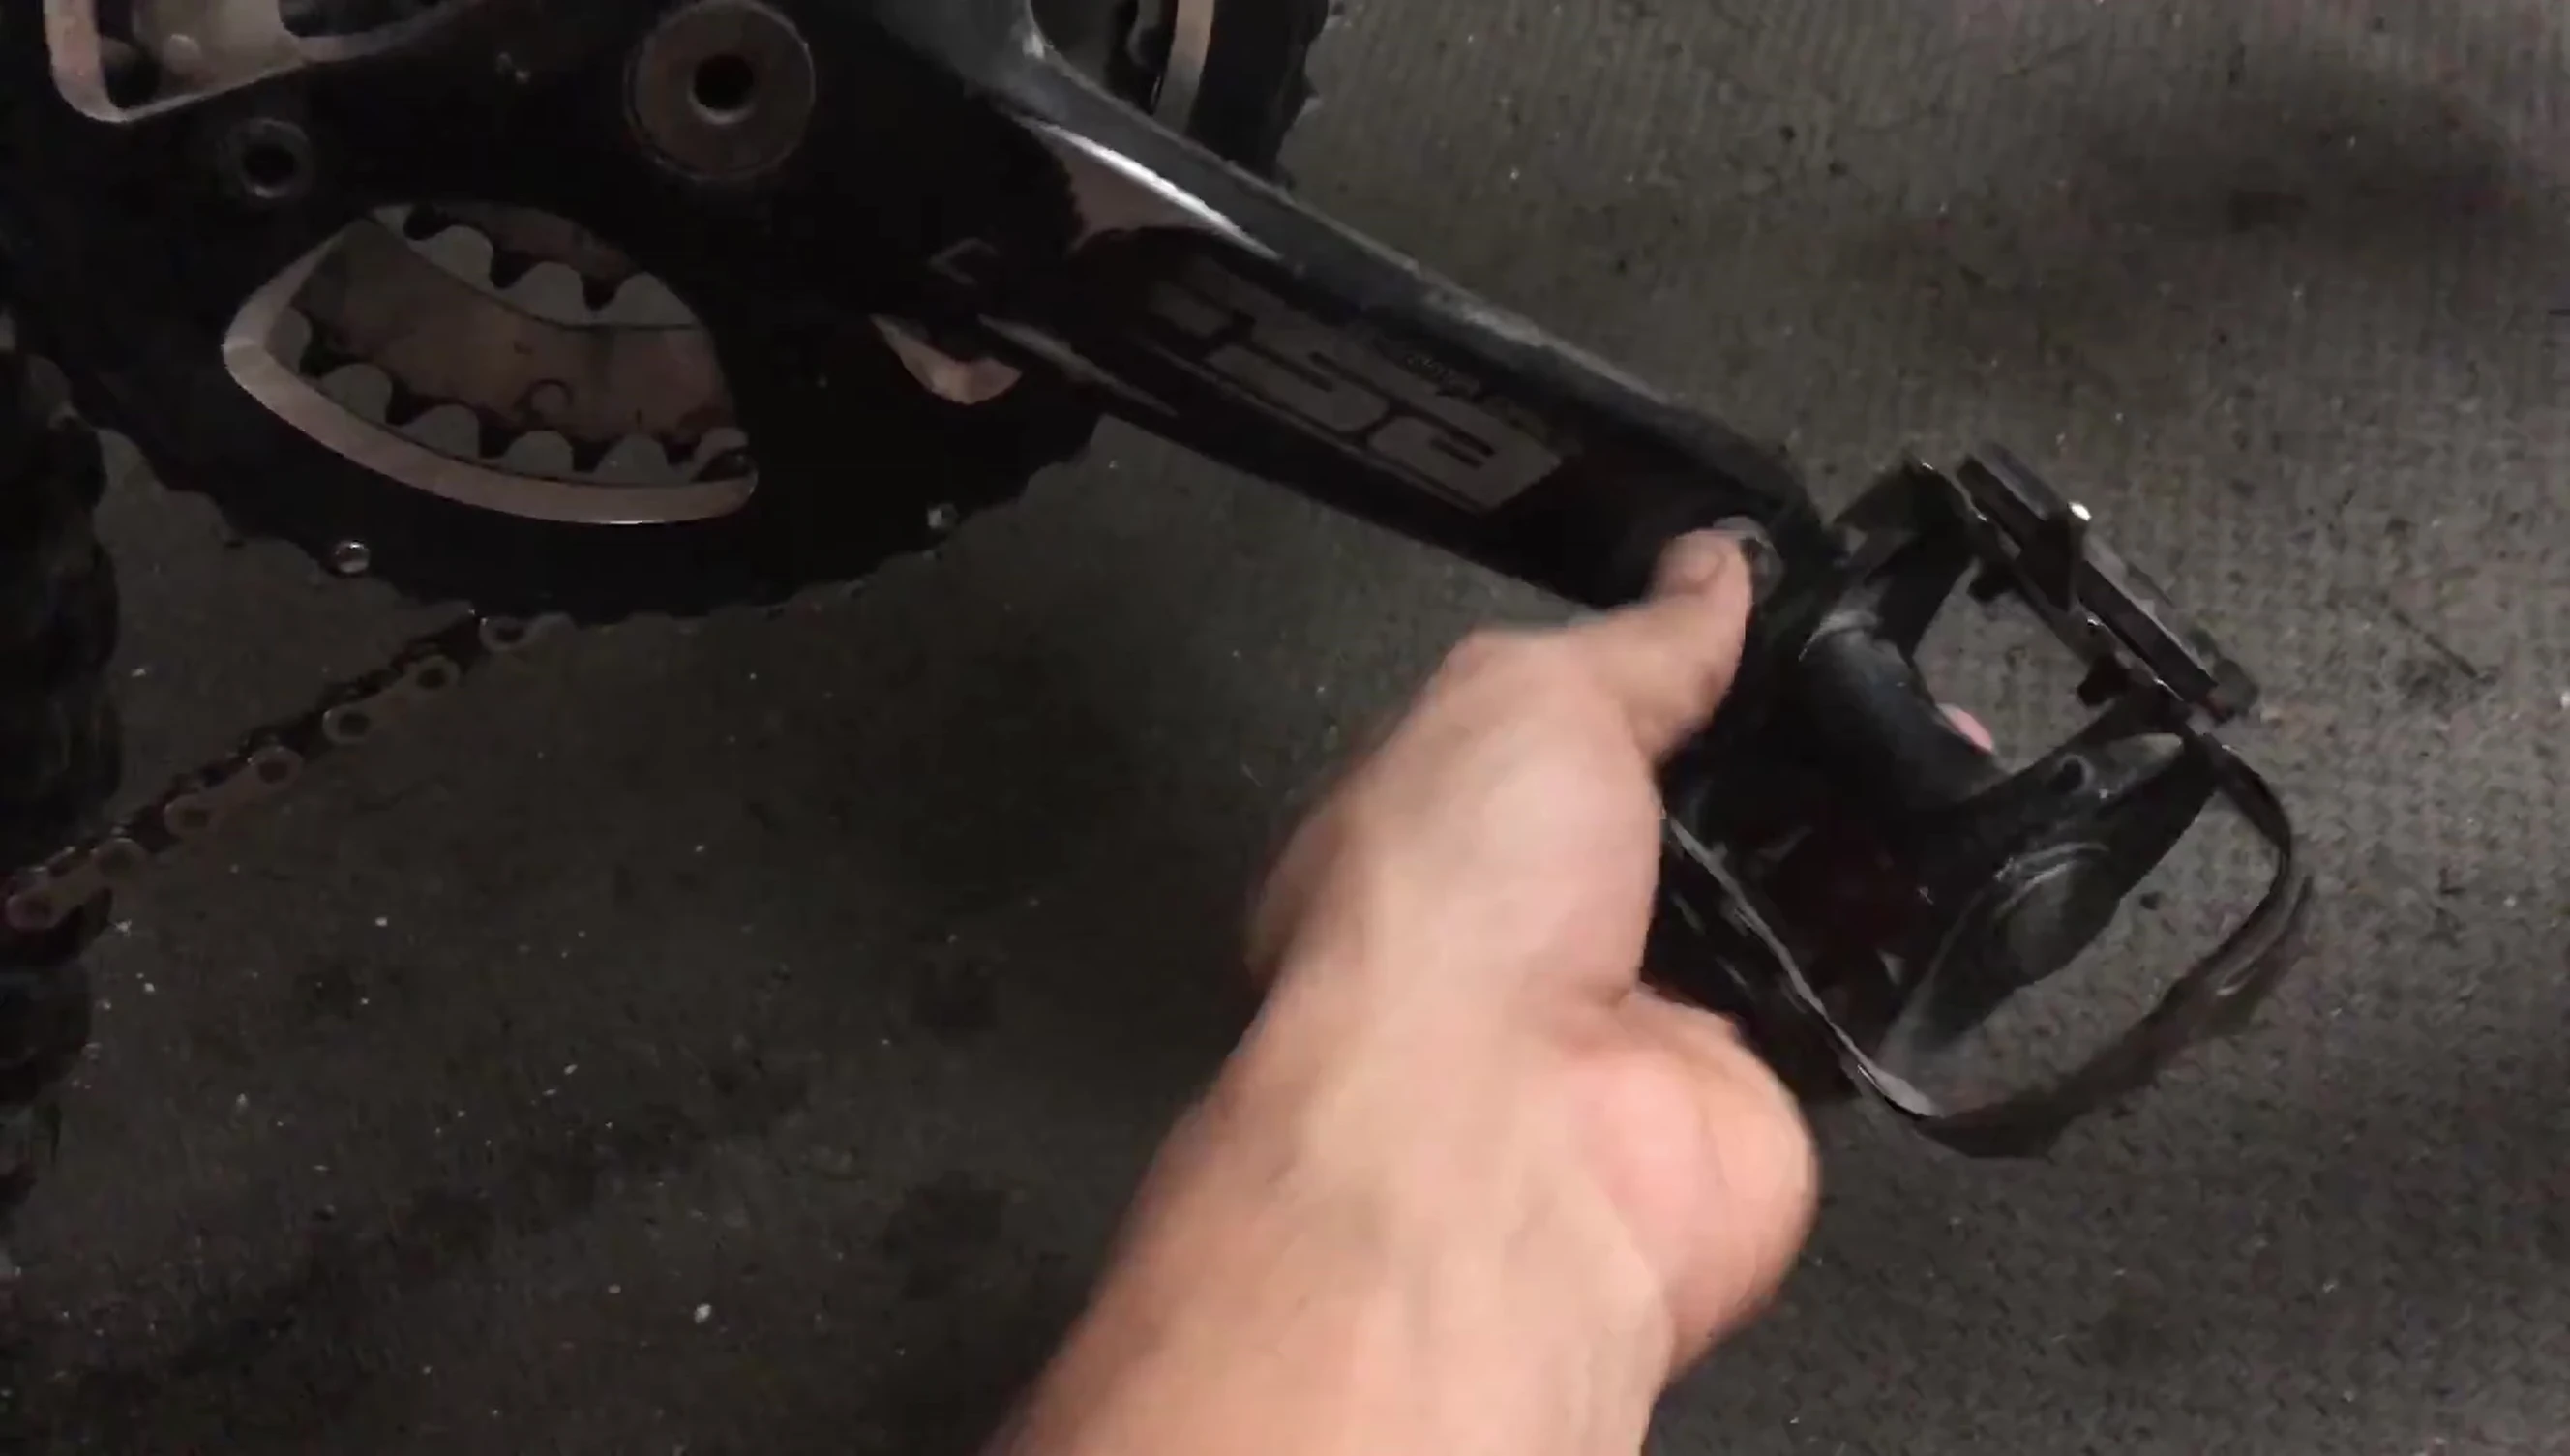
Repeat this process for both pedals. Remember to note which side each pedal came from.

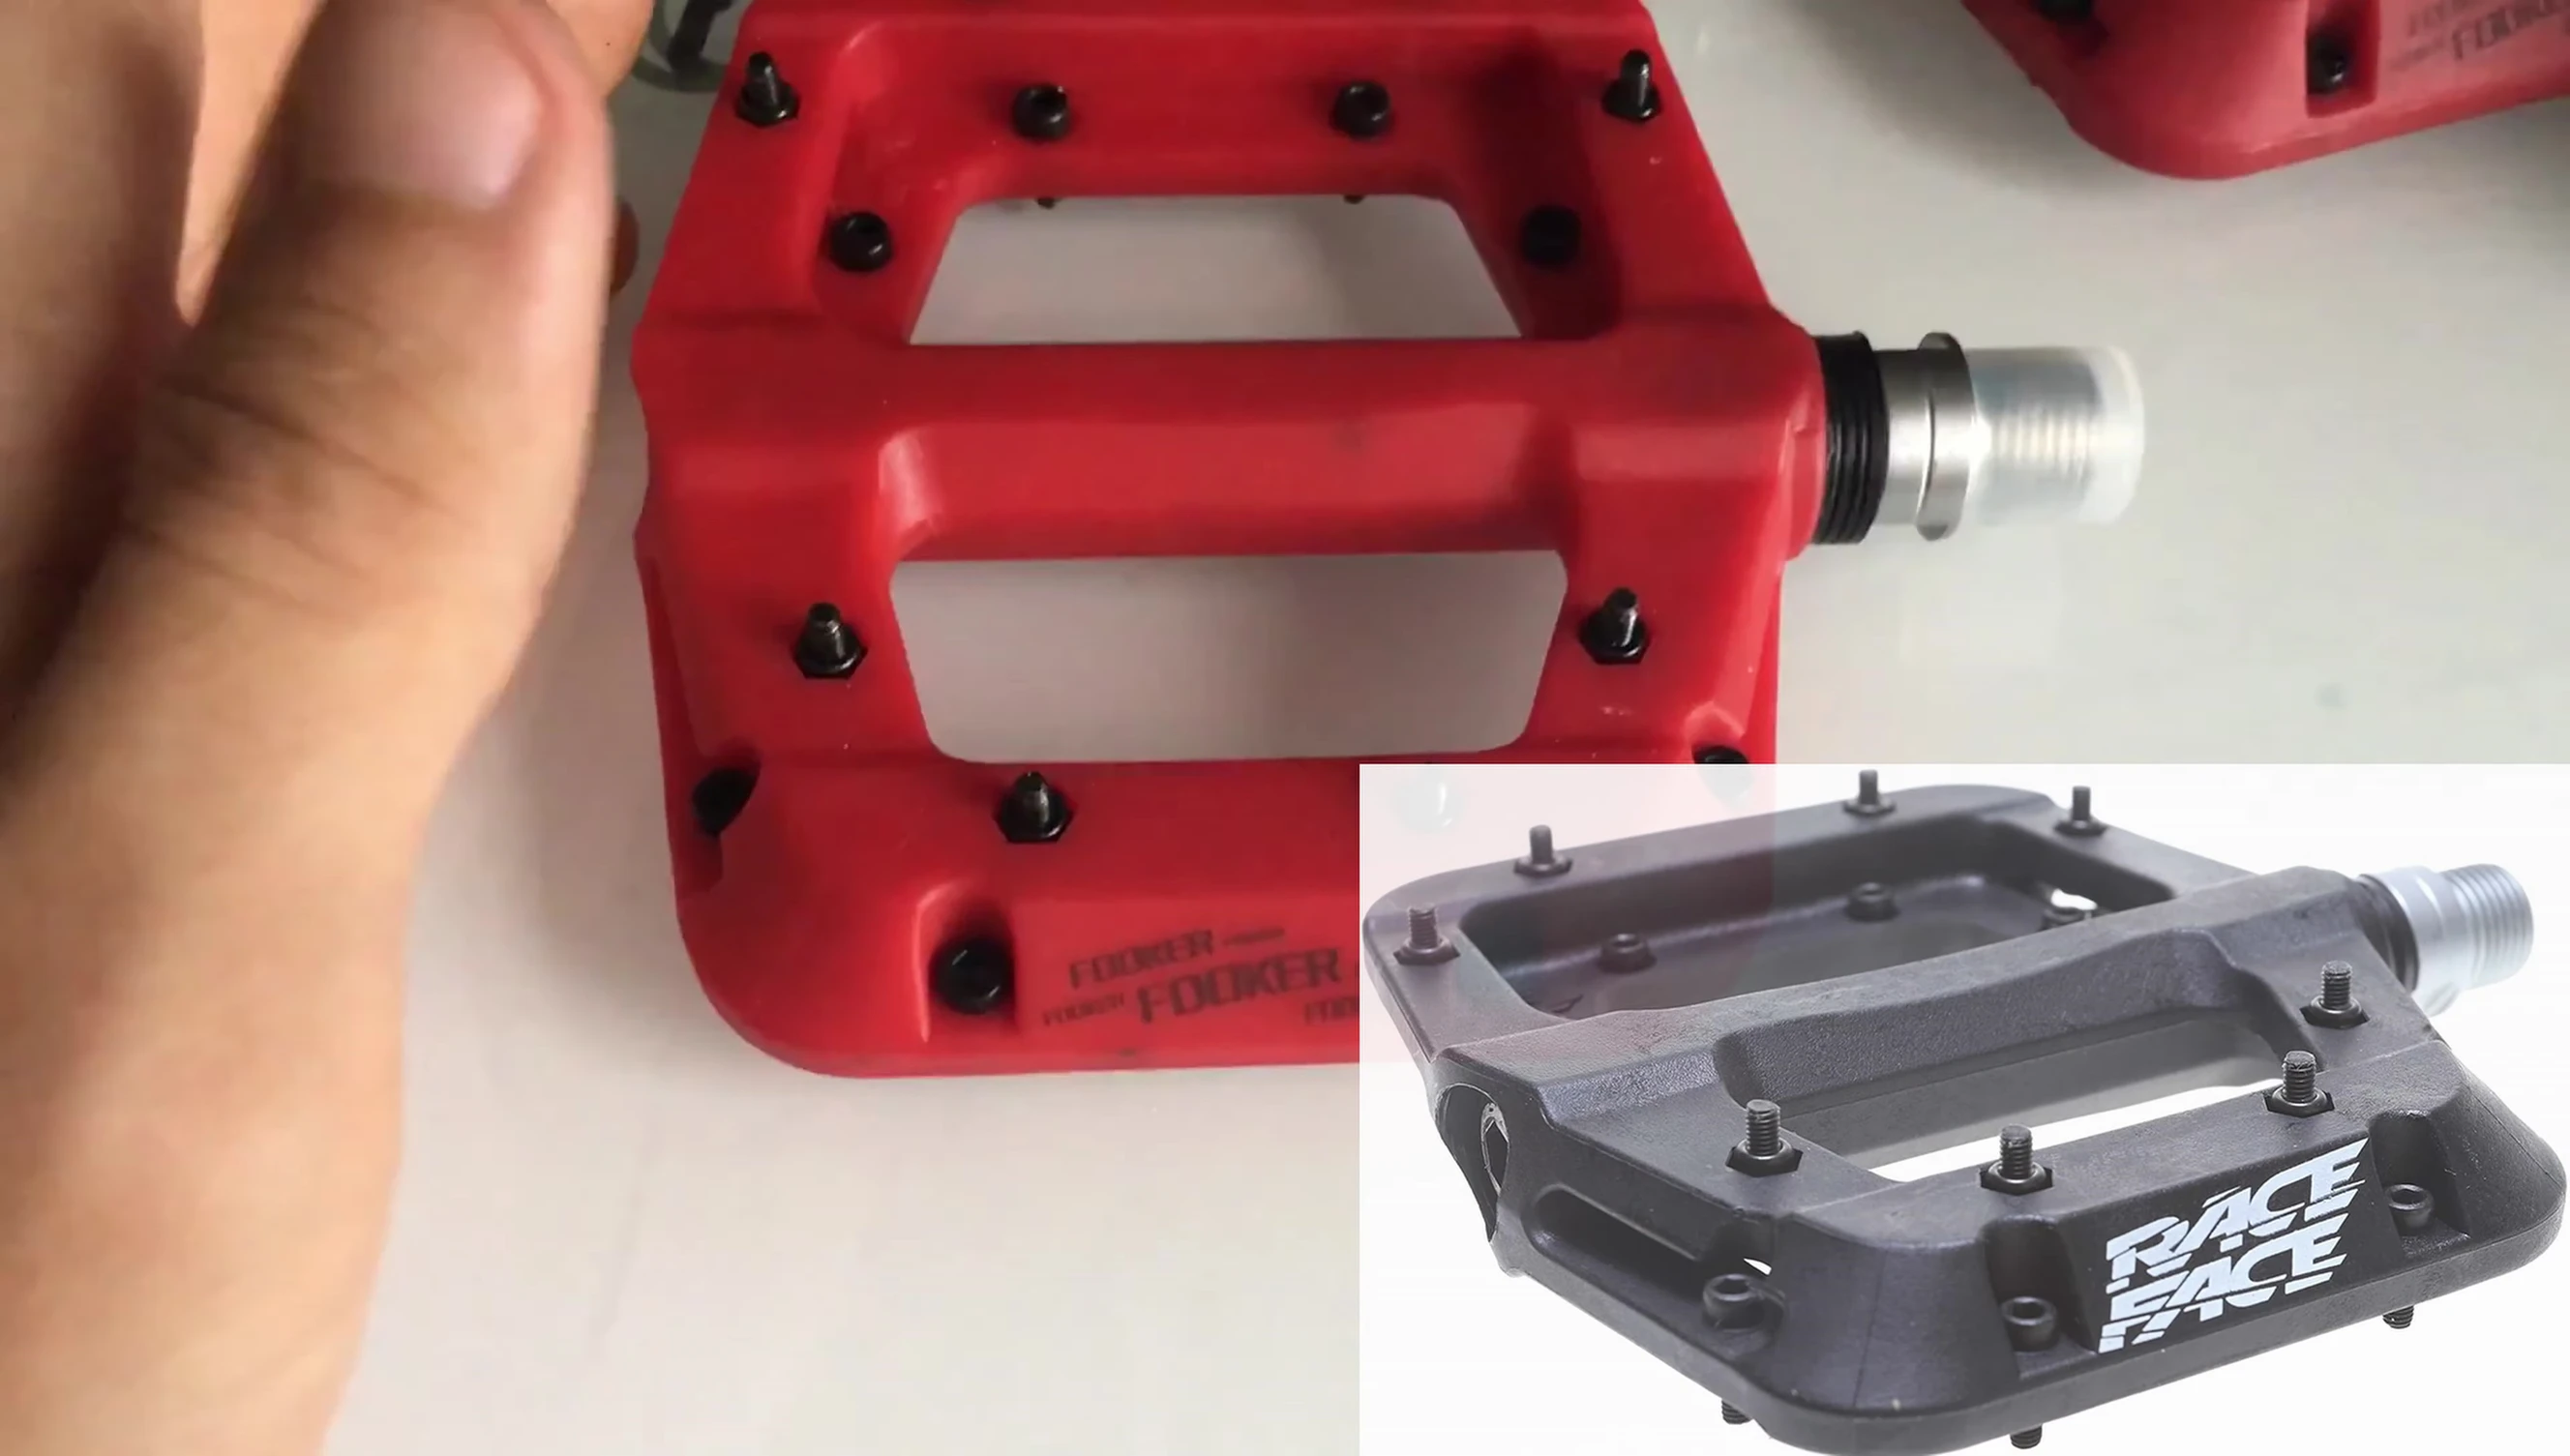
Introducing the Fooker Pedals
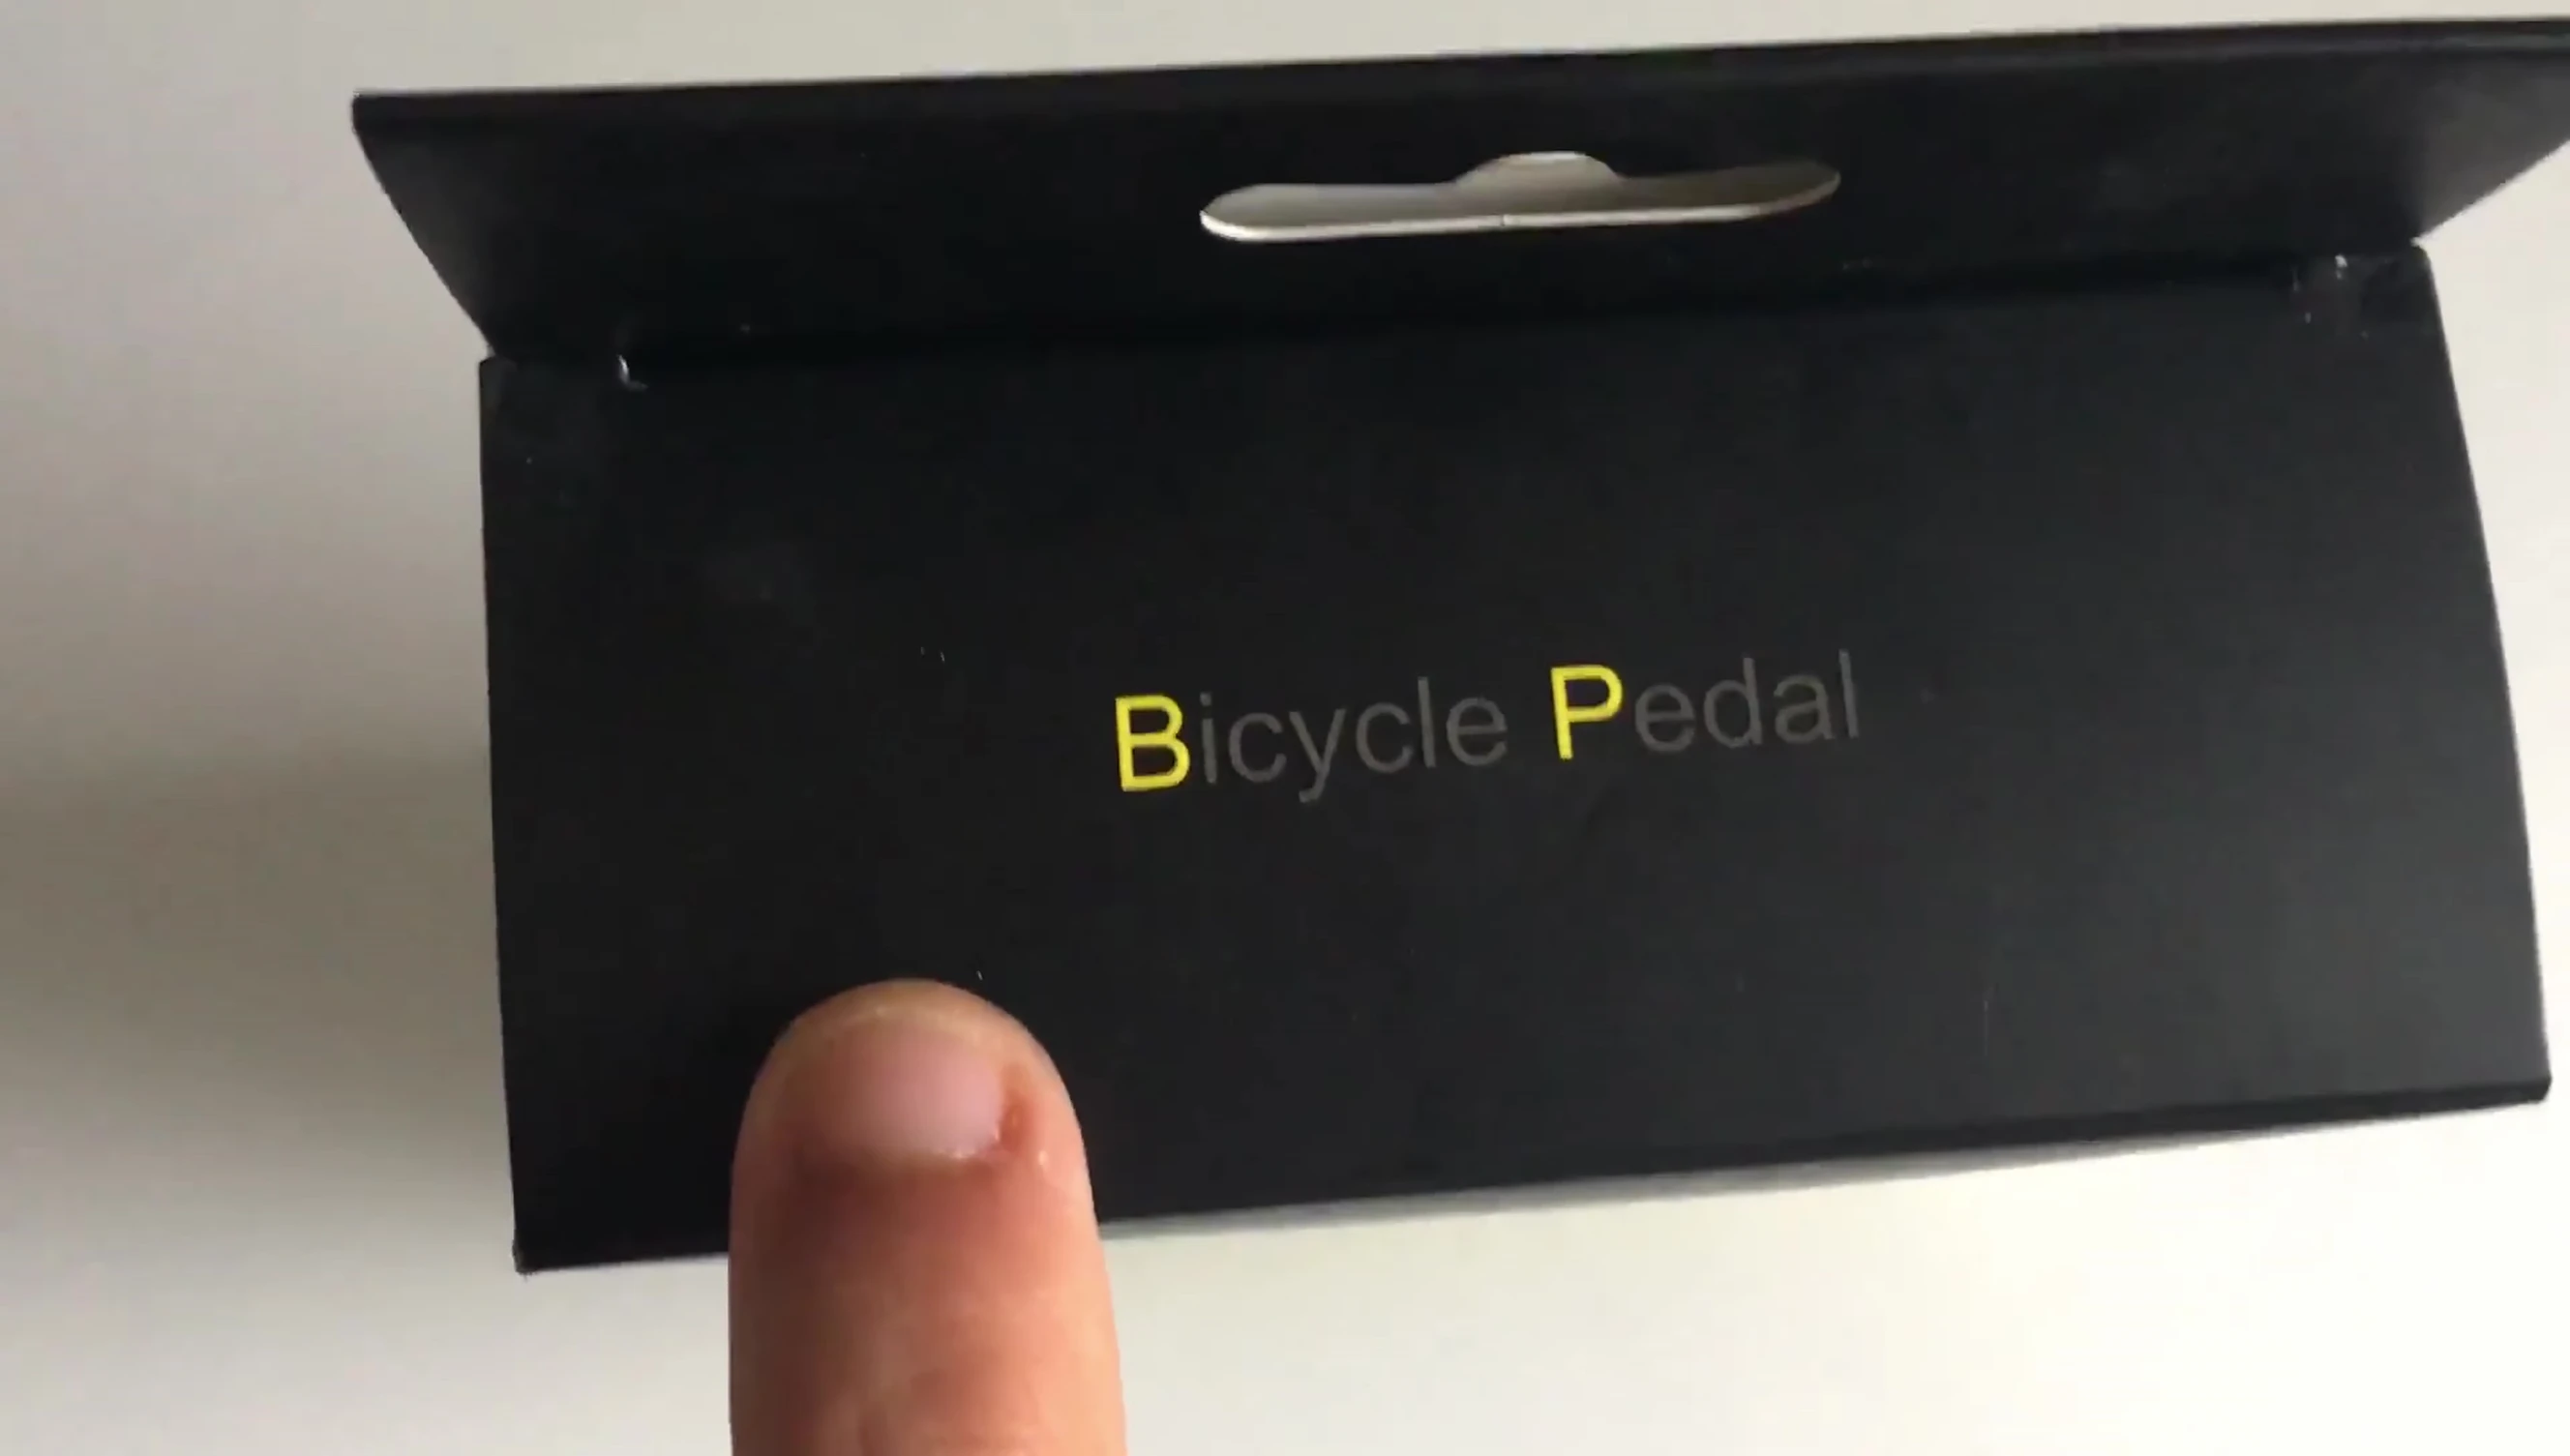
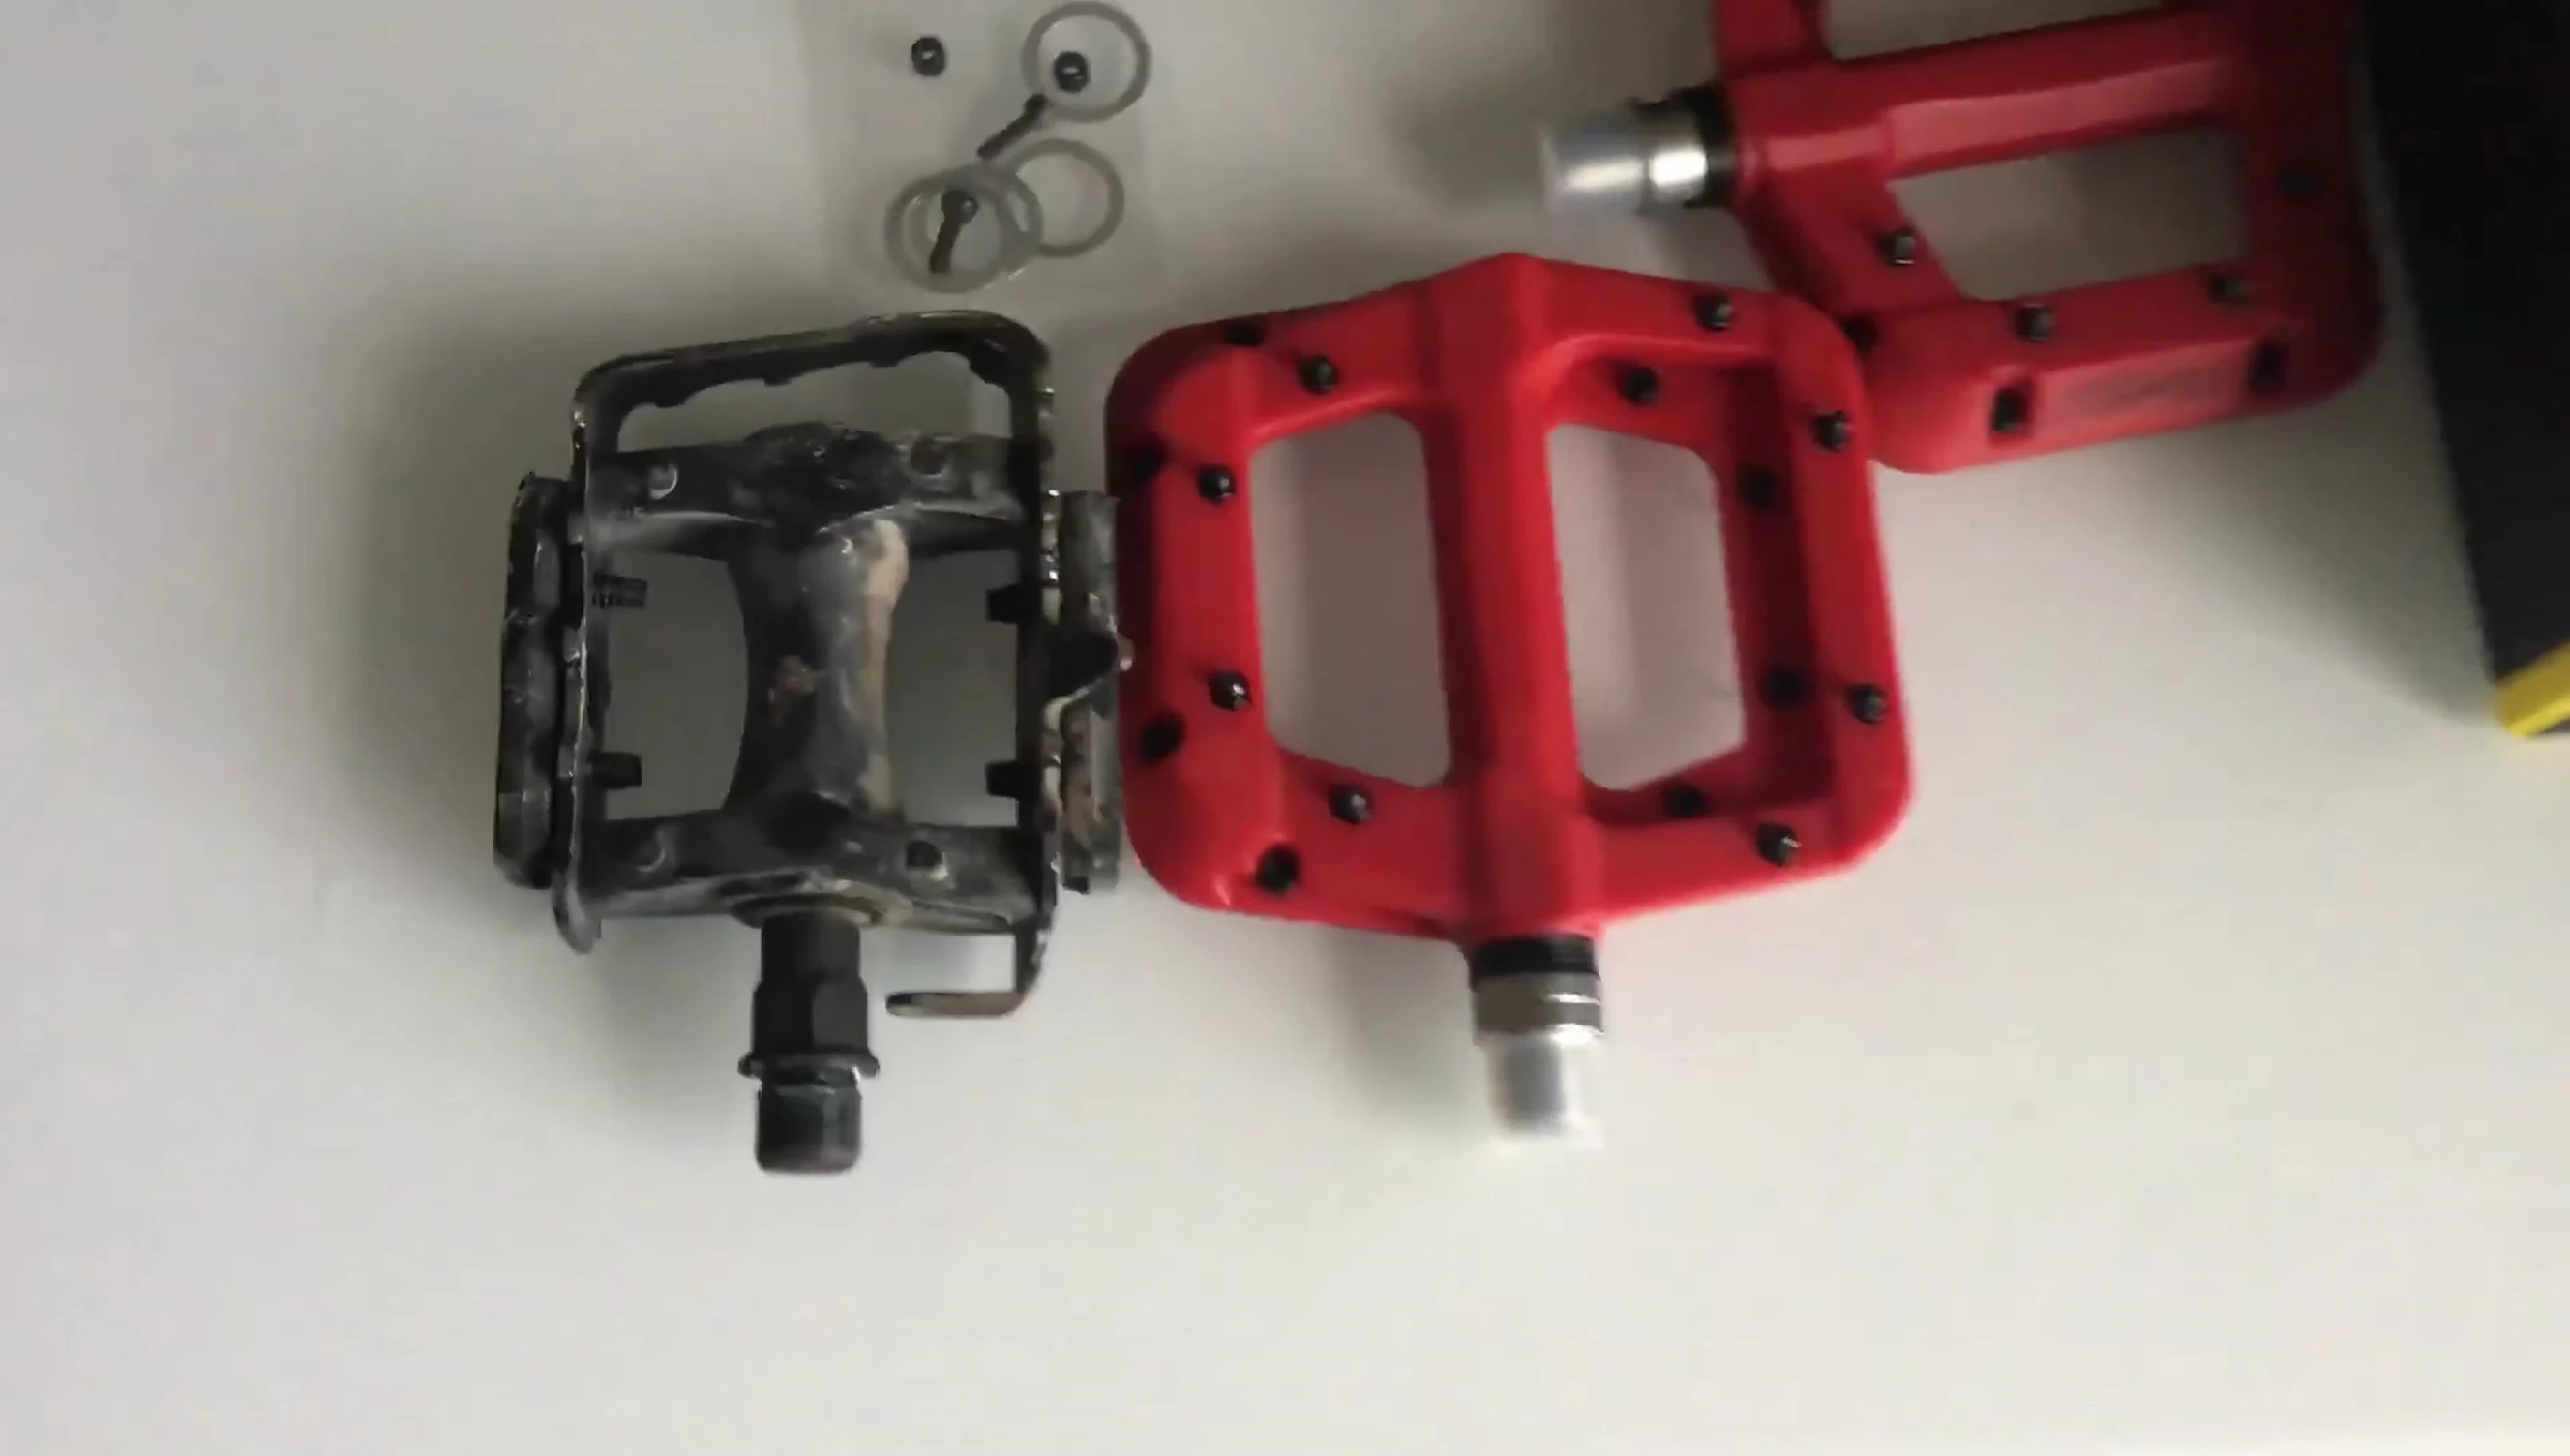
After removing the old pedals, it’s time to inspect the new Fooker pedals. The packaging was unassuming, with the pedals simply labeled 'bicycle pedal'—a stark contrast to many branded alternatives.
Despite the minimalist packaging, the pedals themselves were remarkably well-made. The inscription 'ride with a dream' is oddly endearing.
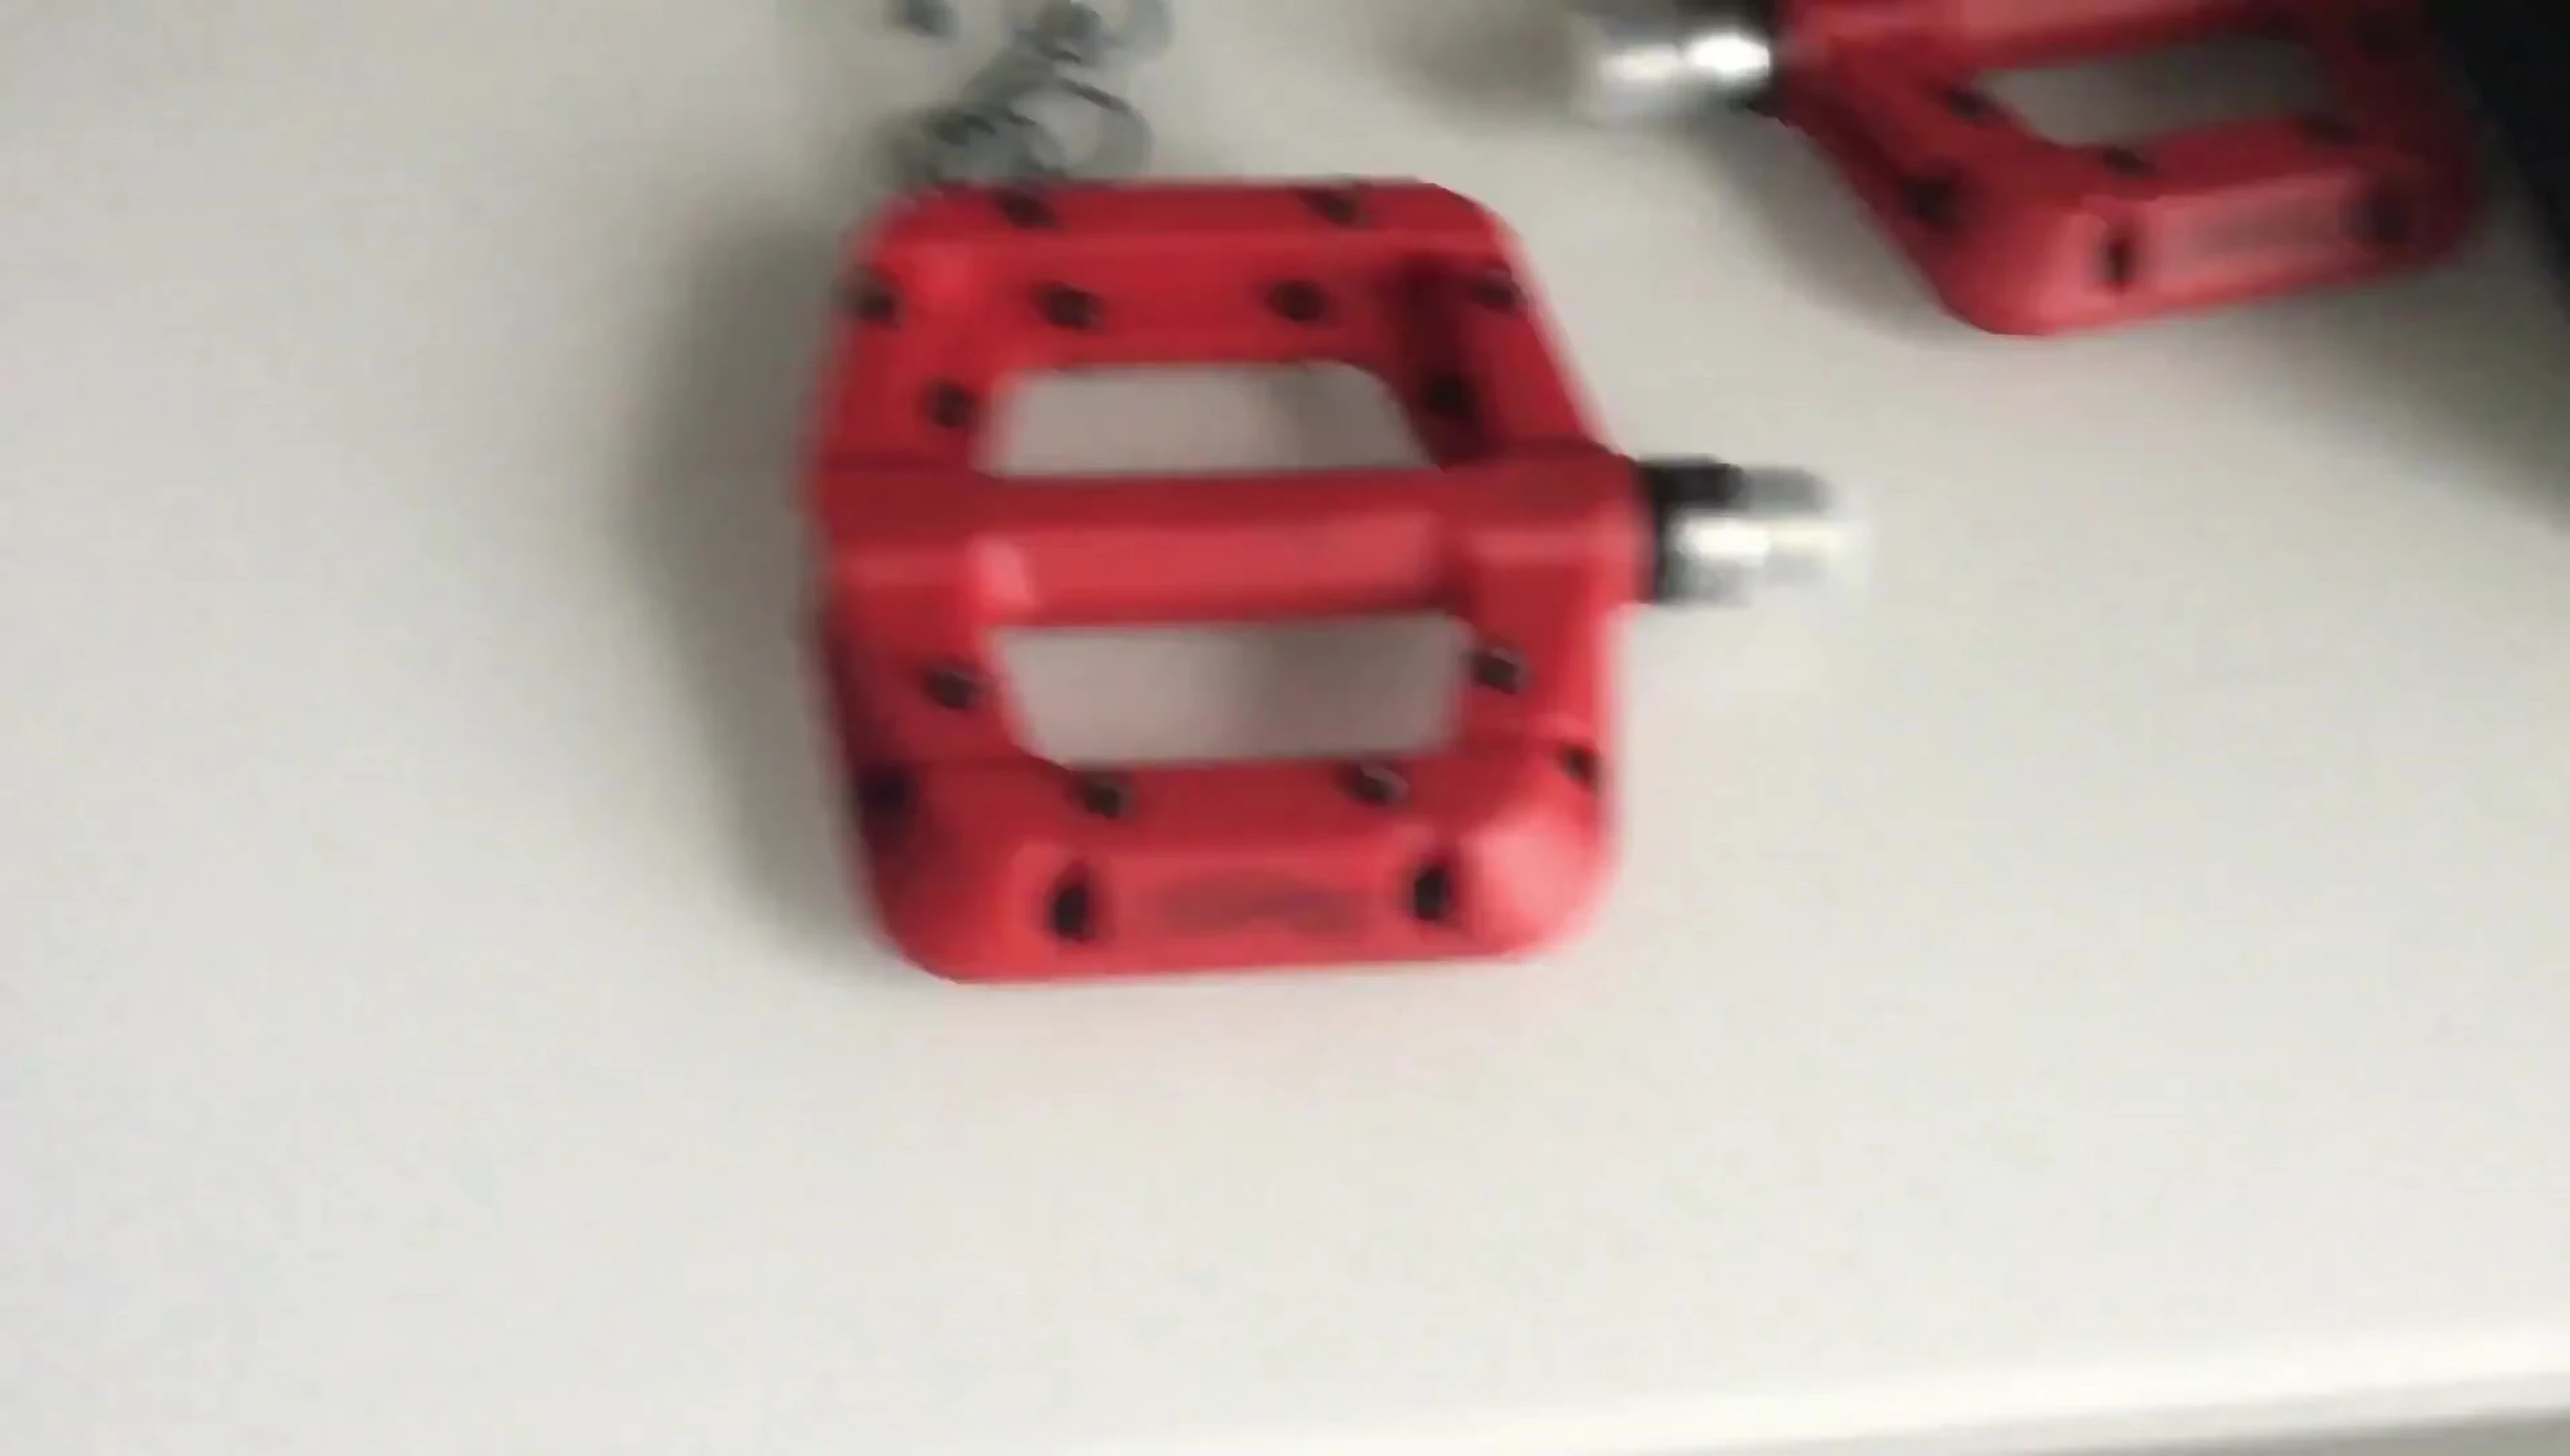
They are significantly wider than the stock pedals, promising increased stability and foot placement. Also, they're strikingly similar to the Race Face Chester pedals.
Installing the Fooker Pedals
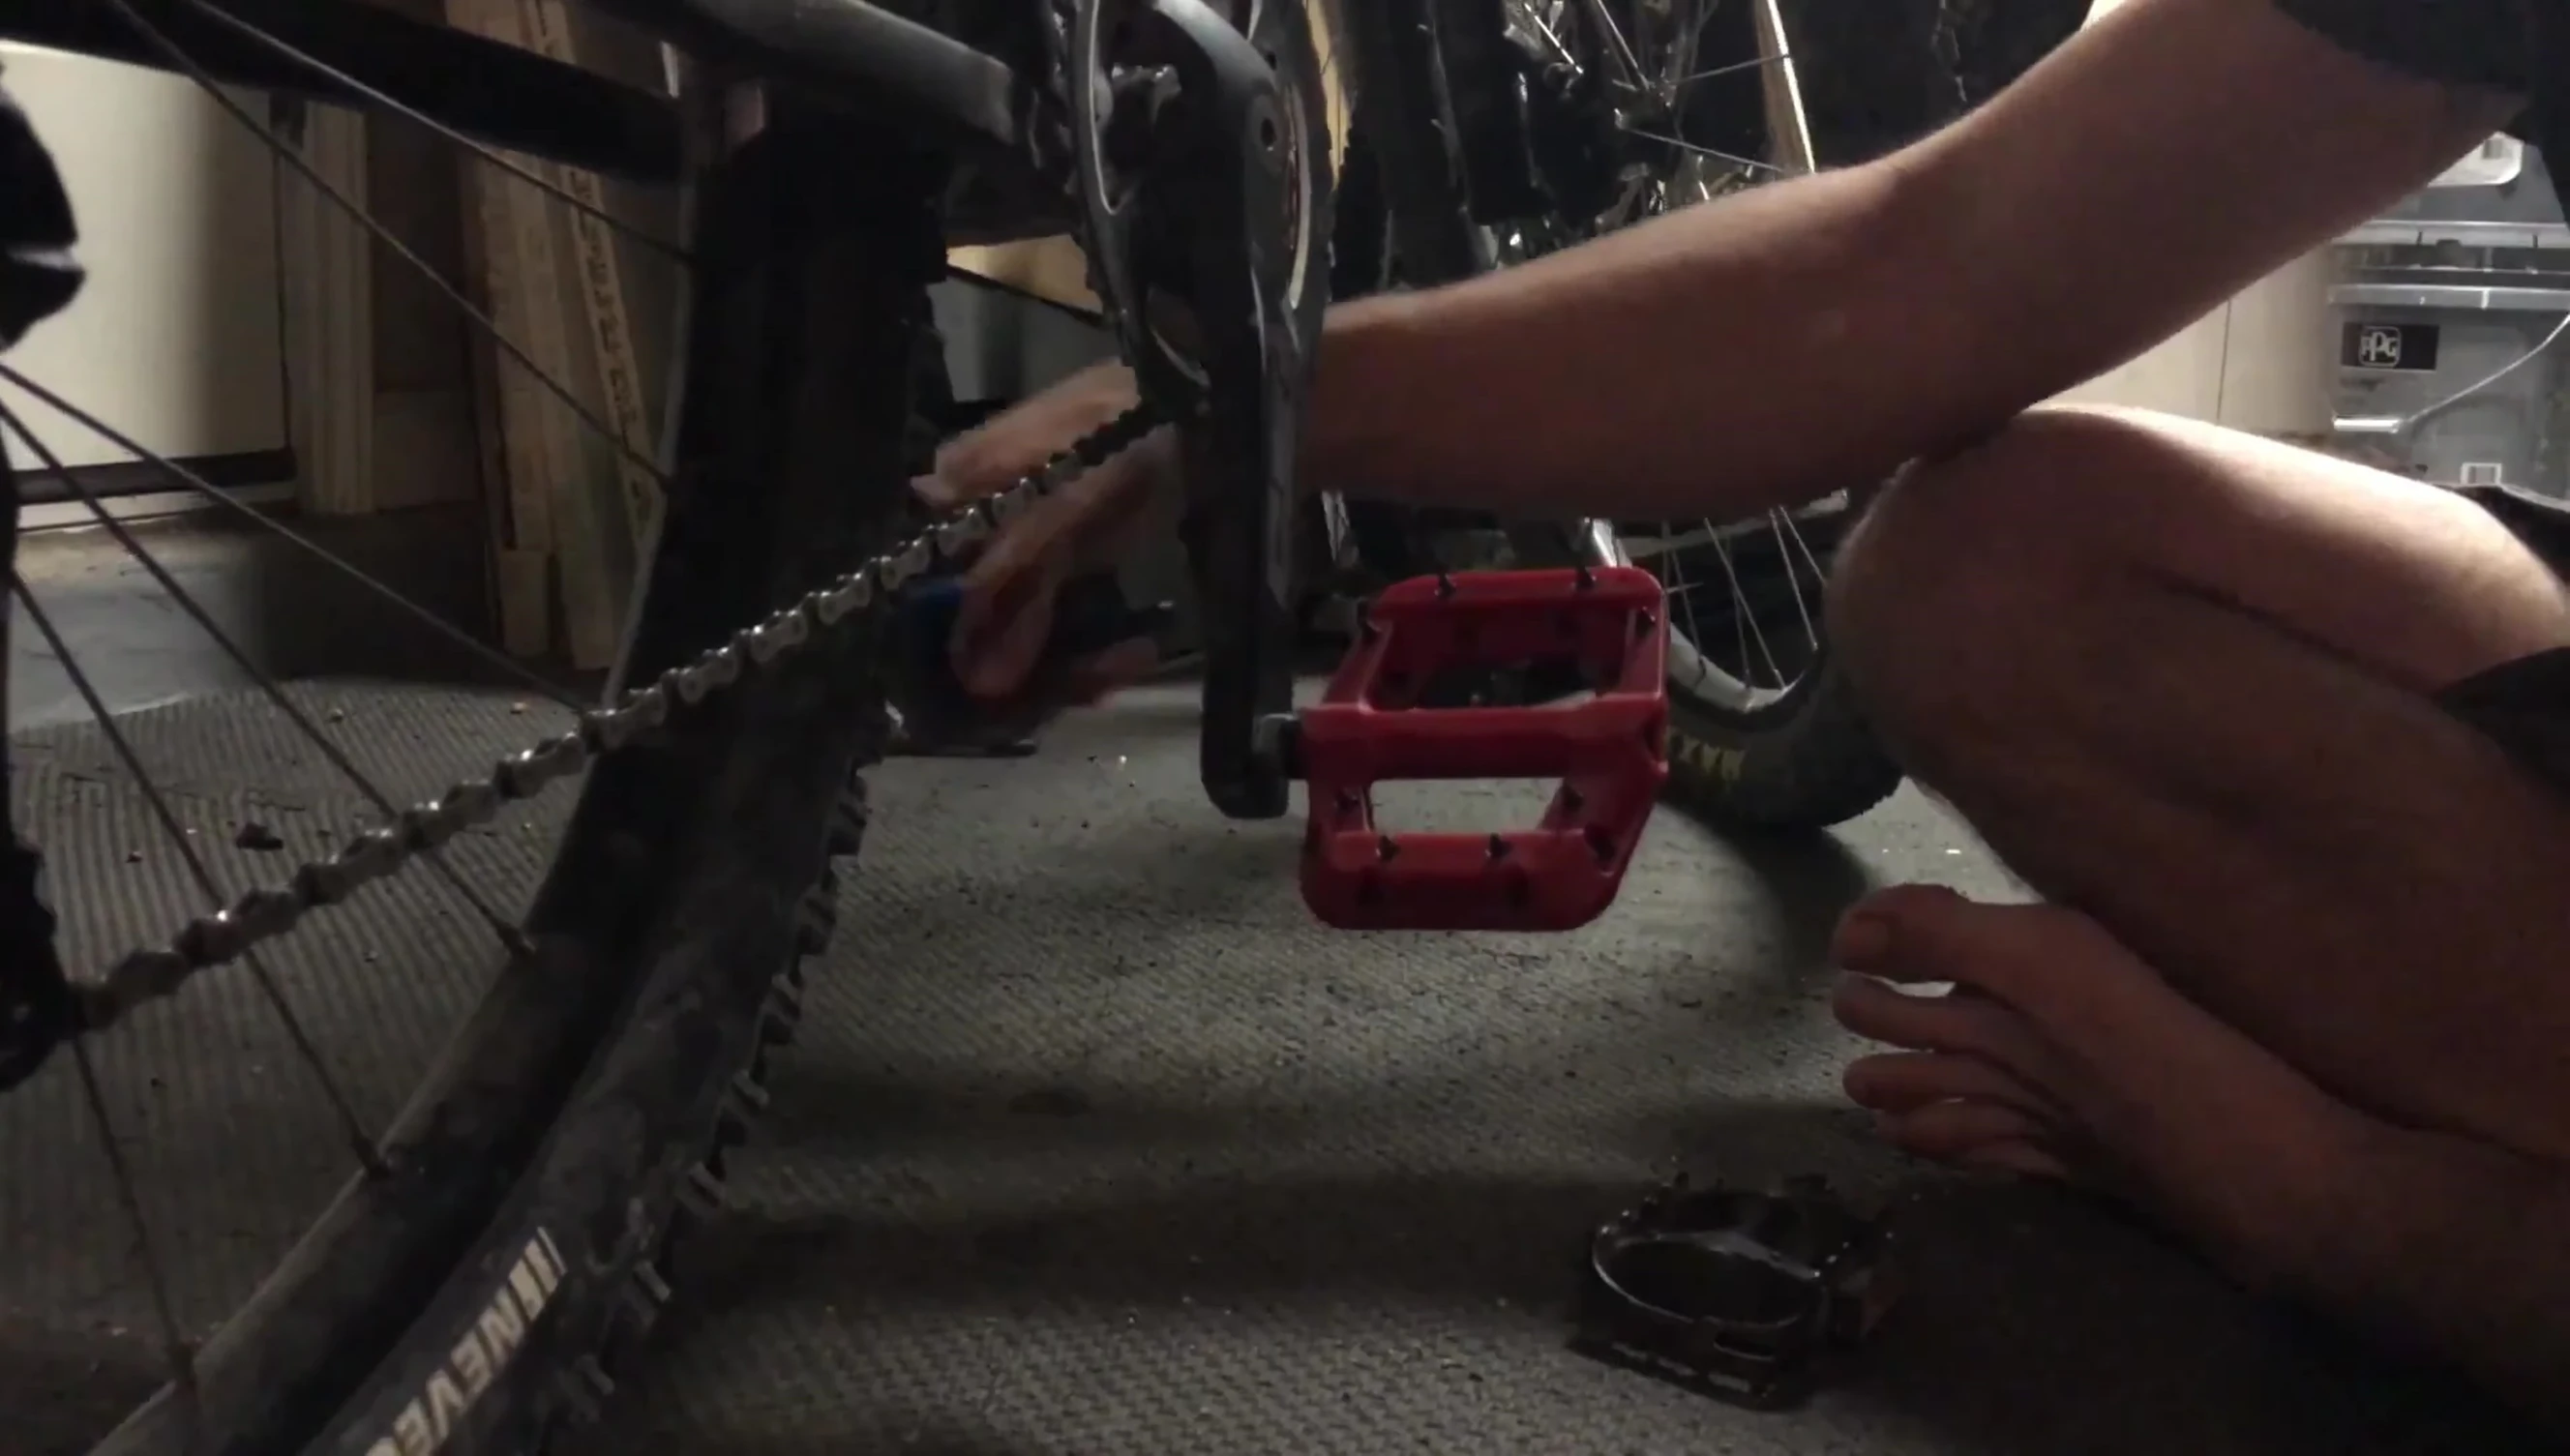
Installing the Fooker pedals is the reverse of the removal process. An 8mm hex wrench is needed to tighten the pedals securely. Pay close attention, the pedals are right-hand thread on the right and left-hand thread on the left.
A common mistake is installing the pedals on the wrong side. Ensure you’re tightening the correct pedal onto the correct side before doing so.
Tighten each pedal firmly, making sure they are secure. This is crucial for safety and performance.
On-Trail Performance and Durability
After a day's ride, the Fooker pedals performed admirably, offering a noticeable improvement in comfort and stability. The increased foot placement area contributed to a more secure feel, even on challenging trails.
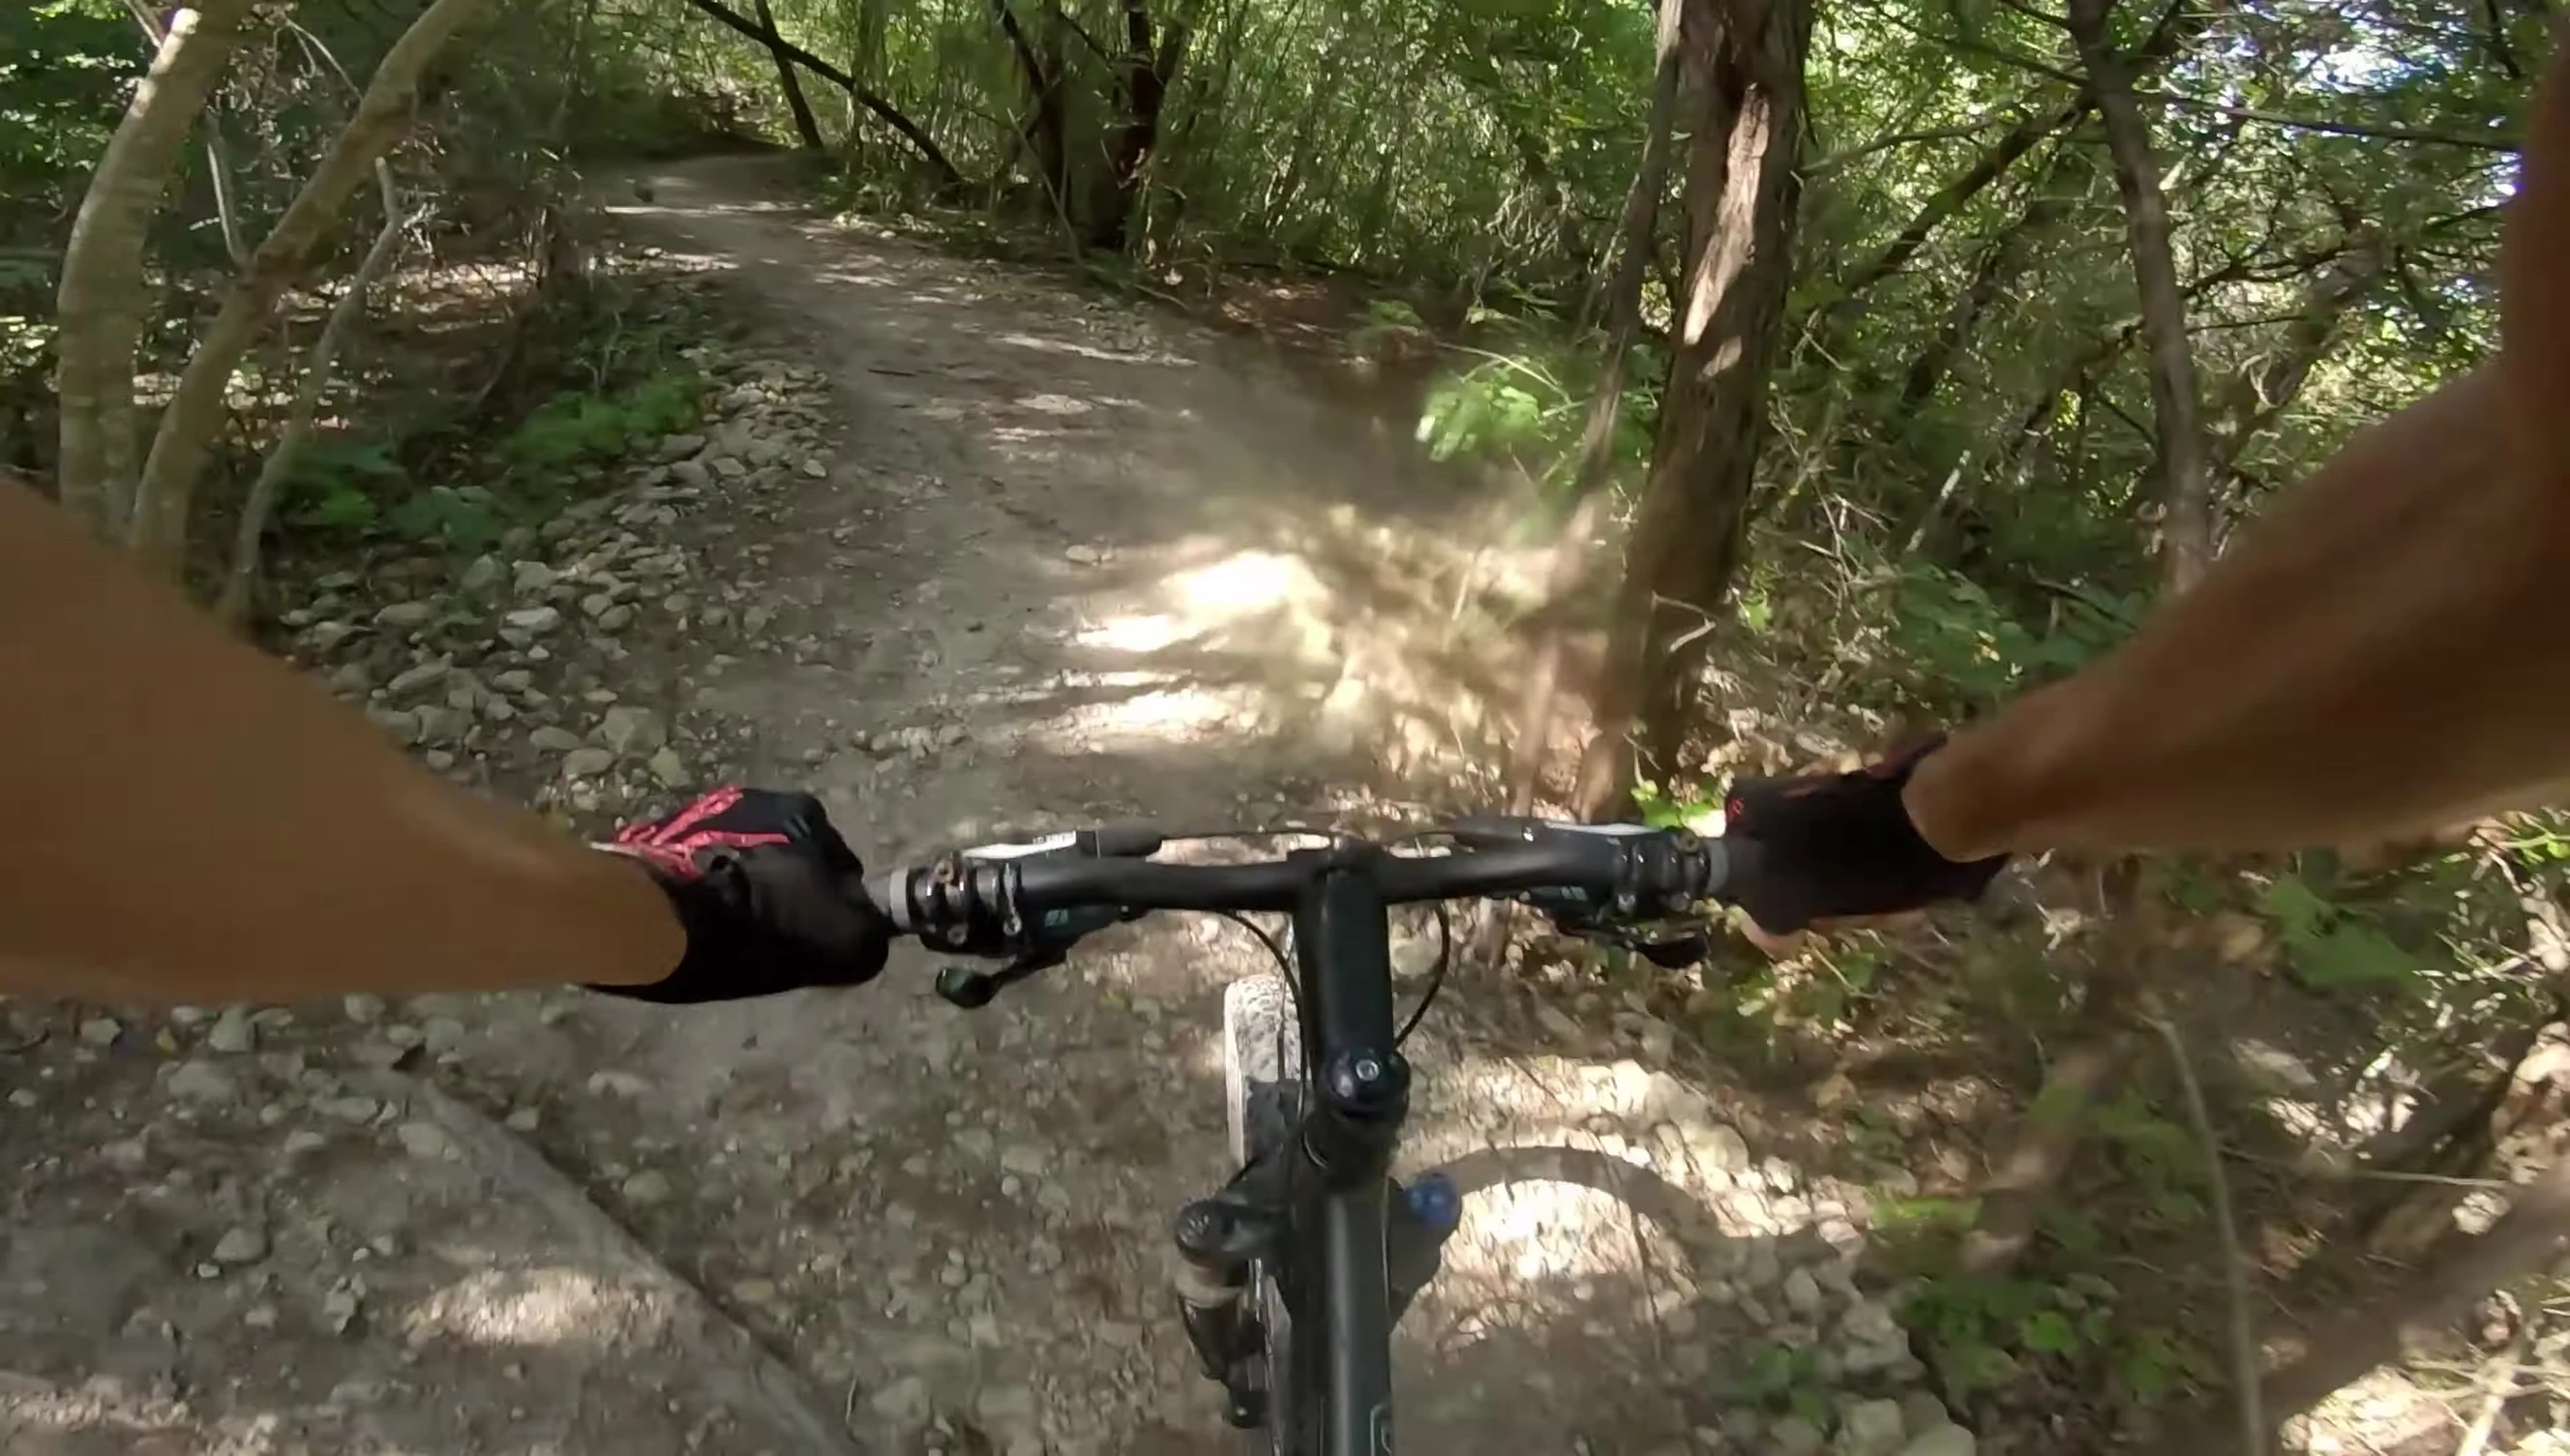
The pedals held up well on both climbs and descents, providing confidence-inspiring grip. They withstood substantial stress on jump trails, proving their resilience.
Overall, the pedals exhibited surprising durability for their price point, far exceeding initial expectations.
Fooker Pedals vs. Race Face Chester Pedals: Final Verdict
The Fooker pedals, while significantly cheaper than the Race Face Chester pedals, offered impressive performance and durability. They provided a noticeable upgrade from stock pedals, particularly in terms of stability and foot placement.
Though a Chinese knockoff, their performance is commendable. If budget is a constraint, these are an excellent value option. However, the Race Face Chesters remain a superior choice if budget isn't a concern, offering potentially better longevity and smoother bearings.
Ultimately, the decision depends on your budget and riding style. If you're a beginner or on a tighter budget, the Fooker pedals are a great starting point. For more serious riders seeking top-tier performance, the Race Face Chesters are the better investment.