This comprehensive guide provides a step-by-step tutorial on setting up tubeless tires, a process that enhances cycling performance and reduces the risk of flats. We’ll walk you through each stage, from gathering the essential tools and materials to the final leak check, ensuring a successful DIY installation. Whether you're a seasoned mechanic or a beginner, this guide offers clear instructions and helpful tips to achieve a secure and reliable tubeless tire setup. We’ll cover everything from proper rim preparation and tape application to valve installation and sealant distribution, leaving no detail overlooked.Mastering the art of tubeless tire installation can significantly improve your riding experience. This guide emphasizes the importance of meticulous preparation and attention to detail throughout the process. By following these instructions and utilizing the recommended techniques, you'll confidently transform your wheels into a tubeless system, maximizing performance and minimizing downtime. Let's get started!
Pros And Cons
- Available in different widths
- Comes with stickers for extra security
Read more: Top 5 High-Pressure Bike Pumps for Effortless Inflation
Essential Tools and Materials
Before you begin, gather the necessary tools and materials. You'll need tubeless-ready tires, a suitable rim tape (consider width for proper fit), a valve (ensure compatibility), sealant, rim tape cutter (scissors work), isopropyl alcohol or a similar cleaner for pre-installation, and a floor pump (high-volume pump recommended). Having the right tools simplifies the process and ensures a clean, effective installation.
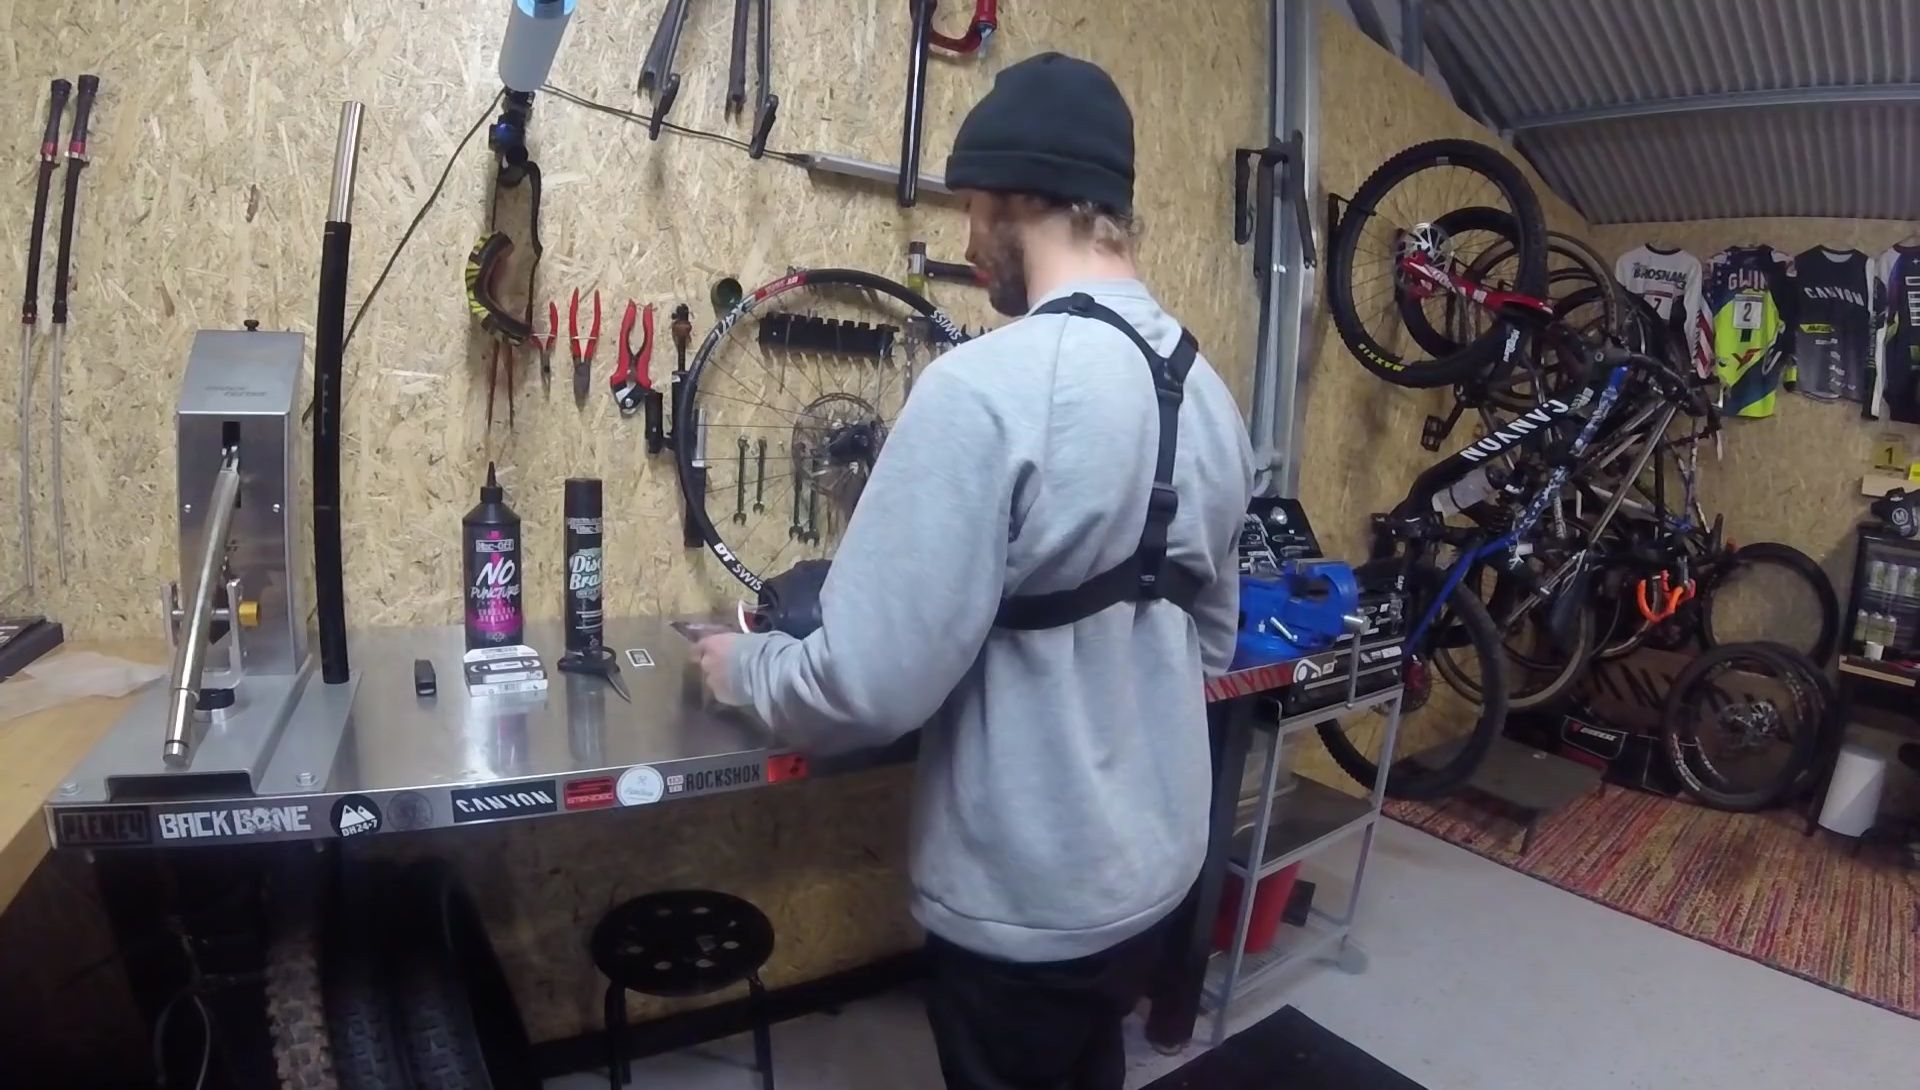
Remember to choose high-quality sealant that prevents leaks and maintains tire pressure effectively. A good floor pump ensures efficient inflation, reducing the overall setup time and effort. Always check compatibility between your components, especially the tire, rim, and valve.
A high-volume pump will make tire inflation easier and faster. Using suitable cleaner will ensure a clean and smooth installation.
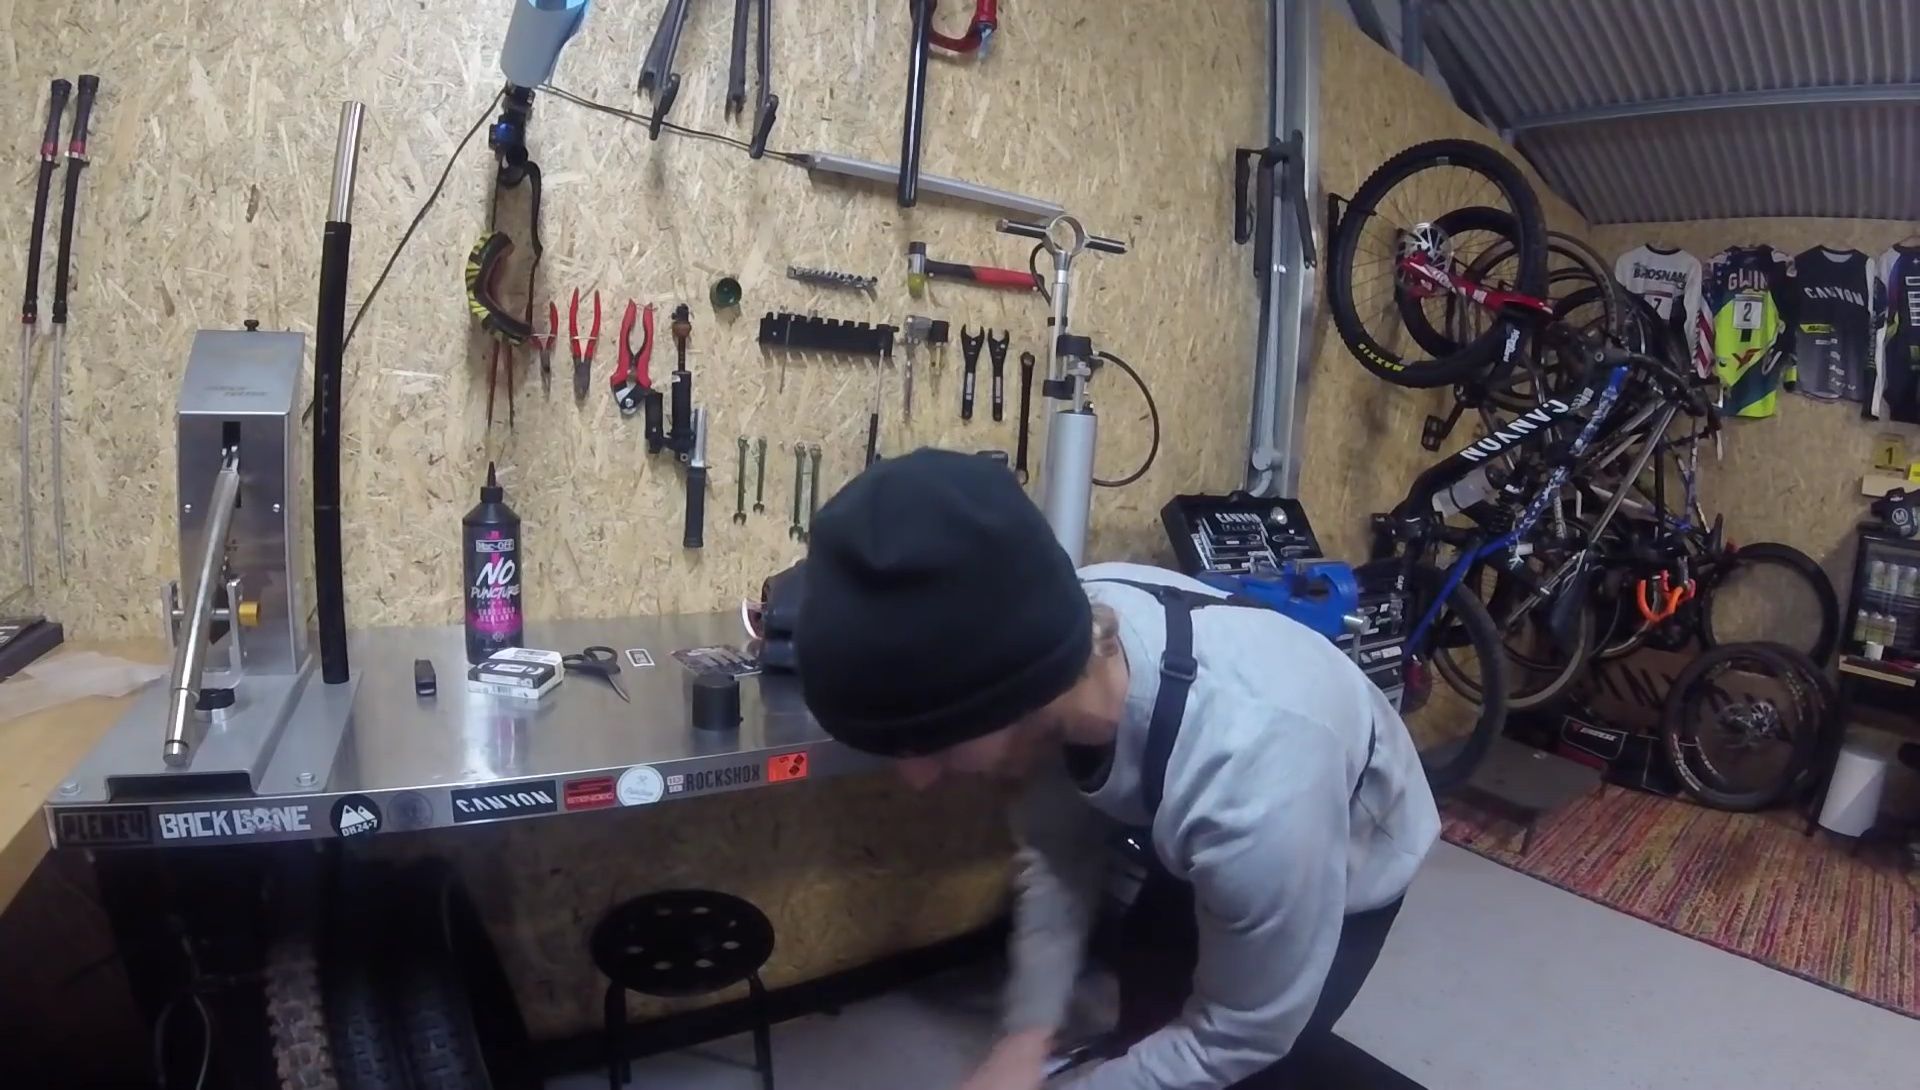
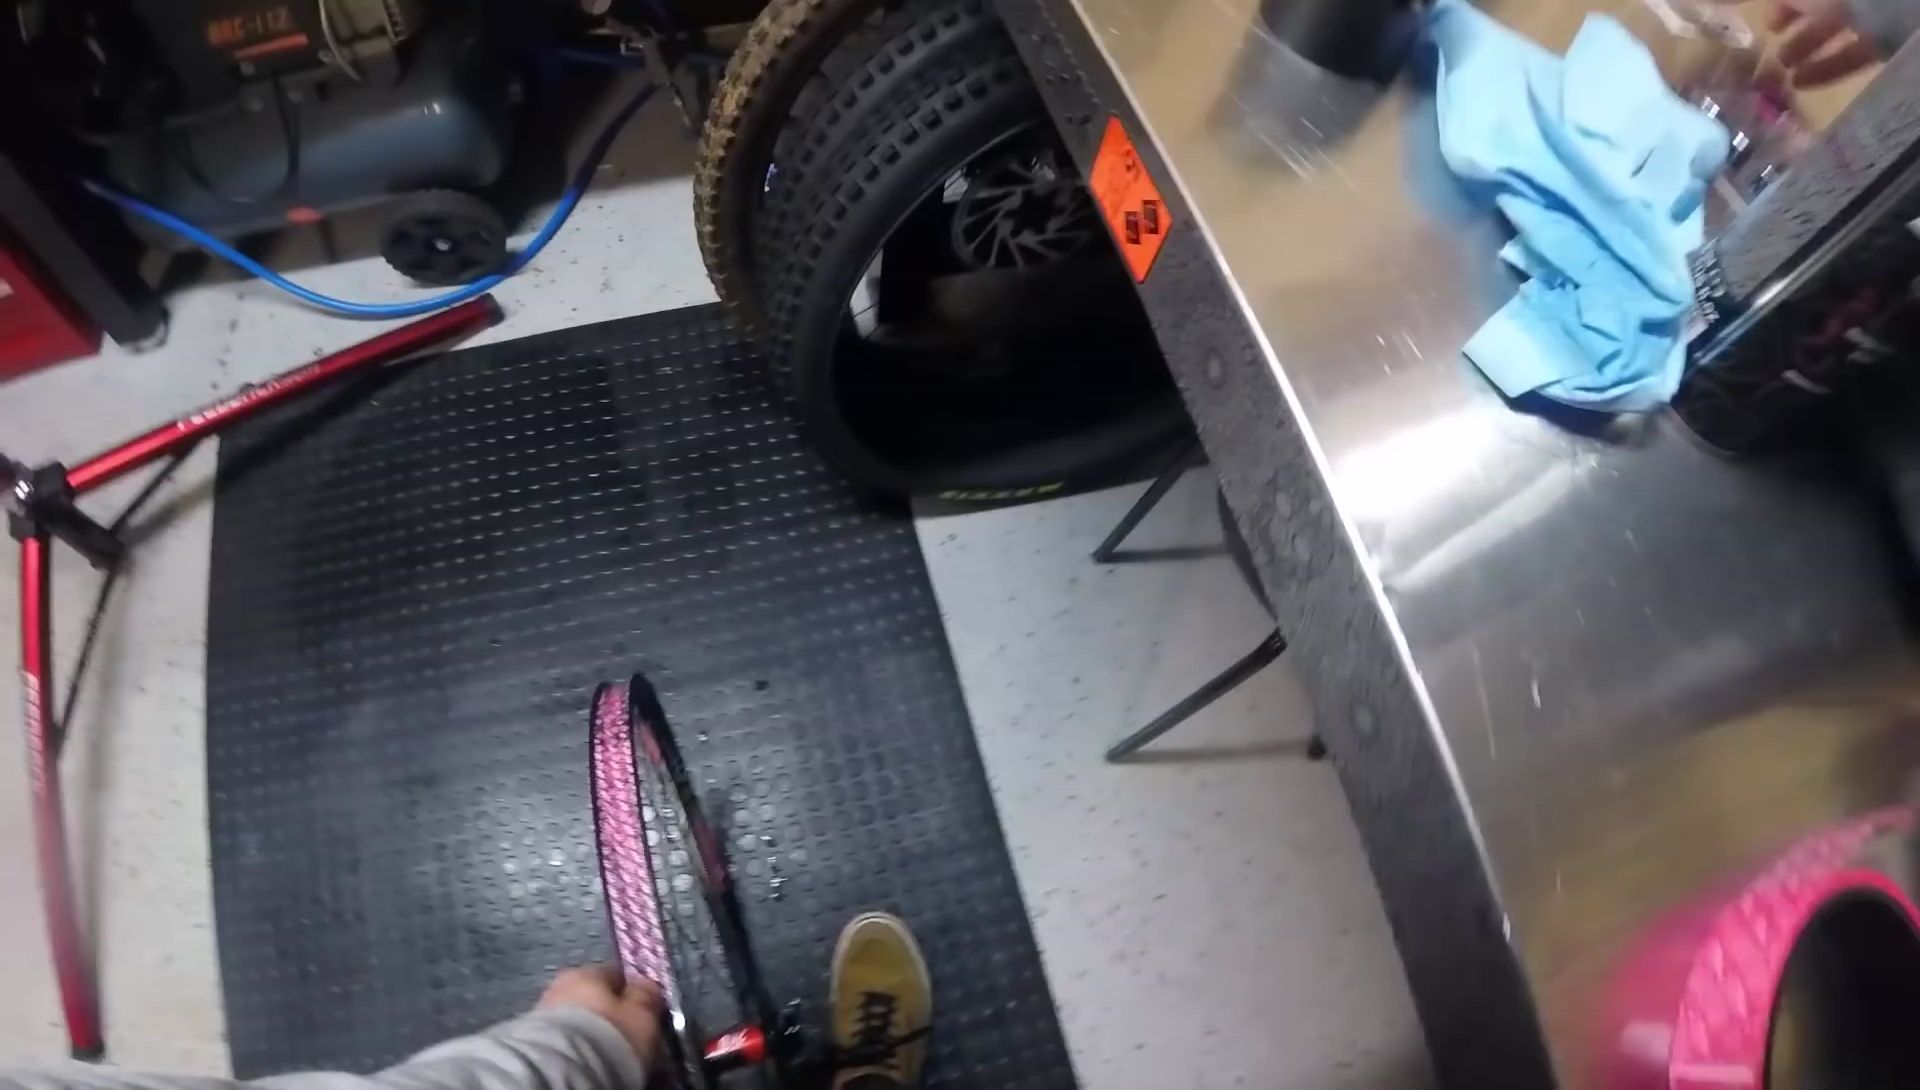
Preparing the Rim
Begin by thoroughly cleaning the rim bed using isopropyl alcohol or a suitable cleaner. Remove any dirt, debris, or old sealant residue. This is crucial for proper adhesion of the rim tape and a reliable seal. Take your time; a clean rim bed is vital for a successful tubeless setup.
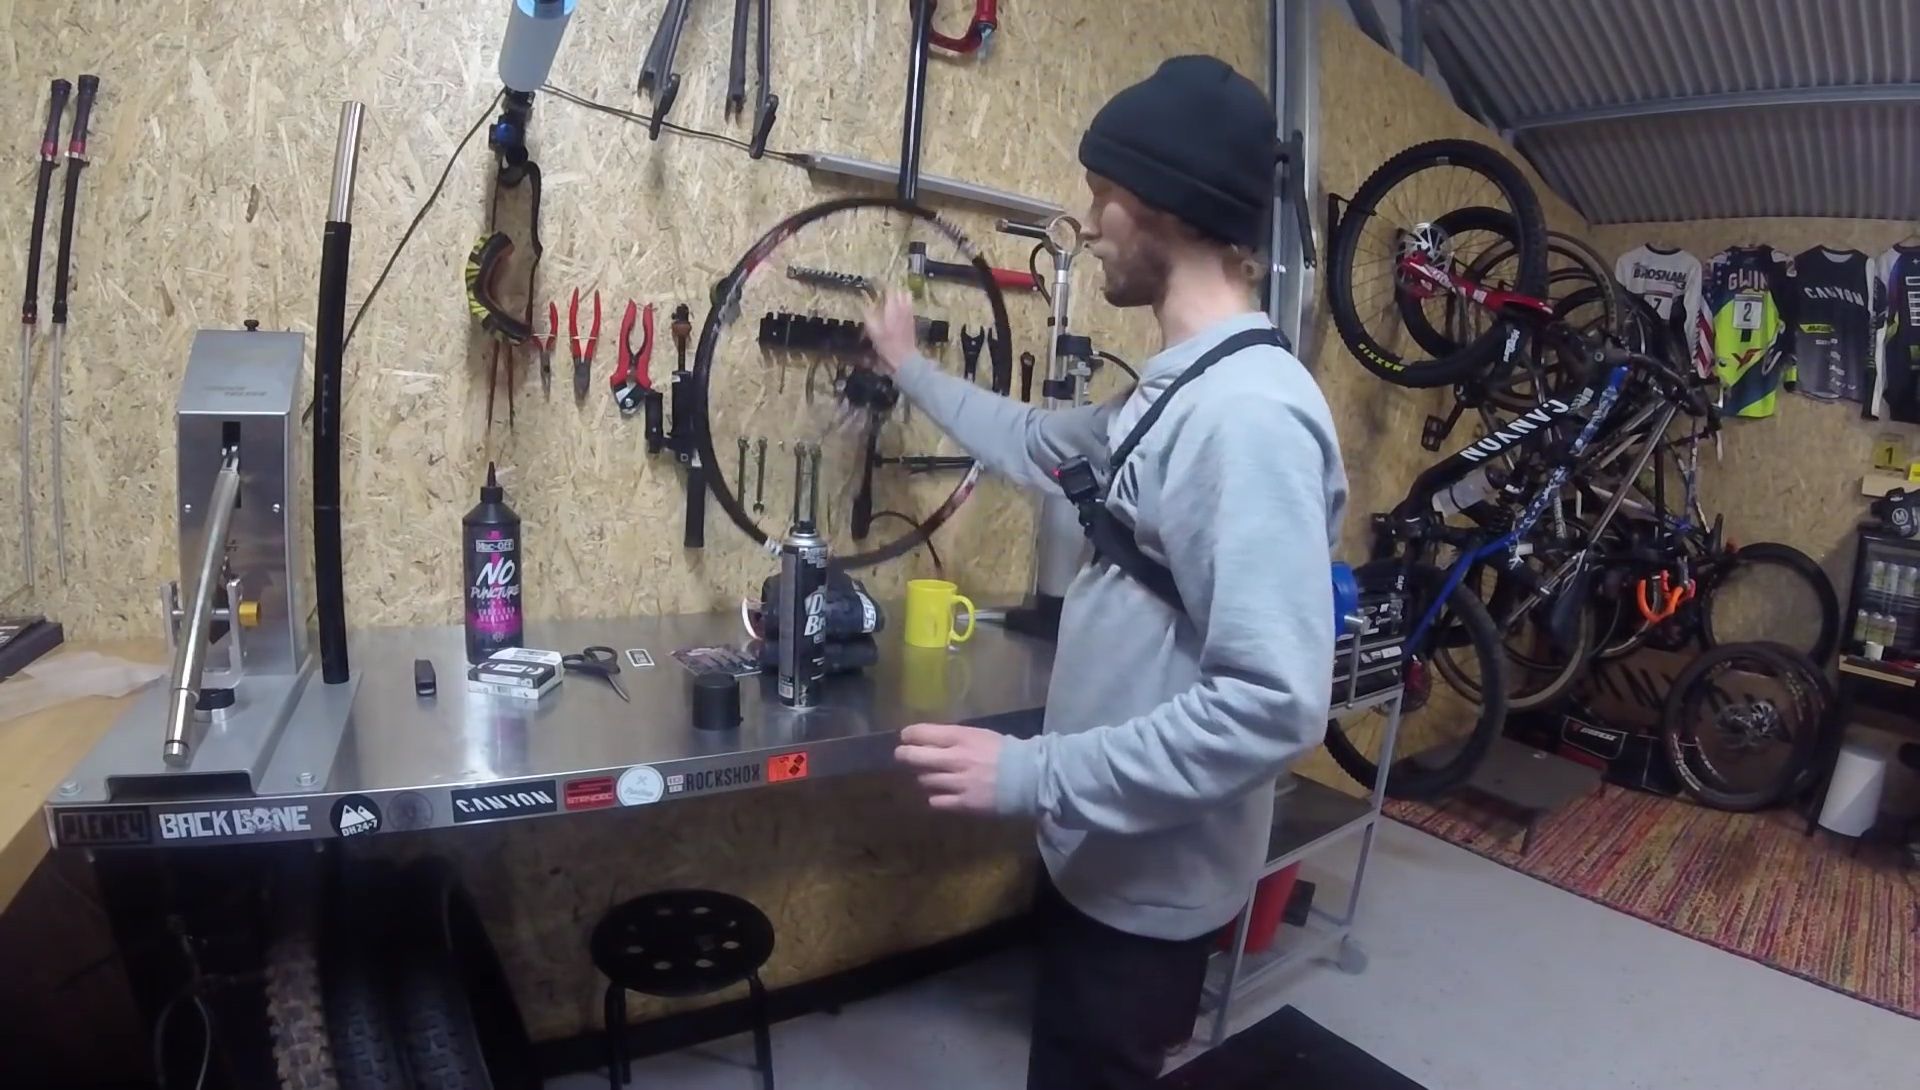
Ensure the rim is free of any imperfections that could compromise the seal. Inspect the rim for any dents or damage that may cause sealant to leak. Applying a layer of thicker rim tape before the main rim tape can help protect against spoke holes and improve overall durability.
Cleanliness is key to preventing leaks and ensuring the sealant adheres effectively to the rim.
Installing Rim Tape
Carefully apply the rim tape, ensuring a smooth, consistent overlap. Start opposite the valve hole and work your way around, pressing firmly to create a secure seal. The overlap should be slightly snug, preventing any gaps or inconsistencies.
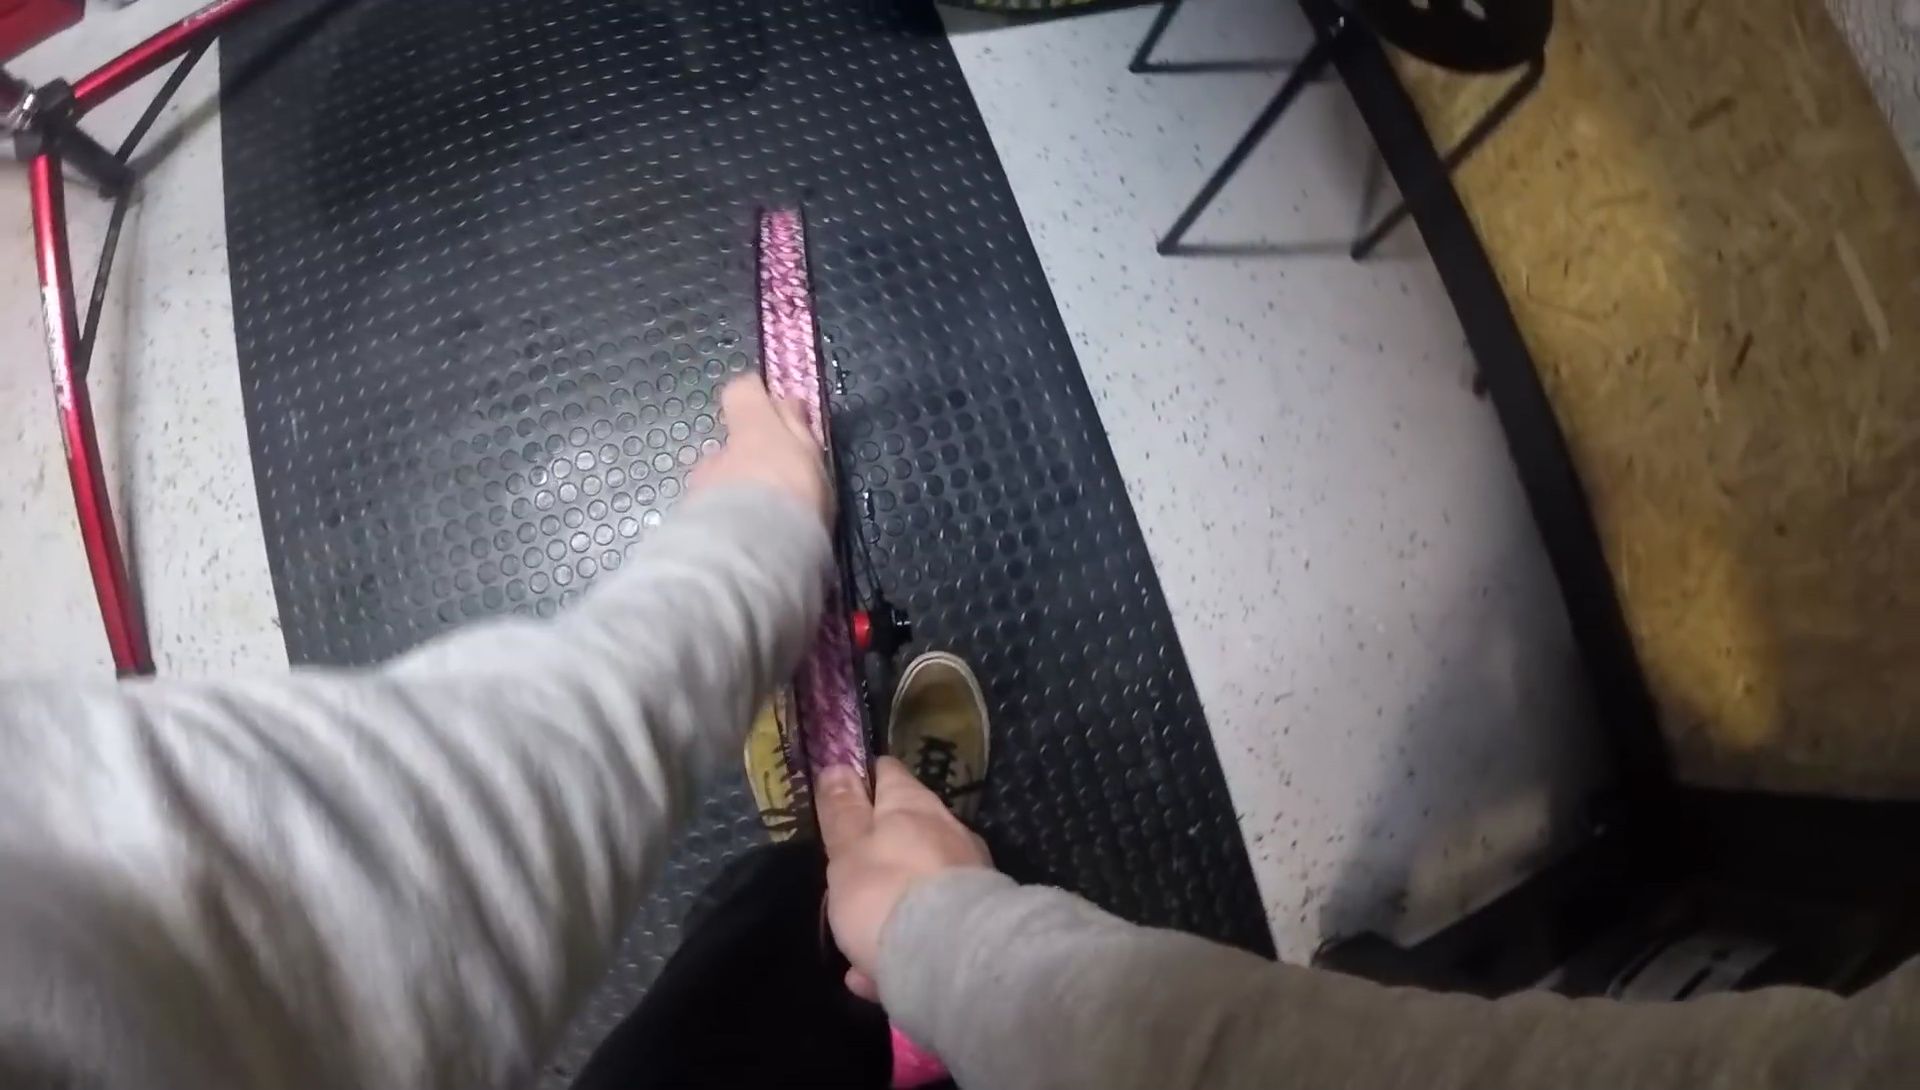
Pay close attention to the valve area for a tight seal. Use a sticker or additional tape to reinforce the seam for extra security. Using the correct width of rim tape is crucial for a proper fit and to prevent leaks.
Precise rim tape application is critical for preventing air leaks. Be patient and methodical in this step.
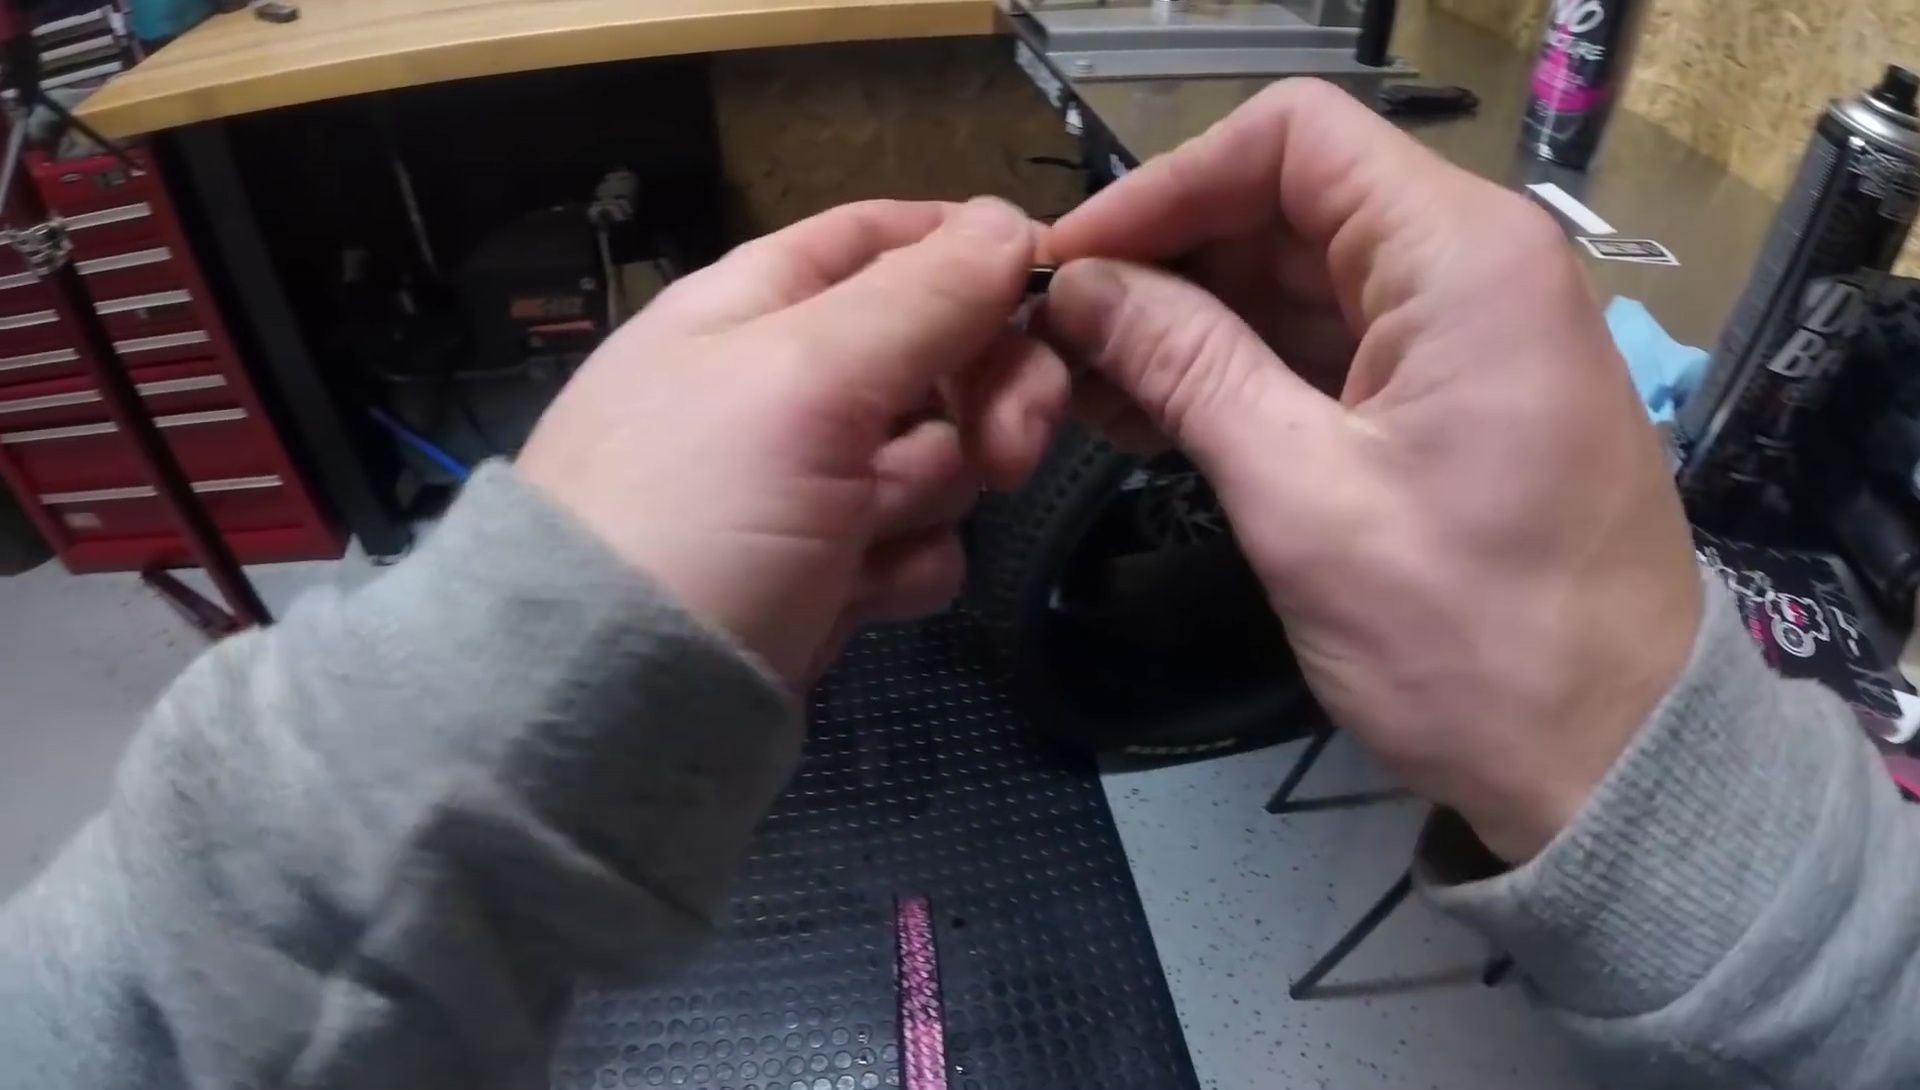
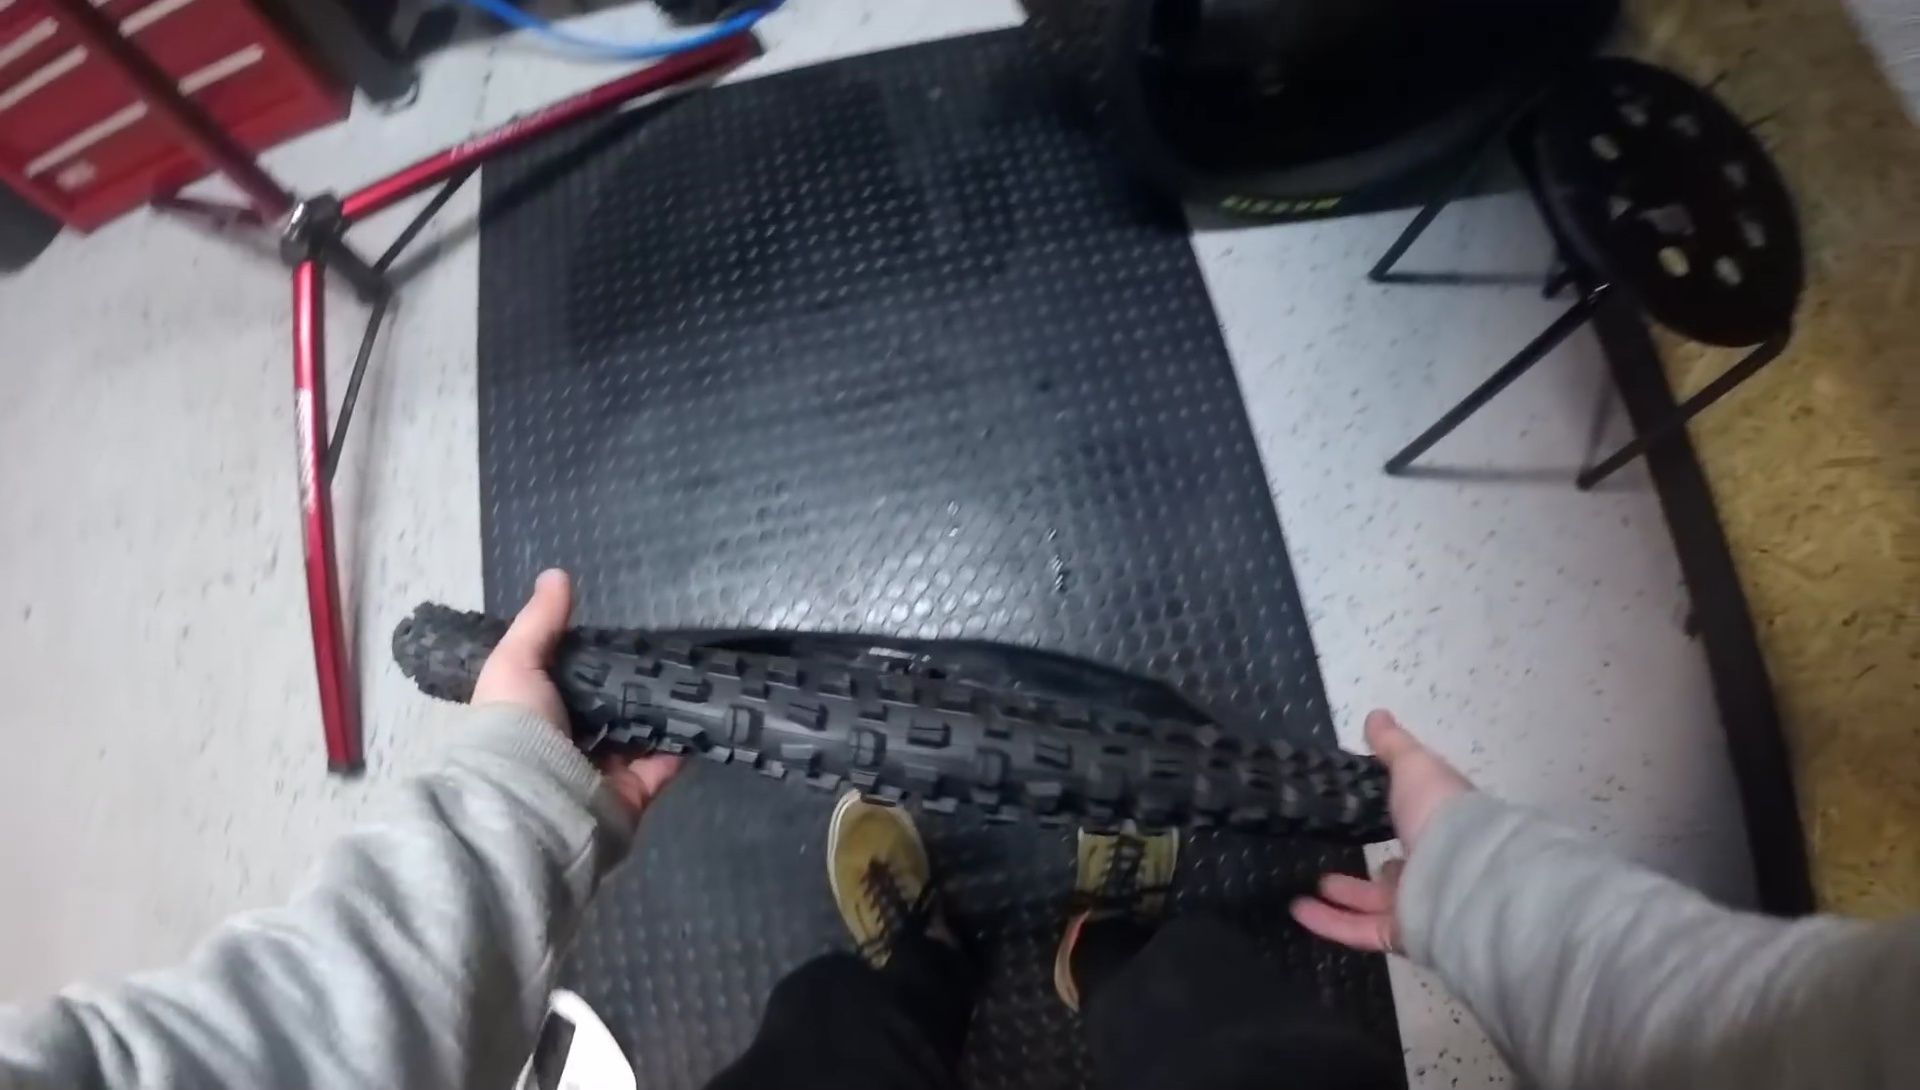
Installing the Valve and Tire
Install the valve core using a valve stem. Gently seat the valve into the rim. Ensure a tight fit to prevent leaks. Use a tool to help with valve installation if needed. Make sure the valve is centered and properly sealed for optimum performance.
Carefully mount the tire onto the rim, ensuring it's properly seated on the rim bed. You may need tire levers to aid with this process. The bead should fit snugly around the rim; if any gaps remain, reposition the tire.

A properly seated tire bead will improve overall seal and prevent leaks.
Adding Sealant and Inflation
Add the recommended amount of sealant, ensuring even distribution around the inside of the tire. Shake the bottle well before use to properly distribute sealant particles. Adding the correct amount of sealant is crucial for a reliable seal.
Inflate the tire slowly to approximately 30-40 psi using a high-volume floor pump. Watch for the tire bead to seat fully on both sides of the rim. This step ensures adequate sealant distribution within the tire.
Monitor the tire pressure and add more sealant as needed for a strong and lasting seal.
Final Checks and Conclusion
Once the tire is fully inflated, inspect for any leaks. Rotate the wheel to ensure sealant is evenly distributed. Listen for any hissing sounds that may indicate a leak.
Check tire pressure regularly to ensure optimal performance. If any leaks are detected, recheck the rim tape, valve, and tire seat. Repair any gaps or damage as needed.
This tubeless tire setup is relatively straightforward if you have patience and the right tools. Remember, cleaning and proper sealant distribution are key to success.