This DIY guide details the installation of a Trek Dual Sport NCS fender, offering a step-by-step walkthrough of the process. While designed for Trek FX series and later models, this project showcases the installation on a Trek Dual Sport, highlighting the adjustments required for a perfect fit. The video demonstrates that even with initial compatibility challenges, a successful and aesthetically pleasing installation is achievable with patience and precision. Expect to encounter some bending and manipulation of the fender to achieve proper alignment and secure mounting.This guide emphasizes the importance of careful examination of the components before beginning the installation. The process involves several iterative adjustments to ensure a snug and secure fit. Through detailed visuals, we'll show you how to overcome potential challenges and achieve a functional and durable fender installation, transforming your Trek Dual Sport’s ride and protecting it from the elements. This guide empowers you to tackle this DIY project confidently, resulting in a satisfying upgrade to your bicycle.
Read more: 5 Best Child Bike Fenders to Keep Your Little One Dry
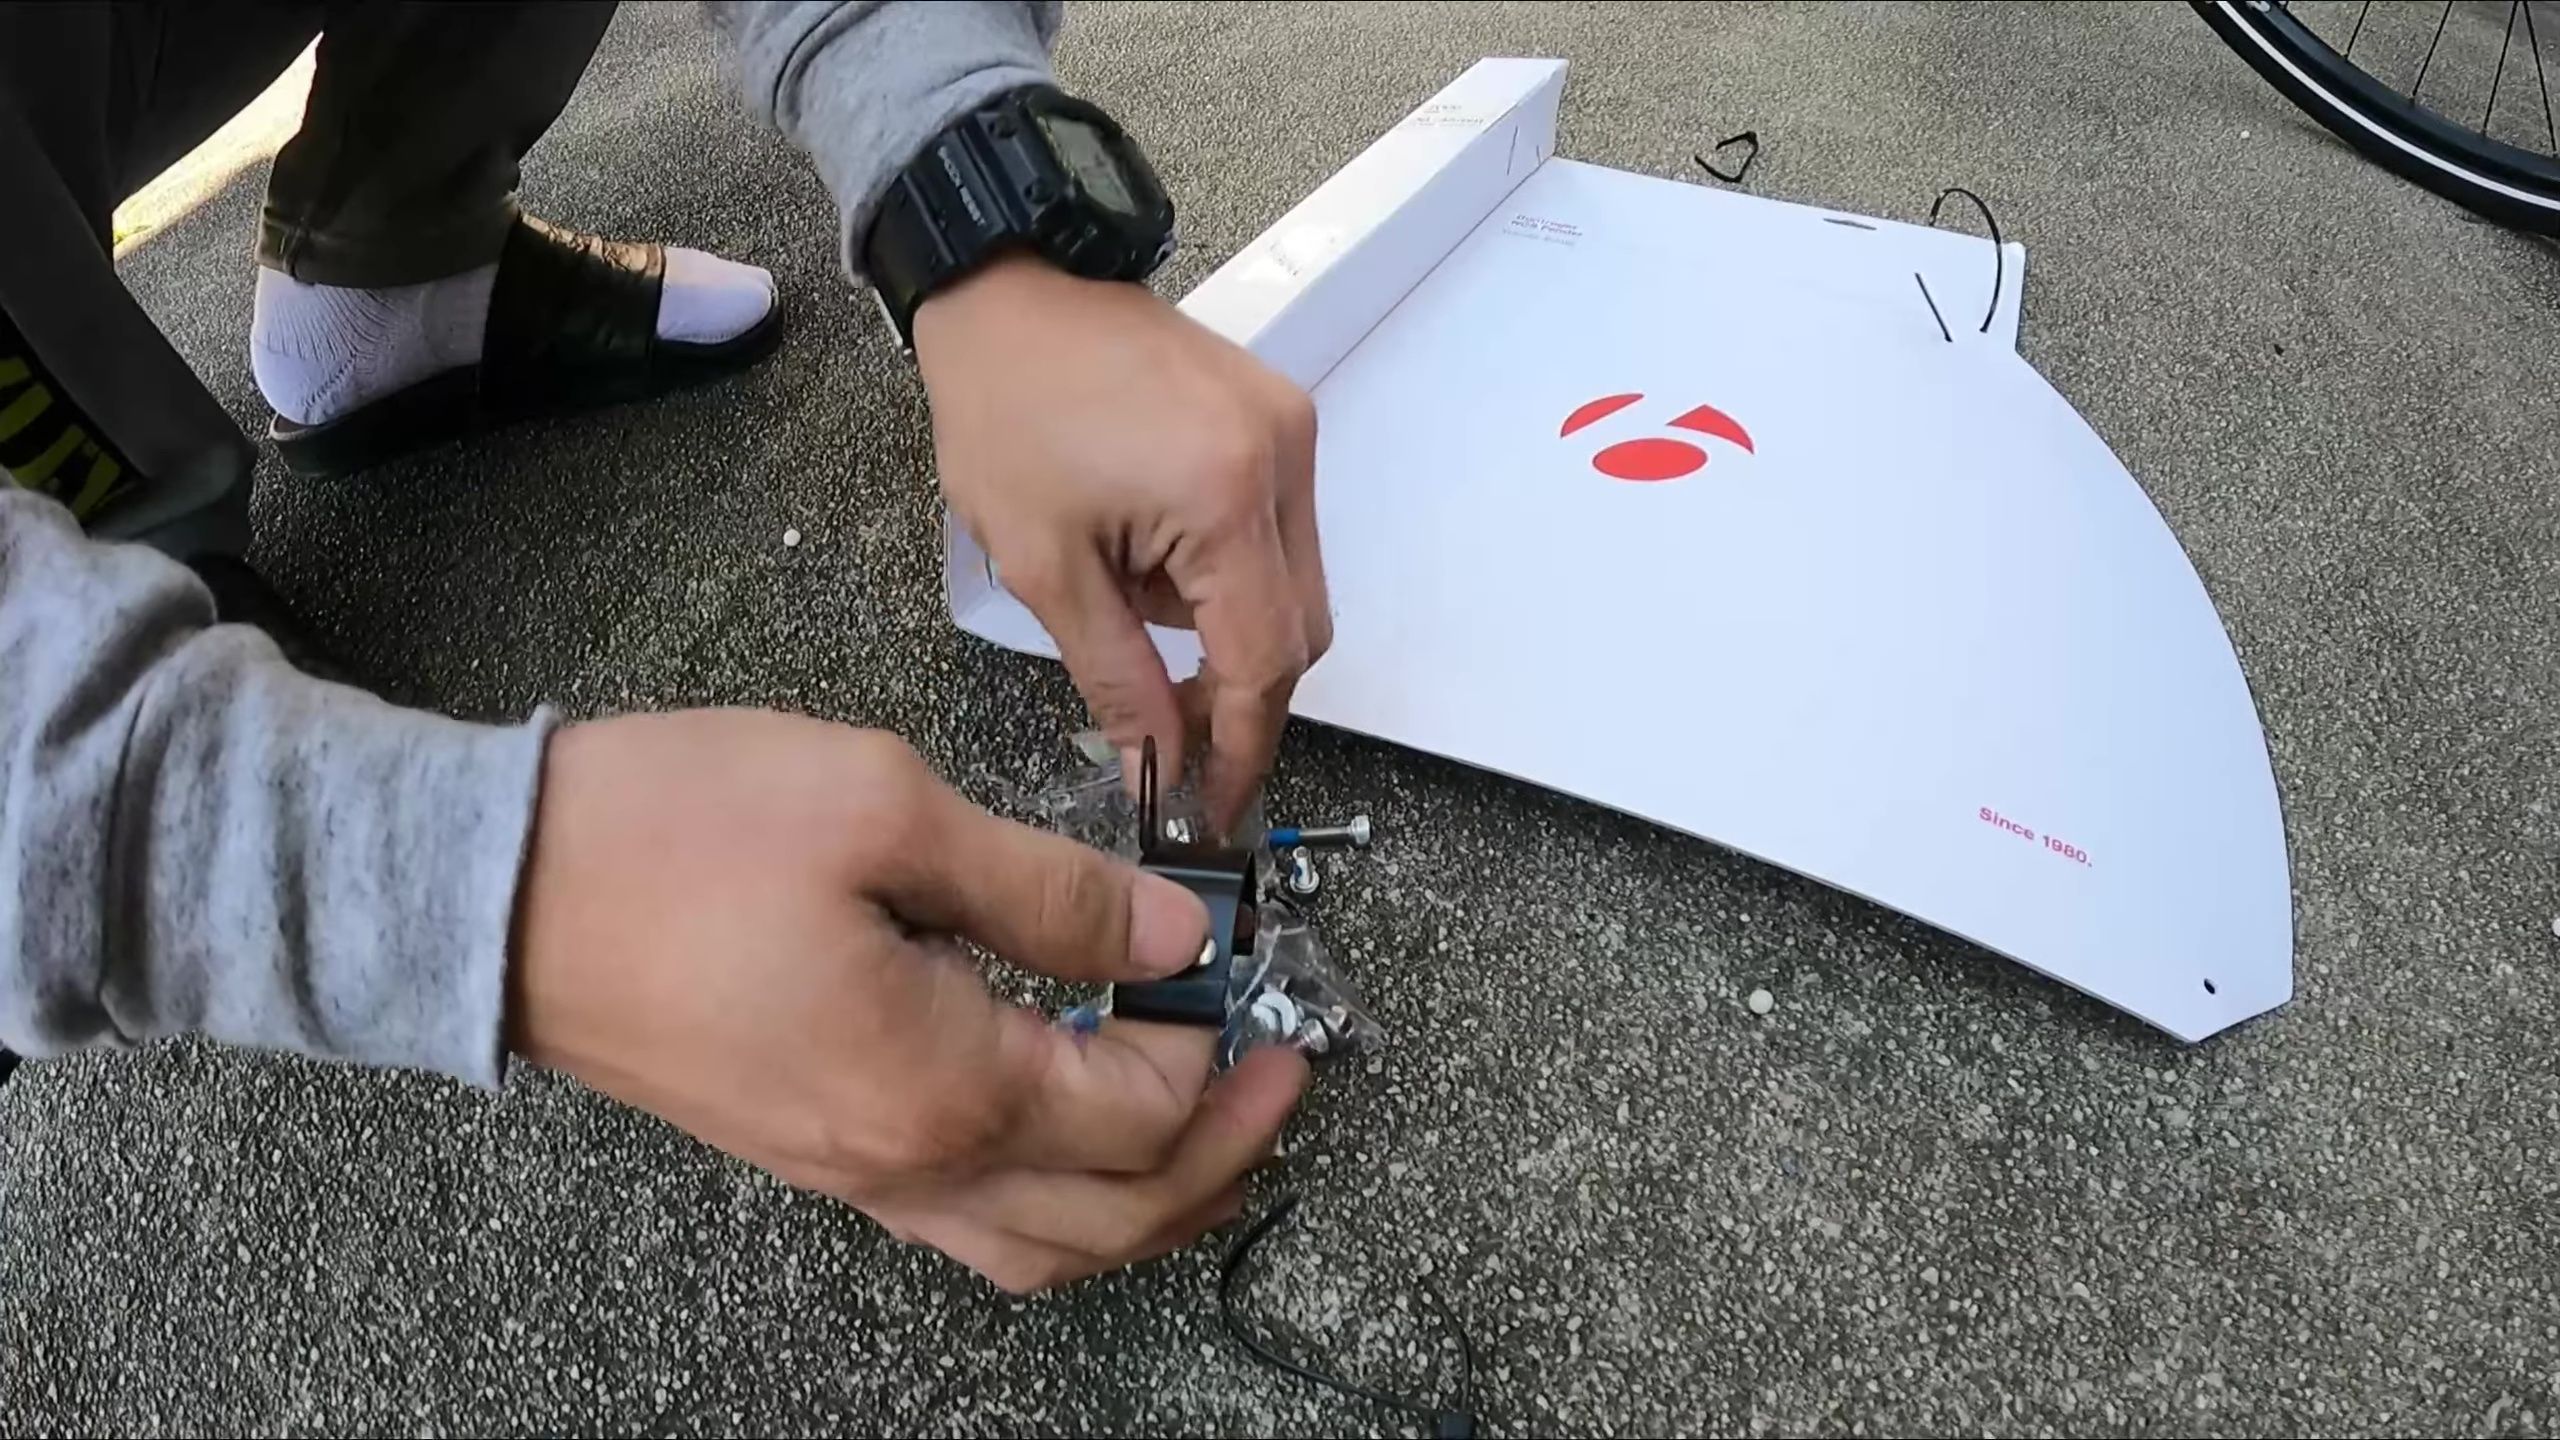
Initial Setup and Component Overview
The project begins with the unpacking and initial assessment of the Trek Dual Sport NCS fender. The video shows the fender components and the bike itself, a Trek Dual Sport. The goal is a successful installation despite some potential challenges. Careful examination of the parts is crucial before starting the assembly.

The installer initially comments on the fender's intended use with the bike, noting that it's designed for Trek FX series and later models, but some adjustments might be necessary for this particular bike.
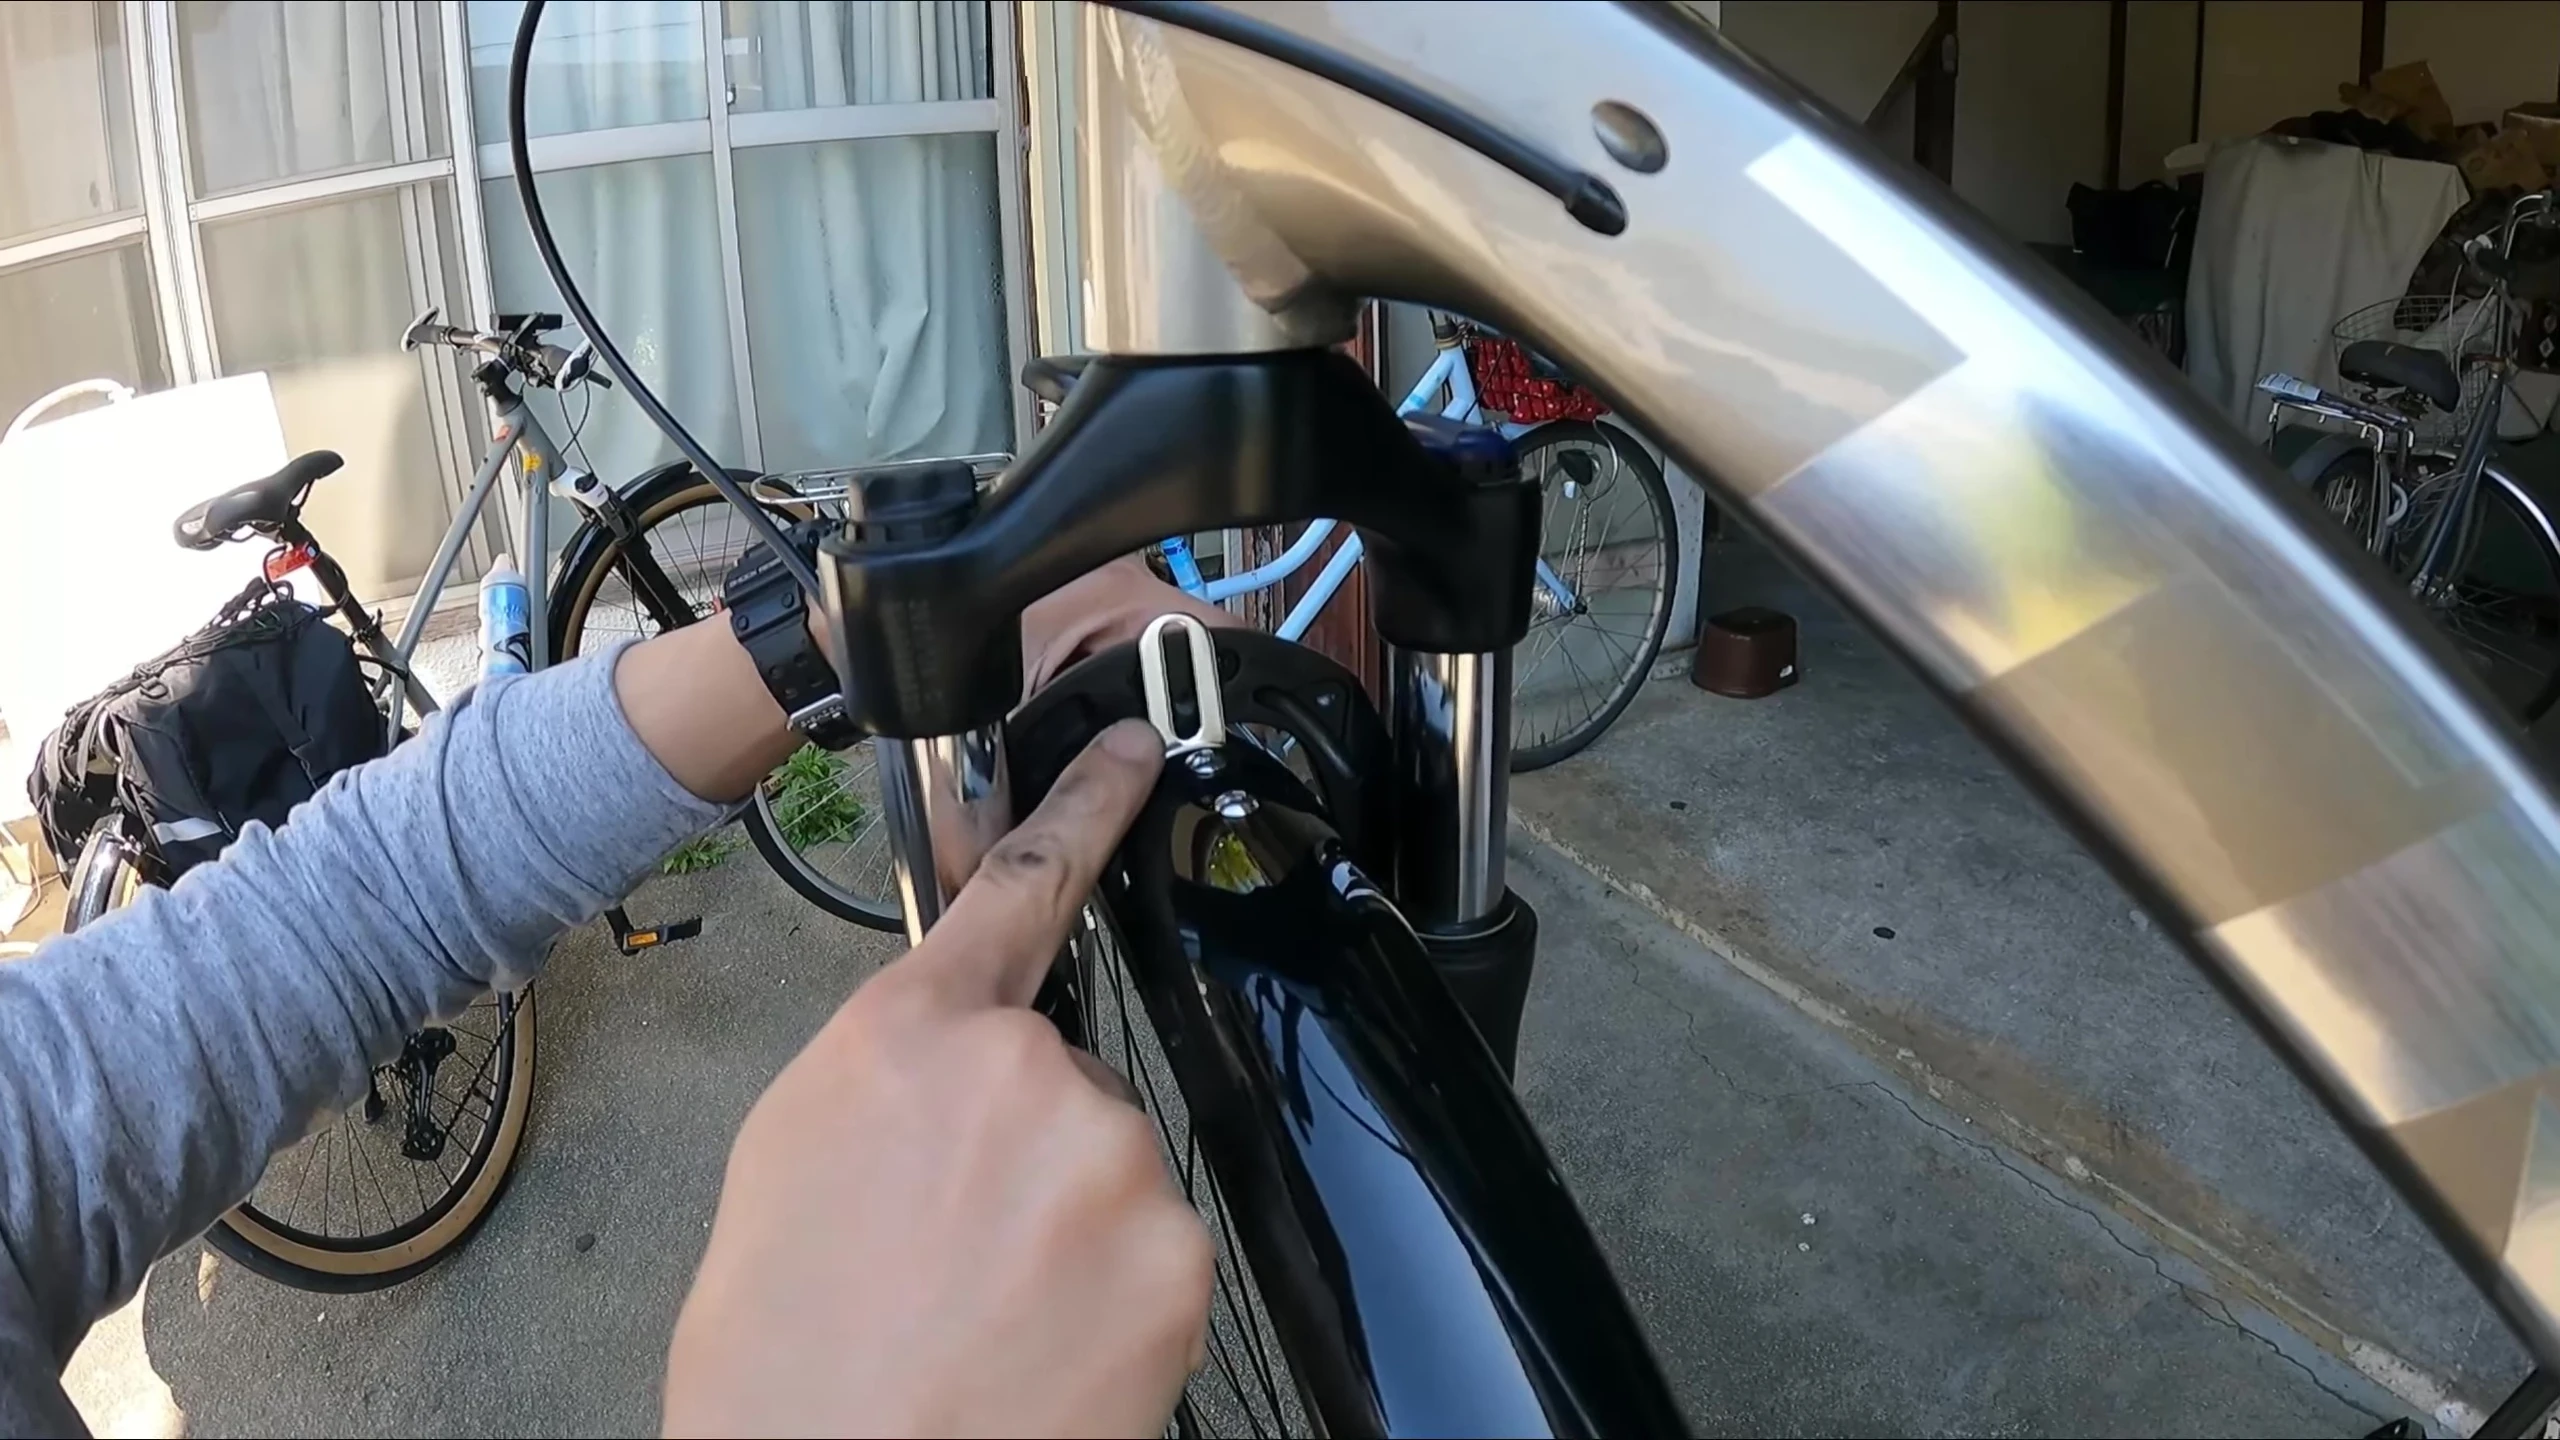
Addressing Installation Challenges
The video highlights a key issue: the fender doesn't fit perfectly. The installer mentions the need for adjustments or bending to make the fender compatible with the specific bike model. This involves careful manipulation of the fender to achieve proper alignment and secure mounting.
The process seems to involve several iterations of adjustments and minor bends to properly align and secure the fender. Precision and patience are highlighted as key aspects of this step.
Fine-tuning and Final Adjustments
Further adjustments and bending are shown. The installer focuses on precise placement to ensure both aesthetics and secure attachment. This stage demonstrates the importance of detail-oriented work. The installer carefully manipulates the fender to fit the bike's frame.
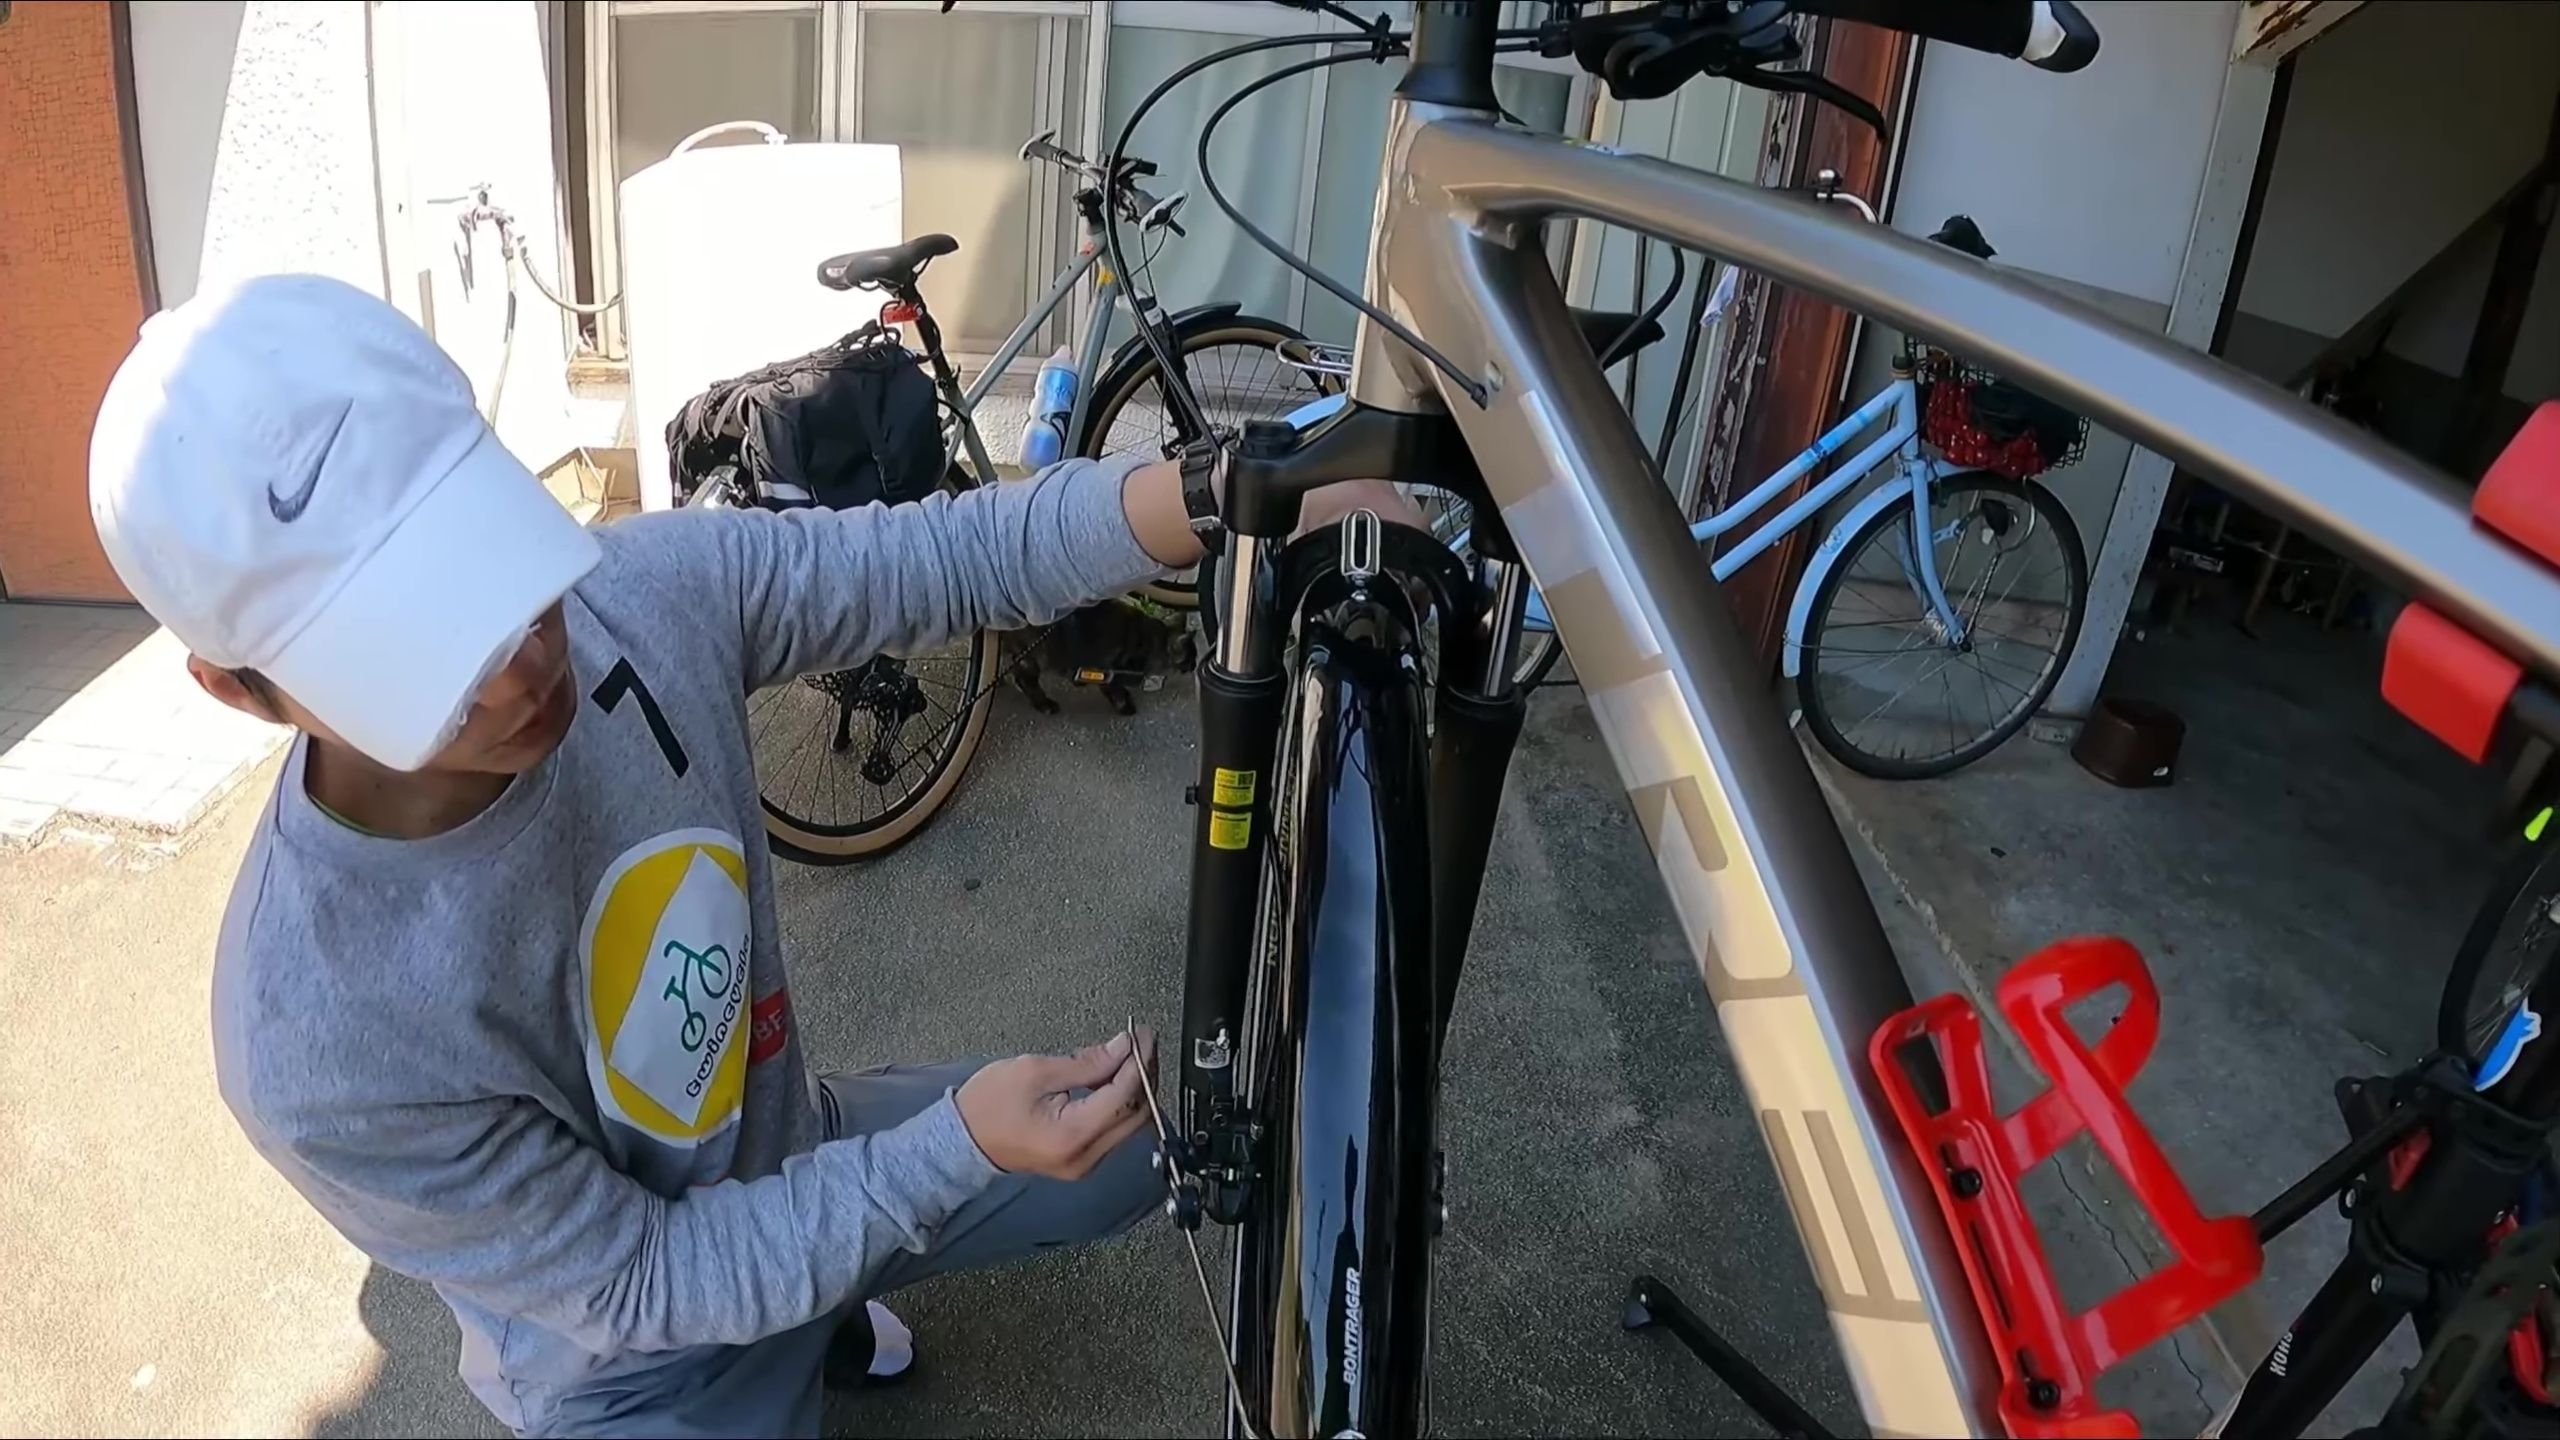
The final adjustment is crucial for a clean and secure fit, maximizing both the fender's protection and its overall appearance. The end result will determine the success of the entire installation.
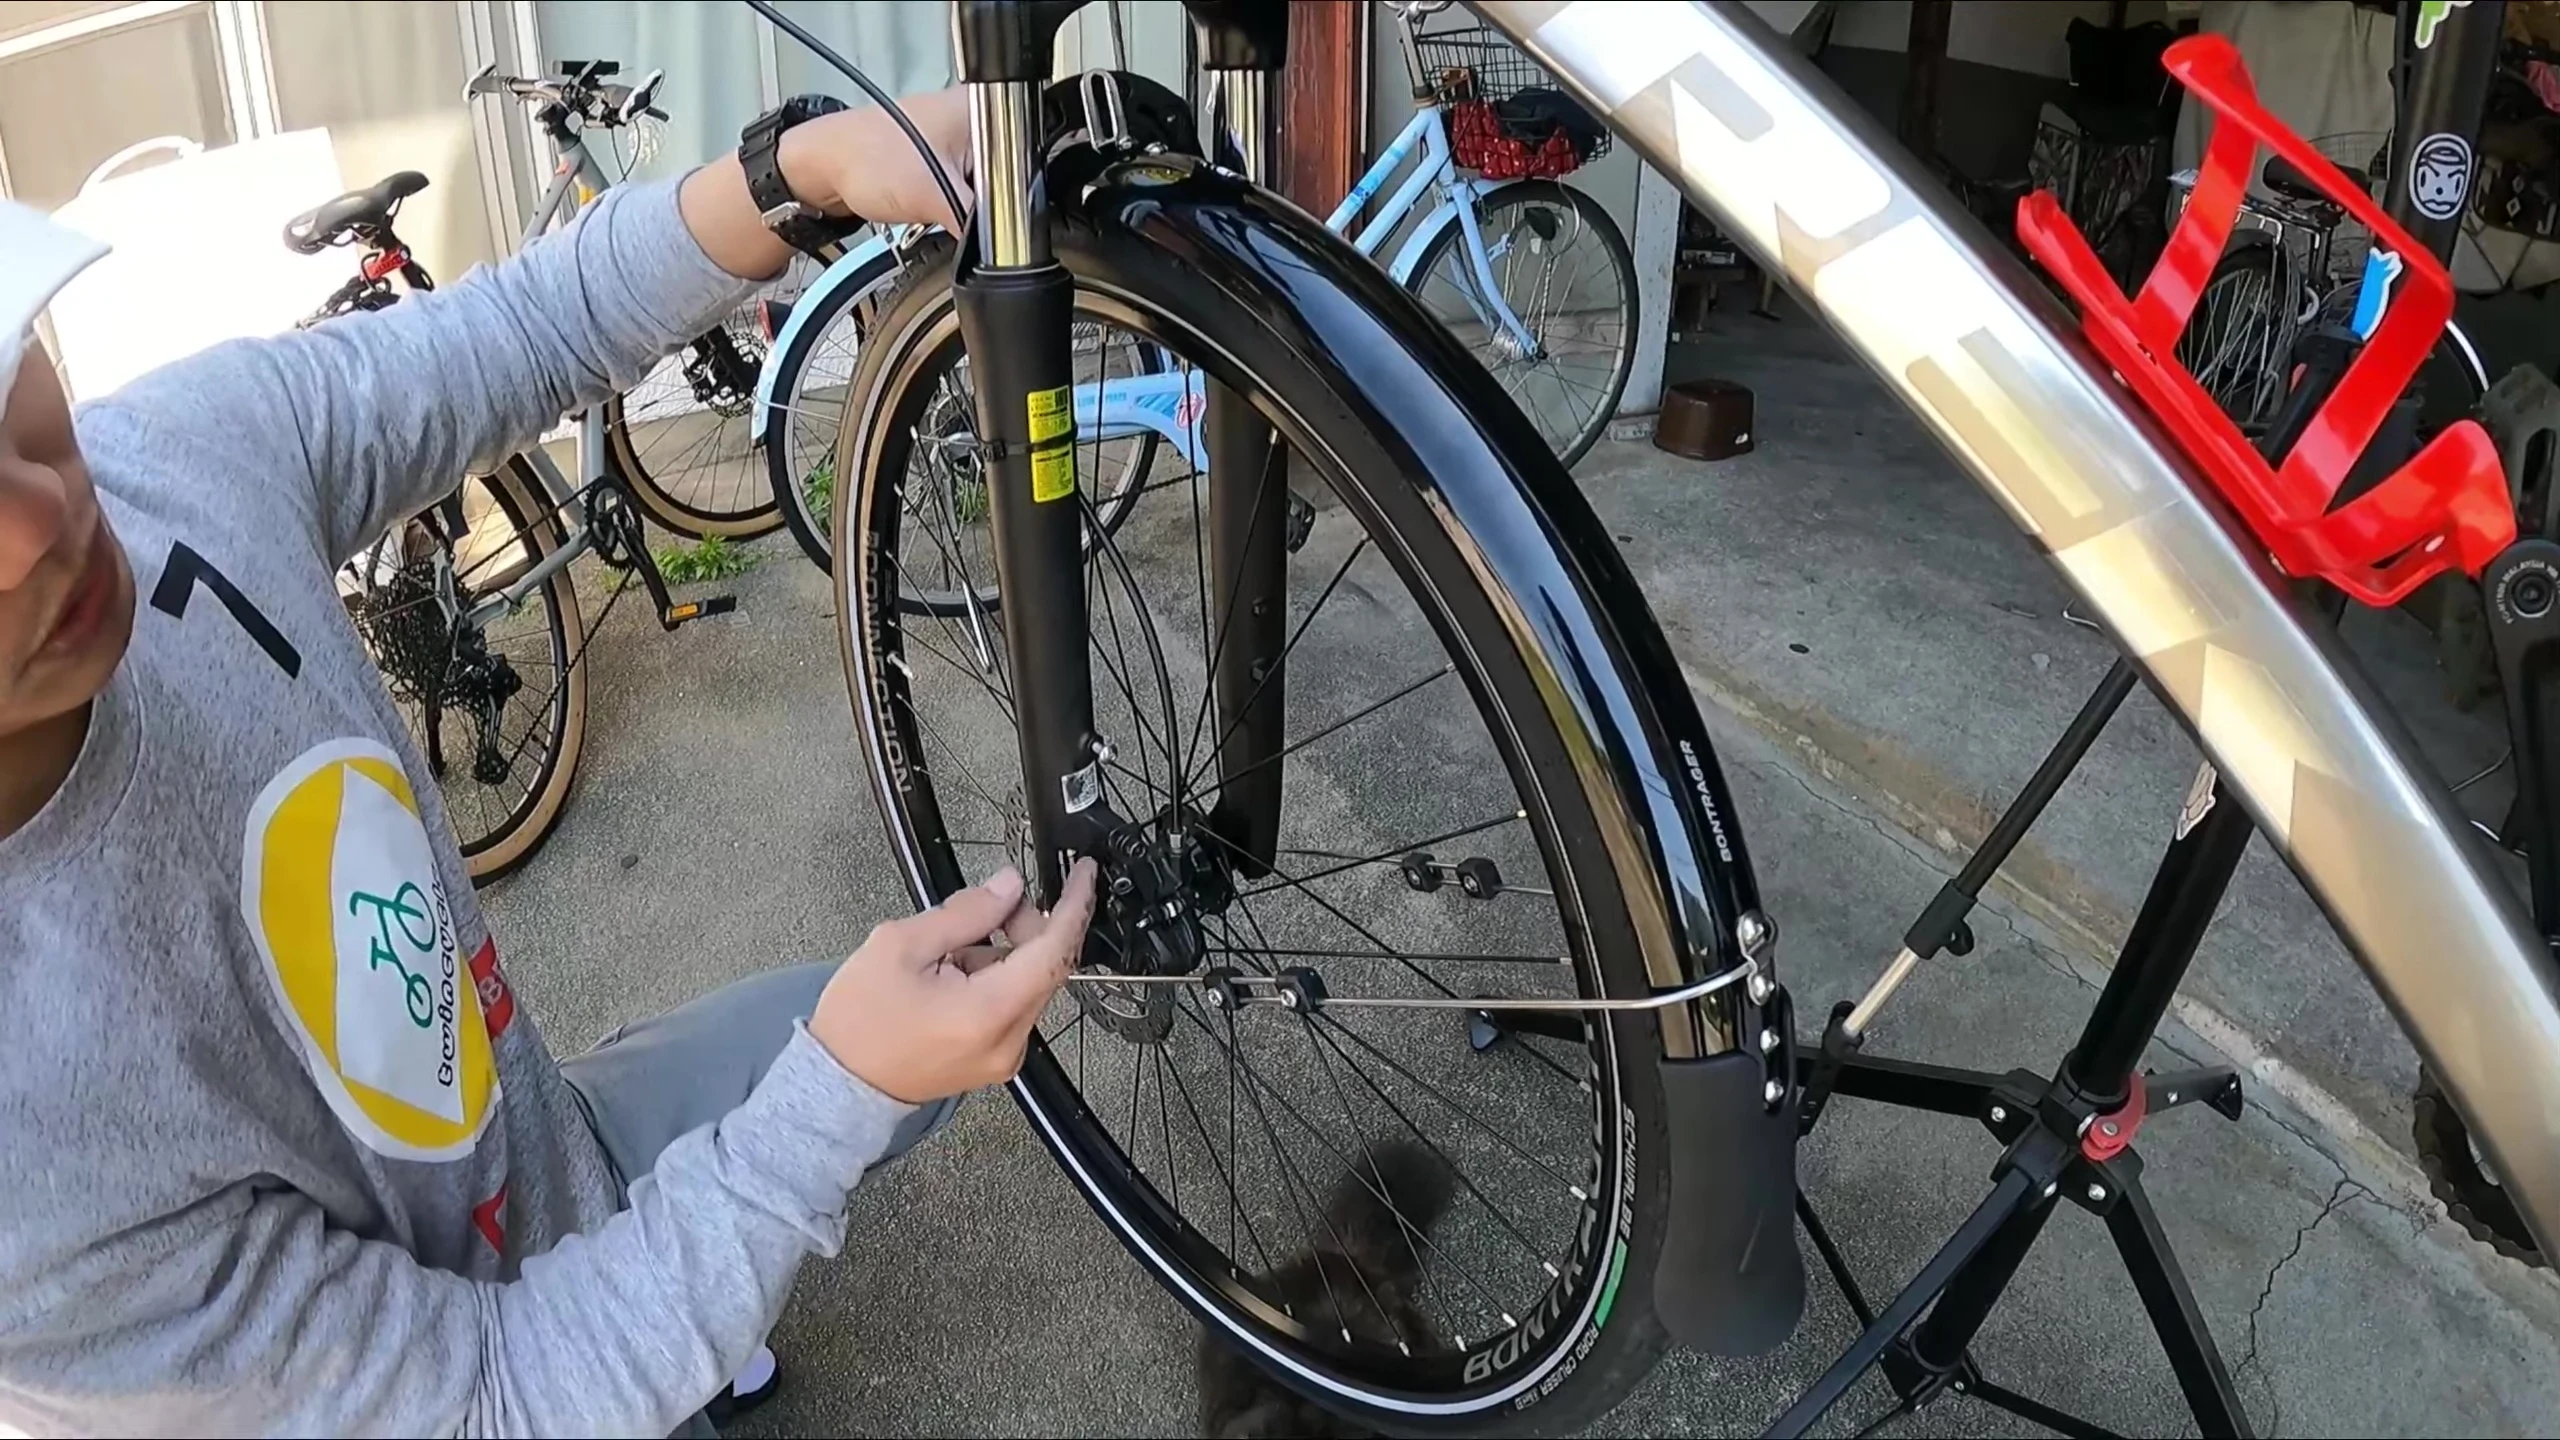
Conclusion: Installation Success and Product Assessment
While the initial fit posed challenges, the video demonstrates a successful installation of the Trek Dual Sport NCS fender after careful adjustments. This highlights the importance of patience and precision. The process showcases the potential for a satisfying DIY project.

Overall, the Trek Dual Sport NCS fender seems to be a functional and durable addition to the bike, although it might require some manual adjustments for a perfect fit. This installation emphasizes the importance of being prepared for modifications during assembly.