Keep your mountain bike clean and protected from the elements with the RockShox MTB fender! This DIY guide provides a step-by-step walkthrough for a straightforward installation, ensuring your ride remains mud-free and your components stay clean. Whether you're a seasoned mechanic or a beginner, this guide will walk you through the process, providing clear instructions and helpful tips for a secure and professional-looking finish. We'll cover everything from gathering the necessary tools to the final tightening and trimming, ensuring a successful installation every time.This guide focuses on the simple yet effective zip-tie mounting system. We'll show you how to properly position the fender, route the zip ties to avoid interfering with brake lines and other components, and achieve a snug, stable fit that can withstand even the toughest off-road conditions. With a few simple tools and a little patience, you'll be enjoying a cleaner, more enjoyable ride in no time. Let's get started and keep that mud where it belongs – off your bike!
Read more: 5 Best Child Bike Fenders to Keep Your Little One Dry
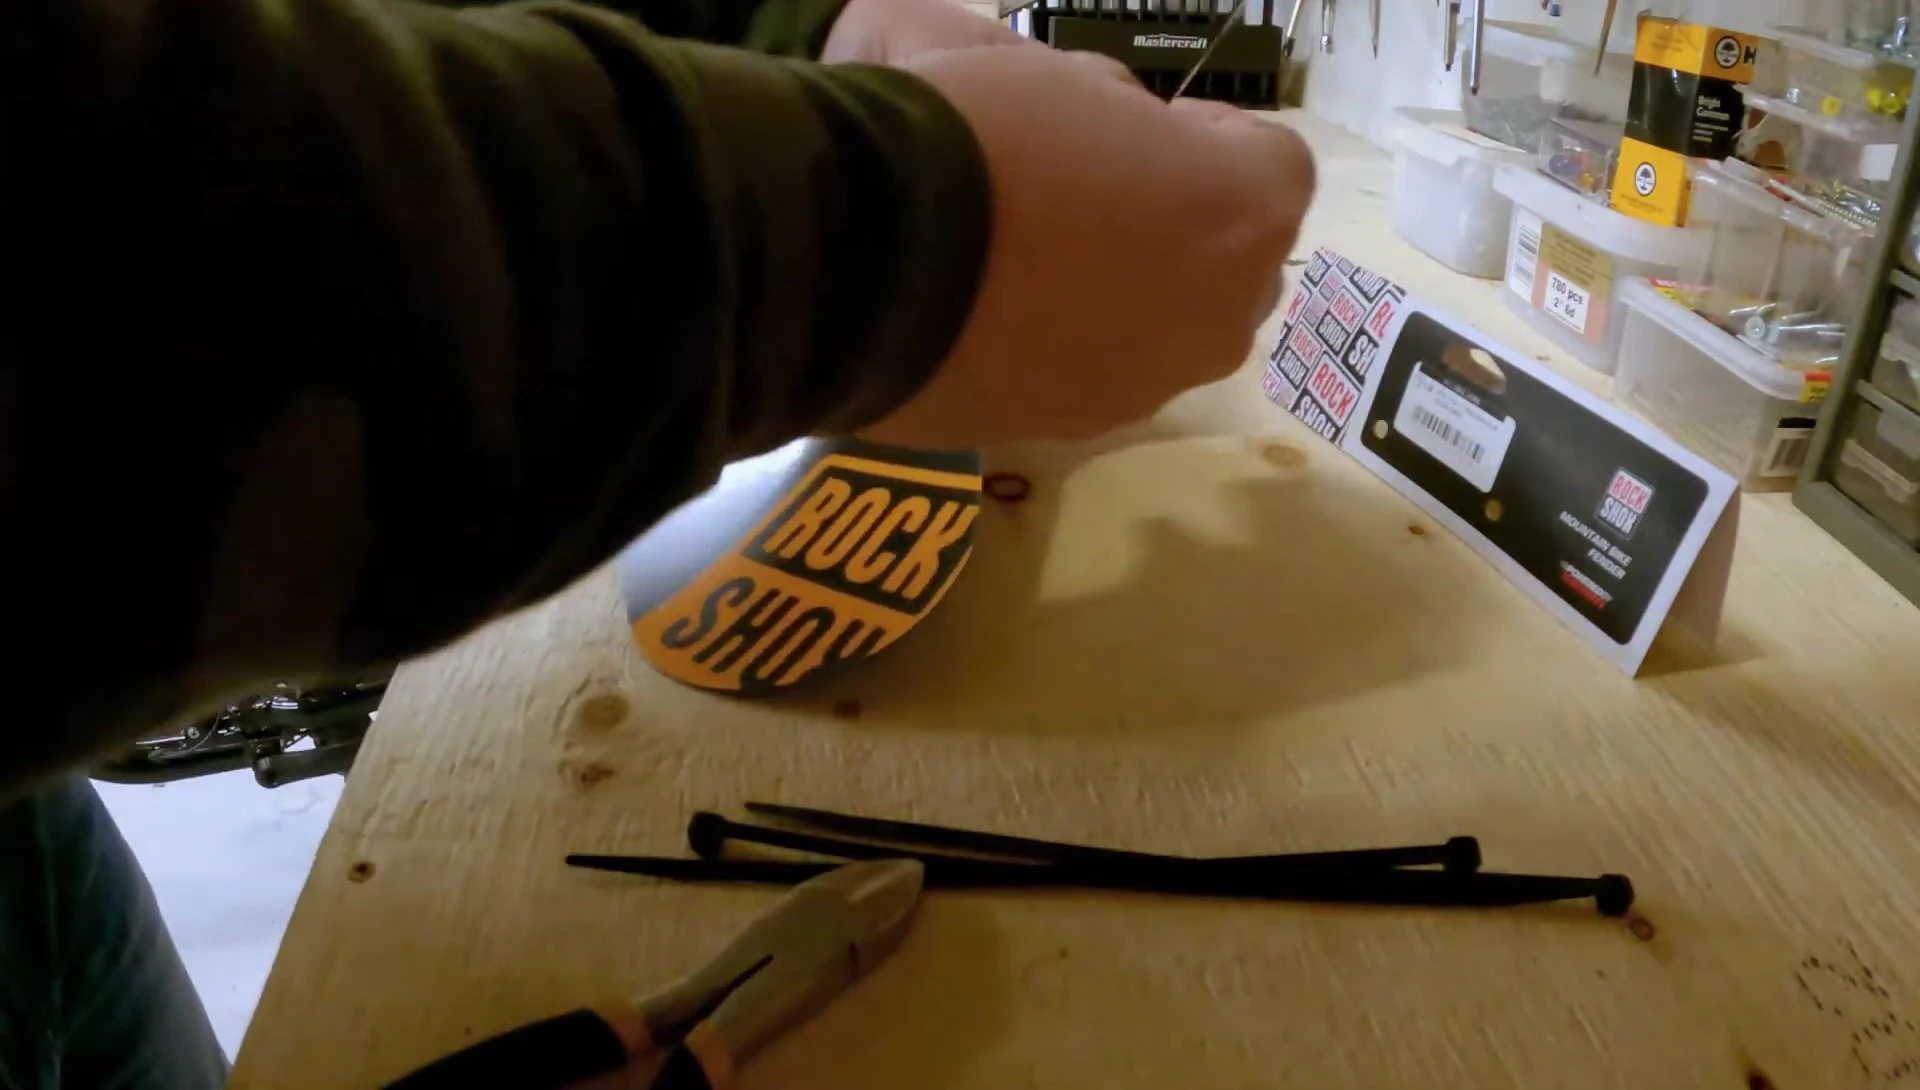
Gathering Your Tools and Materials
Before you begin, ensure you have the necessary tools. You'll need zip ties, specifically those designed for outdoor use, and a pair of zip tie cutters for a clean finish. Having the right tools makes the installation process much smoother and prevents damage to the fender or bike.
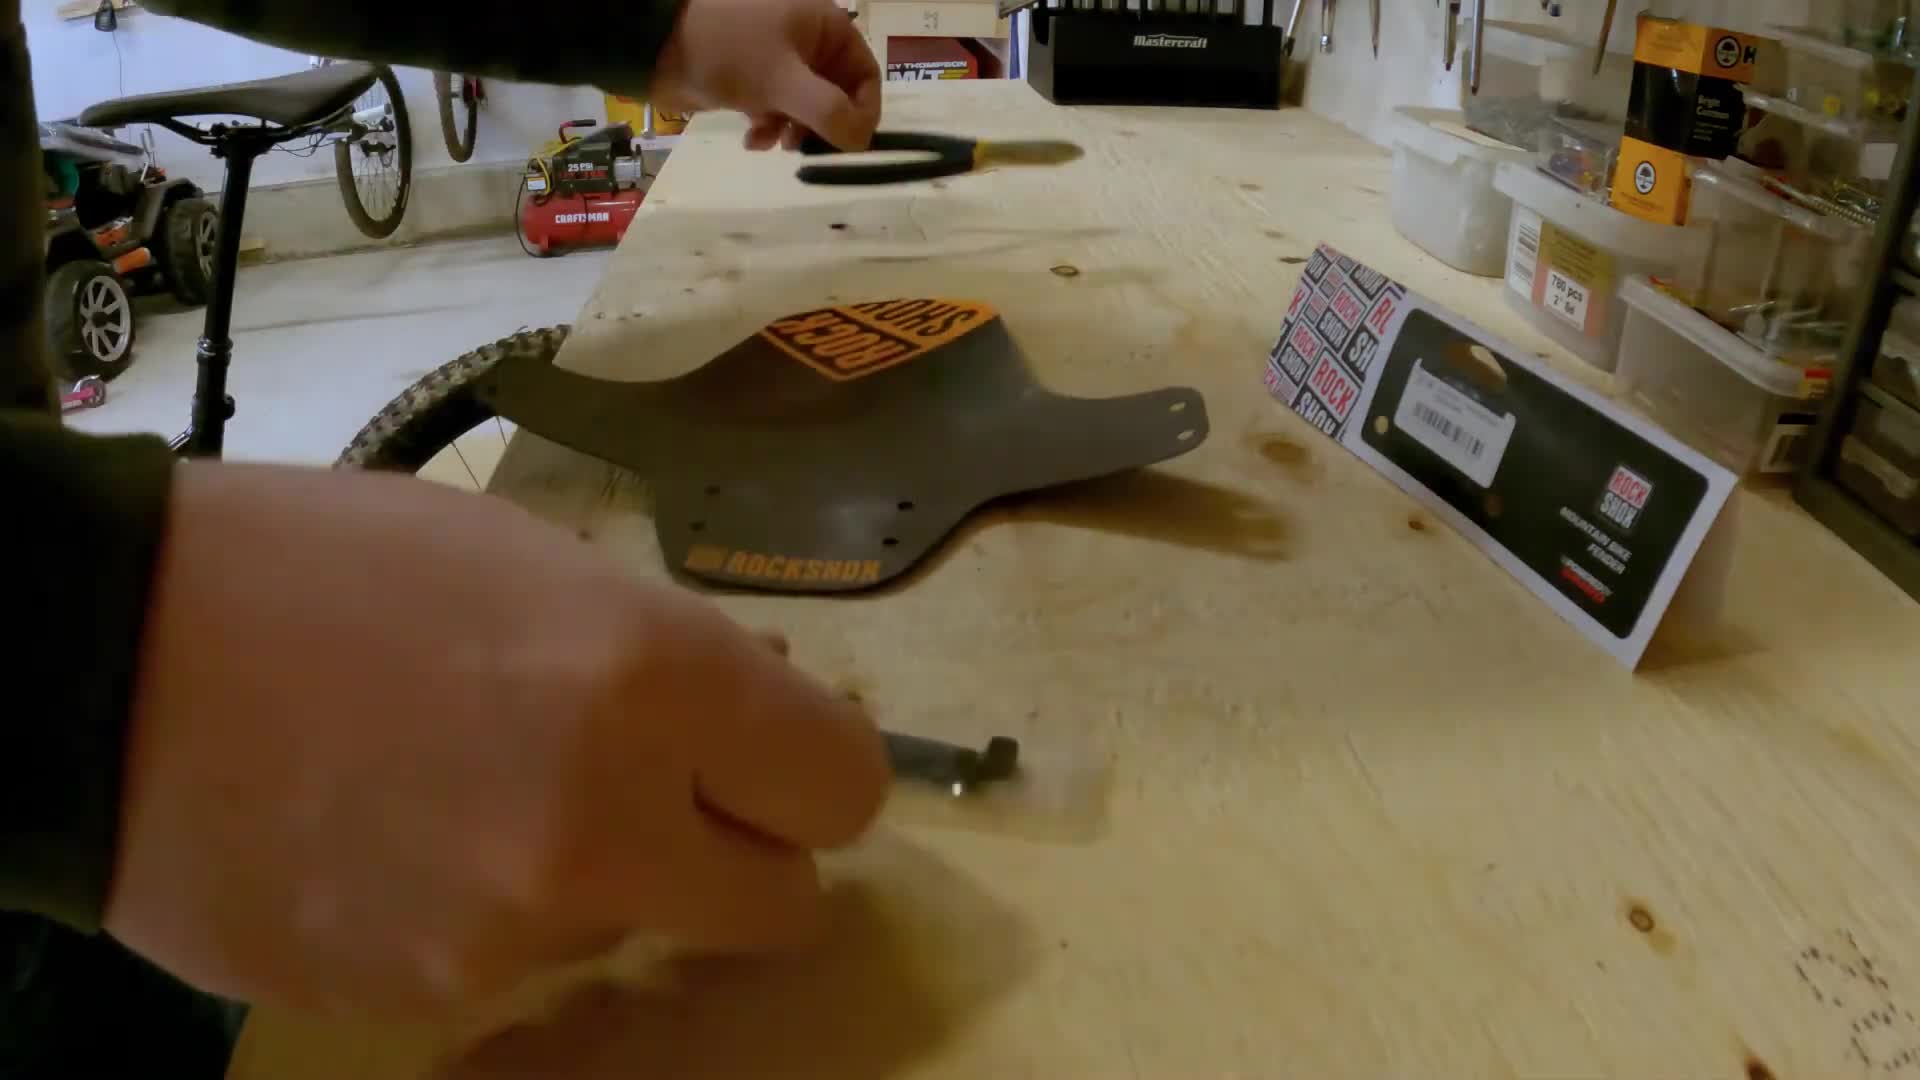
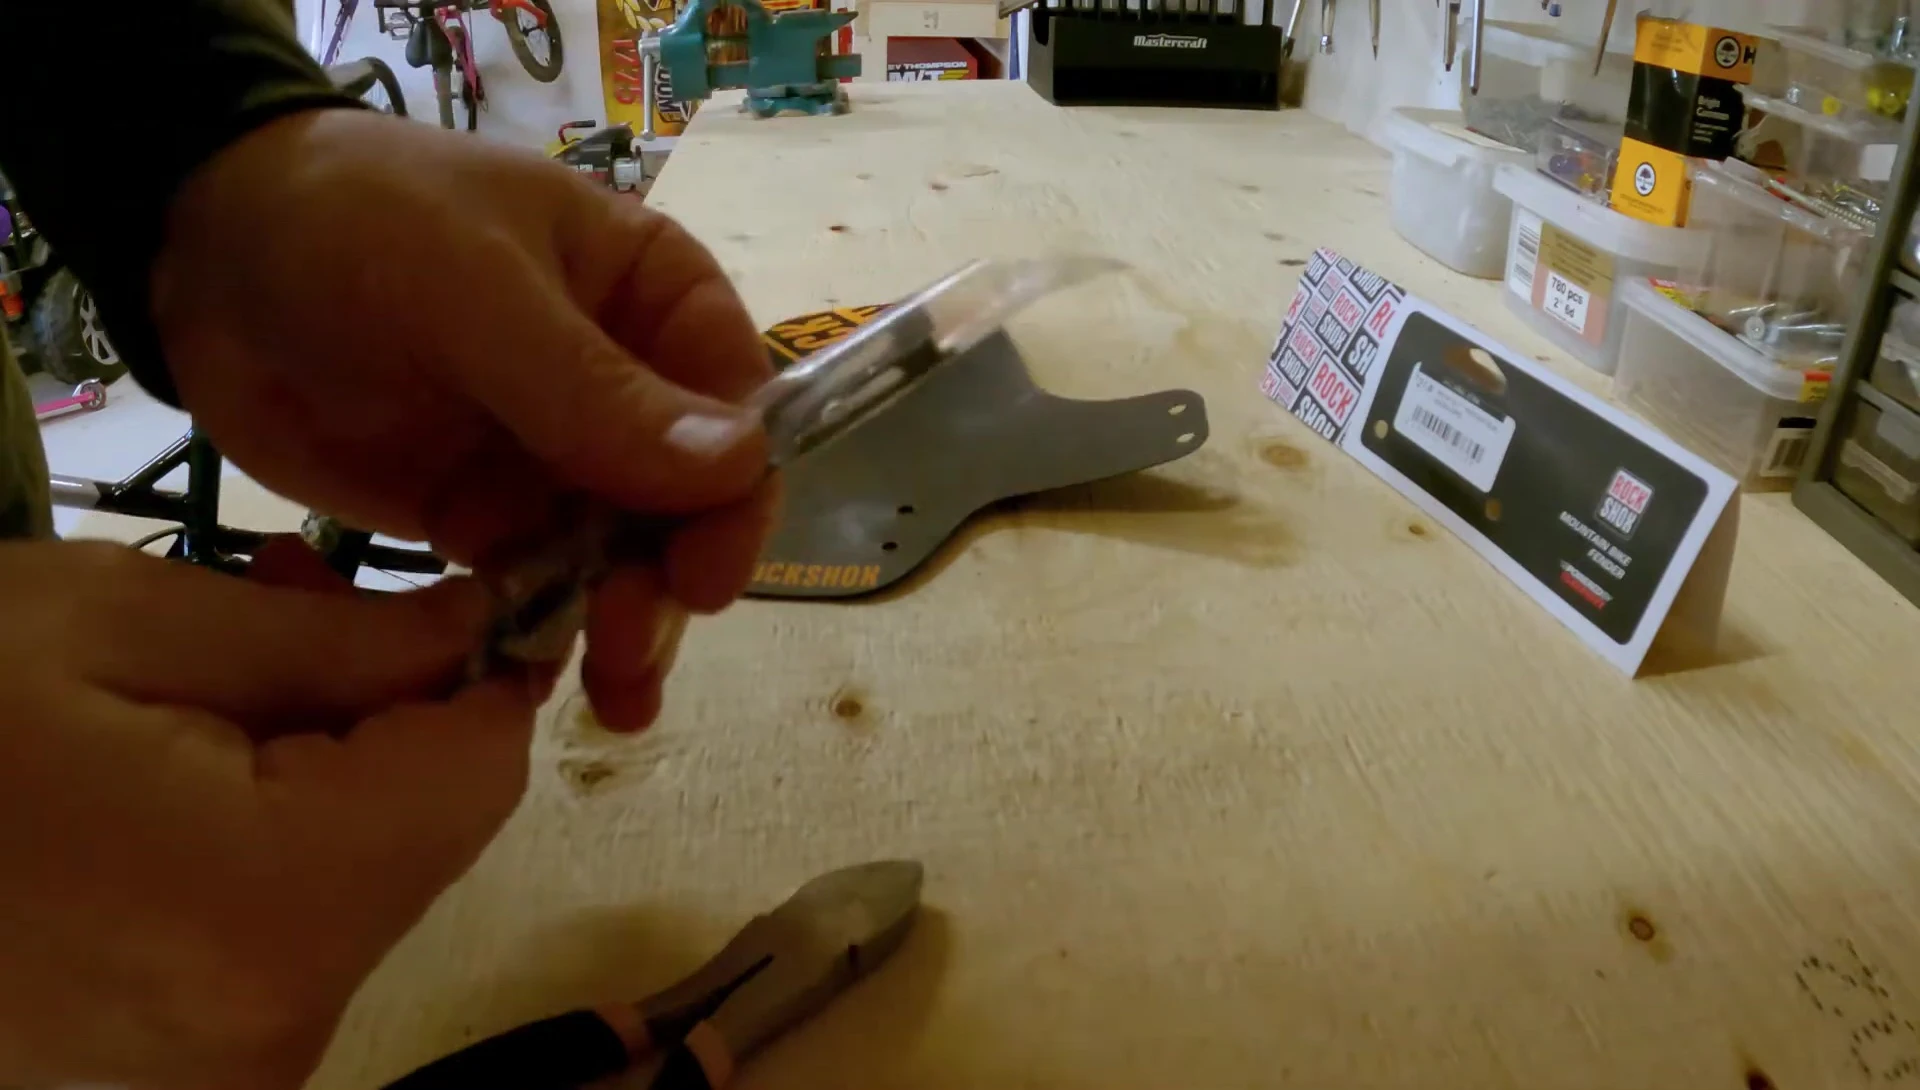
Carefully inspect the fender kit. It should include the fender itself, a set of pre-attached zip ties, and possibly any additional mounting hardware. Familiarize yourself with all components before proceeding.
Attaching the Fender
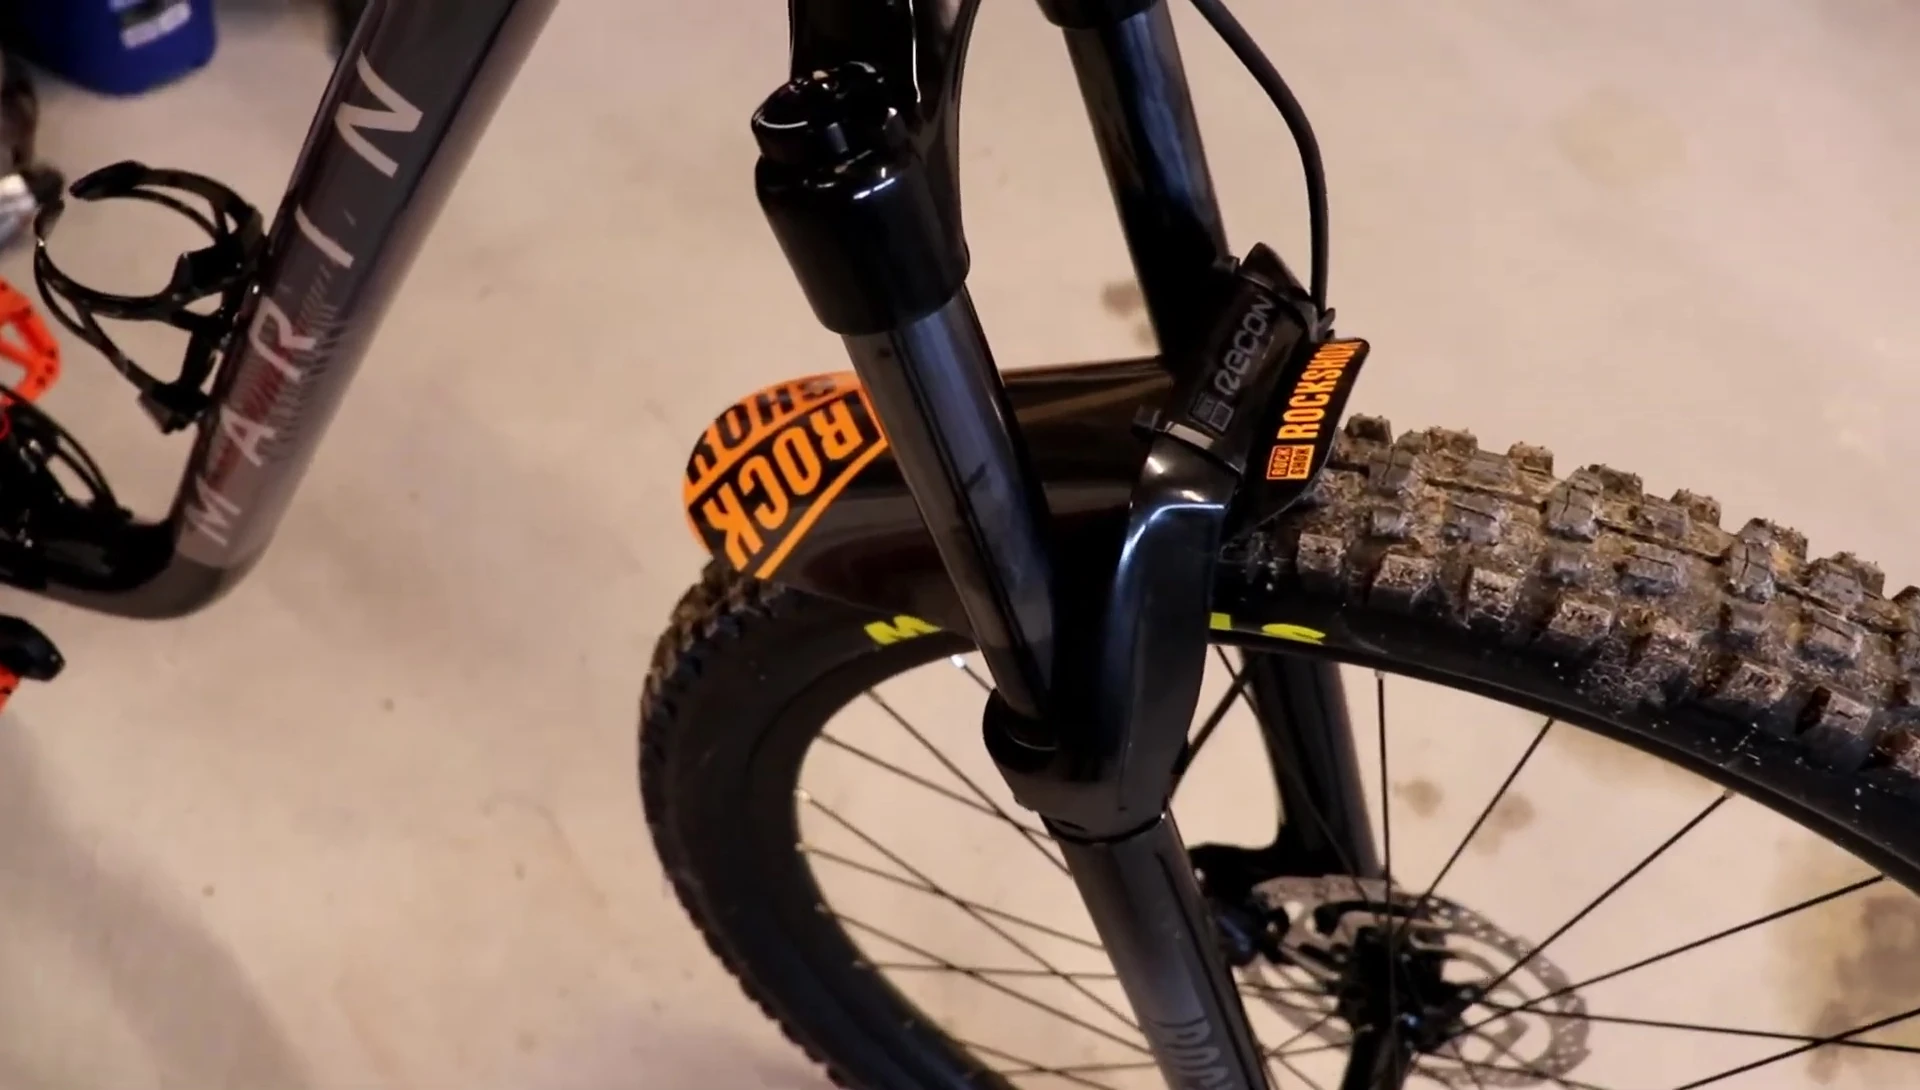
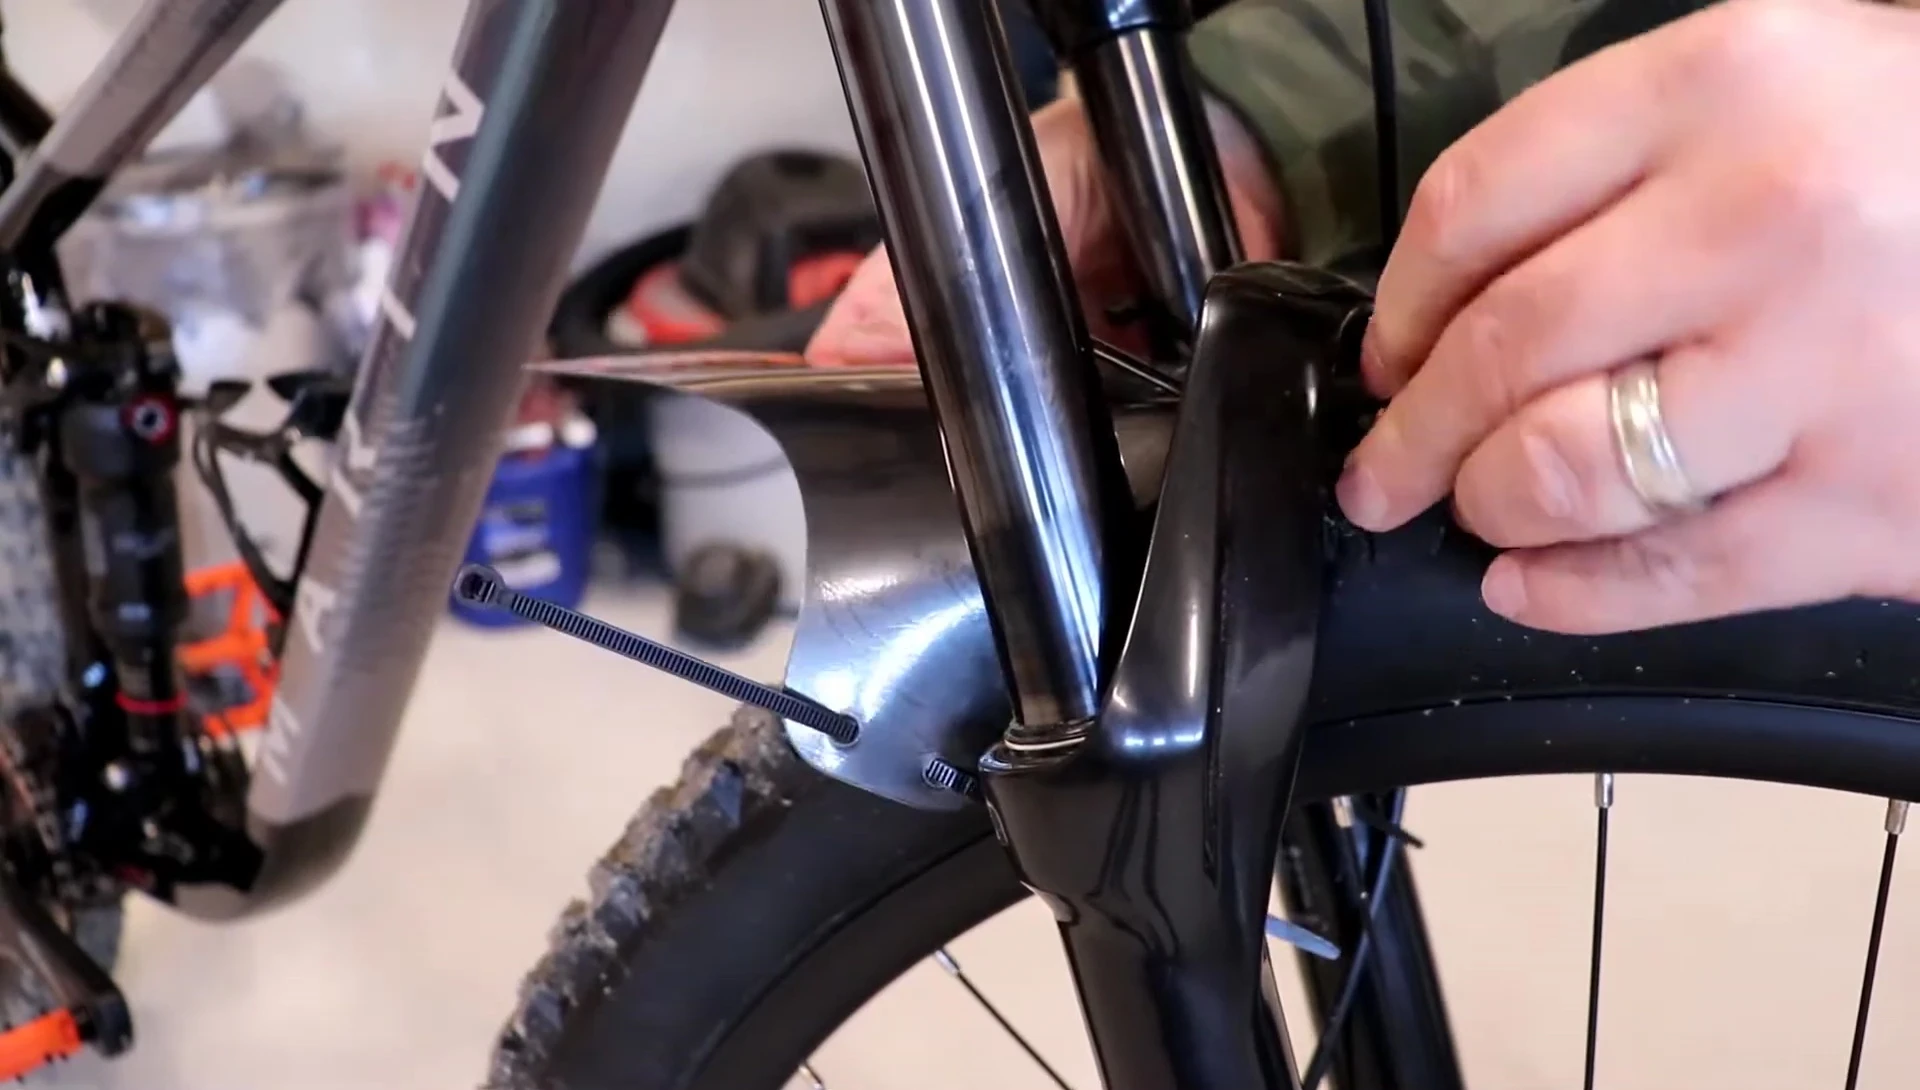
Begin by positioning the fender. Make sure it faces the parts that will cover the area over the front tire, ensuring proper alignment and coverage. Securely attach the zip ties through the pre-drilled holes in the fender and the corresponding points on your bike's fork.
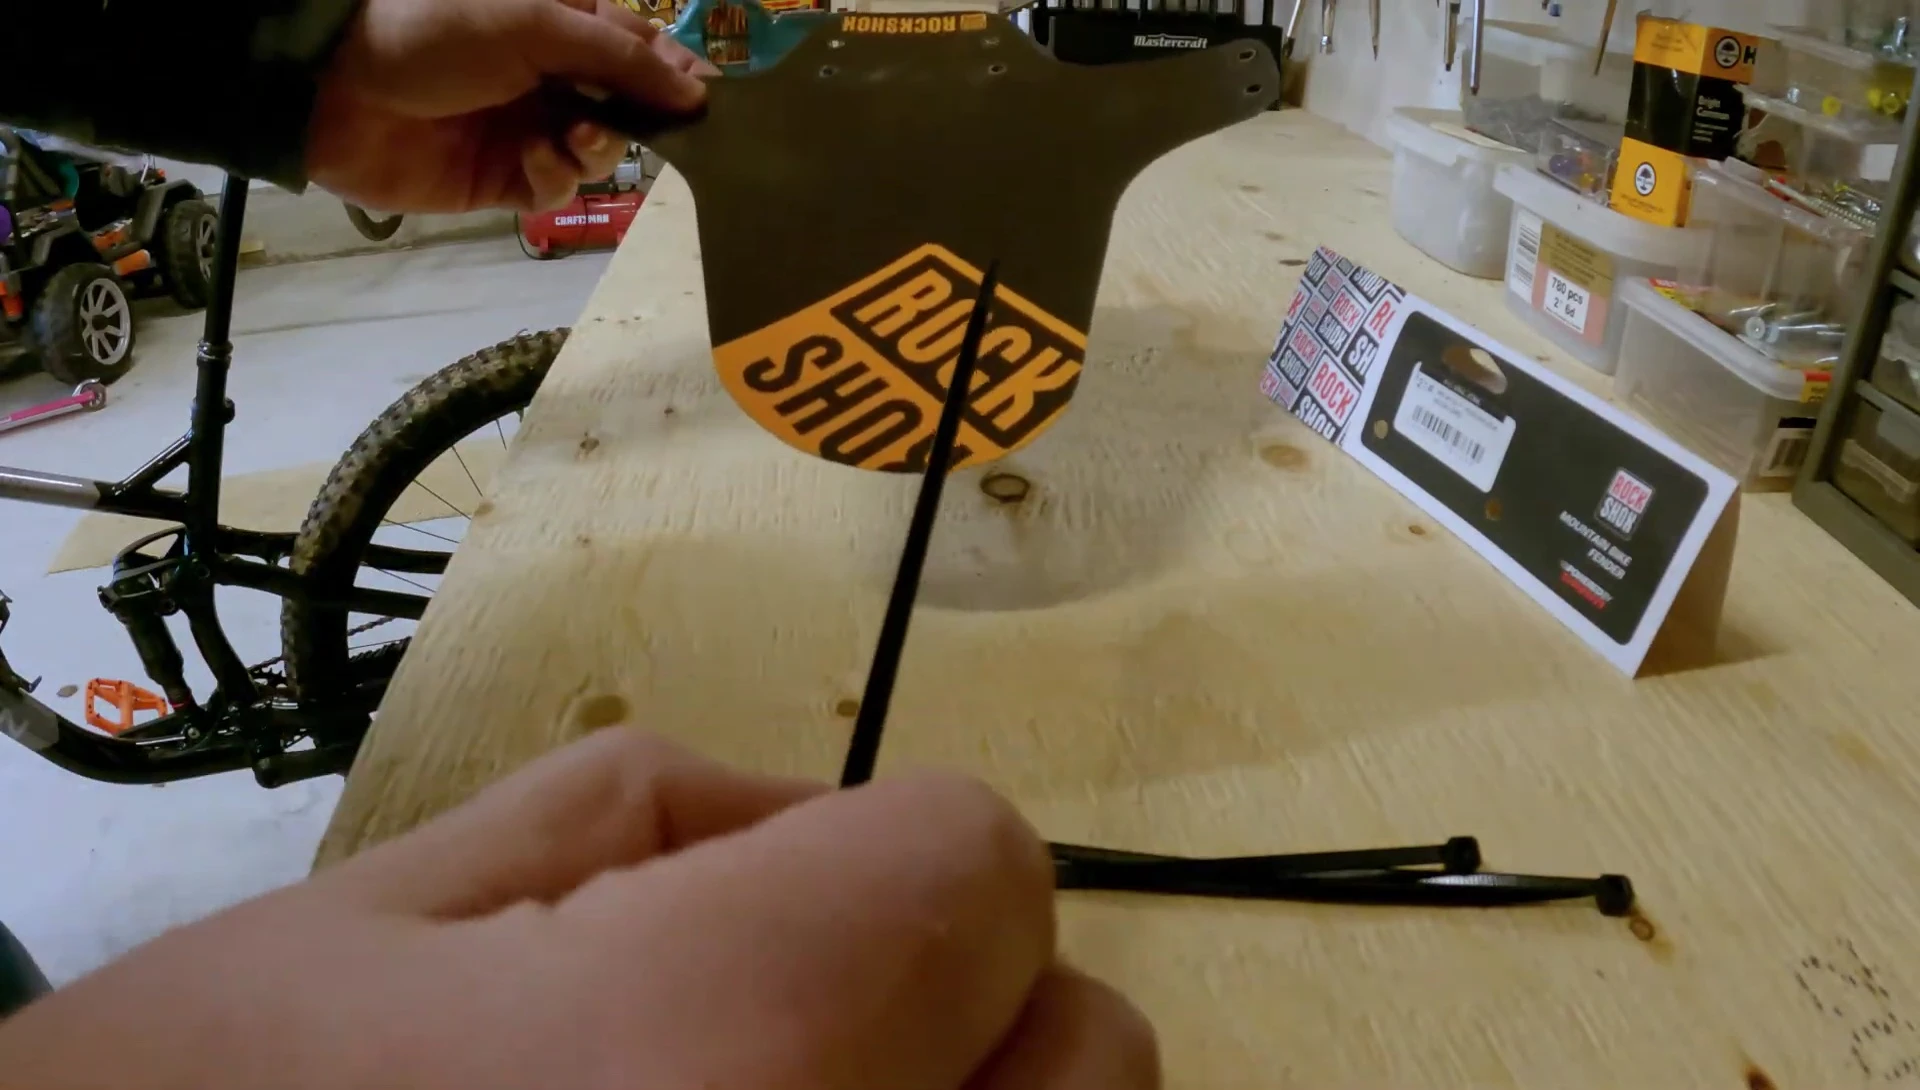
Pay close attention to cable routing. Route the zip ties carefully to avoid interfering with your brake lines or other crucial components. A slightly loose initial fit allows for adjustment and ensures a secure placement.
Securing and Tightening
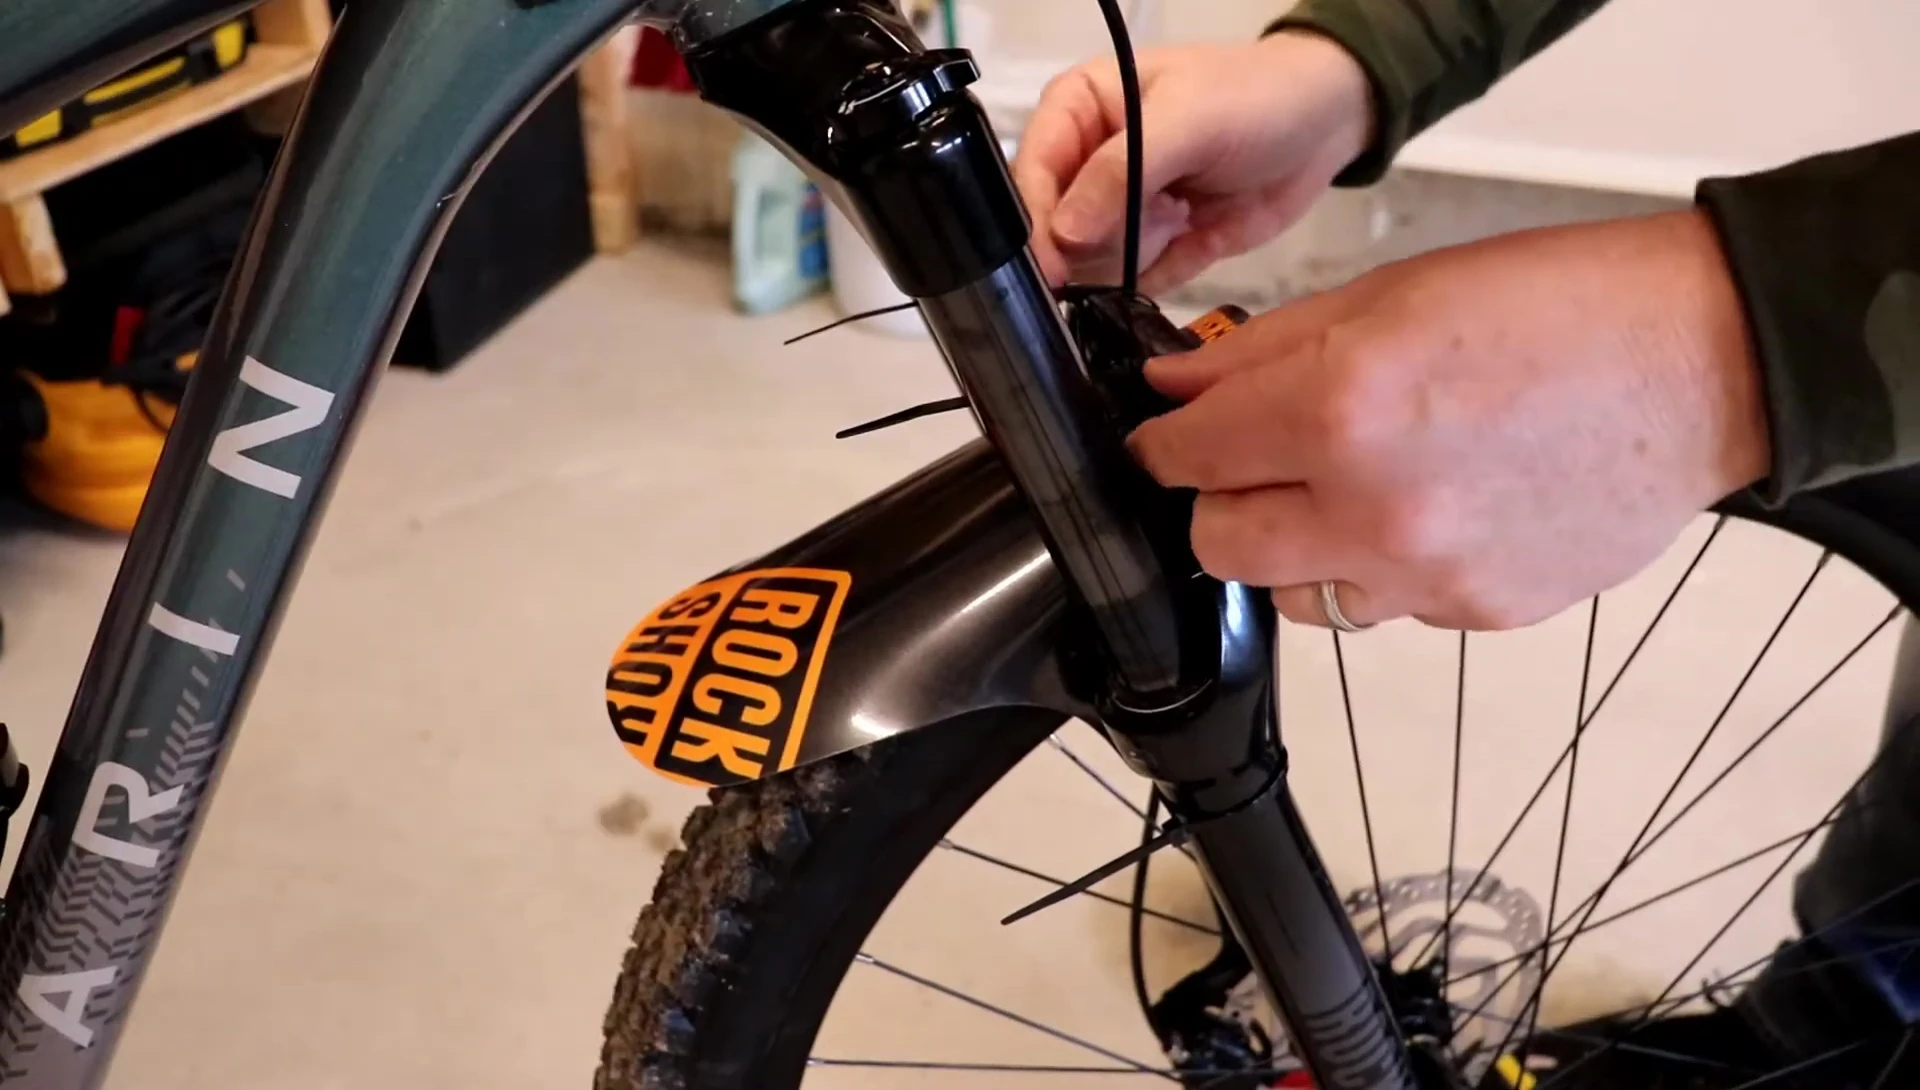
Once the zip ties are in place, start tightening them securely. Work methodically, ensuring an even distribution of tension. This step is crucial for the fender’s stability and its ability to withstand mud and debris.
Use pliers to help tighten the zip ties, especially in tighter areas. After tightening, use your cutters to trim excess zip tie lengths for a clean and professional finish. Make sure to trim neatly so you avoid cutting anything important.
Final Adjustments and Conclusion
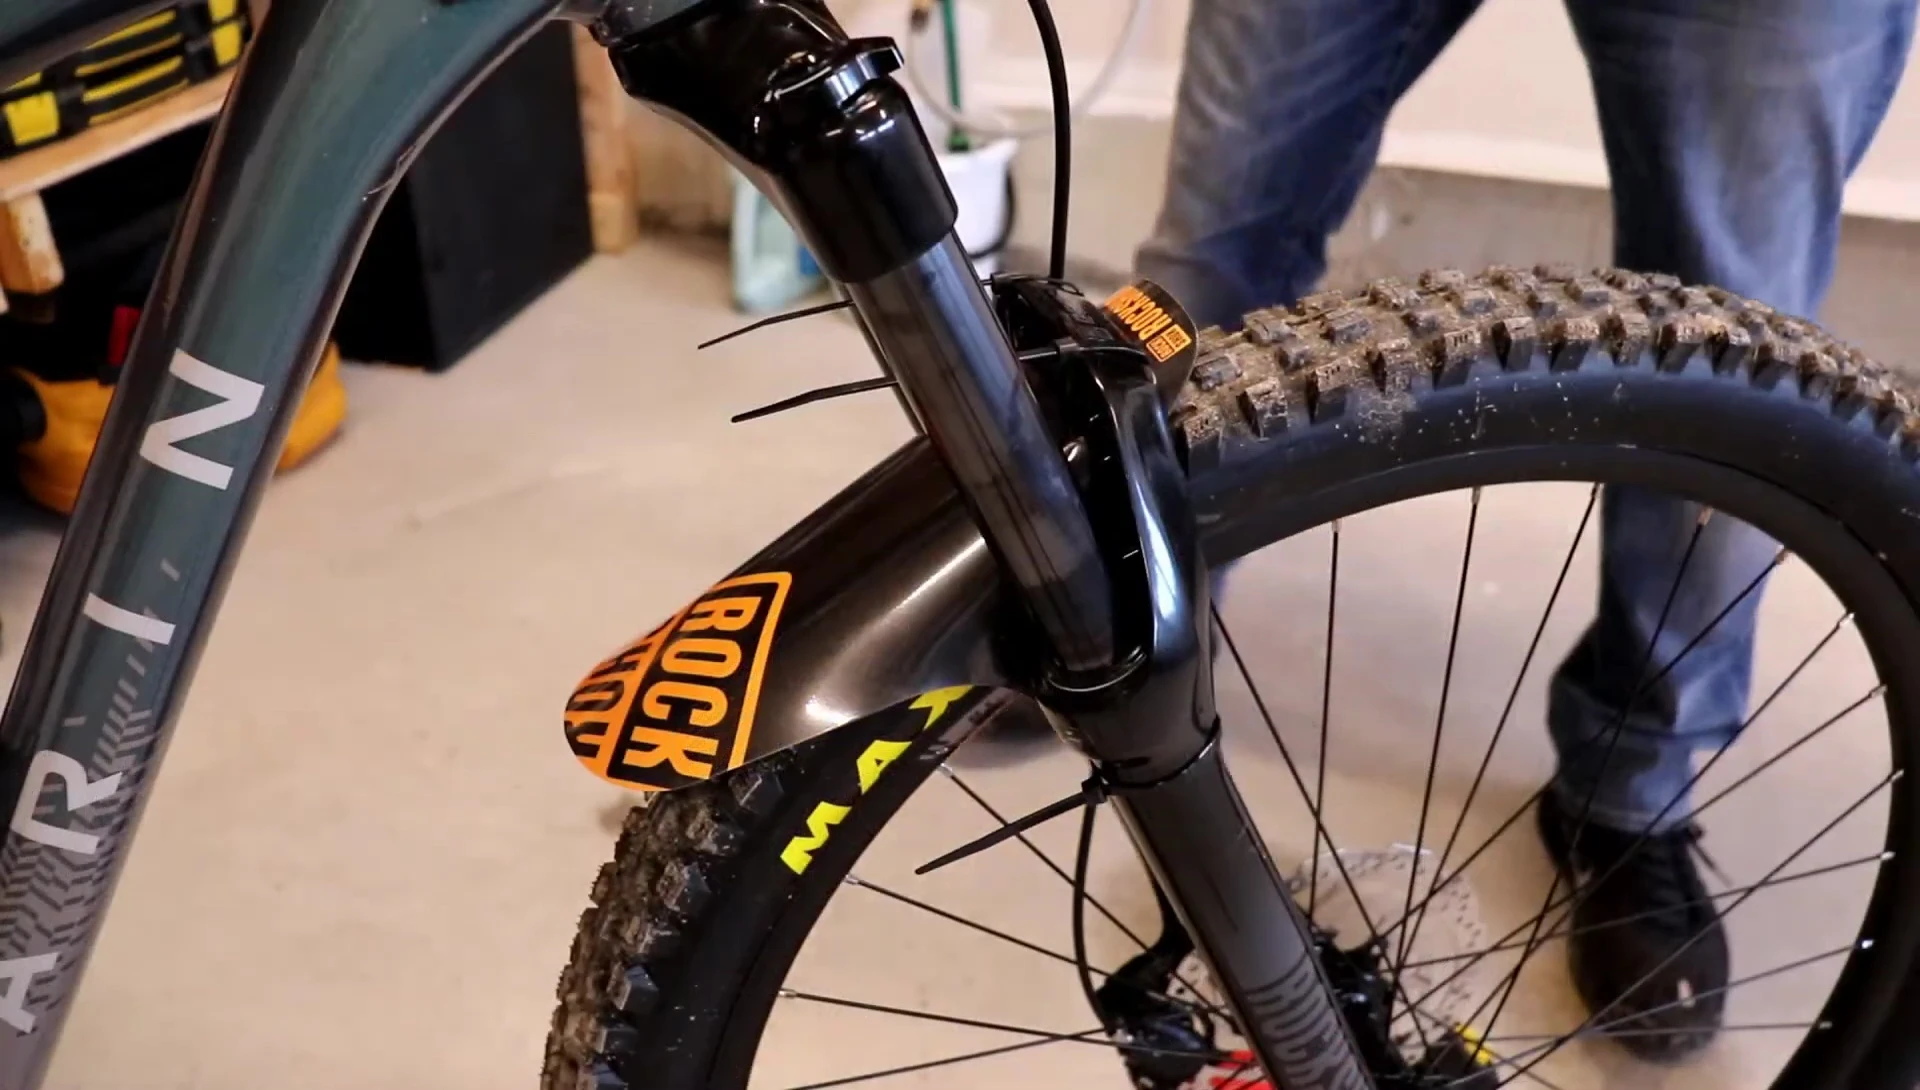
After tightening and trimming, carefully inspect the fender. Ensure it's securely attached and centered above the tire. Check again that no cables or components are obstructed.
The RockShox MTB fender is a straightforward installation. While a bit fiddly at times, it provides excellent protection from road spray and mud. The added security of using zip ties, instead of clips, gives a more stable fit. The only downside might be the need for some extra tightening with pliers, but overall, it's a worthwhile upgrade. Remember to always double-check the tightness after your first ride!