This comprehensive guide provides a step-by-step walkthrough for rebuilding your Crankbrothers Stamp 7 pedals. Keeping your pedals well-maintained is crucial for optimal performance and longevity, and this guide will empower you to tackle this task yourself, saving you money on professional servicing. We'll cover everything from gathering the necessary tools and parts to the precise reassembly process, ensuring your pedals are spinning smoothly and efficiently once again. Whether you're a seasoned mechanic or a novice DIY enthusiast, this detailed tutorial will walk you through each stage with clear instructions and helpful tips.With the right tools and a little patience, rebuilding your Crankbrothers Stamp 7 pedals is a manageable undertaking. This guide provides clear, illustrated instructions, making the process straightforward and minimizing the risk of damage. By following these steps, you'll not only extend the life of your pedals but also gain a deeper understanding of their inner workings. So, gather your tools, grab your refresh kit, and let's get started on revitalizing your Stamp 7 pedals!
Read more: 5 Best Child Bike Pedals for Smooth Rides
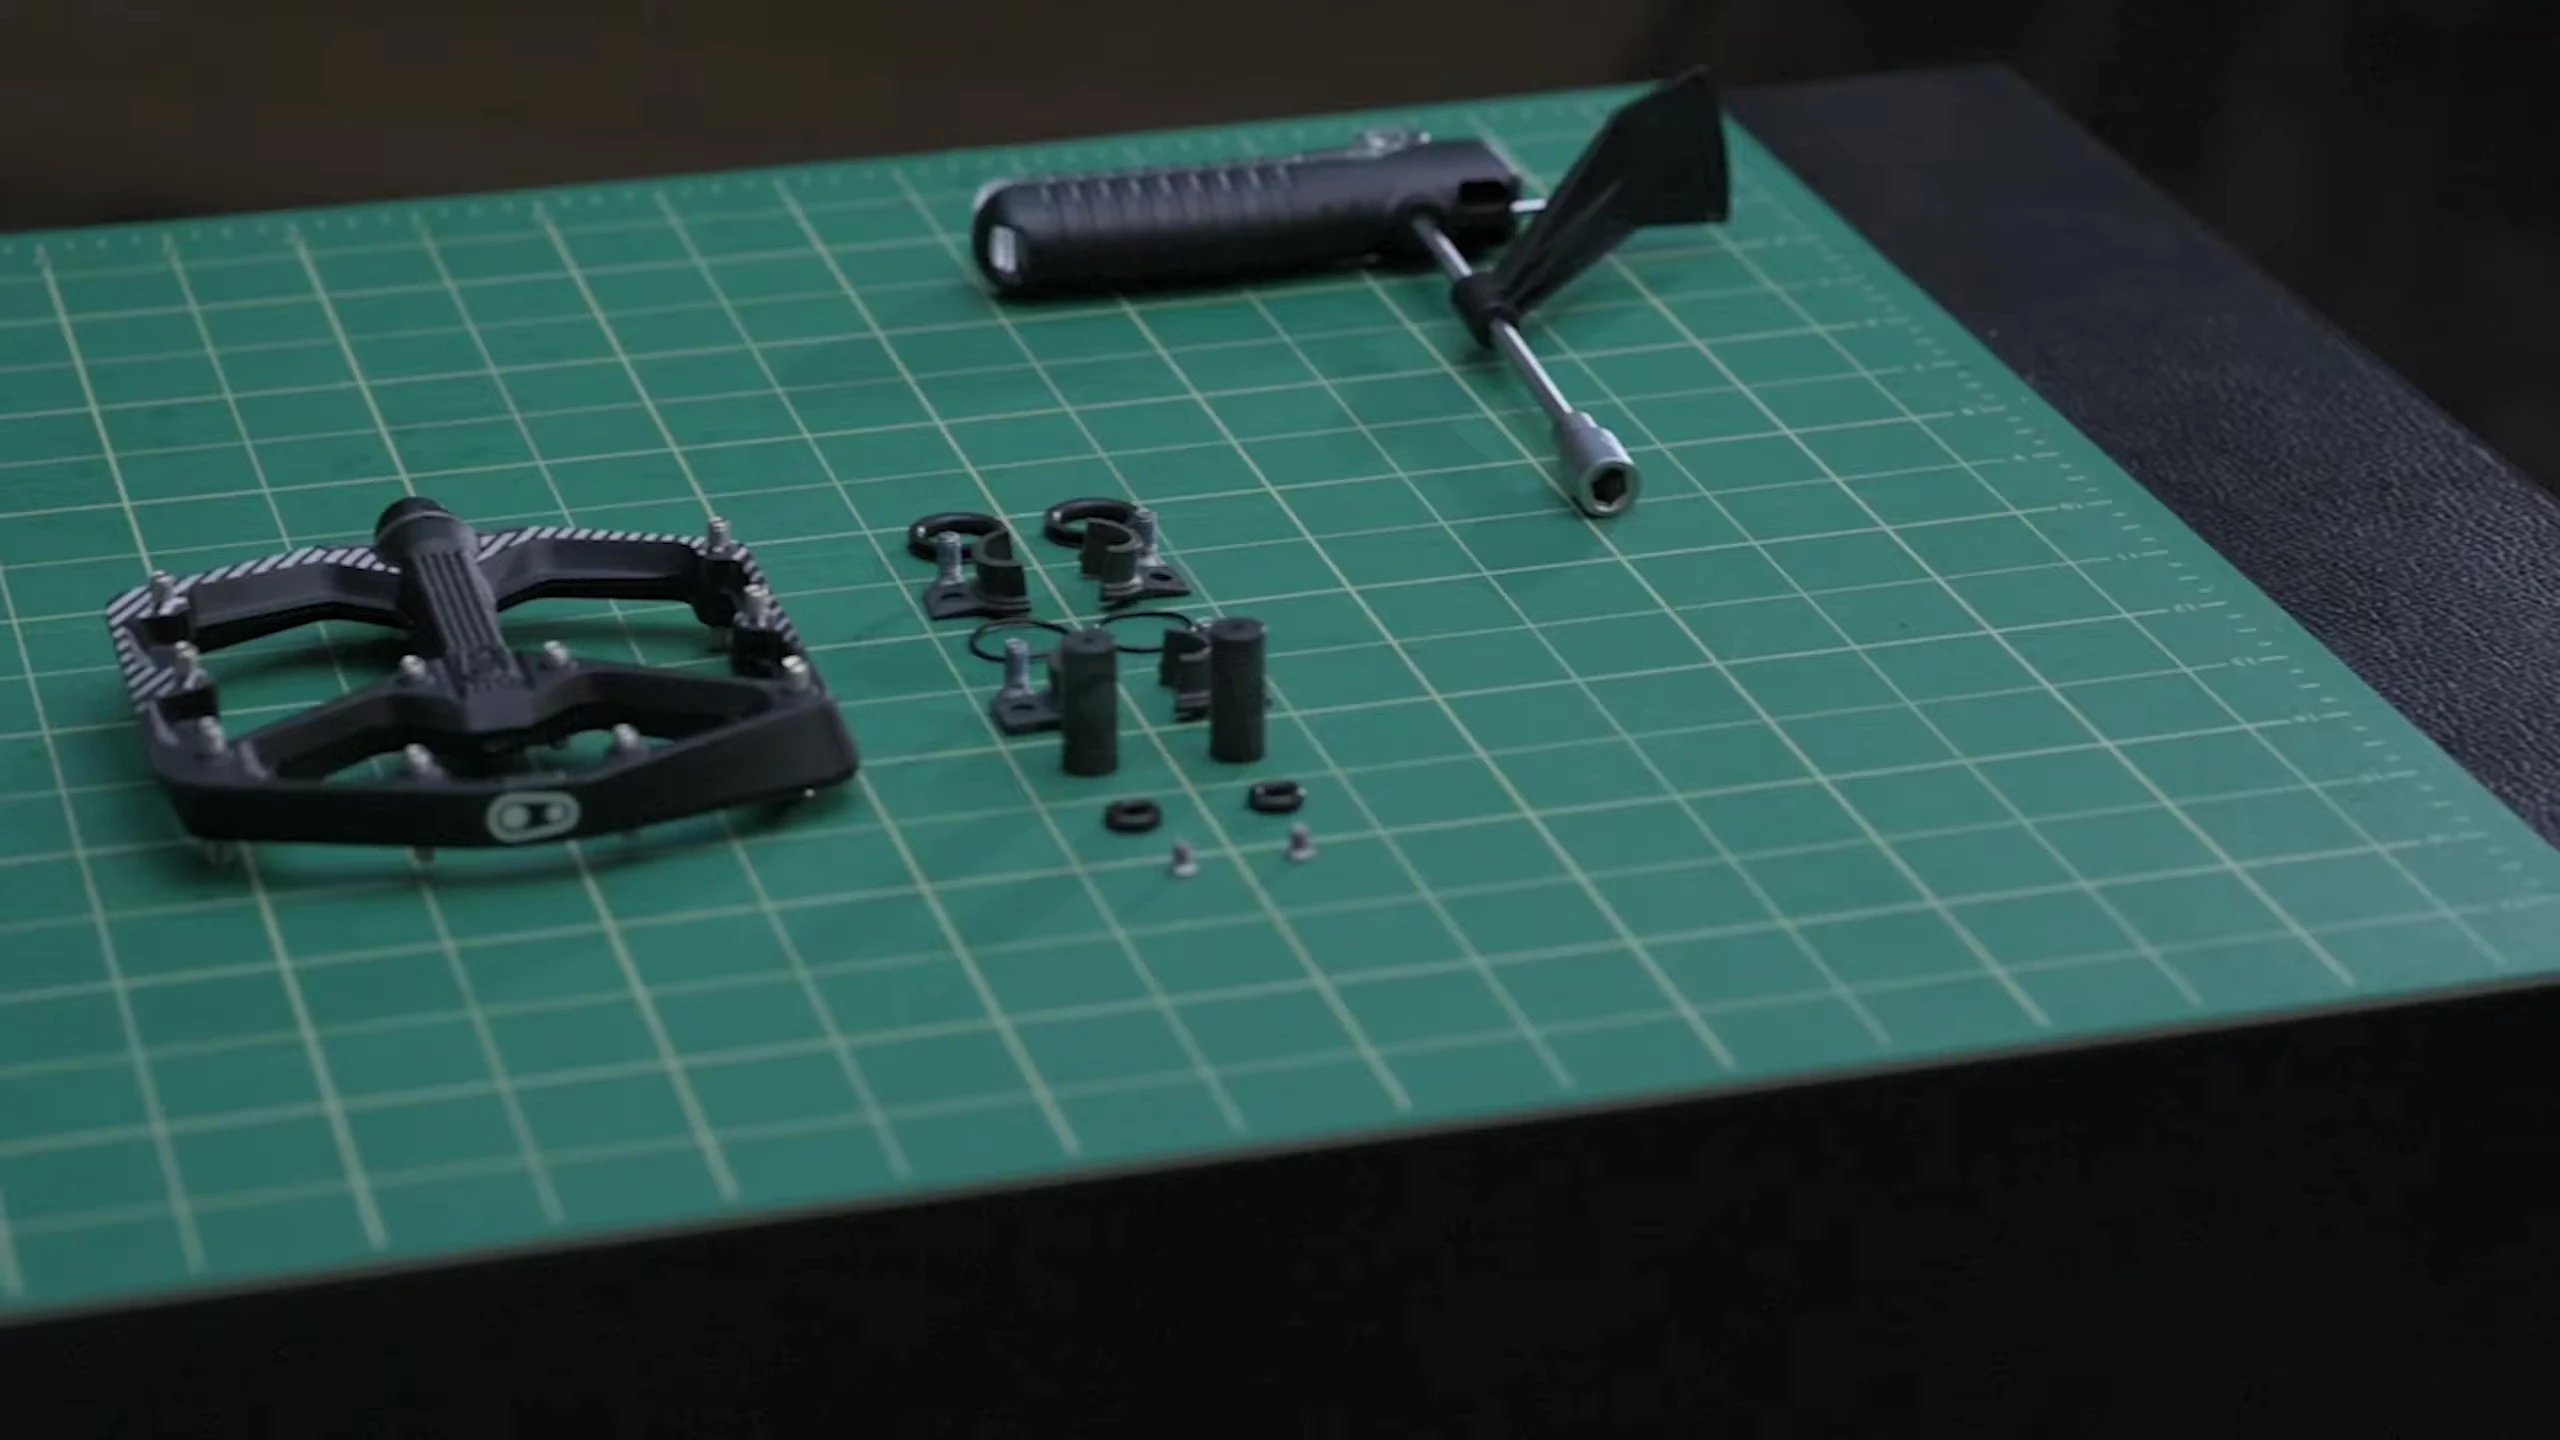
Gathering Your Tools and Parts
Before you begin, ensure you have the necessary tools and Crankbrothers refresh kit specific to your Stamp 7 pedals. A 2.5mm Allen wrench, paperclip, #1 Phillips and #1 flathead screwdrivers, grease, and threadlock are essential. An M-tool is highly recommended for the 2.5mm Allen screw.
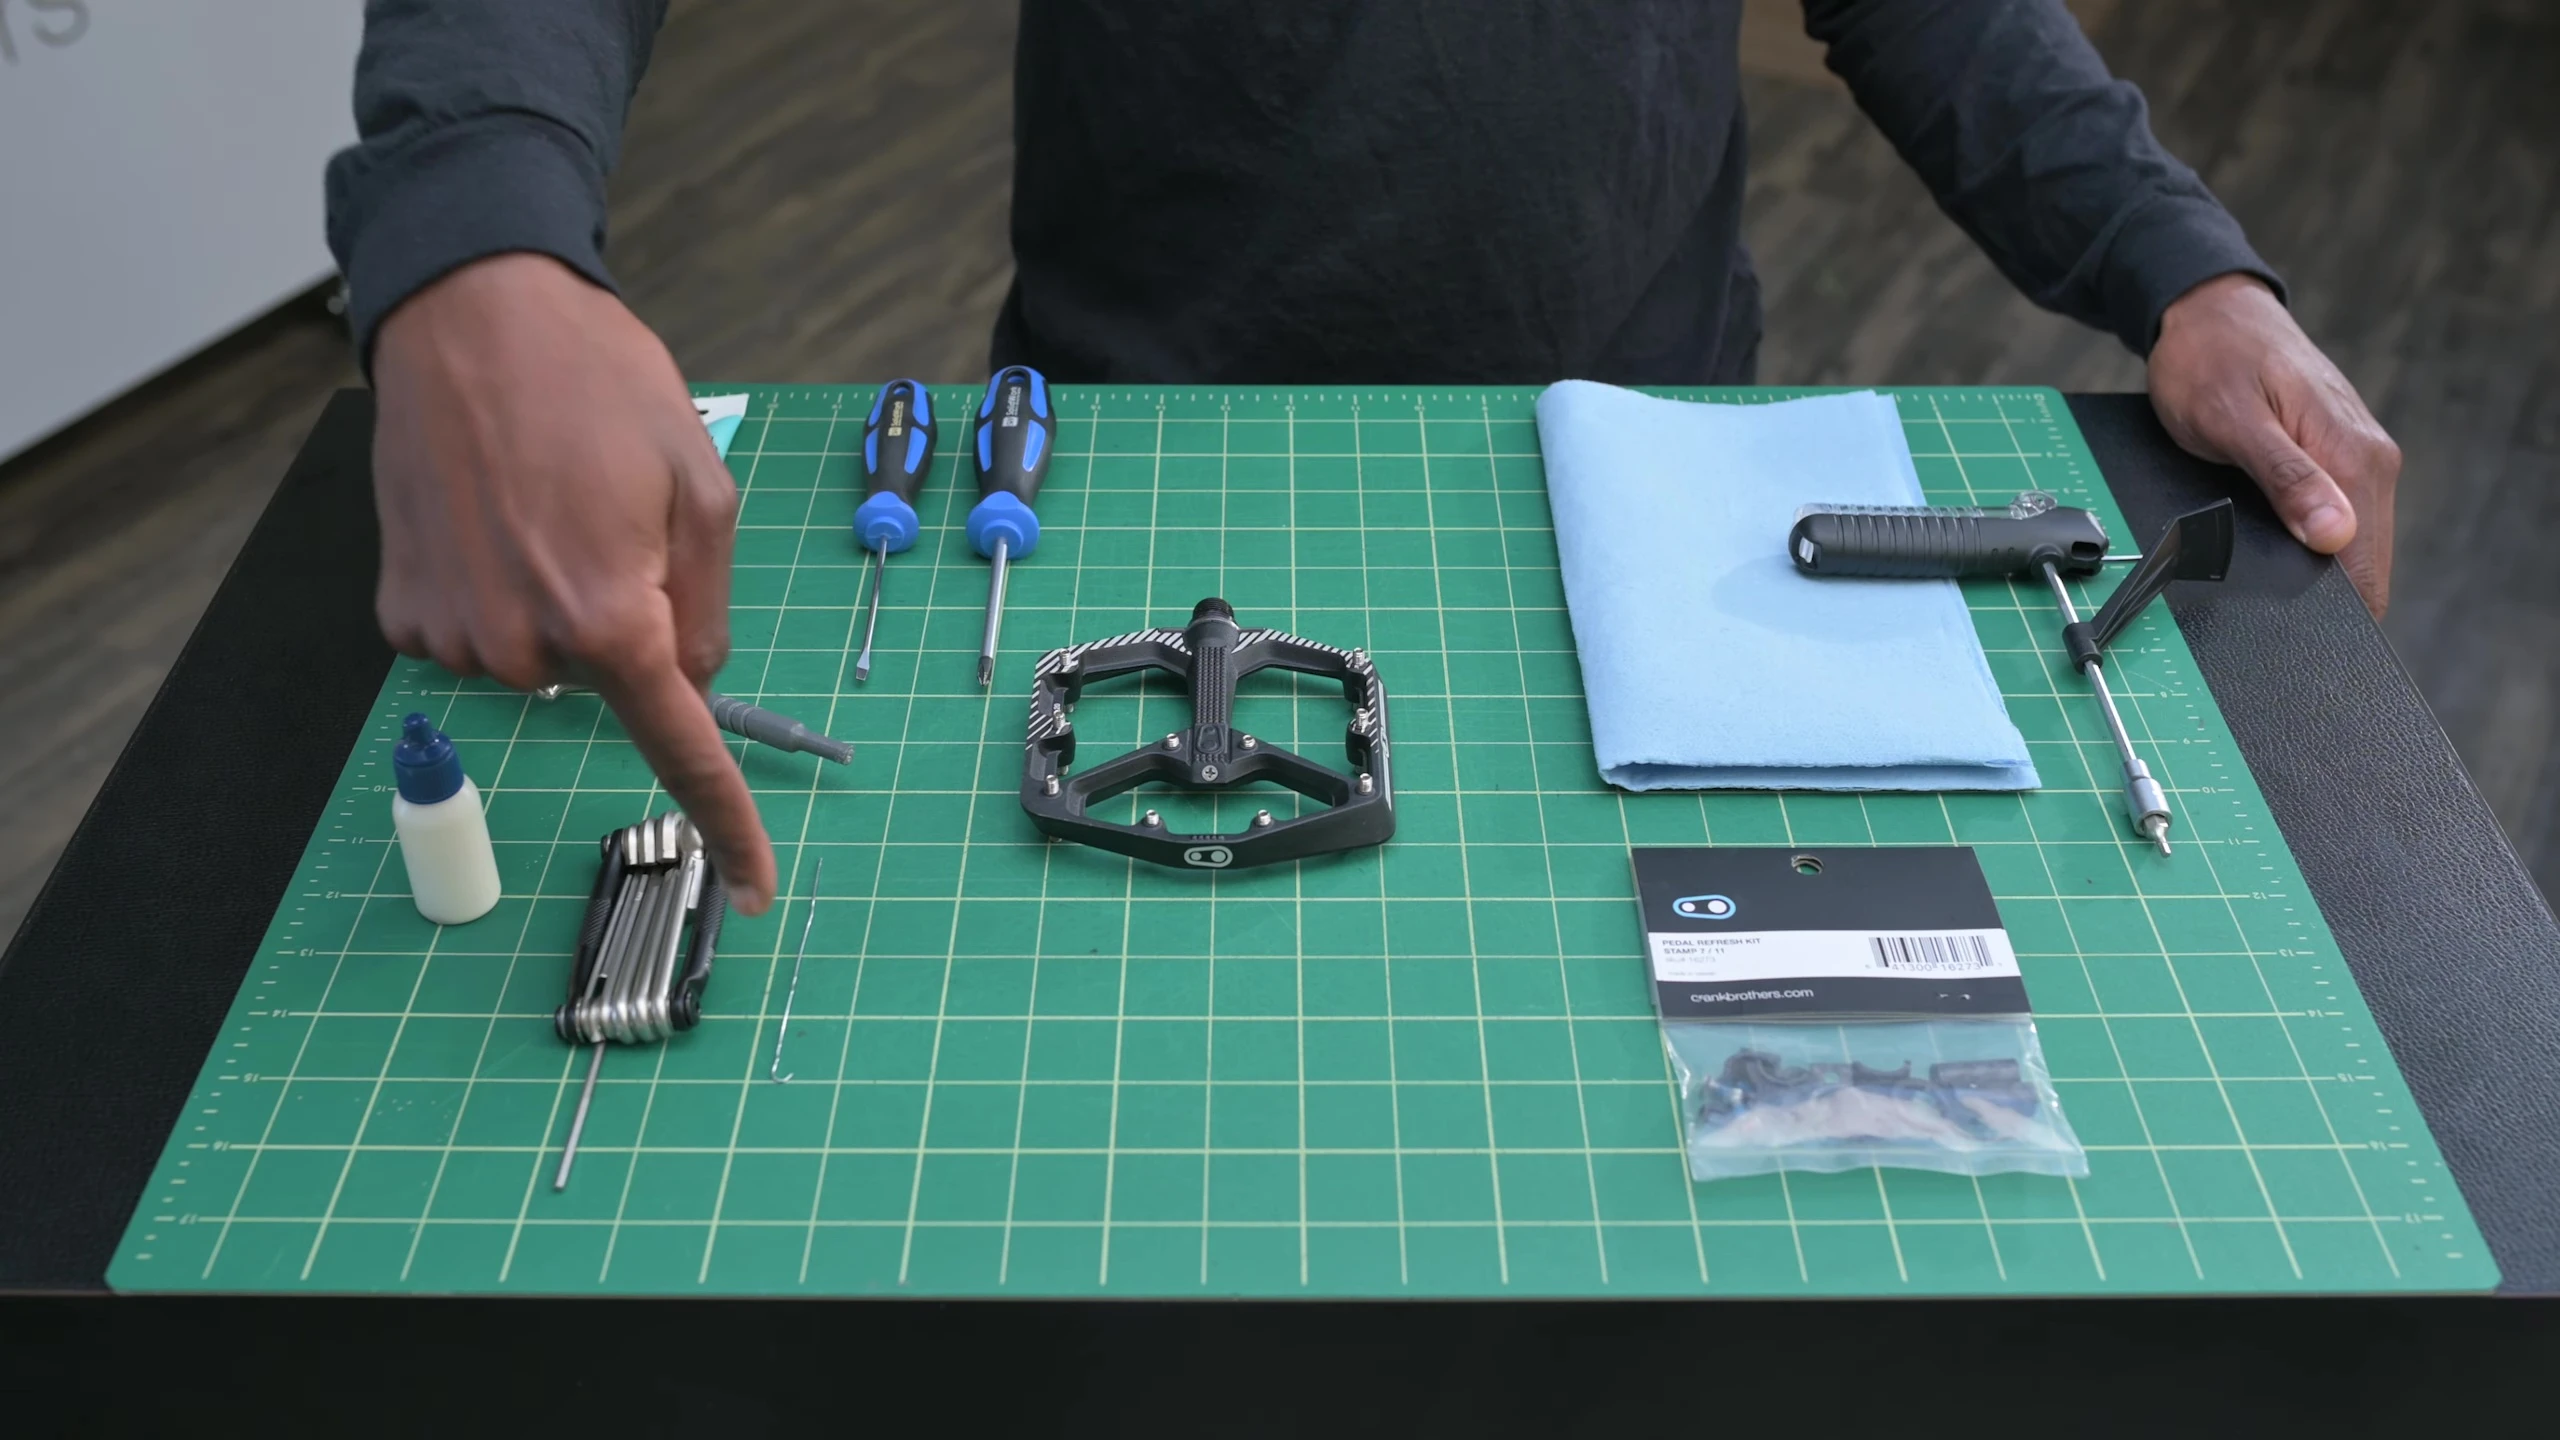
The refresh kit contains all the replacement parts you'll need, such as new seals and bearings. Remember to always use the correct parts for your specific pedal model. Check the Crankbrothers website or your retailer for accurate part numbers.
Disassembling the Pedal
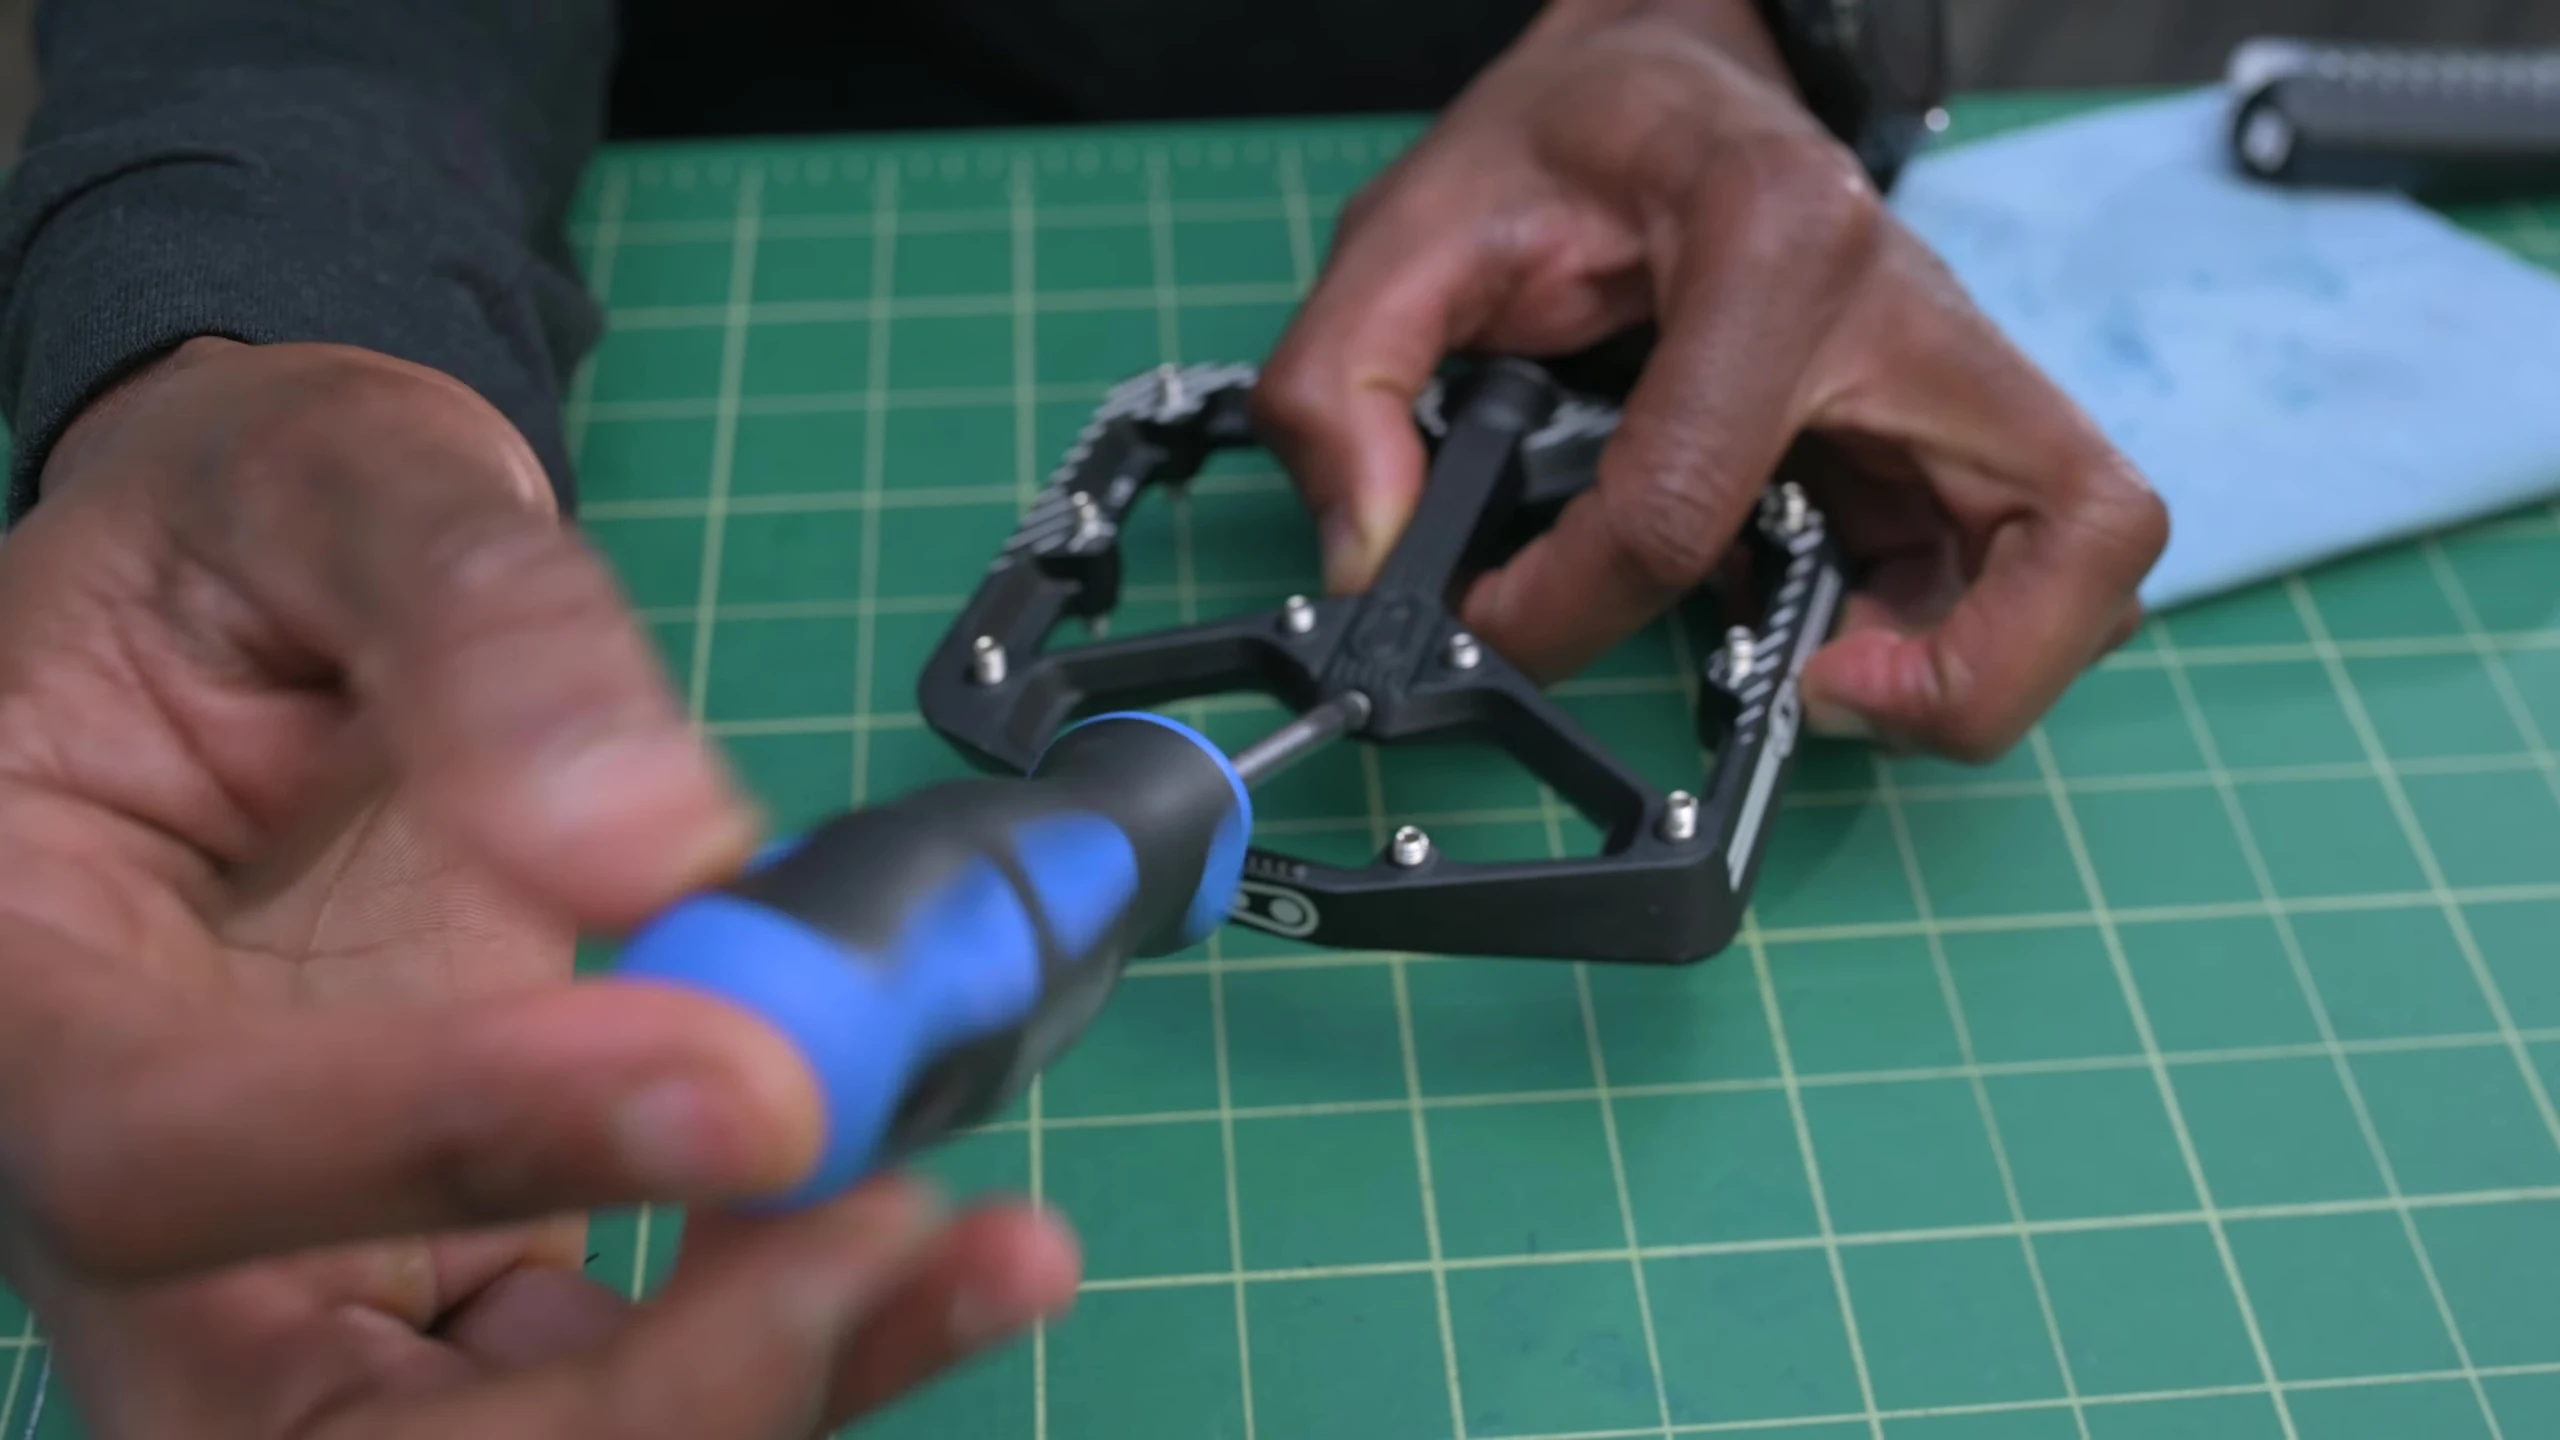
Start by unscrewing the two inner body screws at the back of the pedal using a 2.5mm Allen wrench. Keep these screws in a safe place to prevent loss.
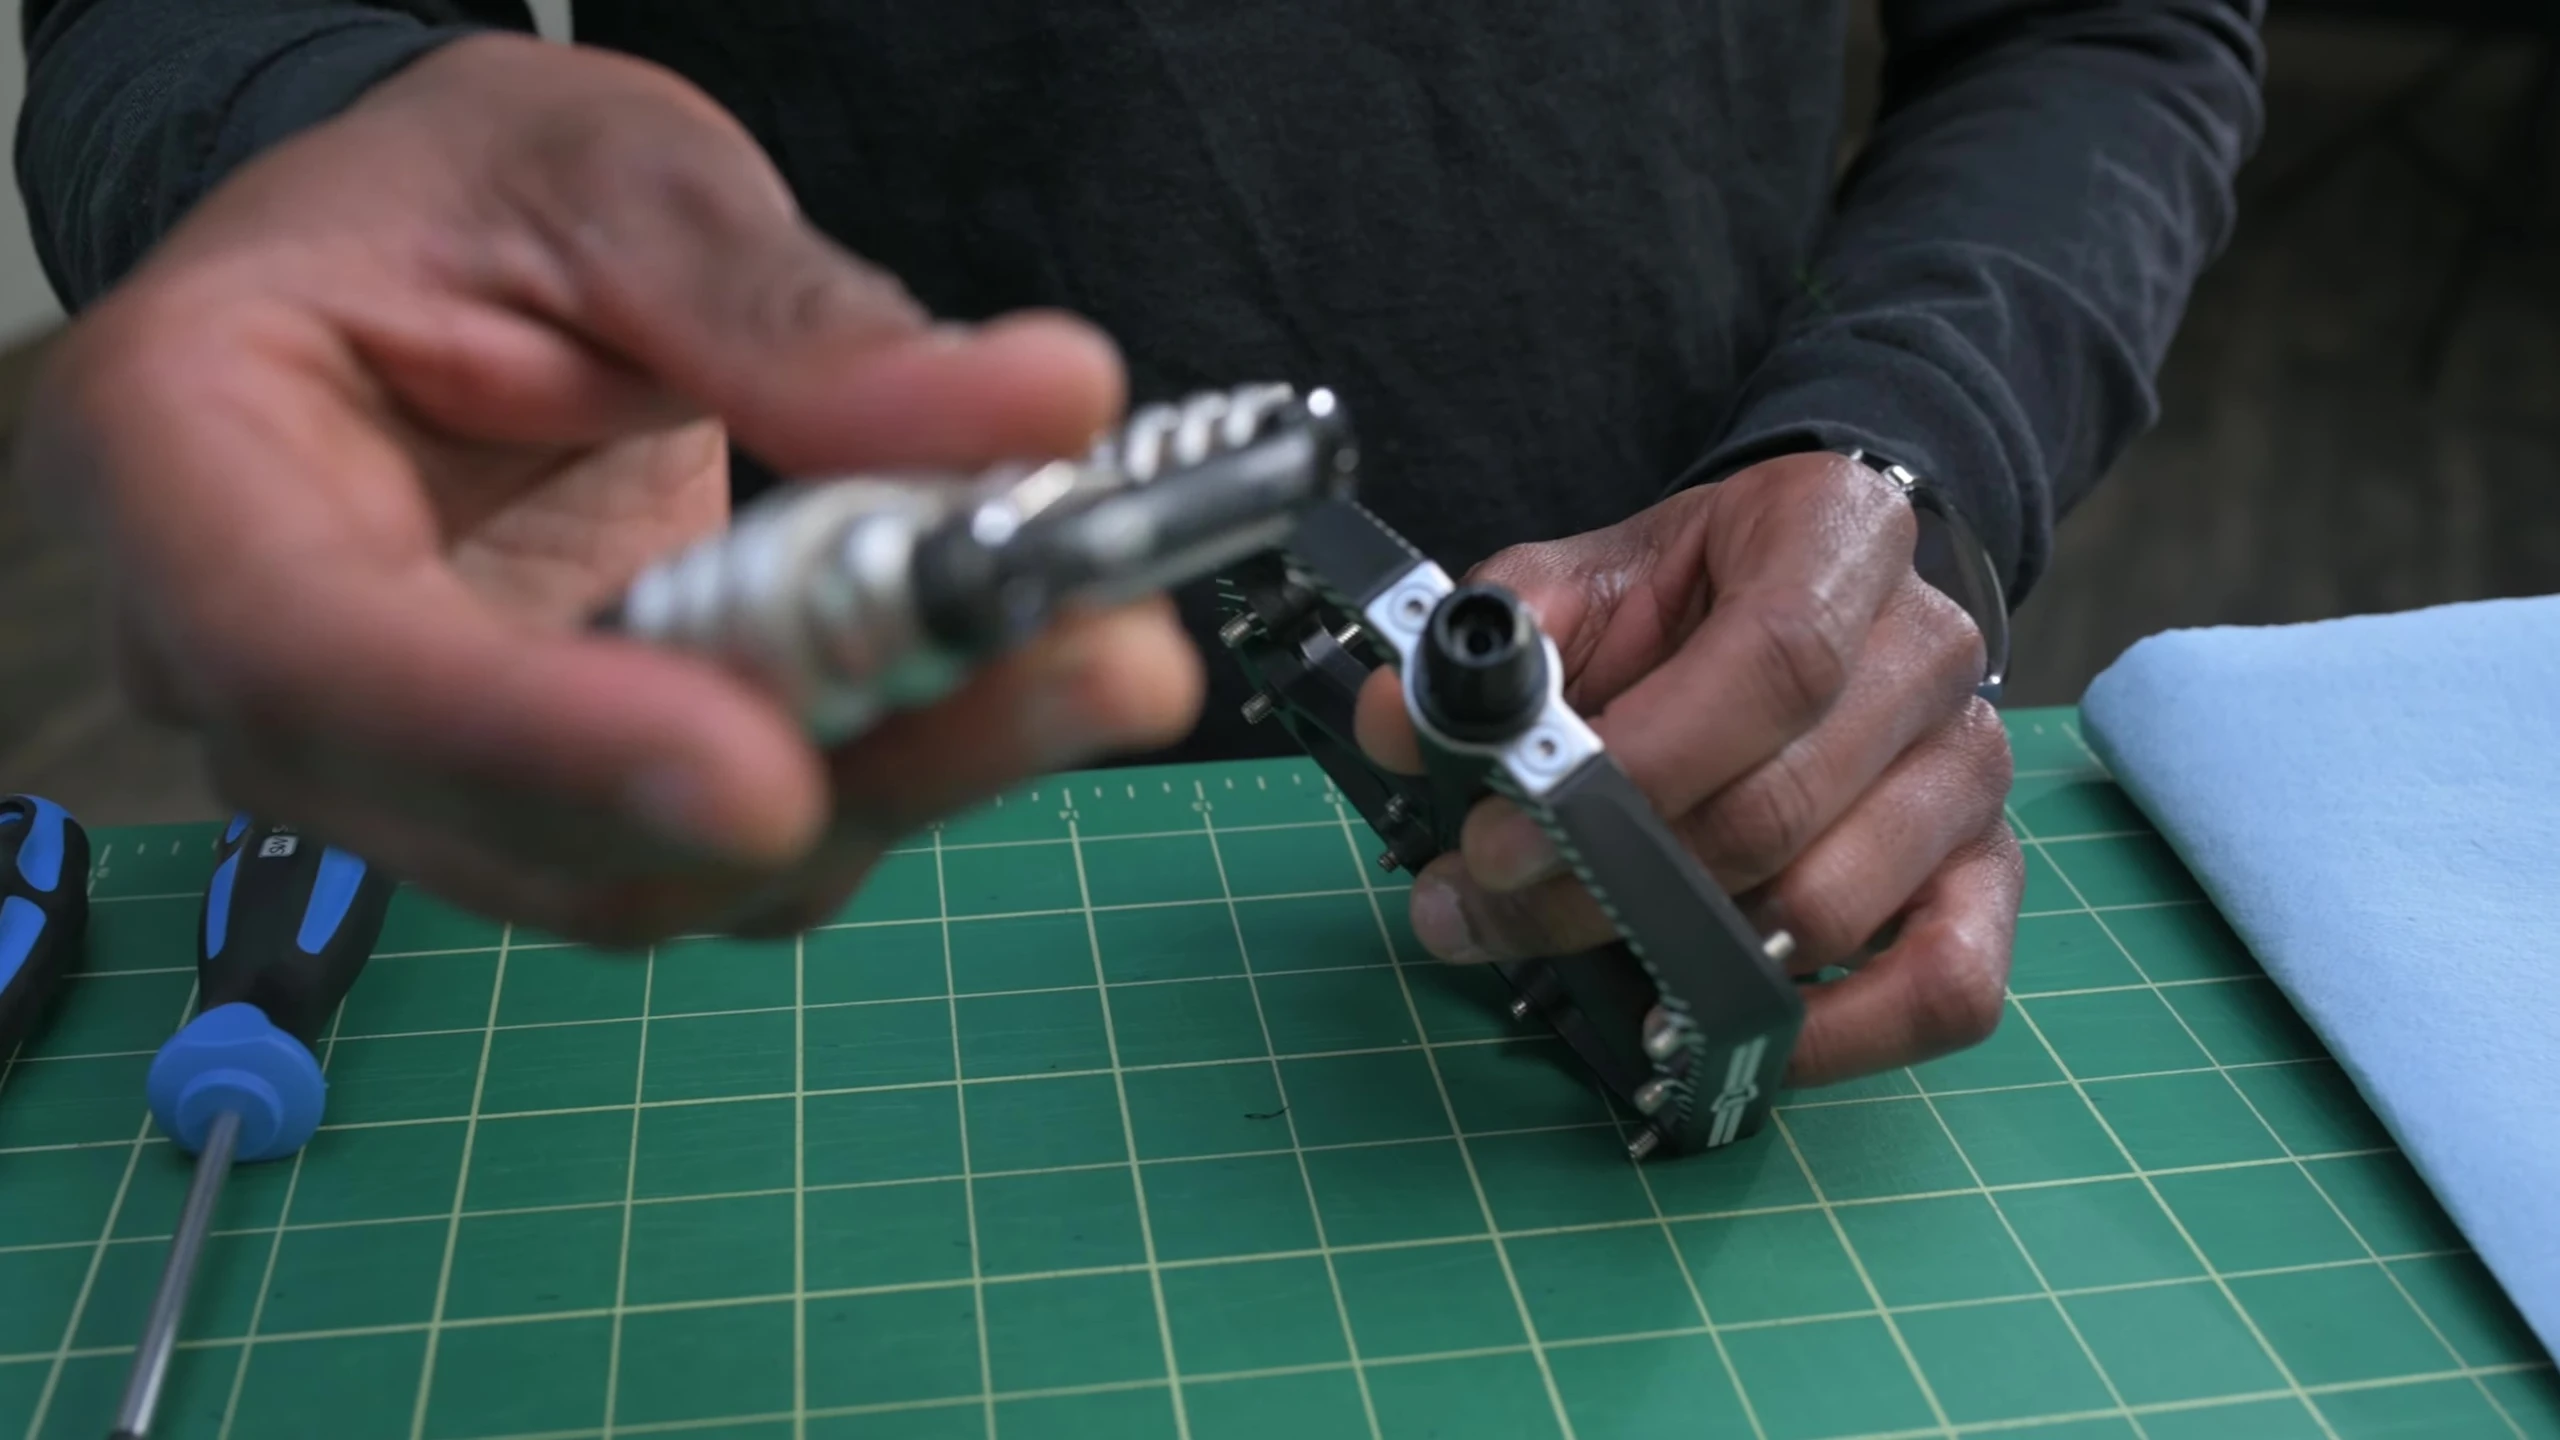
Once the screws are removed, the entire axle slides out of the pedal body. Clean off any excess grease from the spindle using a rag. Using a #1 Phillips screwdriver, remove the grease port bolt and set it aside. Remember to organize your parts as you disassemble to make reassembly easier.

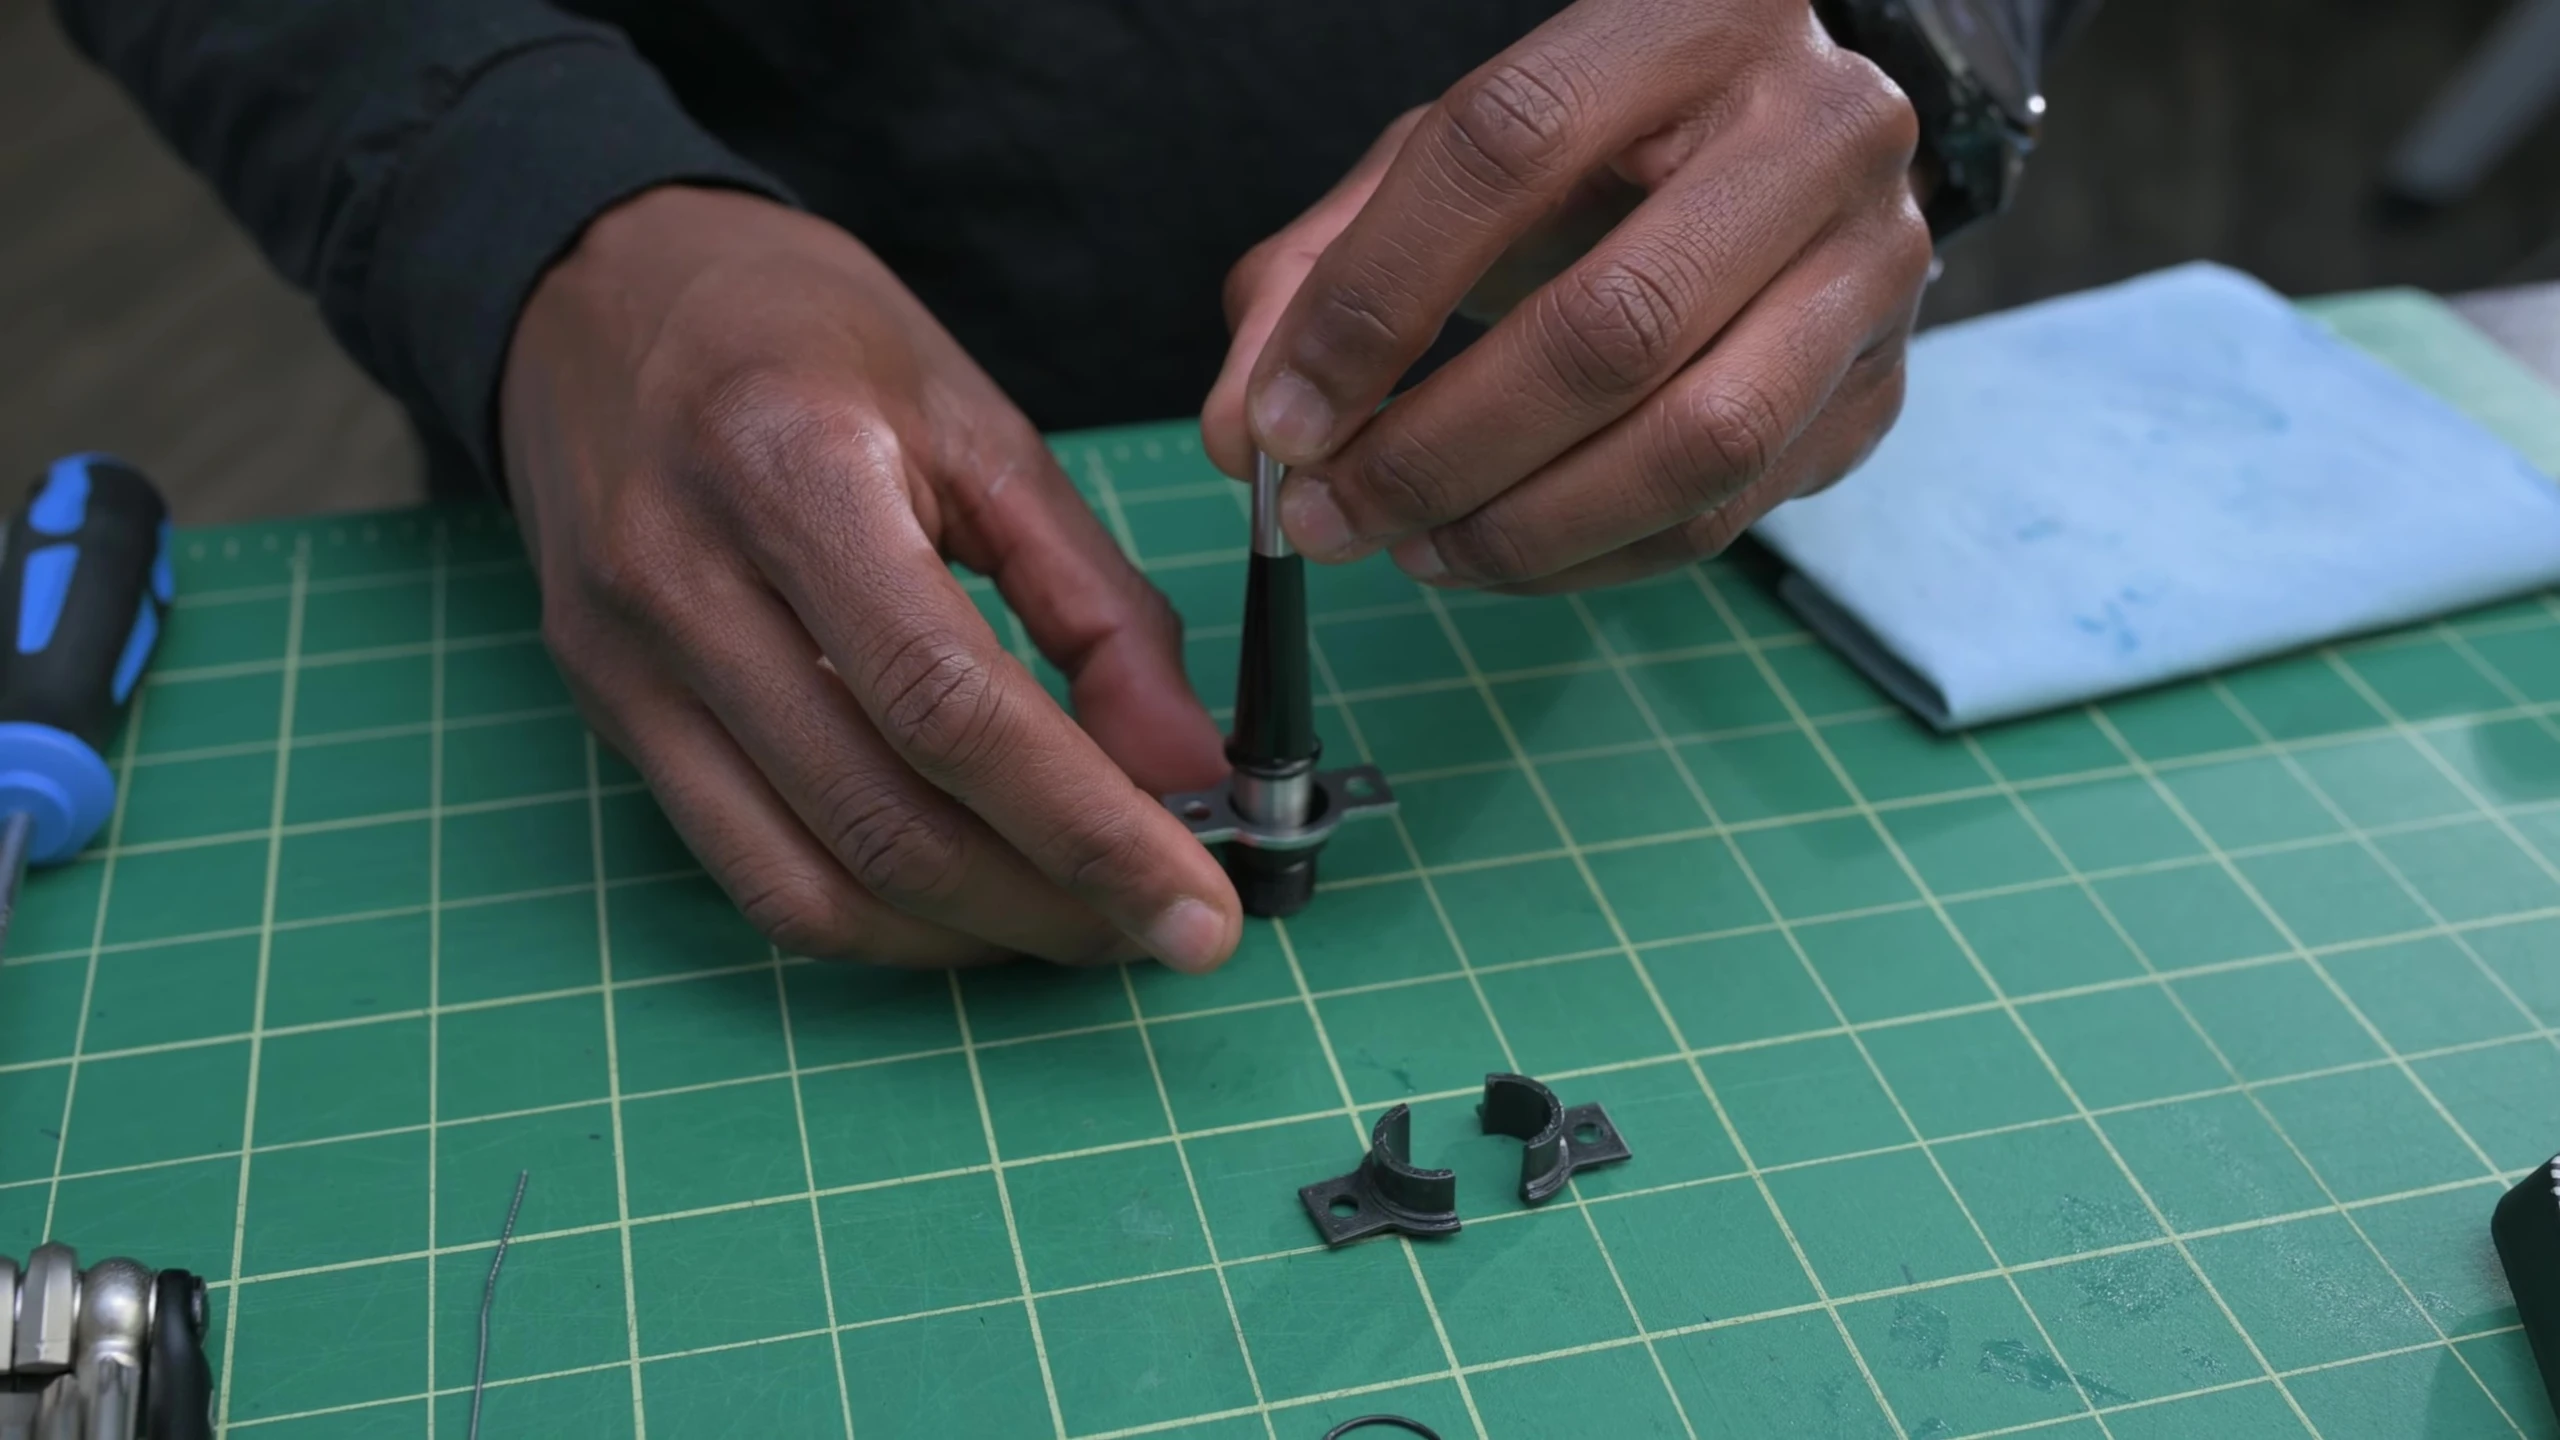
Removing Bearings and Seals
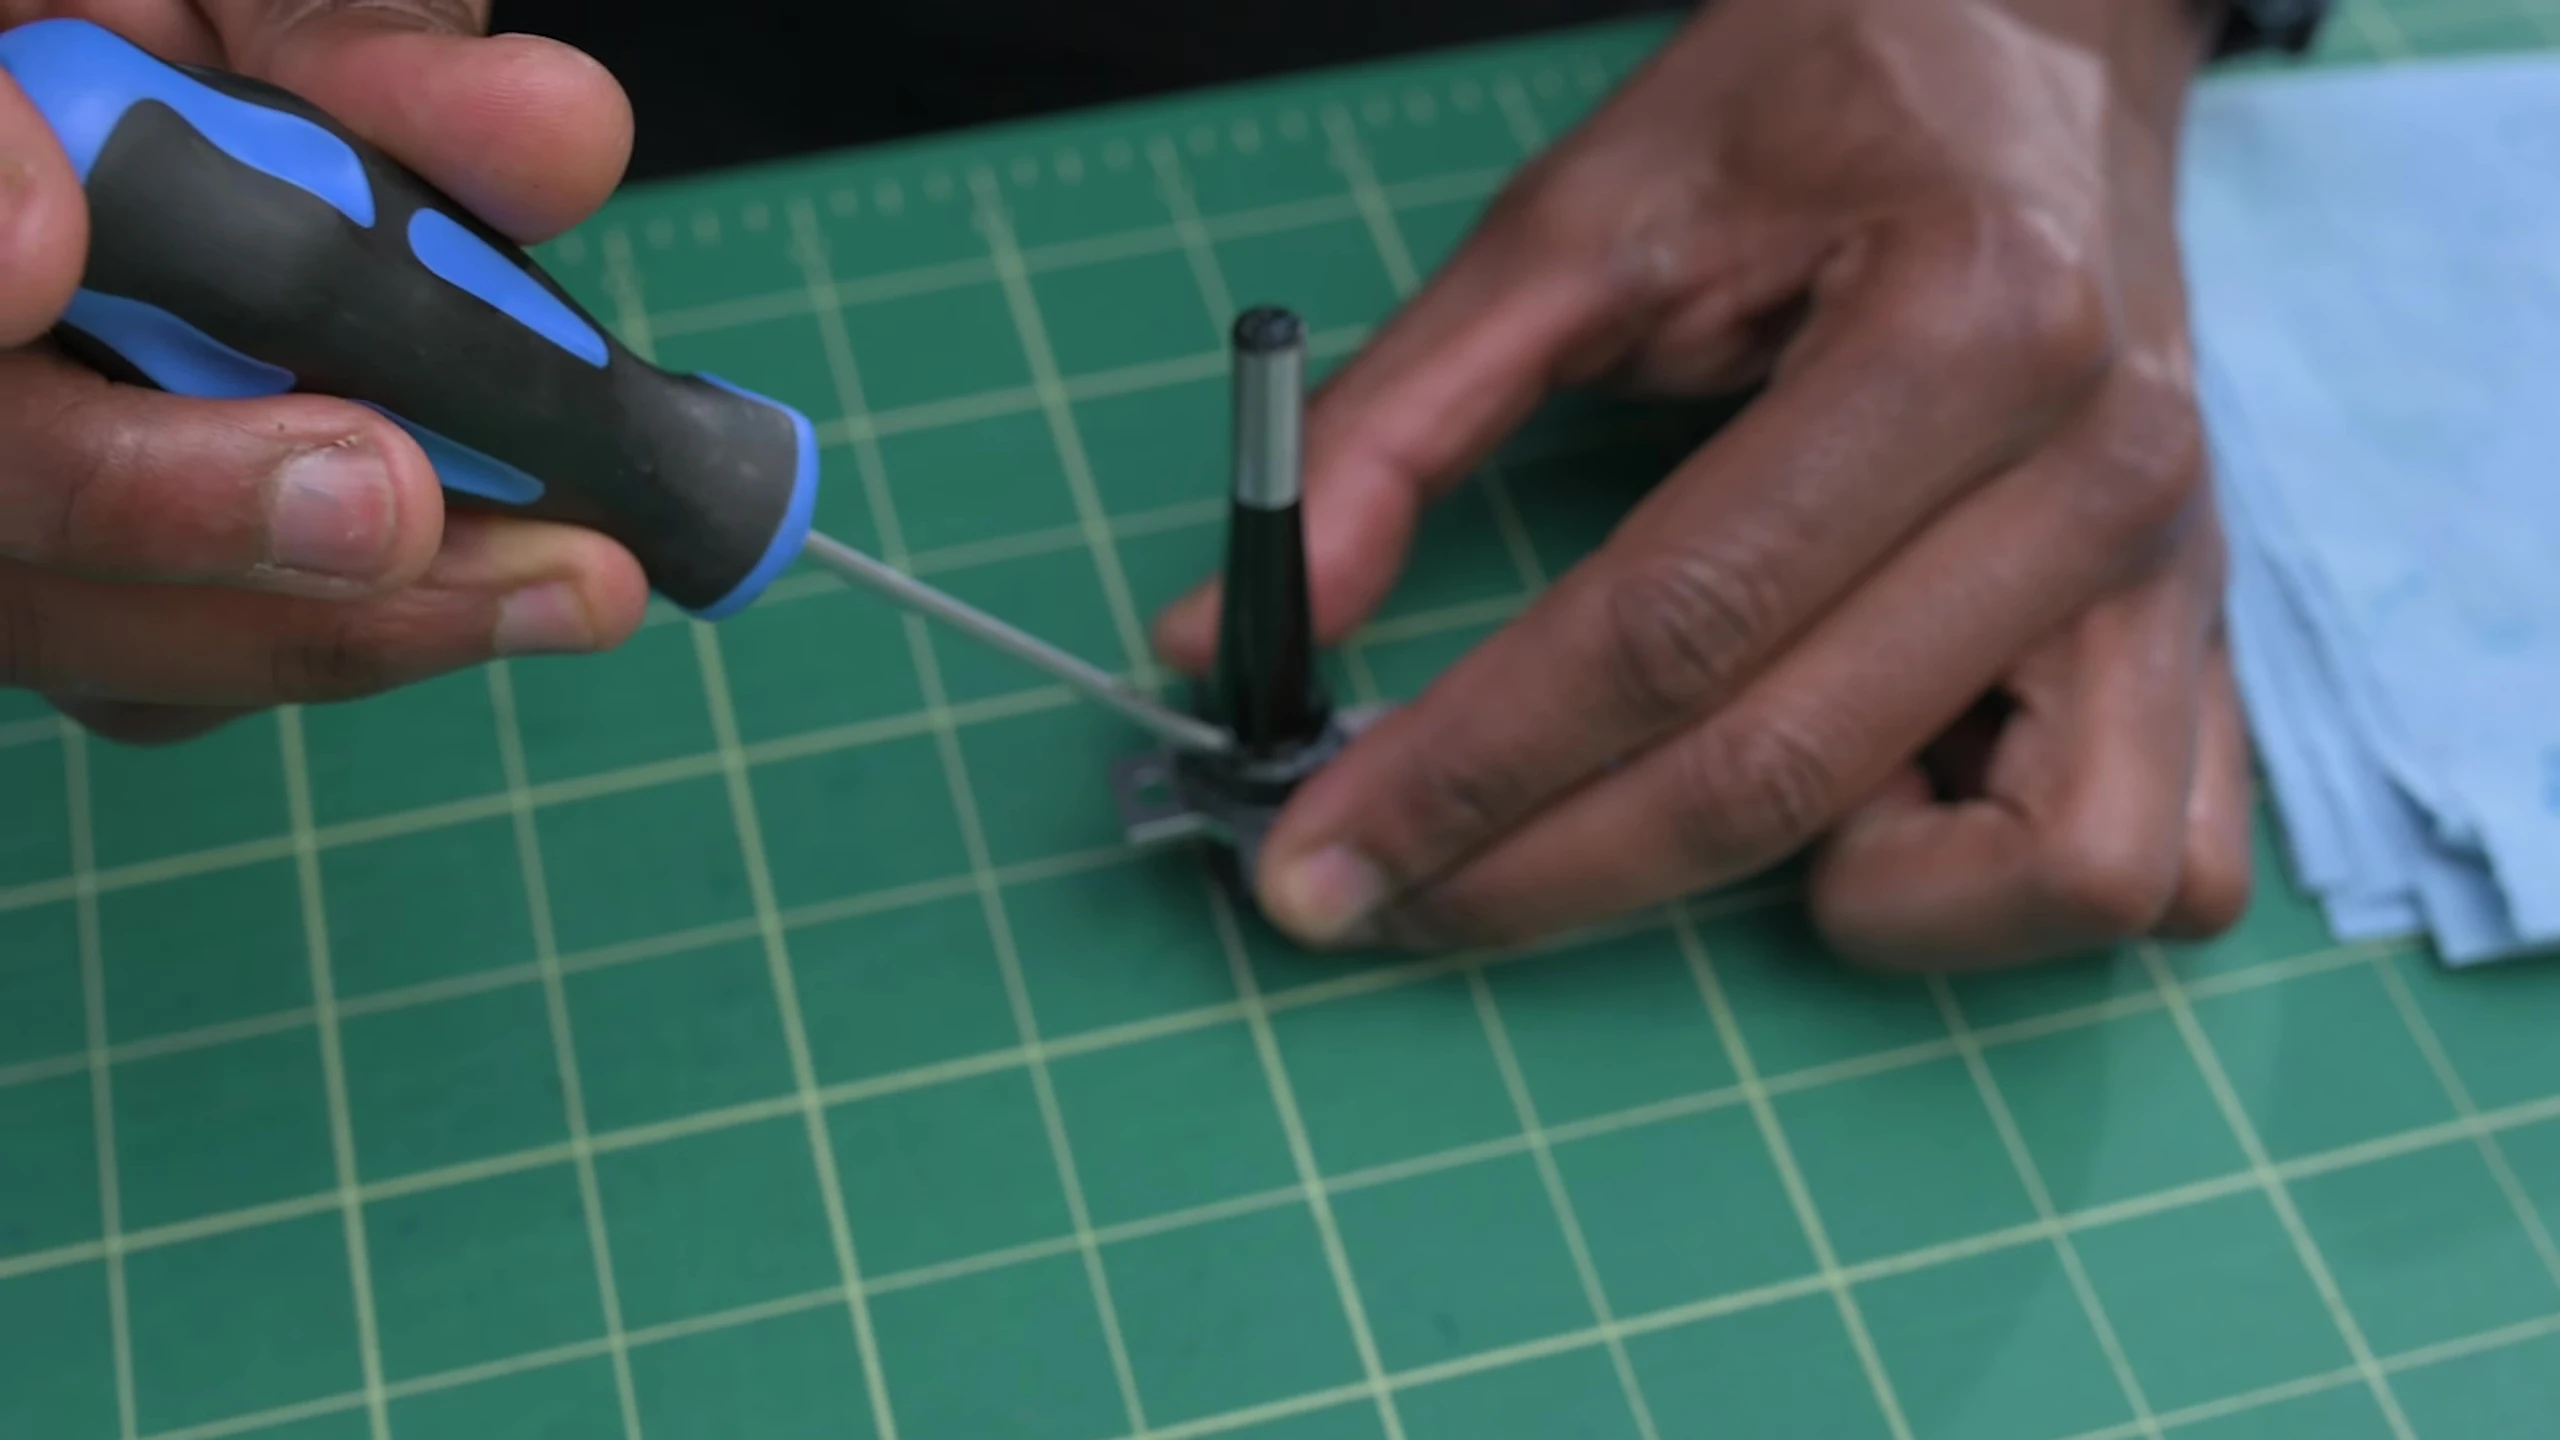
Use a small tool, such as an unfolded paperclip, to remove the outer bearing and O-ring. Then, remove the O-ring from the inner spindle bearings. Clean these parts and set them aside.

Next, rotate the bearing retainer plate and inner bearings to opposite directions. Gently pry out the inner bearing halves using a small flathead screwdriver. Repeat on both sides. Clean the spindle, bearing retainer, and seal.
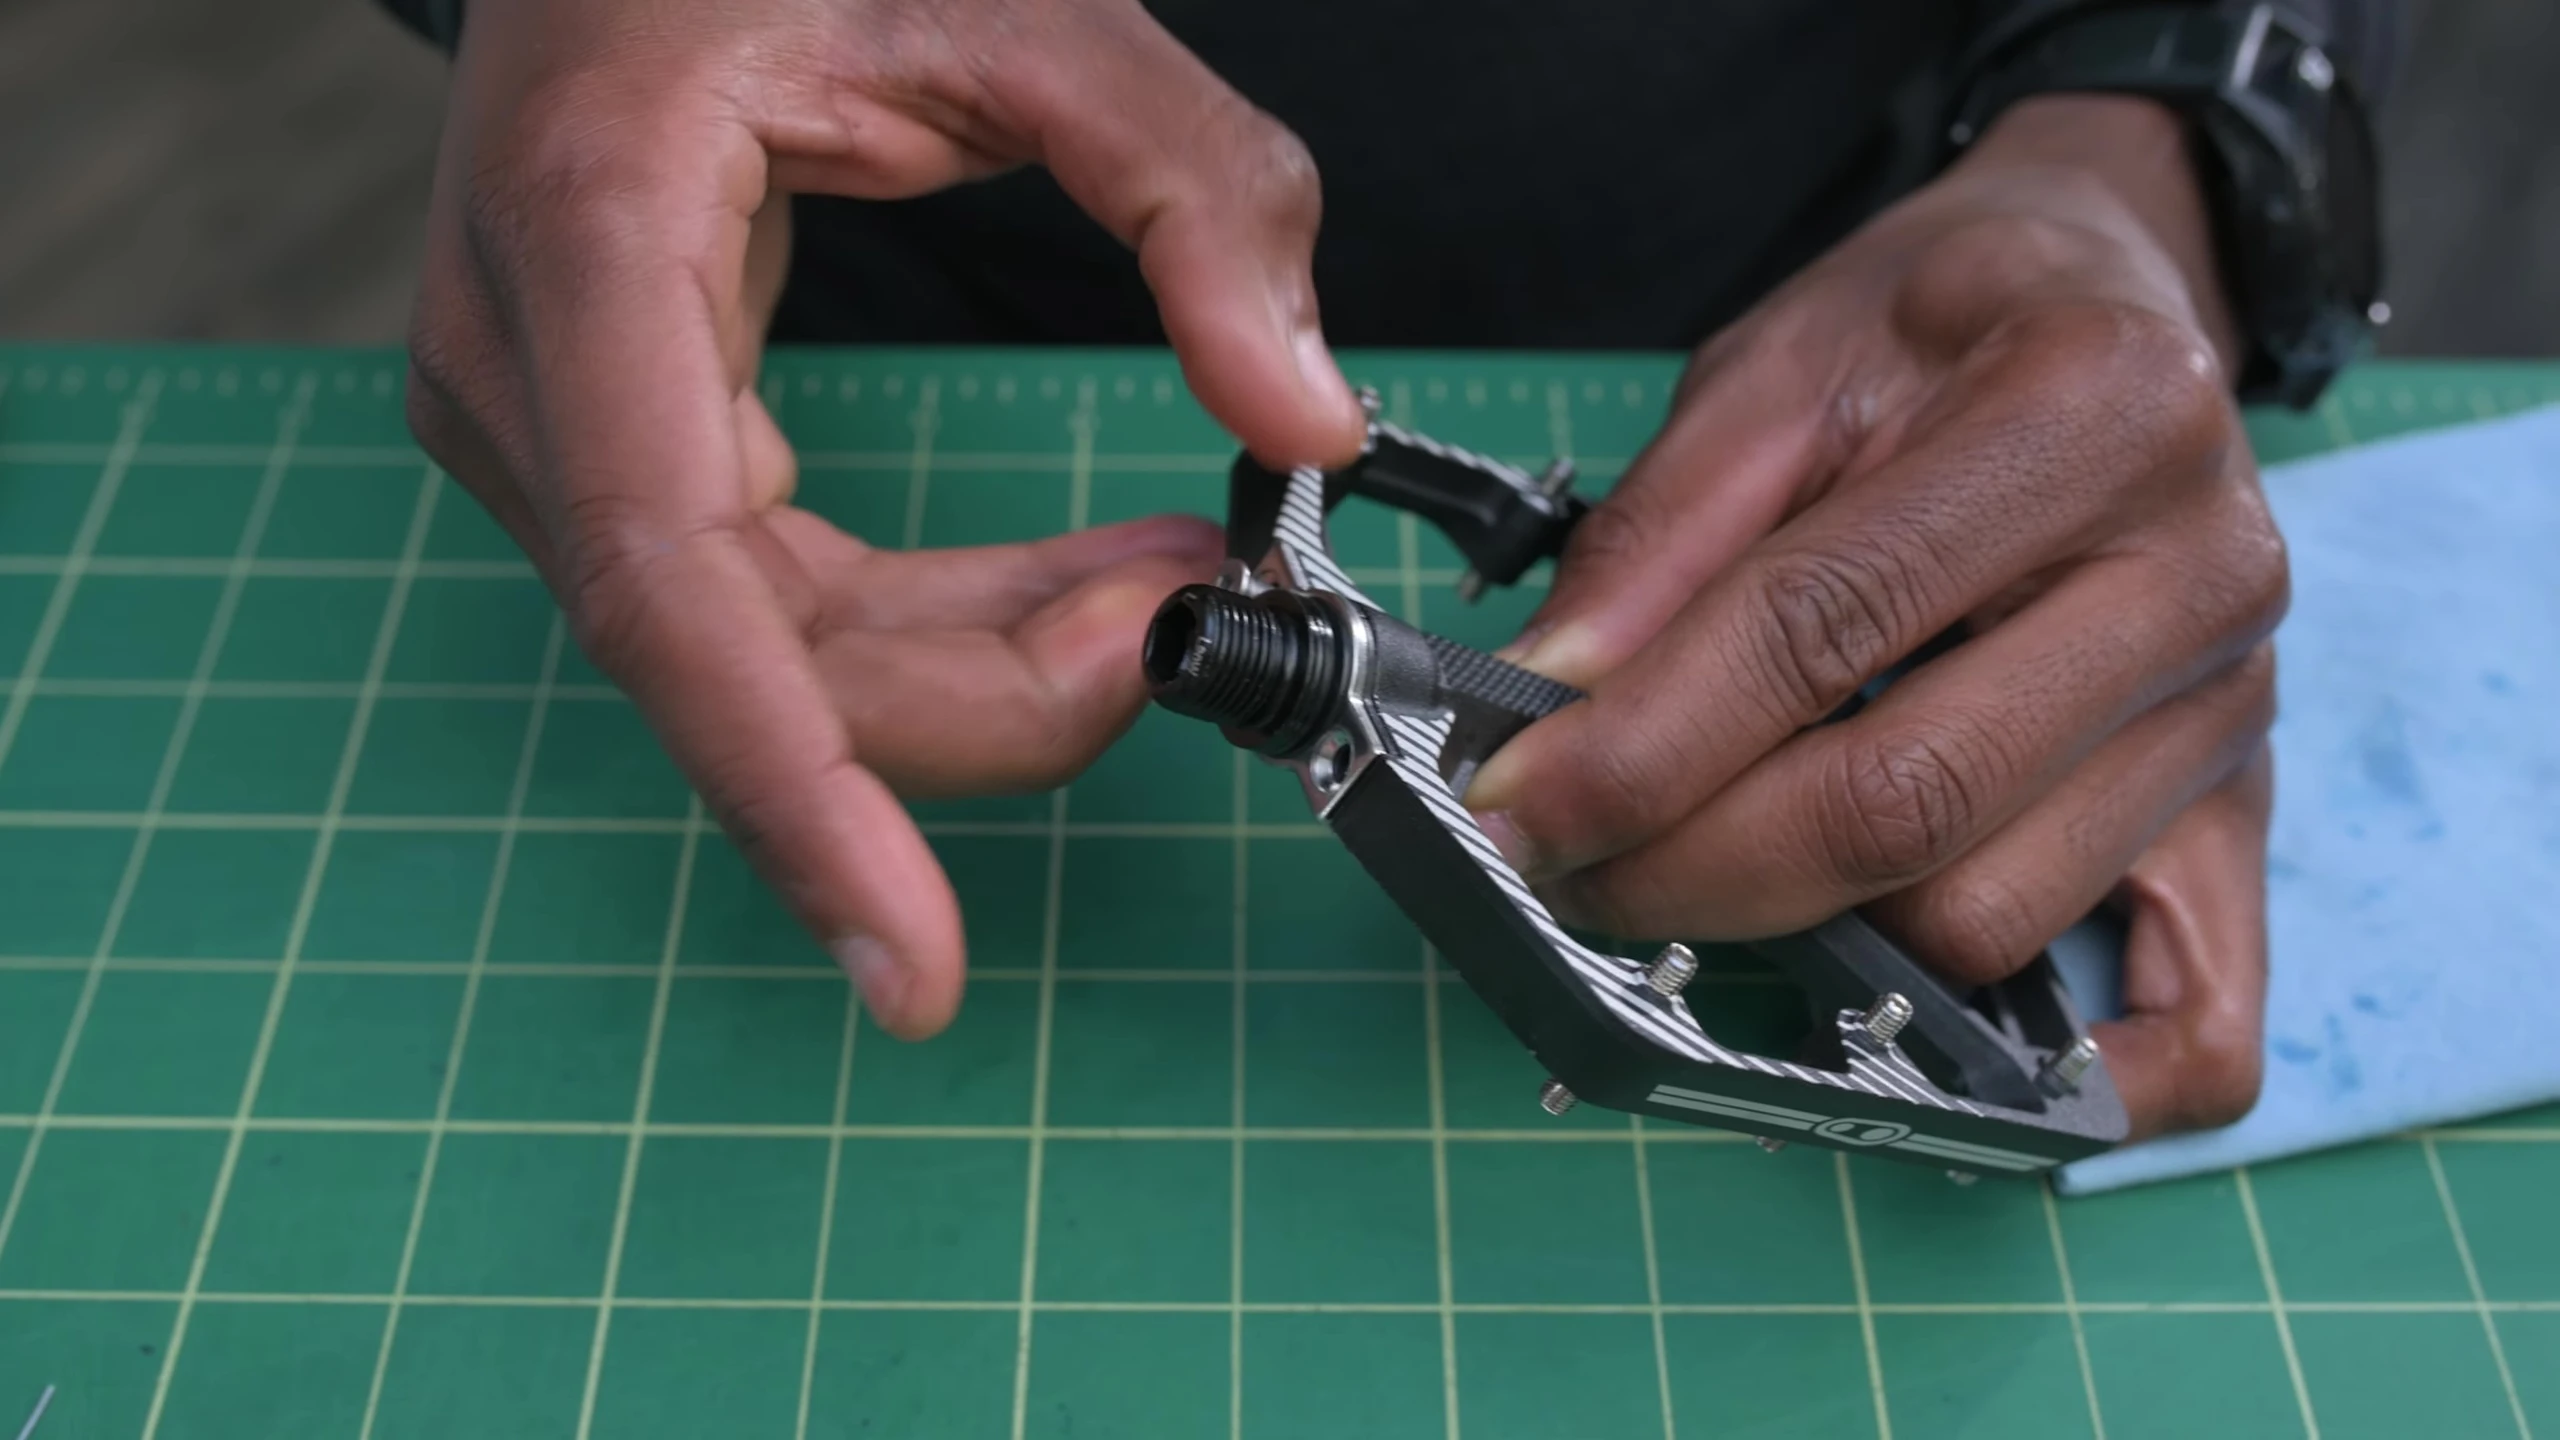
Reassembly of the Pedal
Reassembly is the reverse of disassembly. Begin by installing the seal onto the spindle, paying attention to the orientation; the thick side faces the spindle threads, and the thin, flexible side faces the pedal body.
Slide the bearing retainer over the spindle with the chamfered screws facing the spindle threads. Carefully install the outer bearing halves, then the inner O-ring. Lightly grease all external surfaces before inserting the assembly back into the pedal body.
Final Steps and Testing
Reinstall the two retaining screws, adding a small amount of light-duty threadlock. Tighten to 2.5 Newton-meters. Reinstall the grease port screw very carefully, tightening to only 0.5 Newton-meters to avoid cross-threading or over-tightening.
Finally, test the pedal rotation. If it feels smooth and functions correctly, your Crankbrothers Stamp 7 pedal rebuild is complete!