This guide provides a comprehensive overview of installing Bontrager bike lights, covering both front and rear light mounting. We'll walk you through the various mounting options available, from quick-connect brackets for easy installation and removal to adjustable hard mounts for heavier lights. Understanding the proper installation method is crucial for maximizing the visibility and effectiveness of your Bontrager lights, ensuring your safety on the road. Whether you're using a seatpost, handlebar, or exploring alternative mounting locations, this guide will equip you with the knowledge to securely and correctly mount your lights.This guide details the specific installation procedures for each Bontrager light type and mount. Learn how to identify the correct bracket for your light and how to properly secure it to your bike, ensuring your lights remain parallel to the ground for optimal visibility. We'll cover both rear light installation on your seatpost and front light installation on your handlebars, including tips for using different bracket types. Finally, we'll touch on alternative mounting solutions and the importance of easy removal for maintenance.
Pros And Cons
- Interchangeable with other Bontrager lights and brackets
- Bracket is designed to counteract the angle of the seatpost so the light is always parallel to the ground
- Provides greatest visible range
Read more: Bicycle Taillight Comparison: MagicShine, NiteRider, & More
Rear Light Mounting
Identifying the correct bracket is crucial for optimal rear light visibility. Bontrager's quick-connect bracket for rear lights features a distinctive wedge shape and a saddle icon near the strap hook. This design ensures the light remains parallel to the ground, maximizing visibility for drivers.
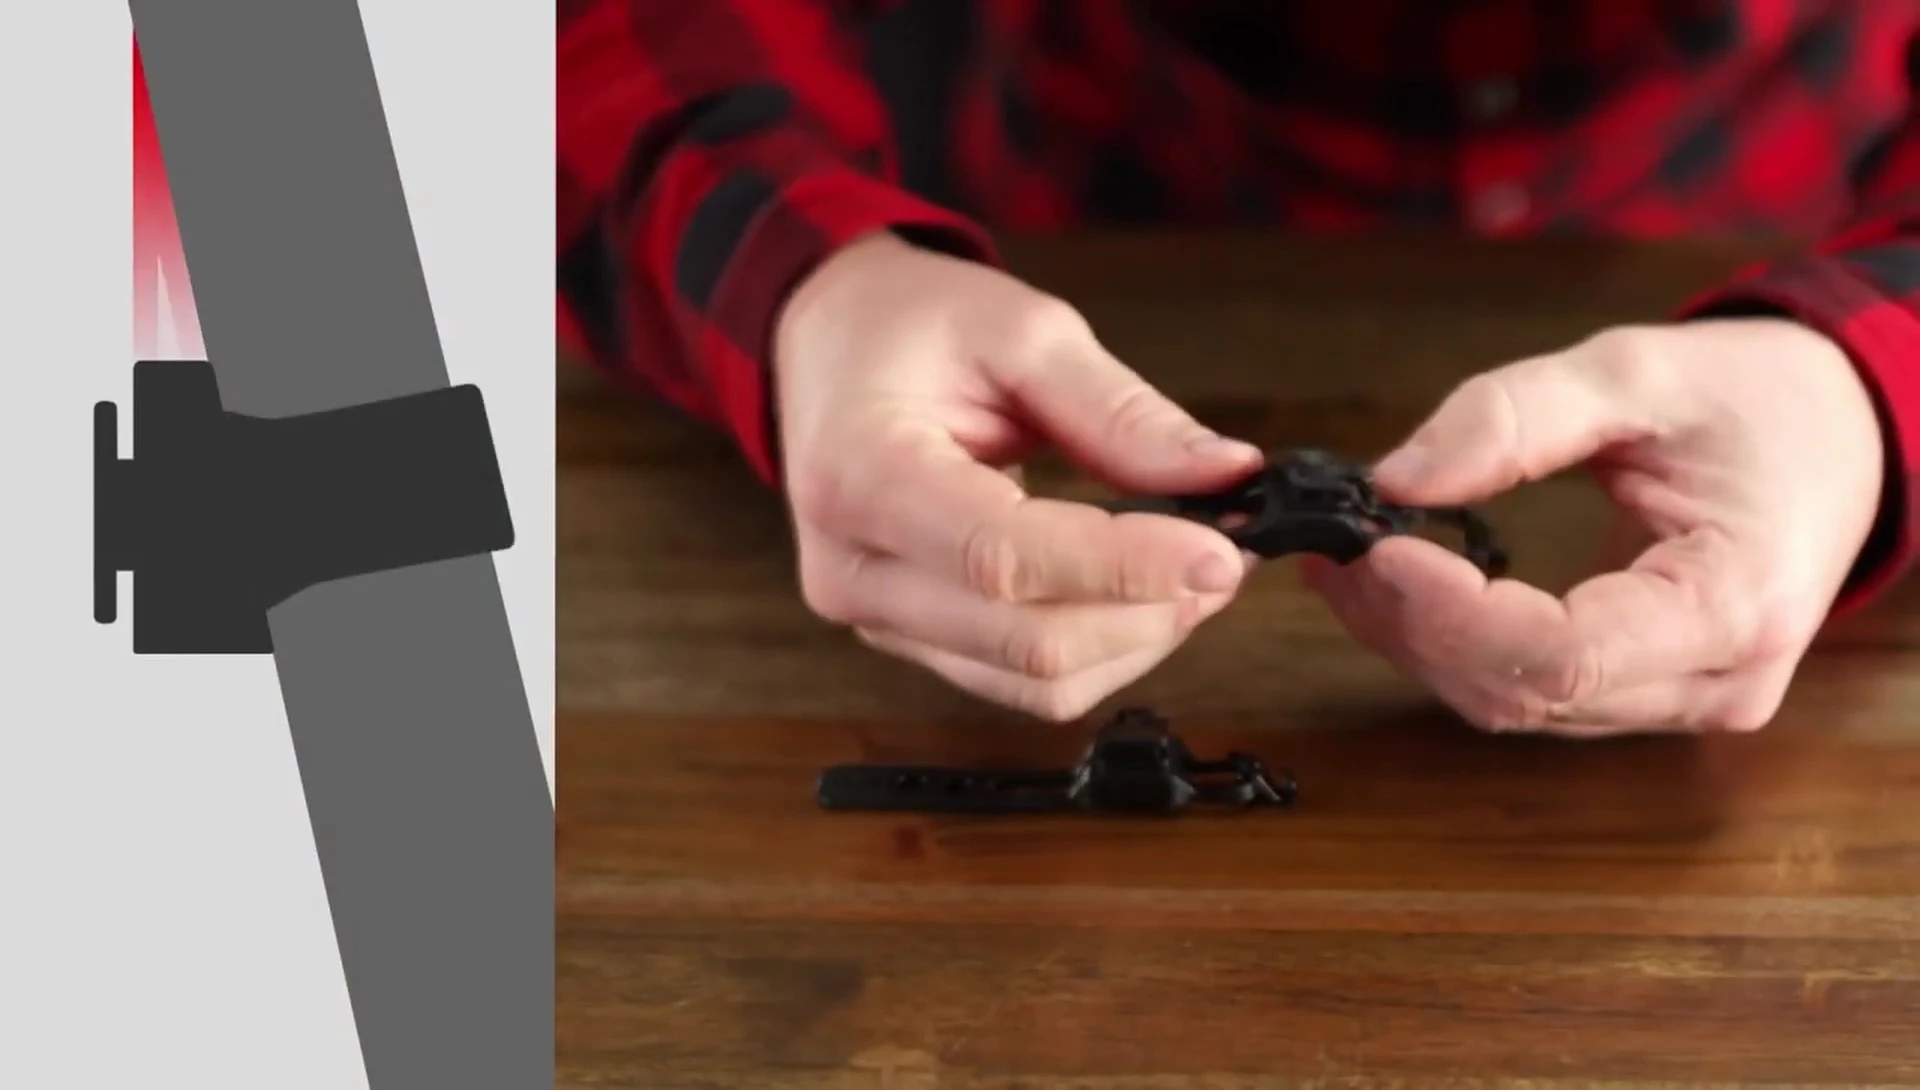
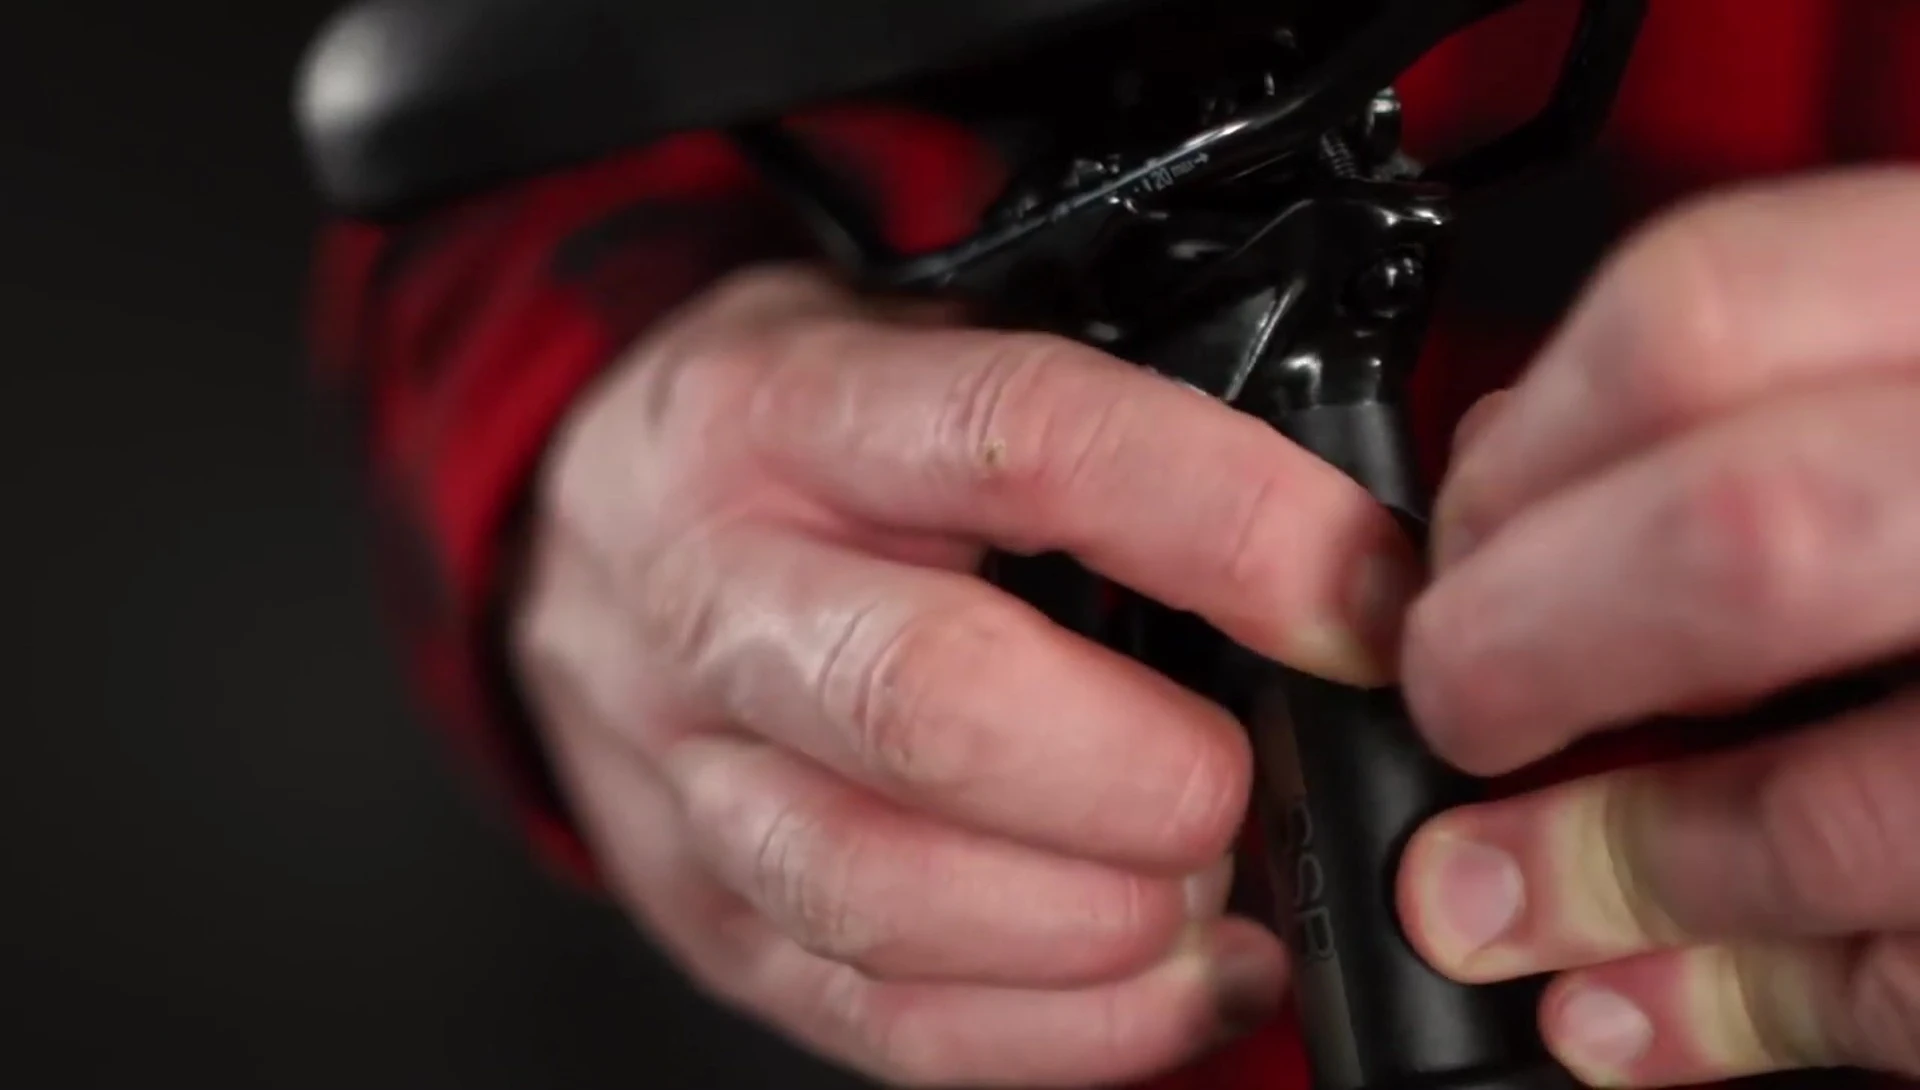
To mount, position the bracket with the widest part of the wedge facing down and the saddle icon upright. Securely fasten the rubber straps around your seatpost, engaging the hook in a notch on the strap. Position the light near the top of your seatpost, but low enough to avoid obstructions from bags or seat packs.
Front Light Mounting: Hard Mount vs. Quick Connect
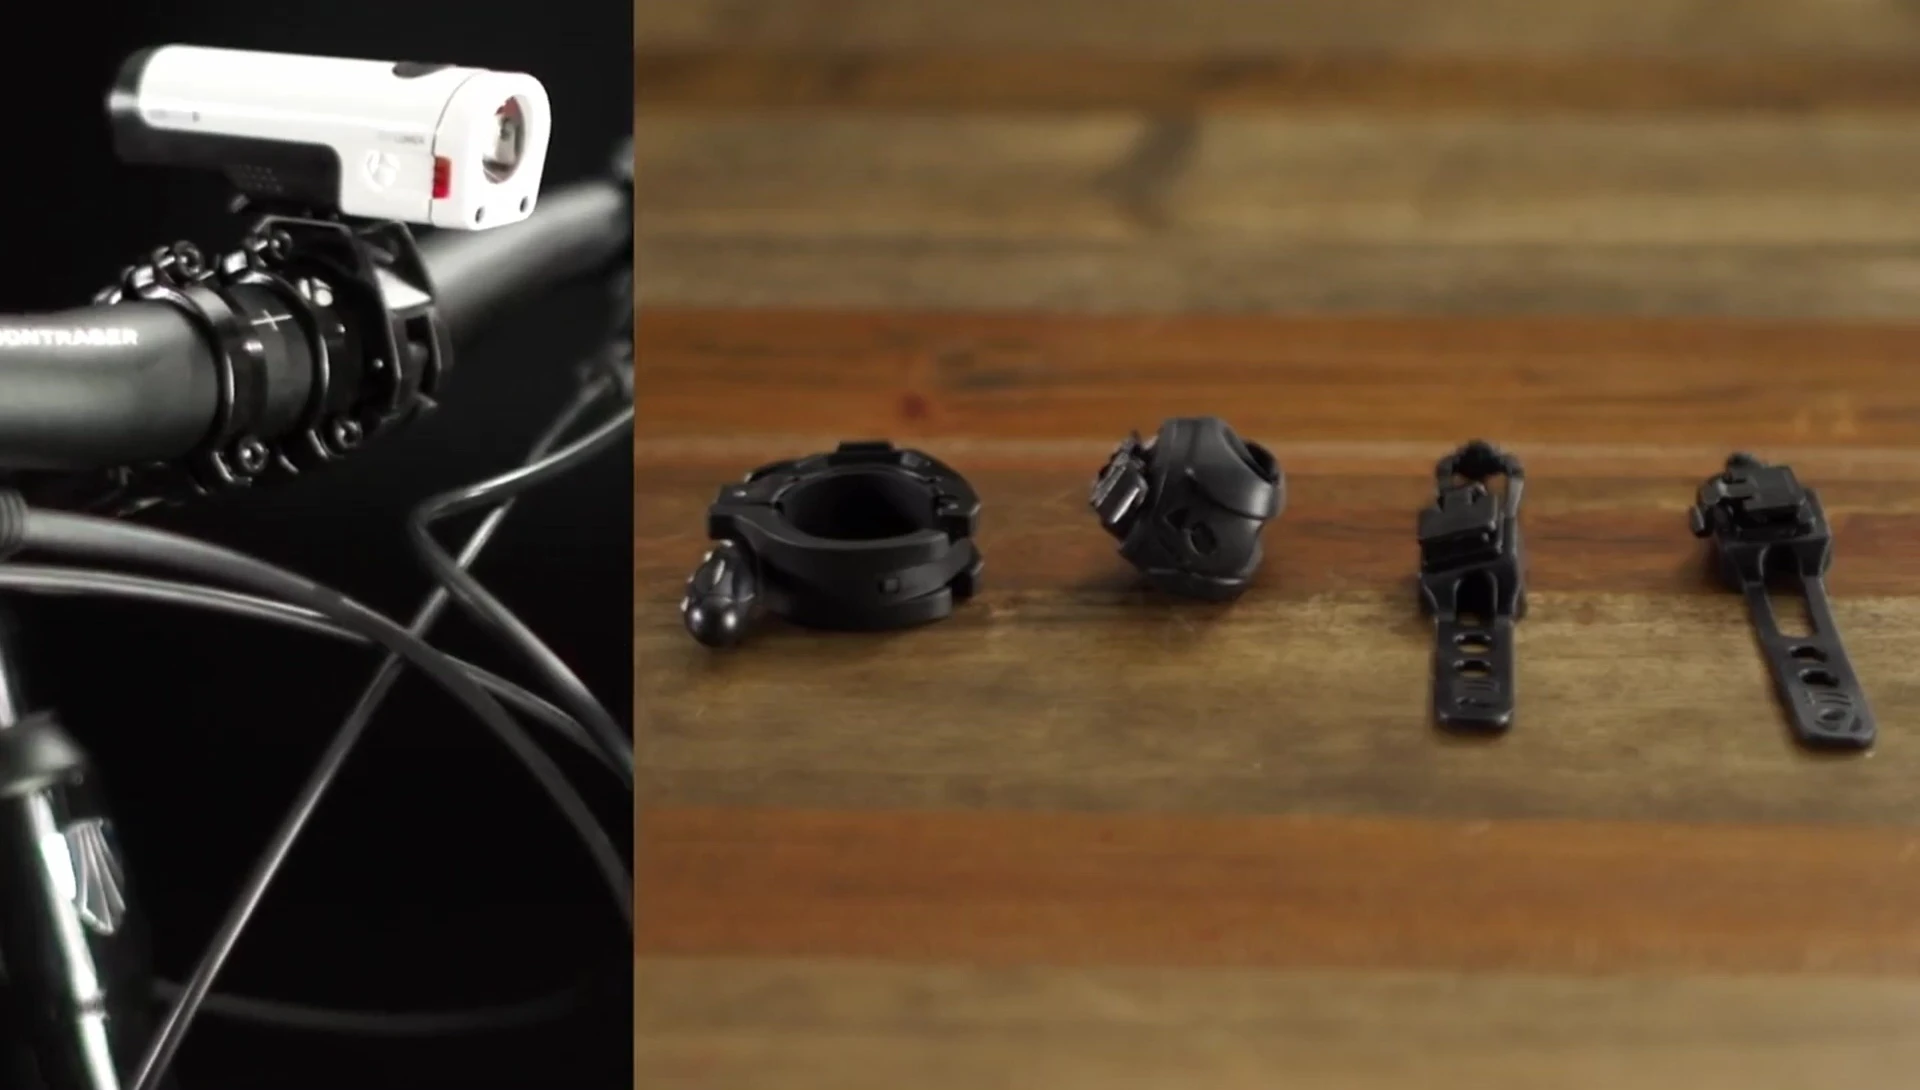
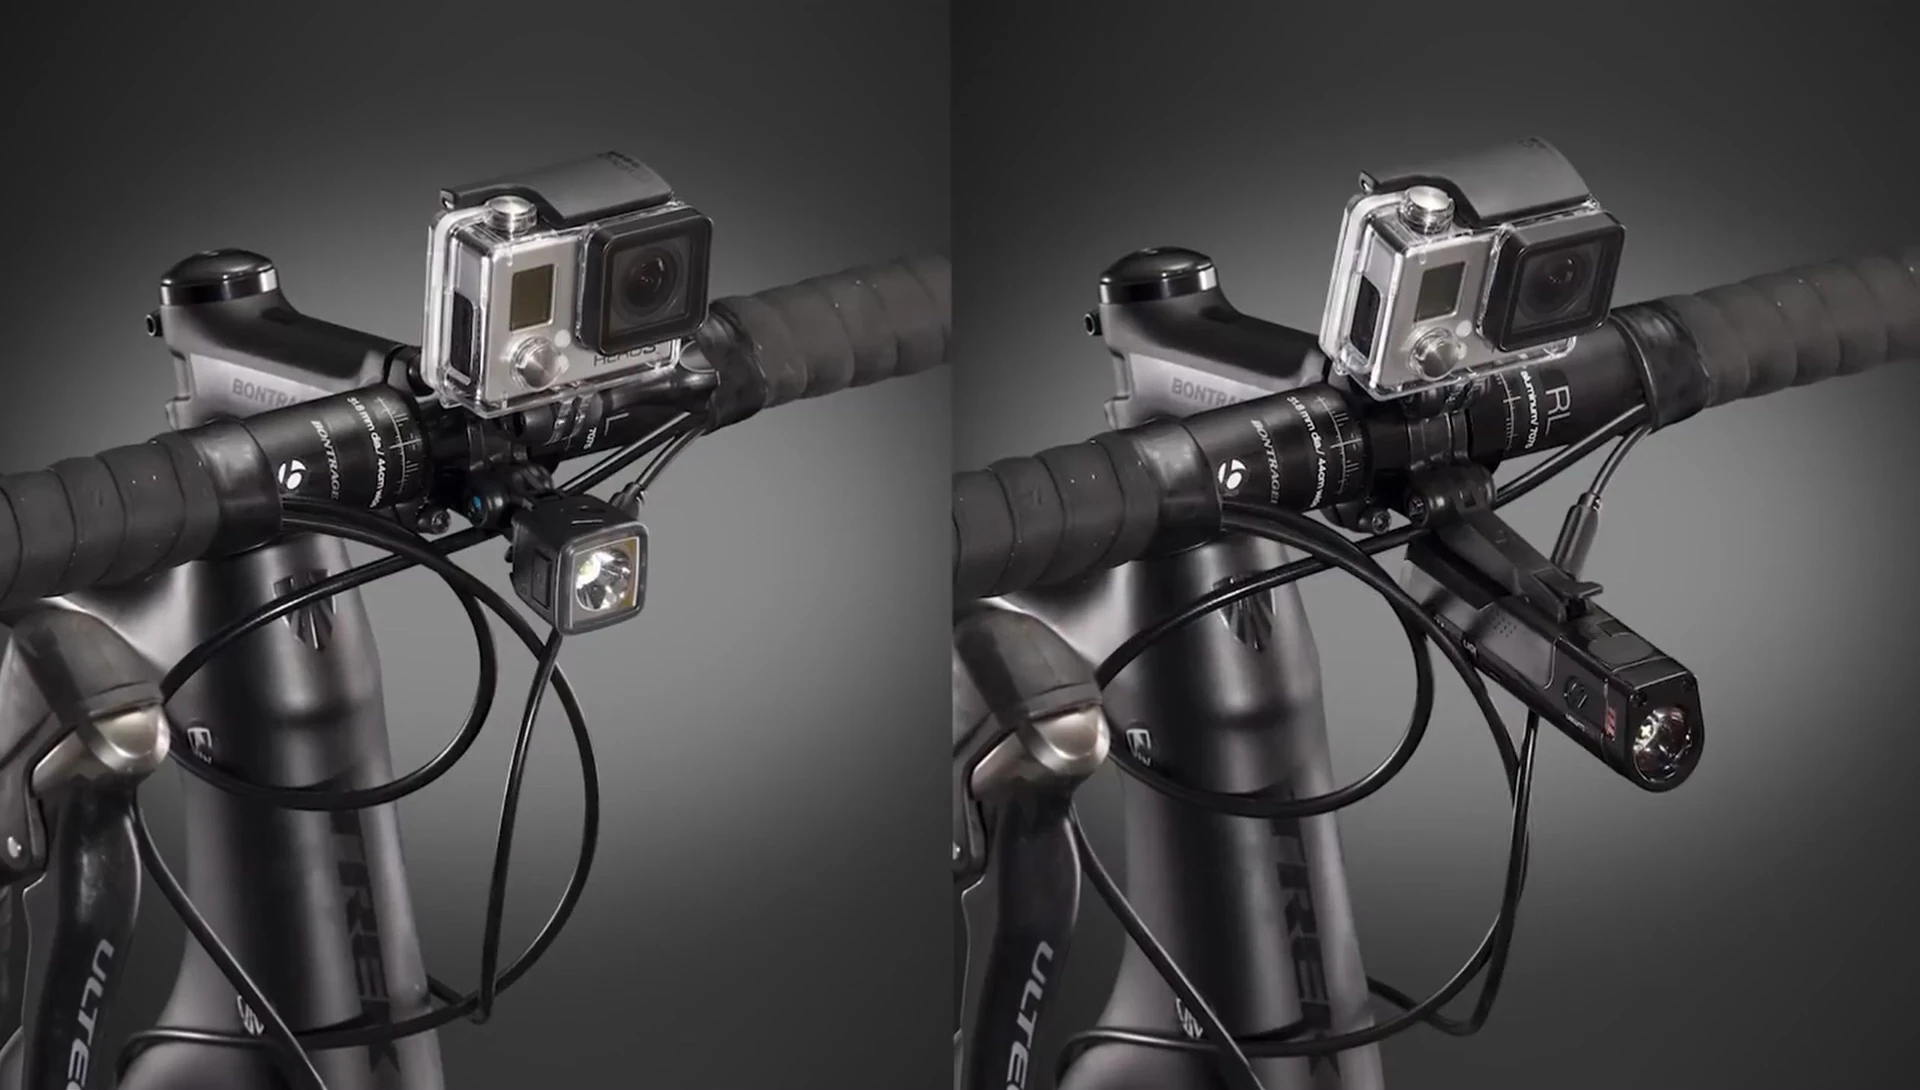
Bontrager offers different front light mounting options depending on the light's weight and your handlebar size. Heavier lights utilize an adjustable hard mount bracket, while lighter lights use a rubber quick-connect bracket.
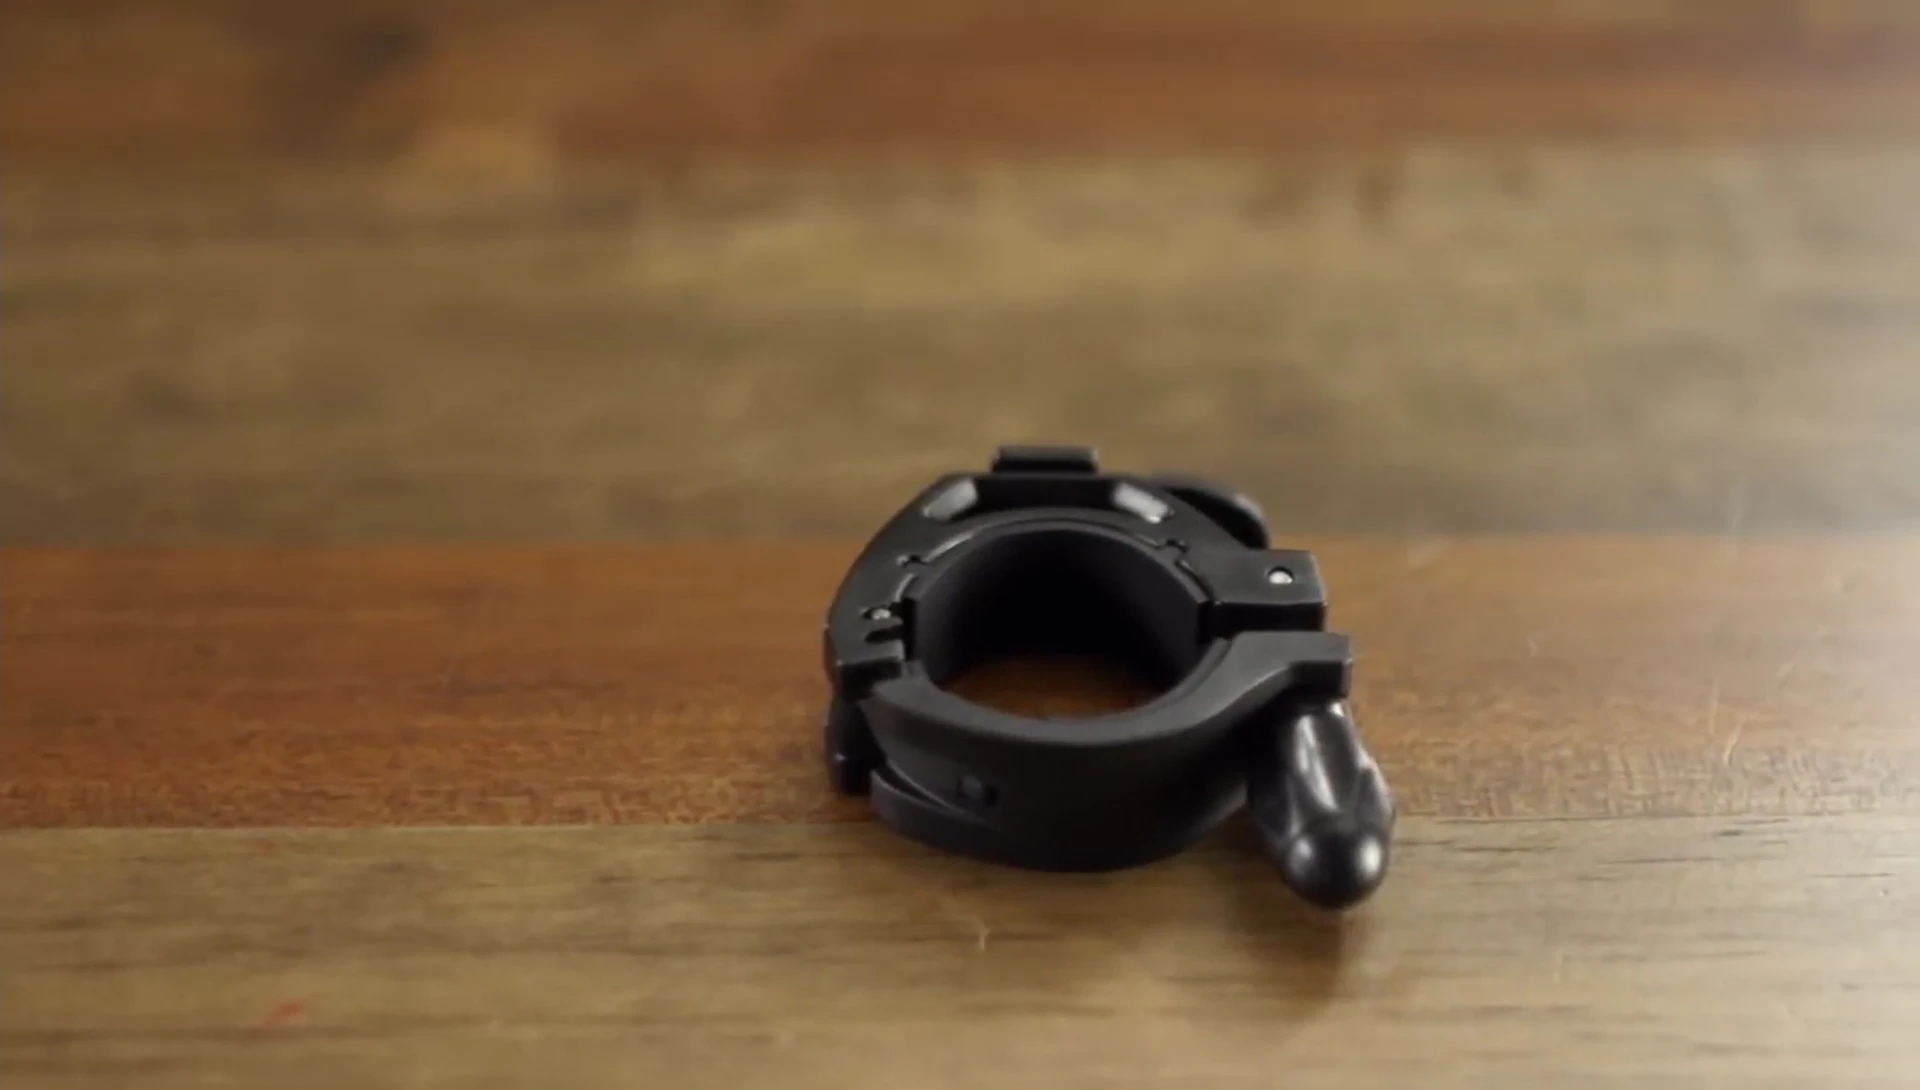
The adjustable hard mount bracket needs to be configured to match your handlebar diameter (31.8mm or 35mm). After adjusting the bracket, securely attach it to your handlebar, ensuring the light is parallel to the ground. Tighten the screw by hand until finger-tight.
Front Light Mounting: Quick Connect Bracket
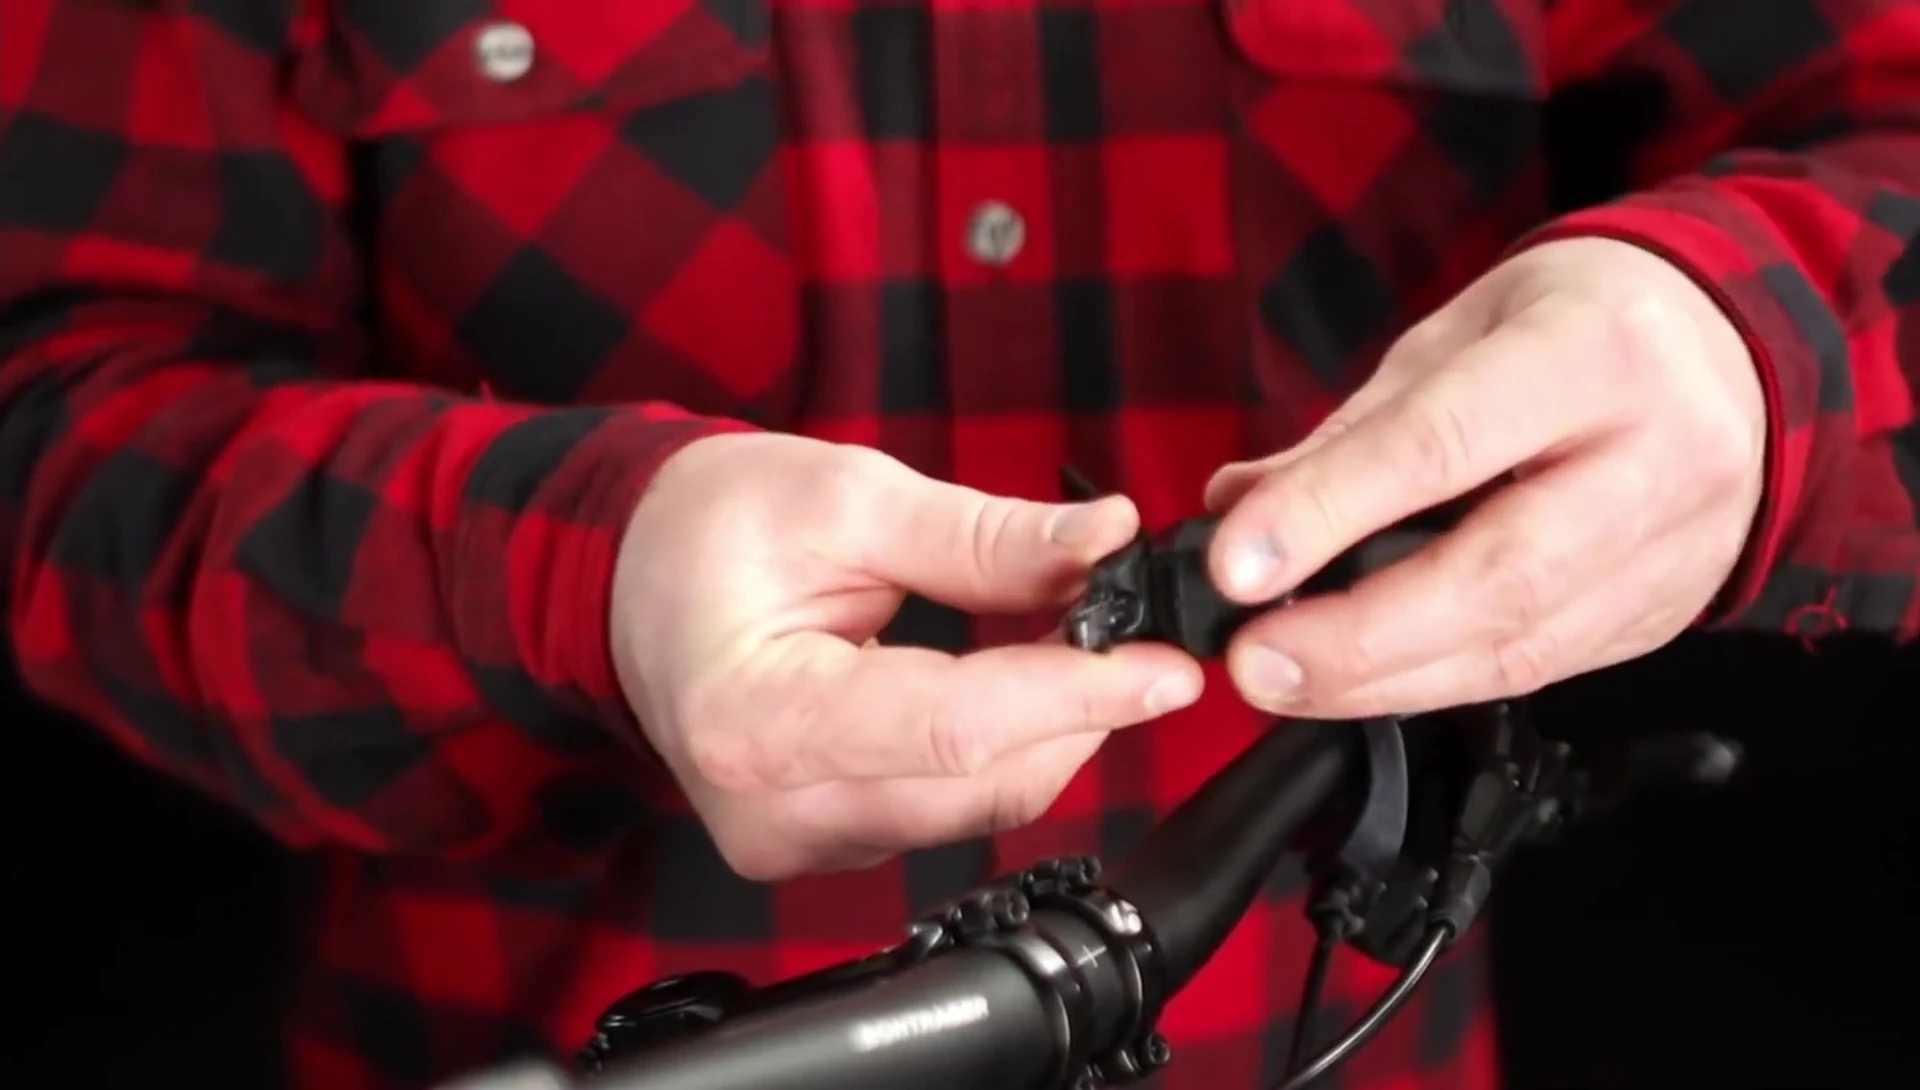
The quick-connect bracket for the front light functions similarly to the rear light bracket, except it lacks the angled wedge. To install, position the strap so the light is parallel to the ground, then stretch the straps around your handlebar and secure the hook.

Remember, easy removal is key for charging and cleaning. Press down the release lever to remove the light from the bracket, clean the lens with a damp cloth, and ensure the USB cover is securely closed before remounting.
Additional Mounting Options and Conclusion
While seatpost mounting is ideal for rear lights, consider various options like racks, helmets, seat packs, or even your backpack depending on your preferences. Bontrager offers numerous mount options for versatility, even integrated blender mounts for seamless stem integration.
Bontrager lights offer a range of mounting options to suit various needs and preferences. Whether using quick-connect or hard mounts, proper installation is essential for maximum visibility and safety. The lights are generally easy to install and remove, making maintenance straightforward.