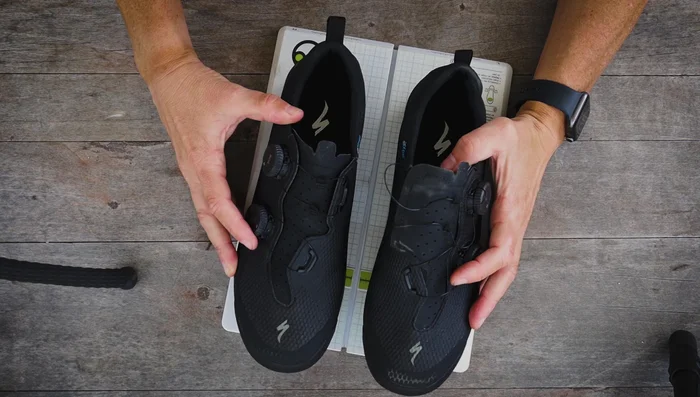
Specialized Recon 3.0 cycling shoes, known for their performance and comfort, require proper cleat installation for optimal power transfer and efficient pedaling. Incorrect installation can lead to discomfort, inefficient power delivery, and even potential injury. This often overlooked step is crucial to maximizing your investment and enjoying a smooth, comfortable ride. Many cyclists struggle with this process, finding it more complicated than it needs to be.
This guide provides a clear and efficient method for installing cleats on your Specialized Recon 3.0 shoes, ensuring a perfect fit and optimal performance. We’ll walk you through each step, providing helpful tips and tricks to avoid common mistakes. Let's dive into the step-by-step process and get your cleats securely and correctly attached, ready for your next ride.
Safety Guidelines
- Always use the correct cleats and screws for your Specialized Recon 3.0 shoes. Using incompatible cleats or screws can damage the shoes and create a safety hazard.
- Ensure the cleats are securely tightened to prevent them from loosening or detaching during riding. Over-tightening can also damage the shoes, so tighten them firmly but don't force them.
- Before riding, test the cleats' functionality by walking and shifting your weight to ensure a secure and comfortable fit. If any issues arise, immediately stop and re-check the installation.
Methods: Precise Cleat Placement Using the Ergon TP1 Alignment Tool
Tools Needed
- Ergon TP1 Alignment Tool
- Grease
- Hex Wrench
- Marker
- Shoe Shields
Step-by-Step Instructions
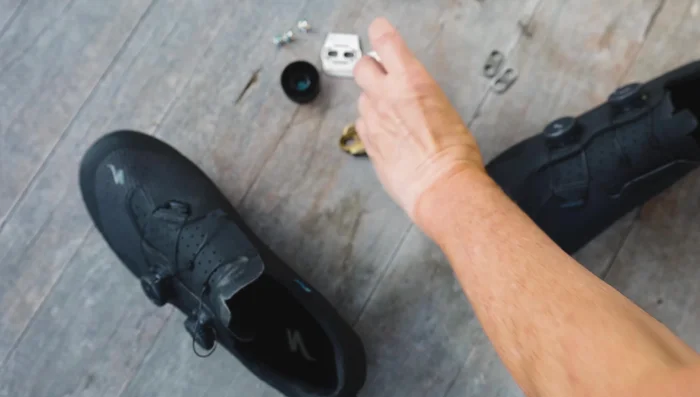
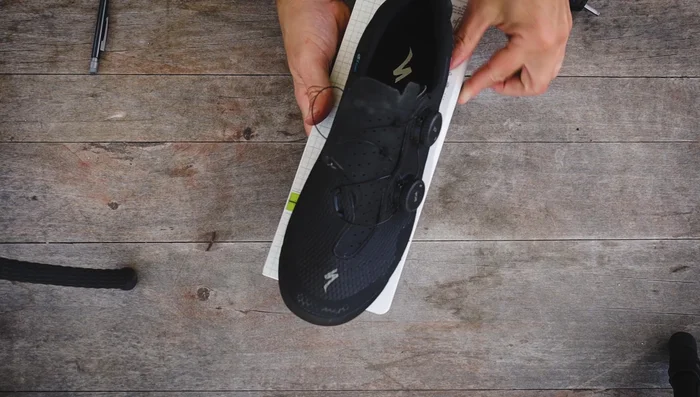
Prepare Cleats and Shoes
- Prep cleat bolts with grease to prevent seizing.
- Install shoe shields or shims and cleats to the shoe, but don't tighten them yet.

Prepare Cleats and Shoes Position Cleats with Ergon TP1 Tool
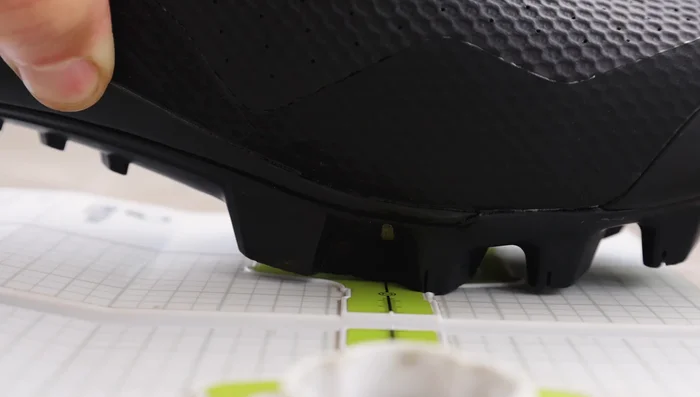
- Place the shoe and cleat into the Ergon TP1 alignment tool.
- Align the horizontal line on the gauge with the mark you made on the shoe.
- Check both shoes in the tool to ensure cleat positions match, using the center line to align shoes.
Position Cleats with Ergon TP1 Tool Secure Cleats
- Flip the tool upside down and tighten bolts slowly, one at a time, ensuring the shoe doesn't move.
- Tighten bolts to manufacturer's specifications.
Secure Cleats
Tips
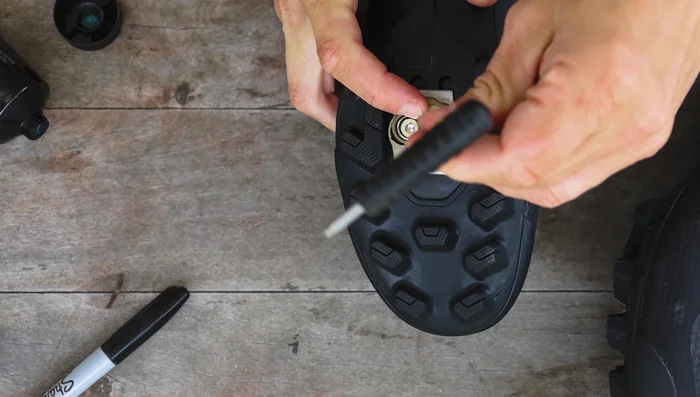
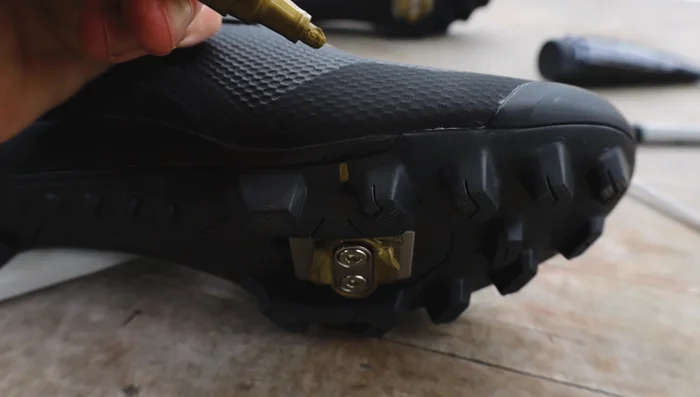
- Use a marker to clearly mark the desired cleat position on the shoe.
- The optimal cleat position is often between the big and little toe joints.
- The Ergon TP1 tool provides precise alignment and helps ensure both cleats are positioned identically.