How to Replace Cambium Saddle Rails: A Step-by-Step Guide
Updated at: 22/02/2025
Cambium saddles, known for their comfort and durability, are a popular choice among cyclists. However, like any component, the saddle rails can eventually wear down, bend, or break, requiring replacement. This can seem daunting, but with the right tools and a clear understanding of the process, replacing your Cambium saddle rails is a manageable task even for novice mechanics. A damaged saddle doesn't have to mean a new purchase – often, a simple repair can restore your trusty seat to its former glory.
This guide provides a comprehensive, step-by-step approach to replacing your Cambium saddle rails, covering everything from gathering the necessary tools to securing the new rails. We'll walk you through the process, ensuring you're confident and comfortable tackling this repair. Let's get started!
Preparation and Safety Guidelines
Tools Needed
T20 Torx wrench
Safety Guidelines
Always disconnect the power to the antenna system before starting any work on the saddle rails. Failure to do so could result in serious electrical shock.
Use appropriate safety equipment, including gloves and safety glasses, to protect yourself from sharp edges and potential falls from heights.
Ensure you have the correct replacement saddle rails for your specific Cambium model. Using incorrect parts may compromise the structural integrity and performance of the antenna system.
Step-by-Step Instructions
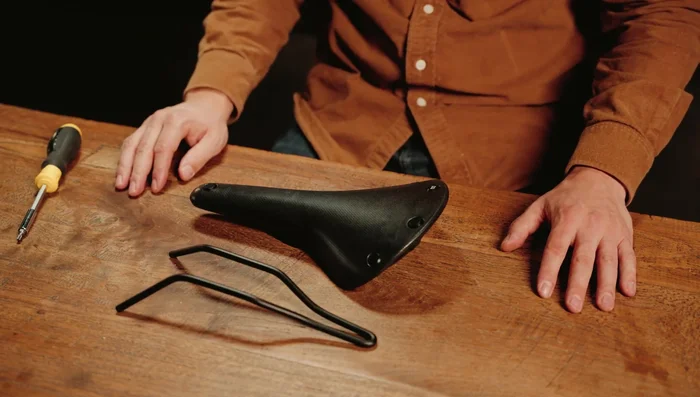
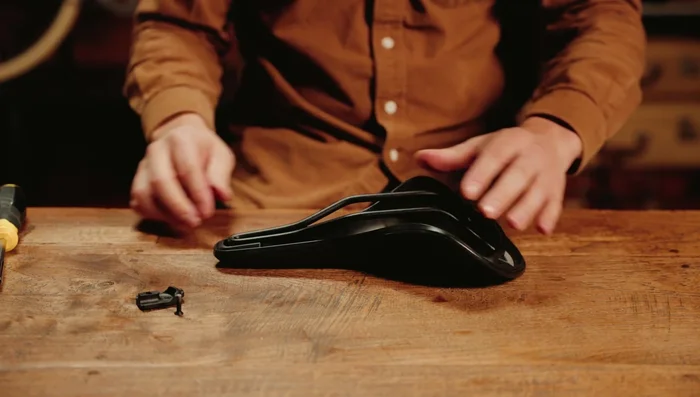
Prepare the Saddle
Place the saddle upside down to clearly see the bottom.
Prepare the Saddle
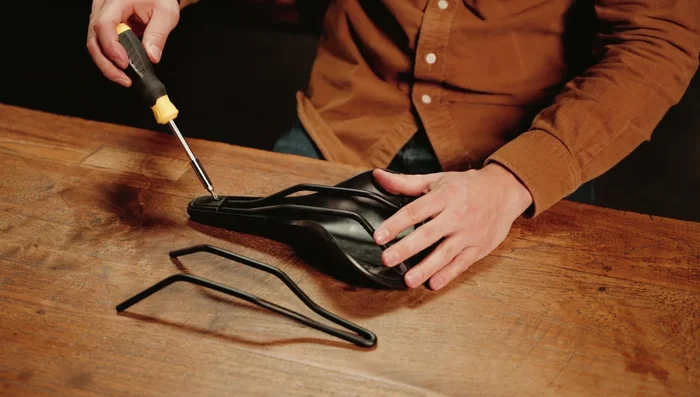
Remove the Old Rails
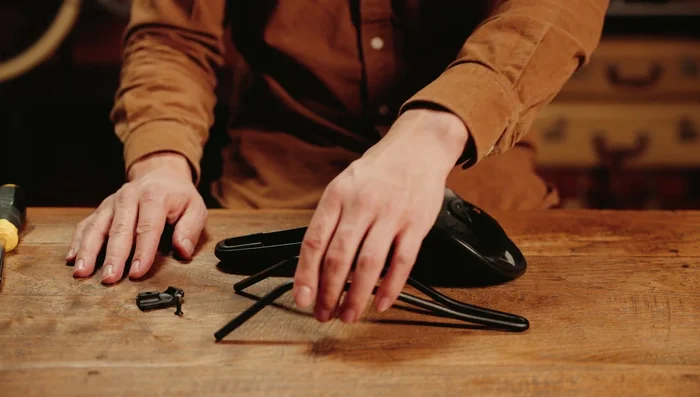
Use a T20 Torx wrench to unscrew the bolt holding the nose of your saddle.
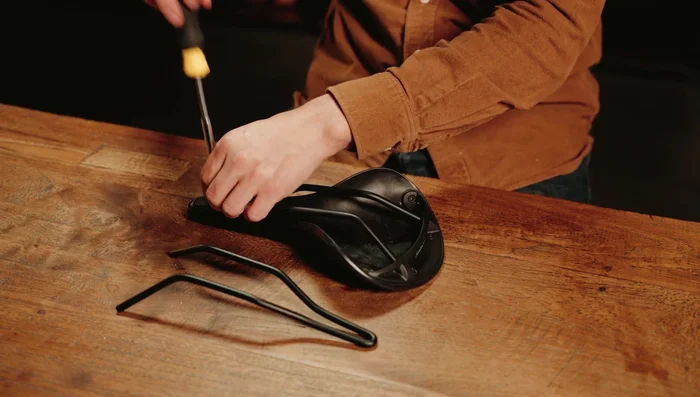
Lift and set aside the small nose piece by pulling the rails free from the nose of your saddle.
Remove the rails from the rear plate.
Remove the Old Rails
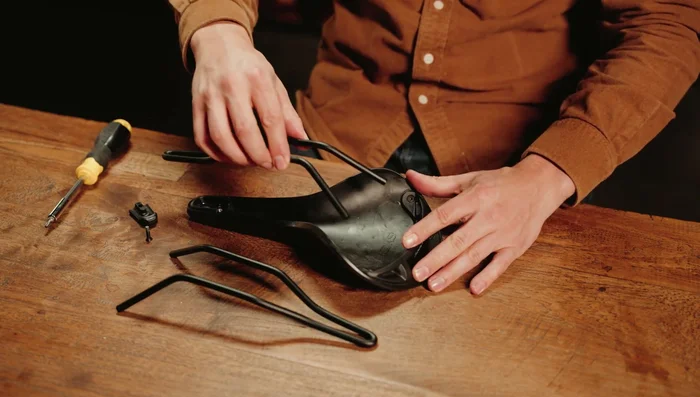
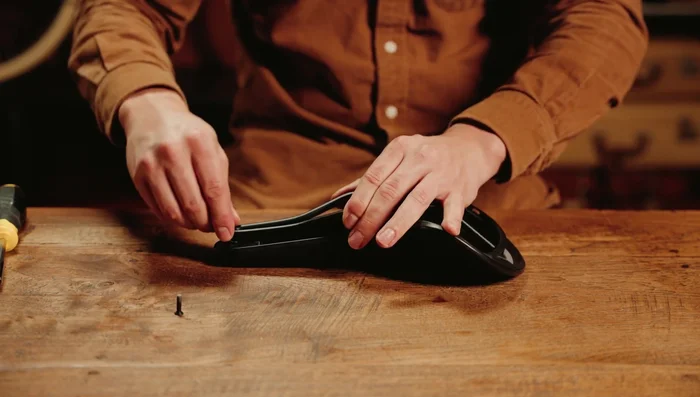
Install the New Rails
Insert the new rails and keep them lifted.
Slide and connect the nose piece underneath.
Close down the nose piece and tighten the bolt while holding the nose of your saddle.
Taking care of and maintaining your setup is simple and improves function and longevity.
This repair is only necessary in case of breakage or loss of components.
Common Mistakes to Avoid
1. Incorrect Saddle Rail Alignment
Reason: Improper alignment of the new saddle rails can lead to uneven pressure on the saddle, affecting the instrument's playability and potentially damaging the top.
Solution: Ensure the saddle rails are perfectly parallel and flush with the bridge before gluing and clamping.
2. Using the Wrong Adhesive
Reason: Using an inappropriate adhesive can result in a weak bond, leading to the saddle rails detaching or causing damage during removal.
Solution: Use a high-quality, strong adhesive specifically designed for wood and musical instruments, following the manufacturer's instructions.
FAQs
What tools do I need to replace my Cambium saddle rails?
You'll need a set of Allen wrenches (likely 5mm and possibly others depending on your saddle model), a rivet tool (or strong pliers if working with rivets), and potentially a hammer and punch if dealing with stubborn rivets. It's also helpful to have a clean workspace and a small container to keep screws organized.
Where can I buy replacement Cambium saddle rails?
Replacement rails are typically available through authorized Brooks England dealers or online retailers specializing in bicycle parts. It's crucial to purchase rails specifically designed for your Cambium saddle model to ensure a proper fit.
Is it difficult to replace Cambium saddle rails? Do I need to be a bike mechanic?
While it requires some mechanical aptitude, replacing Cambium saddle rails is a manageable task for most people with basic hand tool skills. Following a clear guide like this one will make the process much easier. If you're unsure about any step, it's always best to consult a professional bike mechanic.
Whether you're upgrading your setup for peak triathlon performance or simply need to repair your existing saddle, understanding how to maintain your bike seat is crucial. This guide will walk you through replacing Cambium saddle rails. If you're looking to enhance your ride with a new saddle altogether, consider checking out our guide on selecting the ideal seat for triathlon – we cover top-performing models in our previous article, our ranking of the best triathlon bike saddles. This will help you choose the perfect replacement once you've mastered the rail replacement process.