Bontrager bike lights are renowned for their brightness and innovative features, but even the best light is ineffective if not mounted correctly. Proper placement is crucial for maximizing visibility to other road users, whether you're cycling during dawn, dusk, or at night. Poorly mounted lights can be easily obscured by your body, handlebars, or even your own hands, defeating their purpose and potentially putting you at risk. Choosing the right mounting location is a key component of achieving optimal safety while cycling.
This isn't just about clipping a light onto your handlebars; strategic placement significantly impacts how effectively your Bontrager lights illuminate your path and make you visible to others. In this guide, we'll walk you through a step-by-step process detailing the best ways to mount your Bontrager bike lights, ensuring you're seen and safe, no matter the conditions.
Safety Guidelines
- Ensure lights are securely fastened to avoid detachment during riding, potentially causing accidents or obstructing other road users.
- Always use lights that are approved for bicycle use and meet relevant safety standards, ensuring sufficient brightness and appropriate light patterns for your riding conditions.
- Position lights strategically for maximum visibility. A front light should illuminate the road ahead, while a rear light should be visible from a wide angle to other vehicles and pedestrians.
Methods: Mounting Rear Light with Quick-Connect Bracket
Tools Needed
- Bontrager rear light
- Quick-connect bracket
Step-by-Step Instructions
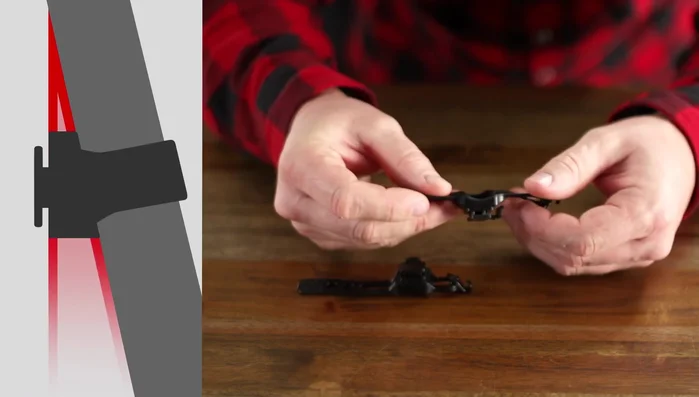
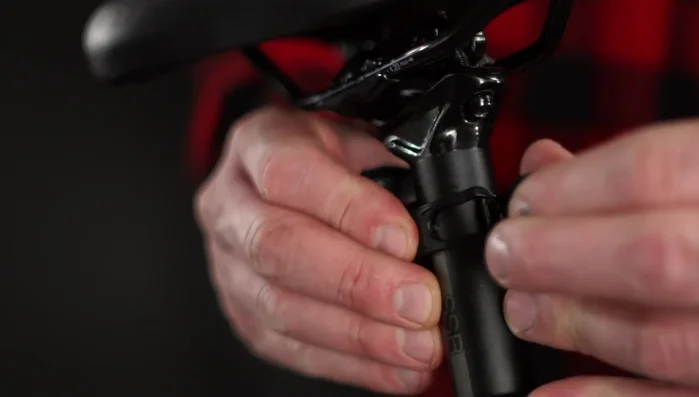
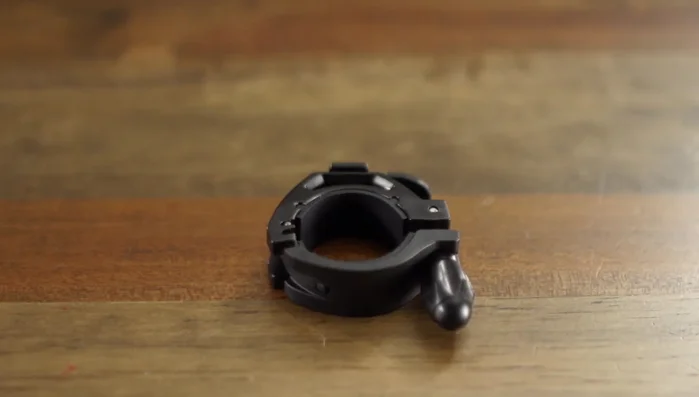
Identify the Bracket
- Identify the quick-connect bracket (wedge shape, satellite gun next to straps).

Identify the Bracket Position the Bracket
- Hold the bracket so the widest part of the wedge faces the ground and the saddle icon is upright.
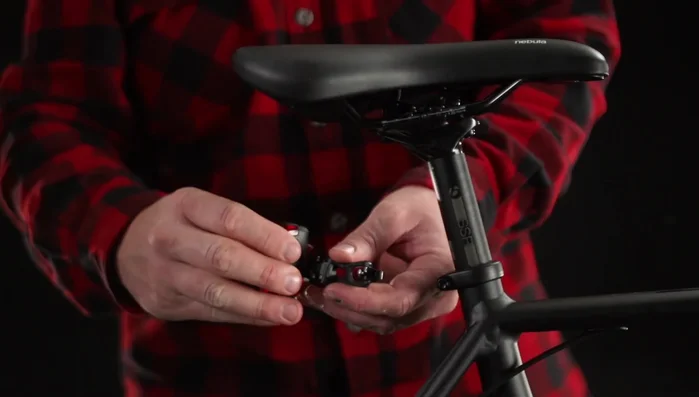
Position the Bracket Attach the Bracket to Seatpost
- Attach the bracket to your seat post using rubber straps, hooking securely through a notch.
Attach the Bracket to Seatpost Mount the Light
- Place the light near the top of the seat post, but low enough to avoid blockage by bags or packs.
Tips
- The bracket's design counteracts seat post angle, keeping the light parallel to the ground for optimal visibility.
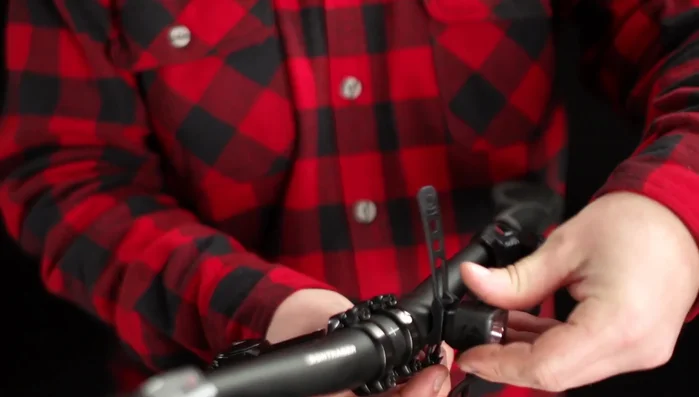
Methods: Mounting Front Light with Adjustable Hard Mount Bracket (for heavier lights)
Tools Needed
- Bontrager heavier-duty front light (e.g., Ion 800)
- Adjustable hard mount bracket
Step-by-Step Instructions
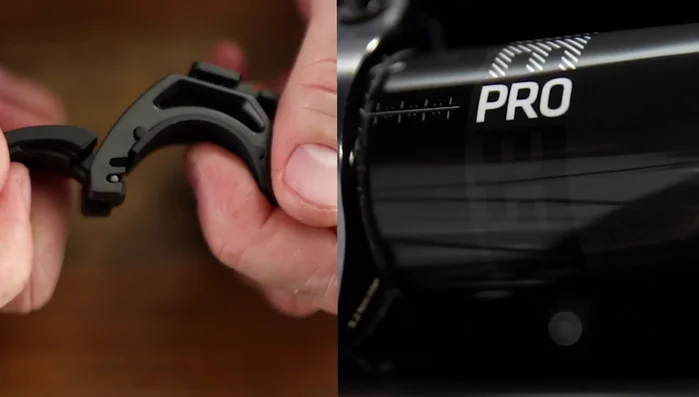
Prepare the Bracket
- Set the bracket to fit your handlebar diameter (check for 31.8mm or 35mm).
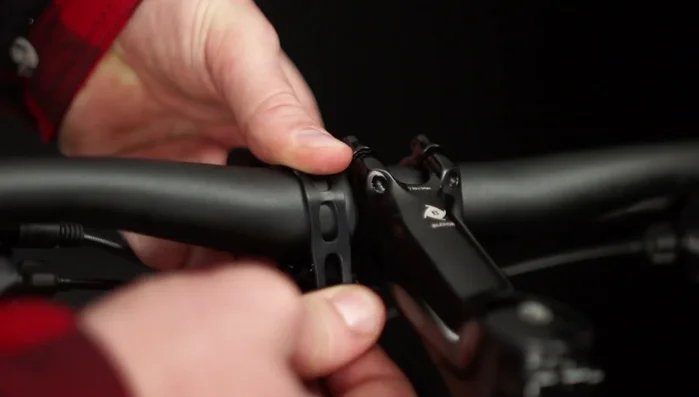
Prepare the Bracket Mount the Bracket
- Place the bracket around your handlebar.
Mount the Bracket Align the Light
- Position the light parallel to the ground.
Align the Light Secure the Light
- Secure the mount by hand-tightening the screw.
Secure the Light
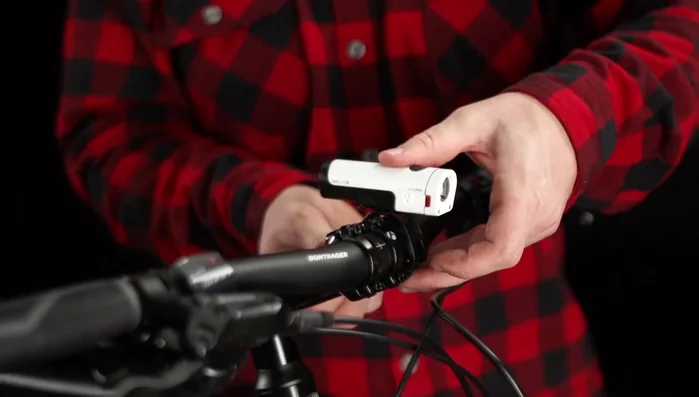
Methods: Mounting Front Light with Quick-Connect Bracket (for lighter lights)
Tools Needed
- Bontrager lighter-weight front light (e.g., Ion 100)
- Quick-connect bracket
Step-by-Step Instructions
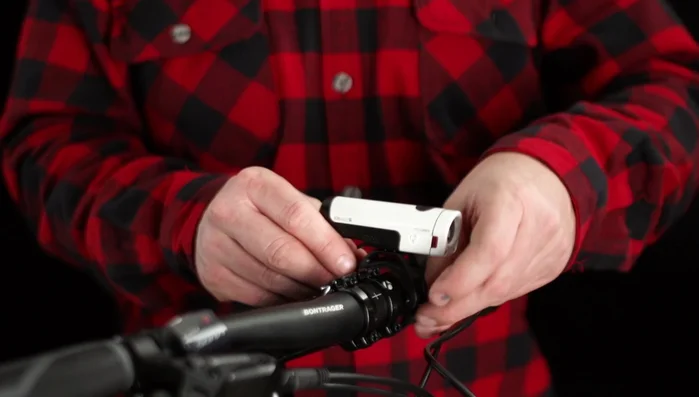
Attaching the Quick-Connect Bracket to the Handlebar
- Hold the strap so the light is parallel to the ground.
- Stretch the rubber straps around the handlebar and catch the hook securely through a notch.
Attaching the Quick-Connect Bracket to the Handlebar