The open road calls, promising adventure and breathtaking landscapes. But for many, the thought of leaving behind the convenience of a laptop – for work, creative pursuits, or simply staying connected – is a deal-breaker. Bikepacking, with its minimalist ethos, often clashes with the demands of modern digital life. However, it doesn't have to be an either/or proposition. With careful planning and the right equipment, you can seamlessly integrate technology into your two-wheeled expeditions, allowing you to work, create, and connect from anywhere your bike can take you. Imagine crafting that blog post while perched atop a mountain pass, or video-editing your latest adventure film under a canopy of stars.
This article will guide you through building the ultimate bikepacking laptop setup, balancing portability, durability, and performance. We'll delve into choosing the perfect laptop, selecting robust protective cases, and optimizing power solutions to ensure you're always ready to tackle both the trail and your to-do list. Let's dive into a step-by-step process that will transform your bikepacking experience.
Safety Guidelines
- Secure your laptop rigorously: Use a robust, waterproof case inside a padded backpack, ideally secured to your bike frame. Loose laptops are disaster-prone.
- Protect your data: Regularly back up your important files before each trip. Consider using cloud storage or an external hard drive (stored separately).
- Power management is key: Carry sufficient power banks and solar panels to meet your needs. Understand your laptop's power consumption and plan accordingly. Monitor battery levels frequently.
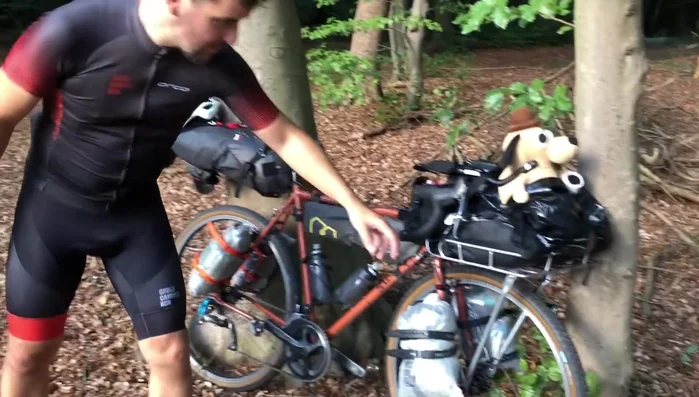
Methods: Front Rack System with Lightweight Dry Bags
Tools Needed
- Basal rack
- Cuban fiber dry bags (Wild Sky Gear)
- King Cage methane cage
- Hose clamp (King Cage)
- Follow straps
Step-by-Step Instructions
Rack Installation
- Secure a sturdy front rack (e.g., Basal rack) to your bike.

Rack Installation Laptop Mounting
- Mount your laptop securely on the rack with padding.
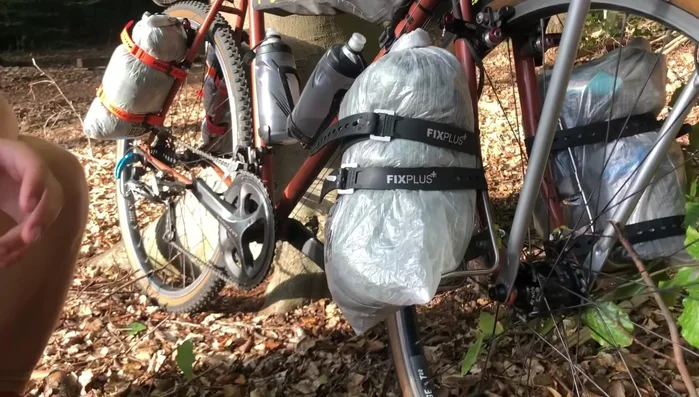
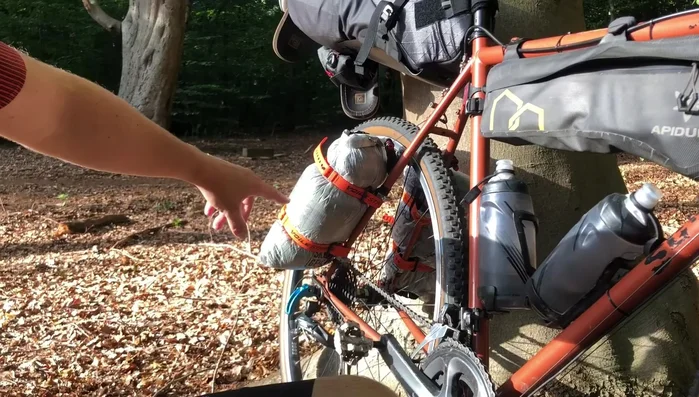
Laptop Mounting Dry Bag Attachment
- Attach lightweight, waterproof dry bags (e.g., Cuban fiber) to the rack using straps and buckles.
Dry Bag Attachment Gear Packing and Distribution
- Distribute your gear efficiently among the dry bags. Prioritize weight distribution for balance.
Gear Packing and Distribution

Tips
- Use high-quality, durable straps and buckles to ensure security.
- Consider using reinforced straps or adding extra padding to prevent abrasion on dry bags.
- For added security, use a hose clamp and eyelet to attach accessories to the rack.
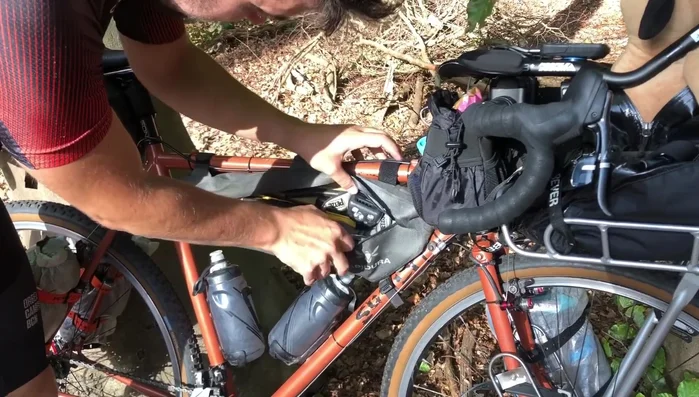
Methods: Efficient Packing System for Frame Bag and Accessories
Tools Needed
- Apodura frame bag
- Silke multi-tool
- Pump
- Tools
- Emergency items
- Power bank
- Torch
Step-by-Step Instructions
Front Rack Setup for Heavy Items
Lightweight Dry Bag System for Gear
Mounting Accessories
Frame Bag Packing
- Utilize a spacious frame bag (e.g., Apodura) to store essential items.
- Organize your tools, pump, and other necessities within the frame bag.
Frame Bag Packing Handlebar and Stem Accessories
Additional Storage and Organization
Kitchen and Cooking Gear
Water Filtration and Purification
Miscellaneous Items
Troubleshooting and Improvement
Tips
- Choose a high-quality, durable frame bag that fits your bike's geometry.
- Optimize space by using packing cubes or other organizational tools.